A Beginner's Guide to Implementing Amazon OpsWorks in AWS
 Sumit Mondal
Introduction:
Amazon Web Services (AWS) offers a wide array of services to help businesses manage their infrastructure efficiently. One such service is Amazon OpsWorks, a flexible application management service that simplifies the process of deploying and scaling applications. In this blog post, we will guide you through the basics of implementing Amazon OpsWorks in AWS, breaking down the steps into simple and easy-to-understand examples.
Understanding Amazon OpsWorks:
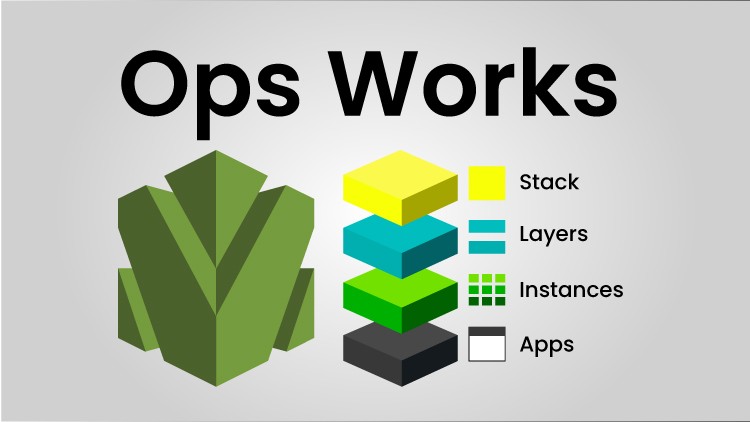
Amazon OpsWorks follows a stack-based model, allowing you to organize and manage your AWS resources into logical groups called stacks. Each stack consists of layers, which represent different components of your application, and instances, which are the virtual servers running in your layers. Here's a step-by-step guide to help you get started:
Step 1: Creating a Stack
To begin, log in to the AWS Management Console and navigate to the OpsWorks service. Click on "Add a stack" and provide a name for your stack, such as "MyOpsWorksStack." Choose the appropriate region for deployment and click "Add Stack."
Step 2: Adding Layers
Once the stack is created, the next step is to add layers. Layers define the different components of your application, such as web servers, application servers, and databases. Click on "Add layer" and select the appropriate layer type. For example, you can choose the "PHP App Server" layer for a PHP-based application.
Step 3: Configuring Instances
After creating layers, it's time to configure instances. Instances are the virtual servers that run your application. Click on the "Instances" tab, then "Add an instance." Choose the layer you want to associate the instance with and configure the instance settings.
Step 4: Deploying Applications
Now that your stack, layers, and instances are set up, it's time to deploy your application. Navigate to the "Apps" tab and click on "Add an app." Provide the necessary information, including the source code repository URL, and click "Add App." Finally, click "Deploy" to initiate the deployment process.
Step 5: Monitoring and Scaling
OpsWorks provides built-in monitoring tools to help you keep an eye on your application's health and performance. Use the "Monitoring" tab to view metrics and adjust your application's resources accordingly. If your application's traffic increases, you can easily scale your instances by adjusting the number of running instances in the layer settings.
Conclusion:
Implementing Amazon OpsWorks in AWS doesn't have to be a daunting task. By following these simple steps, you can efficiently organize and manage your application resources, making deployment and scaling a breeze. Remember to explore additional features and customization options available in OpsWorks to tailor the service to your specific needs. Happy deploying!
Subscribe to my newsletter
Read articles from Sumit Mondal directly inside your inbox. Subscribe to the newsletter, and don't miss out.
Written by

Sumit Mondal
Sumit Mondal
Hello Hashnode Community! I'm Sumit Mondal, your friendly neighborhood DevOps Engineer on a mission to elevate the world of software development and operations! Join me on Hashnode, and let's code, deploy, and innovate our way to success! Together, we'll shape the future of DevOps one commit at a time. #DevOps #Automation #ContinuousDelivery #HashnodeHero