From Vercel to AWS: Effortless Deployment of Next.js Websites
 Harshad Birajdar
In today’s web world, it's important to make things easy for developing and deploying websites quickly. As technology changes, developers are always looking for better ways to handle their projects, especially when putting them online. One popular trend is moving Next.js websites from one platform, like Vercel, to another, like AWS, using a tool called Serverless Stack Toolkit (SST). This article will explain why this move is a good idea and provide a simple guide to help you do it yourself.
First, if you’re using a Mac, you can install AWS CLI using Brew, a handy tool. Just open your terminal and type:
brew install awscli
For other operating systems, you can find instructions on the AWS website.
Once you've installed AWS CLI, you need to configure it to your AWS account. Simply type the following command in your terminal:
aws configure
You'll be prompted to enter your AWS access key ID and secret key, which you can generate from your AWS account.
After successfully configuring AWS CLI, you can either create a new Next.js website or use one you already have. For this example, let’s create a new one. After creating your website, the next step is to set up SST. Go to your project folder in your terminal and type
npx create-sst@latest
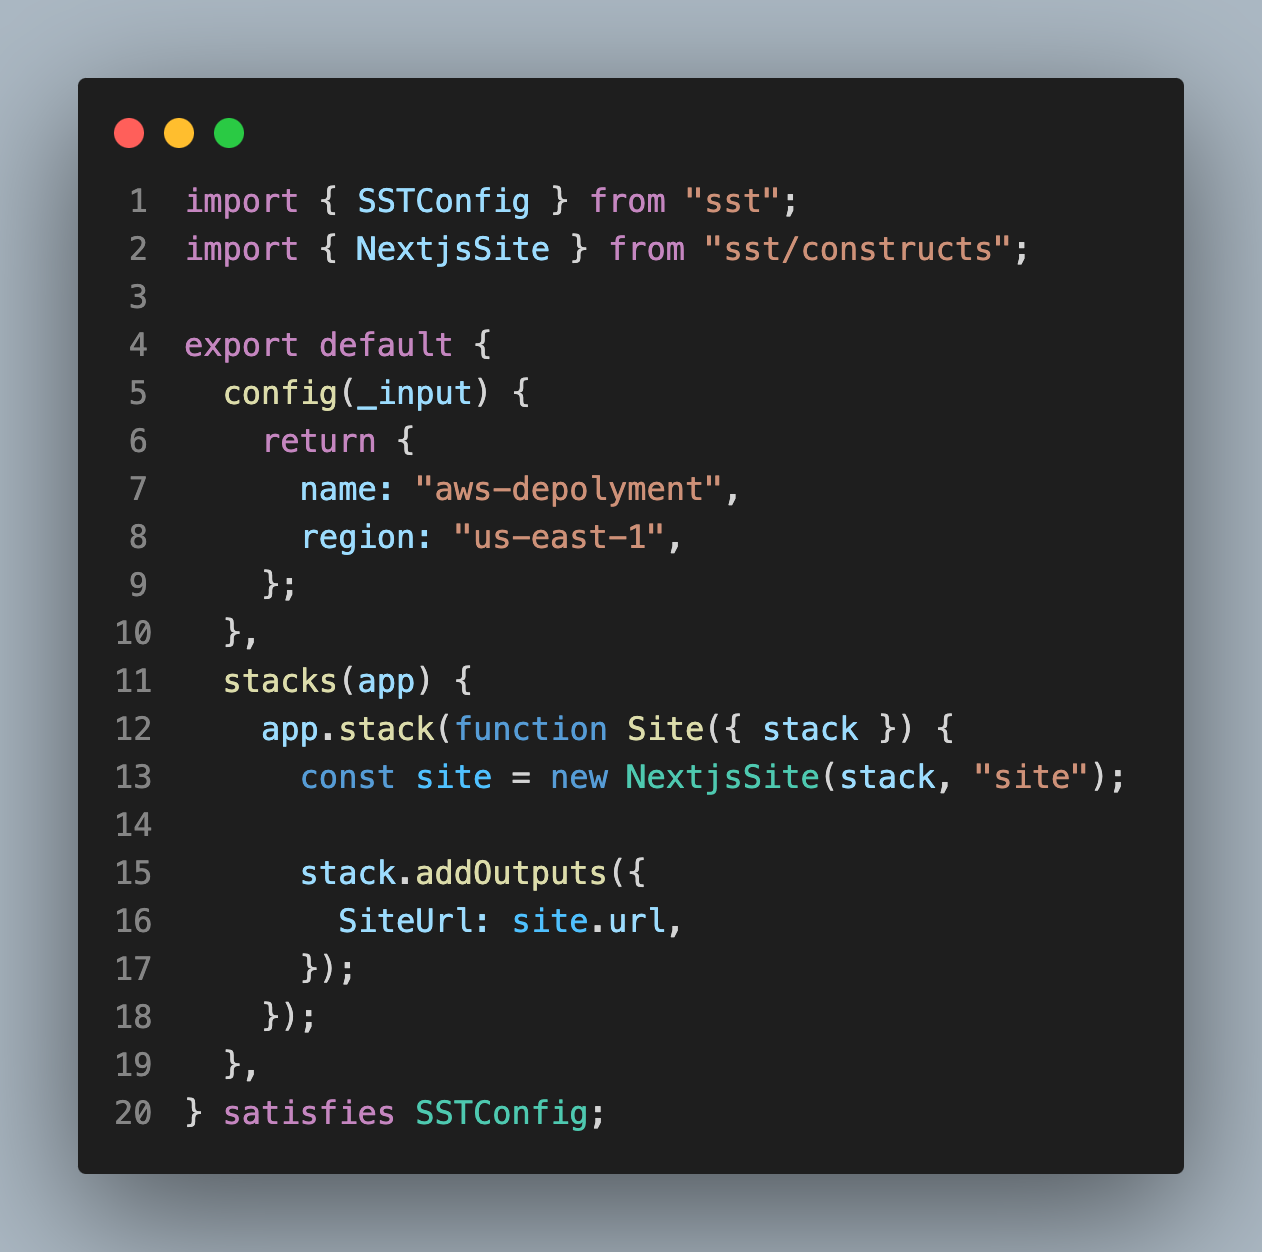
Upon installation, you'll notice additional files appended by SST, such as sst.config.ts and sst-env.d.ts.
It's crucial to review the sst.config.ts file. Within the configuration function, you have the option to customize the project name and region according to your preferences. However, default settings can be retained if desired.

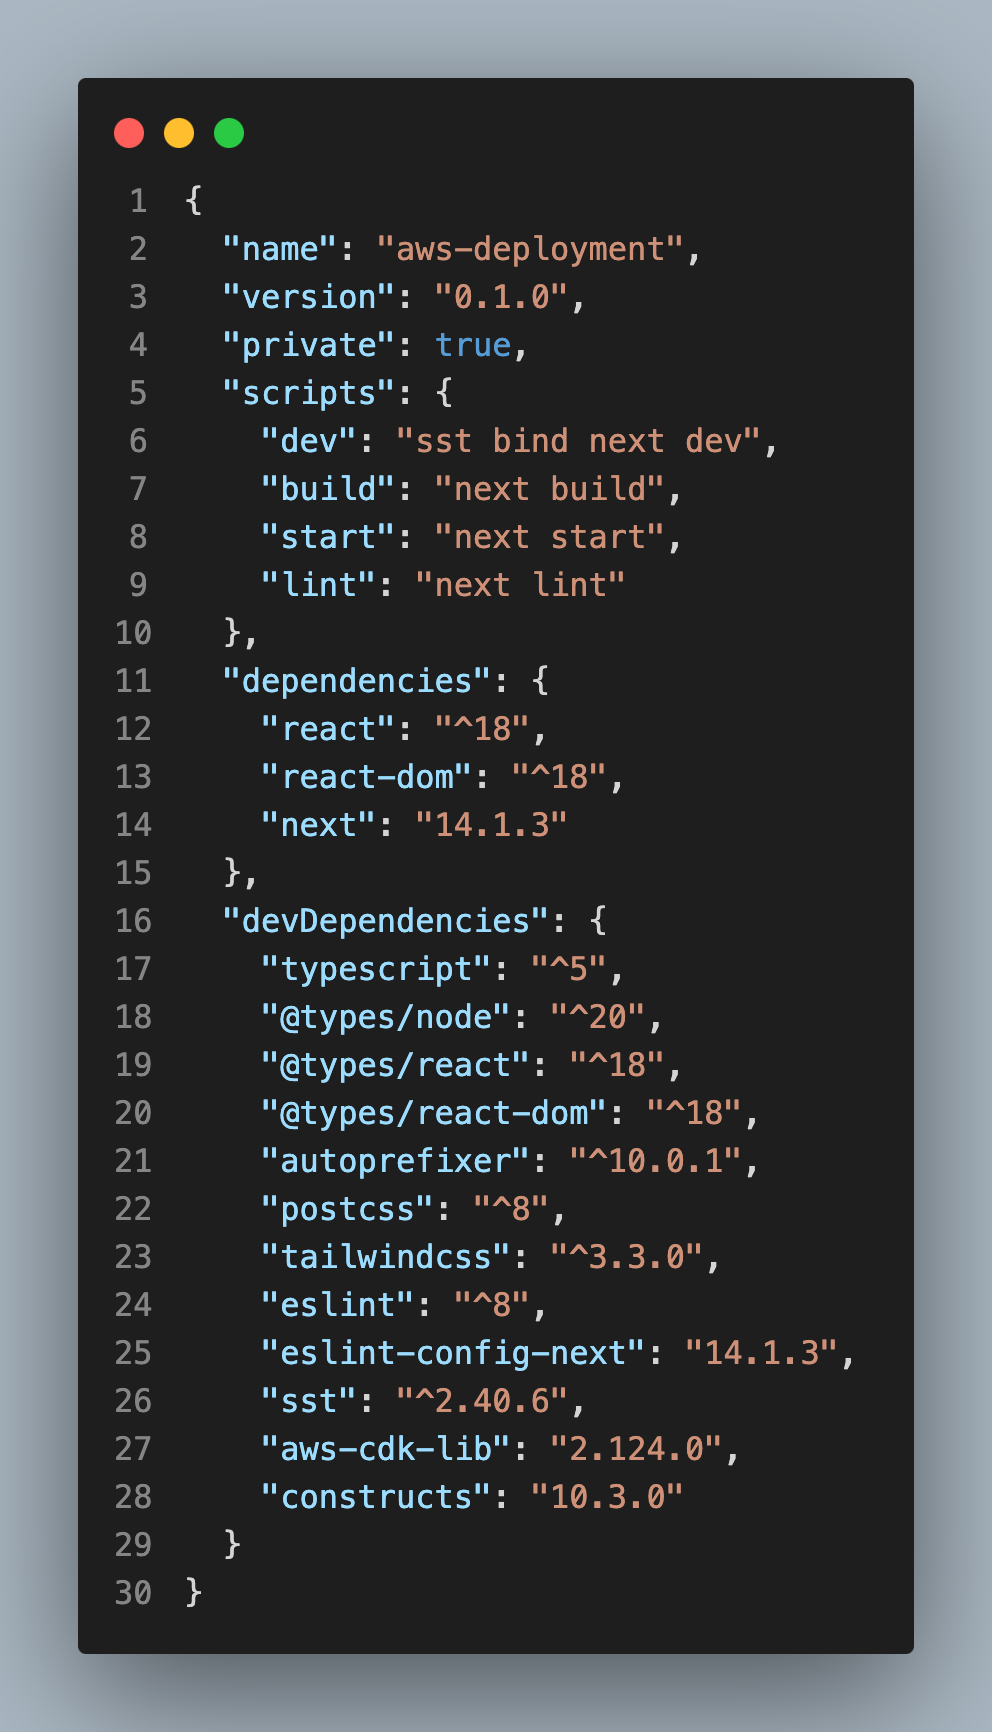
Additionally, SST adjusts the package.json file, particularly the dev command, to simplify the setup process of the project

execute npm run dev to generate a build file for deployment and conduct a check to ensure everything is functioning properly.
Once you've verified that everything works smoothly in the development environment, you can move on to deploying your application to production. This is where SST truly shines. With just a simple command, sst deploy , your code is deployed to the production environment on AWS. This seamless deployment process ensures that your application is up and running without any hassle.
Moreover, SST offers the flexibility to create multiple environments, such as development, staging, or production, based on your requirements. You can easily specify the stage name during deployment to target the desired environment. For example, if you want to deploy to a development environment, you can use the command sst deploy --stage dev.
In the upcoming article, I'll delve into how you can further streamline and automate the entire deployment process using Continuous Integration and Continuous Deployment (CI/CD) workflows. By integrating CI/CD practices into your development pipeline, you can automate tasks like testing, building, and deploying your application, ensuring faster and more reliable delivery of software updates. Stay tuned for more insights on optimizing your development workflow with SST and CI/CD.
Subscribe to my newsletter
Read articles from Harshad Birajdar directly inside your inbox. Subscribe to the newsletter, and don't miss out.
Written by
