" Containerized Video to Transcribe: A Streamlit Application using Assemblyai for Speech Recognition"
 Hritik Doud
Introduction
The "Video_To_Transcribe" project is an advanced Streamlit web application designed to transcribe audio from uploaded video files using AssemblyAI, an advanced speech recognition platform. This application streamlines the process of extracting text from videos, making it easier for users to convert spoken content into written form with high accuracy.
Features
File Uploader: Users can upload video files in formats such as mp4, mkv, or avi directly to the application.
AssemblyAI Integration: The application integrates with the AssemblyAI API, known for its accurate and reliable speech-to-text transcription capabilities.
Audio Conversion: Uploaded videos are converted to audio (wav) format to facilitate the transcription process.
Transcription Button: A user-friendly button triggers the transcription process, where Whisper transcribes the audio content into text.
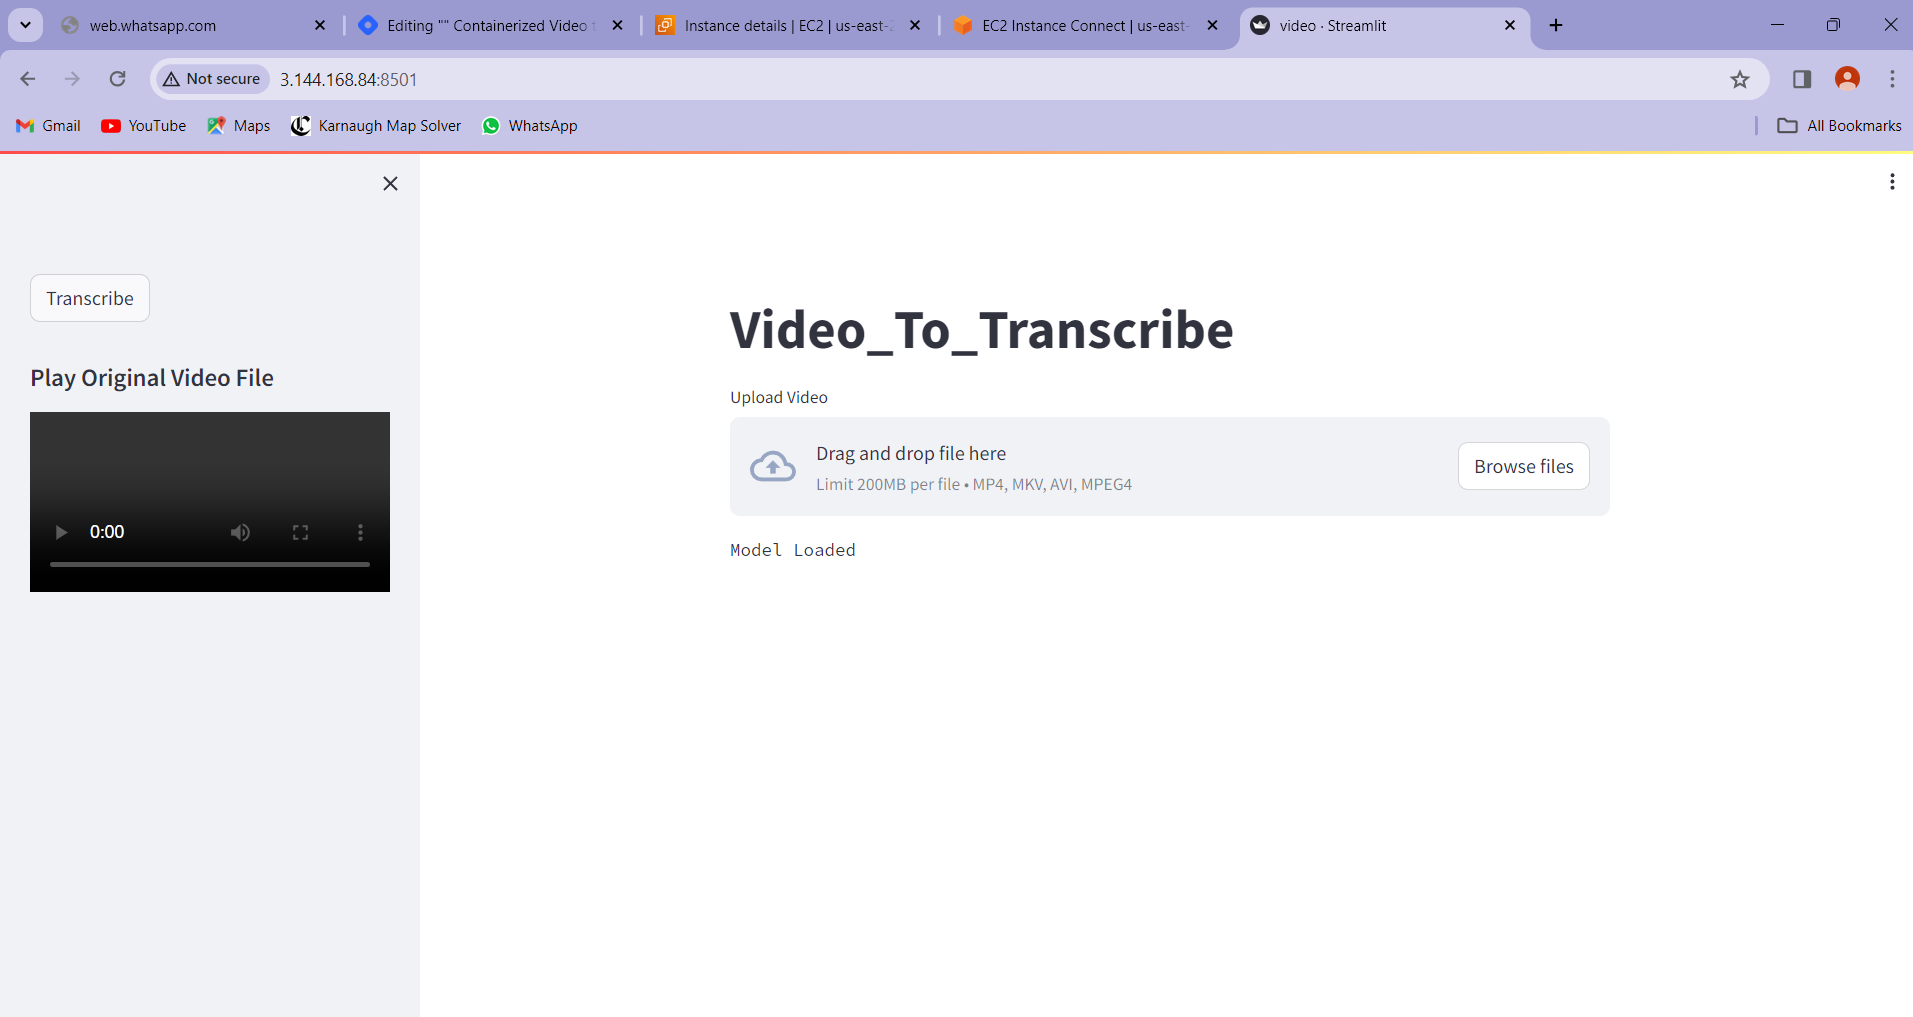
Real-time Feedback: Users receive real-time feedback on the transcription progress and can view the transcribed text within the application interface.
Original Video Playback: A sidebar feature allows users to play the original video file directly within the application.
Technologies Used
Streamlit: A Python library for building interactive web applications for data science and machine learning projects.
Assemblyai: An AI model used for transcribing audio from video files into text.
Docker: Used to containerize the application, making it portable and easy to manage across different environments.
Installation Steps
Step 1: Update Package Index
Before installing Docker, it's a good practice to update your system's package index to ensure you have the latest information about available packages. Open a terminal and run:
sudo apt update
Step 2: Install Docker
To install Docker on Linux, you can use the official Docker installation script. Run the following commands:
sudo apt install -y curl
curl -fsSL https://get.docker.com | sudo sh
This script will automatically download and install Docker along with its dependencies.
Step 3: Verify Docker Installation
Once the installation is complete, you can verify that Docker is installed correctly by running:
docker --version
You should see output similar to this:
Docker version 20.10.12, build e91ed57
Setting Up Docker
After installing Docker, you'll typically need to configure it to allow non-root users to run Docker commands. By default, Docker requires sudo privileges to run commands, but adding your user to the Docker group grants permission to use Docker without sudo.
Step 4: Add User to Docker Group
To add your user to the Docker group, run the following command:
sudo usermod -aG docker your_username
Replace your_username with your actual username. After running this command, you'll need to log out and log back in for the changes to take effect.
Step 5: Verify Docker Access
To verify that your user has access to Docker without sudo, run:
docker run hello-world
This command will download a test image and run a container. If everything is set up correctly, you should see output indicating that Docker is working.
Step 6: Cloning Project From Github
Here you can clone the project from my GitHub repository. After cloning the project, you have to insert your API key in the Python file.
git clone https://github.com/Hritik1706/VideoToText.git
Step 7:Write Dockerfile For Project
We are now writing a Dockerfile for the project. You can directly copy the Dockerfile from below or get it from the above repository.
FROM python

WORKDIR /app

COPY . .

RUN apt-get update && apt-get install -y ffmpeg

RUN pip install pymongo && pip install streamlit && pip install assemblyai

EXPOSE 8501

CMD ["streamlit","run","video.py"]
Step 8: Building Docker Image
After adding your Assemblyai API key in the code, you can build a Docker image for this code.
docker build -t videototext:lts .
Step 9: Building Docker Container And Running It
First, you have to check whether the image is created or not by running the below command. If it is created, then copy the image ID
docker images
now you are building and running container by running below command
docker run -d -p 8501:8501 your_image_ID
now you have to add port no 8501 in your aws Inbound rule to access port 8501 ,To see if your project is running or not you have to go web browser and http://Your_Machine_Ip_ Address:8501 ,and you see output as show below

Subscribe to my newsletter
Read articles from Hritik Doud directly inside your inbox. Subscribe to the newsletter, and don't miss out.
Written by
