🤖 Day 2: Terraform- A Guide to HCL Syntax
 Vivek Ashok Moudekar
Introduction:
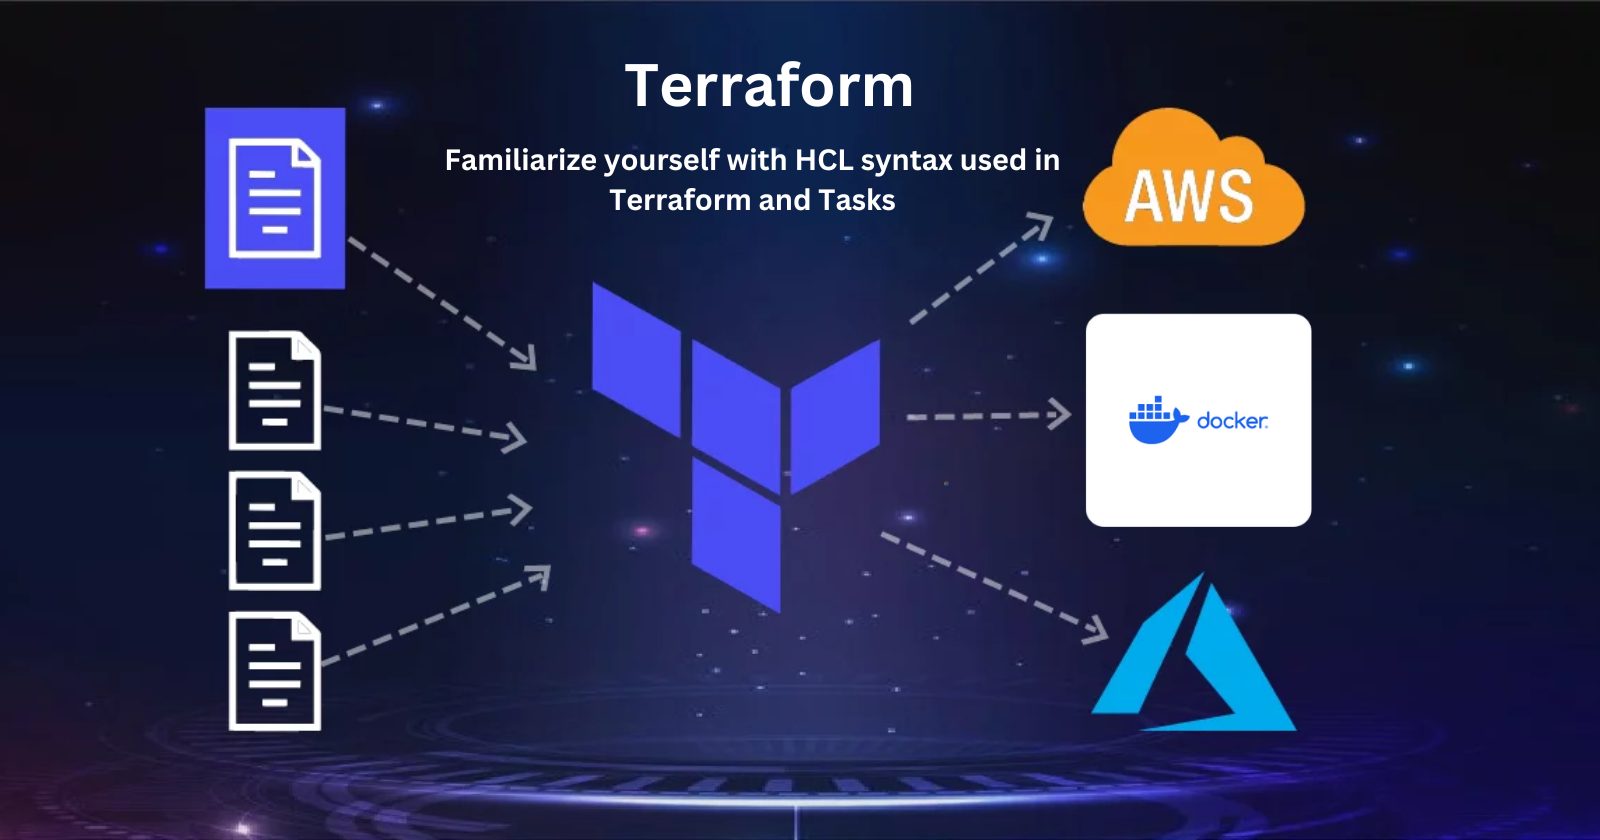
Welcome to TerraWeek Day 2! Today,To familiarize ourselves with the HashiCorp Configuration Language (HCL) syntax used in Terraform. Whether you're a seasoned infrastructure engineer or just stepping into the world of infrastructure as code (IaC), understanding HCL is crucial for efficiently managing your infrastructure.
⚒Task 1: Familiarize yourself with HCL syntax used in Terraform.
In Terraform, HashiCorp Configuration Language (HCL) is used to define infrastructure as code. HCL is a declarative language that allows you to describe the desired state of your infrastructure it is like Json format we use that in key value pair. Here's an overview of HCL blocks, parameters, and arguments, as well as the types of resources and data sources available in Terraform:
🧱HCL Blocks
HCL Configurations are organized into blocks,a block generally refers to a section of configuration code that defines the particular object or resource.
For example, in Terraform, you might define a block to create an AWS EC2 instance:
resource "aws_instance" "my_instance"{
    ami = "ami-0c55b159cbfafe1f0" #AMI ID to Create EC2 instance
    instance_type = "t2.micro"
}
In this code snippet:
resourceis the block type.aws_instanceis the resource type."example"is the resource name.The curly braces
{}contain the configuration attributes for theaws_instance.
So, in the context of Terraform, when someone mentions an "HCL block," they are likely referring to one of these sections of configuration code within a Terraform configuration file. These blocks define resources, providers, variables, outputs, etc., and each block has its specific syntax and purpose within the Terraform configuration.
🧱Parameters and Arguments
Parameters typically refer to the variables that are defined in the Terraform configuration. These variables can be declared at various levels, such as within modules, resources, or even at the root module level.
Parameters allow you to make your Terraform configurations more dynamic and reusable by defining values that can be provided externally or overridden when invoking Terraform commands.
Arguments, on the other hand, are used within resource blocks to configure the attributes of those resources. These attributes specify the desired state of the resource being managed by Terraform.
When you define a resource in Terraform, you provide arguments to specify how that resource should be configured. These arguments are specific to the type of resource being created.
For example, when creating an AWS EC2 instance, you would specify arguments such as
ami,instance_type,subnet_id, etc., to configure the instance.Here's an example:
  resource "aws_instance" "my_instance"{
   ami           = "ami-0c55b159cbfafe1f0"
    instance_type = var.instance_type
    subnet_id     = "subnet-12345678"
  }
In this example,
ami,instance_type, andsubnet_idare arguments provided to configure theaws_instanceresource. and "aws_instance" "my_instance" are Parameters.In summary, parameters (variables) are used to define values that can be passed into Terraform configurations, while arguments are used within resource blocks to configure the attributes of those resources.
Resources and Data Sources: Terraform provides two main types of blocks: resources and data sources. Resources represent infrastructure components that Terraform manages, such as virtual machines, networks, and databases. Data sources, on the other hand, allow Terraform to fetch information from external sources, such as AWS S3 buckets or Azure SQL databases, to use in your configurations.
⚒Task 2: Understand variables, data types, and expressions in HCL
In HashiCorp Configuration Language (HCL), variables are used to define values that can be reused throughout your configuration. HCL supports several data types, including string, number, bool, list, map, and object. You can also use expressions to manipulate and combine values.
Defining Variables: Create a
variables.tffile and declare variables using thevariablekeyword. Define the variable's name, type, and optional default value.variable "region"{ type = string default = "us-east-2" }🧱Use the Variable in
main.tfprovider "aws"{ region = var.region } resource "aws_instance" "my_instance"{ instance_type = "t2.micro" ami = "ami-05b8788552d56f" }
🧱Task 3: Practice writing Terraform configurations using HCL syntax
To practice writing Terraform configurations using HCL syntax,and automate the process of creating container Here's a step-by-step guide:
📍Install the Docker
sudo apt-get install docker.io docker-compose -y
📍Add Current User to Docker group
sudo usermode -aG docker $USER
📍Create a terraform file main.tf & Define the Required Providers.
terraform {
  required_providers {
    docker = {
      source = "kreuzwerker/docker"    #You can get this provider code fromm terraform registry
      version = "3.0.2"
    }
  }
}

provider "docker" {
  # Configuration options
}

resource "docker_image" "mynginx_image"{
    name = "nginx"
    keep_locally = false  #This will delete the image after container created
}

resource "docker_container" "mynginx_image"{  #Create a docker container
    image = docker_image.mynginx_image.name
    name = "example"
ports {
    internal = 80  #nginx default port
    external = 8000
  }
depends_on = [docker_image.mynginx_image]

}
📍Initialize and Apply the Configuration
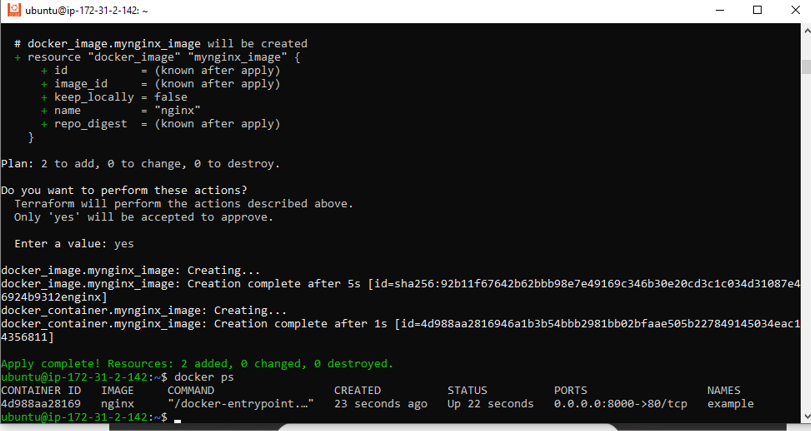
Run terraform init to initialize Terraform, run terraform plan to Check the plan and then run terraform apply to apply the configuration.
Verify the Container: Use the docker ps command to verify that the container has been created and is running.

Terraform pull the image from registry and made the container for us fully automate,amazing! now you can just create the docker container with one command how cool is that?
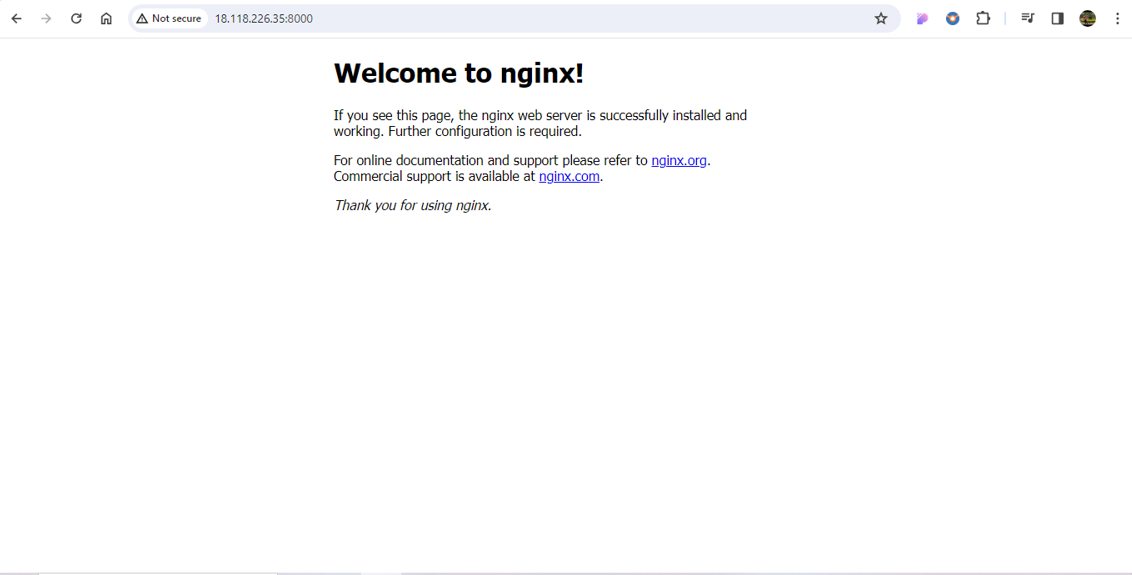
📍Then Access the Nginx through Docker
Open Security group -> Edit Inbound rules -> Add 8000 -> Save it.
then, to accessing the Nginx EC2-public-ip:8000

Happy Learning :)
Subscribe to my newsletter
Read articles from Vivek Ashok Moudekar directly inside your inbox. Subscribe to the newsletter, and don't miss out.
Written by

Vivek Ashok Moudekar
Vivek Ashok Moudekar
👋 Hello there! I'm Vivek, a DevOps enthusiast with a keen interest in streamlining software delivery. I hold a Master's degree in Computer Applications and have a solid foundation in key technologies such as Linux, Git, Docker, Kubernetes, and AWS. 💻 My passion lies in automation, ensuring efficient and seamless processes throughout the software development lifecycle. I thrive on creating robust CI/CD pipelines that empower teams to deliver high-quality software with confidence. 🚀 Beyond the code, I enjoy the ever-evolving world of DevOps and the challenges it brings. Join me on this journey as I explore new ways to enhance software delivery and foster a culture of continuous improvement. Let's connect, collaborate, and make the world of DevOps even more exciting together