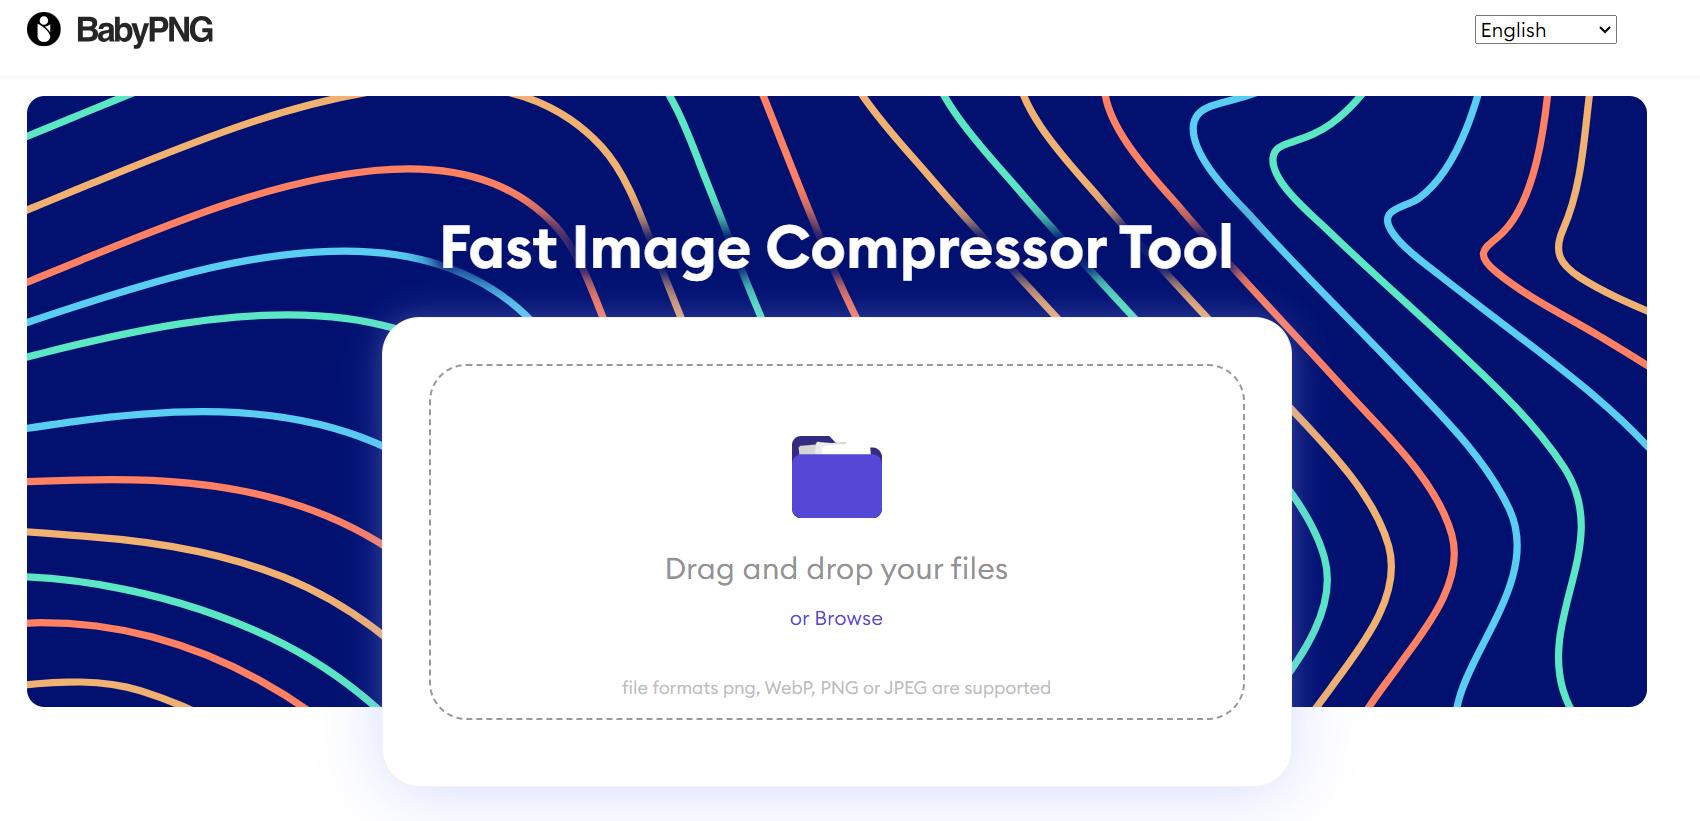
Ultimate Guide to Image Compression: How to Reduce File Sizes Efficiently
 Babypng
In today’s digital age, images play a crucial role in various aspects of our lives, from social media posts to website design. However, high-resolution images often come with a hefty file size, leading to longer loading times and increased bandwidth consumption. This is where image compression comes into play, allowing you to reduce the size of your images without compromising on quality. In this comprehensive guide, we’ll delve into the world of image compression, explore different techniques, and introduce you to an excellent online tool for effortless compression.
Understanding Image Compression
Image compression is the process of reducing the file size of an image without significantly affecting its visual quality. It’s a balancing act between maintaining clarity and reducing the amount of data required to store or display the image. There are two main types of image compression: lossy and lossless.
Lossy Compression: This type of compression reduces the file size by discarding some image data permanently. While this can lead to a smaller file size, it may also result in a slight loss of quality, especially when compressing images multiple times. Lossy compression is ideal for situations where file size is a priority and minor quality loss is acceptable.
Lossless Compression: Unlike lossy compression, lossless compression preserves all the original image data while reducing the file size. This is achieved through algorithms that identify and eliminate redundant information within the image. Lossless compression is preferred when maintaining the highest possible image quality is crucial.
Introducing BabyPNG: Your Go-To Image Compression Tool
Now that we’ve covered the basics of image compression, let’s explore an excellent online tool that simplifies the process: BabyPNG. With BabyPNG, you can compress various types of images, including JPEG, PNG, WebP, GIF, and TIFF files, all in one convenient platform. Here’s a breakdown of the key features and capabilities offered by BabyPNG:
JPEG Compression: Use BabyPNG to compress JPEG images effortlessly. Whether you need to reduce the file size of a single JPEG or compress multiple JPEG files in batch mode, BabyPNG has you covered. Compress JPEG with ease and optimize your images for faster loading times.
PNG Compression: If you’re working with PNG images, BabyPNG offers a seamless compression experience. Reduce the file size of your PNG files without compromising on quality. Compress PNG images online and improve website performance.
WebP Compression: WebP is a modern image format that offers superior compression and quality compared to traditional formats like JPEG and PNG. BabyPNG allows you to compress WebP images efficiently, making them ideal for web use. Compress WebP images and enjoy faster loading speeds.
GIF Compression: Animated GIFs are popular on the web, but they can have large file sizes. With BabyPNG, you can compress GIFs without losing their animation or visual appeal. Compress GIF files and optimize your website’s multimedia content.
TIFF Compression: TIFF files are often used for high-quality printing and professional photography. BabyPNG’s compression capabilities extend to TIFF files, allowing you to reduce their size while maintaining optimal image quality. Compress TIFF files and streamline your workflow.
How to Use BabyPNG for Image Compression
Using BabyPNG for image compression is straightforward and user-friendly. Here’s a step-by-step guide to getting started:
Visit the BabyPNG Website: Navigate to the BabyPNG website at https://babypng.com/.
Select Your Image: Choose the image you want to compress by clicking the “Choose File” button or simply drag and drop the file onto the designated area.
Choose Compression Settings: Depending on your preferences, you can select between lossy and lossless compression options. You can also adjust the compression level to achieve the desired balance between file size and quality.
Start Compression: Once you’ve chosen your settings, click the “Compress Now” button to initiate the compression process.
Download Compressed Image: After compression is complete, you’ll be provided with a download link to access your compressed image. Click the link to download the optimized version to your device.
Conclusion
Image compression is a valuable technique for optimizing your digital content, whether you’re a web designer, blogger, or social media enthusiast. By reducing file sizes without compromising quality, you can improve loading times, save bandwidth, and enhance the overall user experience. With tools like BabyPNG, image compression becomes a hassle-free task, allowing you to focus on creating engaging visual content. Explore BabyPNG’s range of compression options today and take your images to the next level!
Subscribe to my newsletter
Read articles from Babypng directly inside your inbox. Subscribe to the newsletter, and don't miss out.
Written by
