AWS CloudFront
 Gopinath J
CloudFront provides valuable solution for content delivery networks (CDNs), offering numerous benefits for global content distribution. s a
CDN Overview:
Problem: When content (like an image) is stored in a central location, users accessing it from distant locations experience latency due to data traveling through multiple routers.
Solution: CDNs like CloudFront create local copies of content (caching) in edge locations closer to users, reducing latency.
S3 Disadvantages for Static Websites:
Cost: S3 can be costly for frequent uploads and downloads.
Latency: Accessing S3 buckets from distant regions can increase latency.
Security: S3 can be less secure if not properly configured, potentially allowing unauthorized access.
CDN Benefits (Using CloudFront):
Caching: CloudFront caches content in edge locations, reducing the need for frequent requests to the origin server (like S3).
Cost-Effectiveness: By reducing data transfer costs, CloudFront can be more cost-effective than accessing content directly from S3.
Improved Performance: Users experience faster load times as content is served from nearby edge locations.
Security: CloudFront provides additional security features, such as access control and encryption, improving overall security.
CloudFront Example by Hosting Static website :
Create a bucket in AWS console by selecting create bucket.
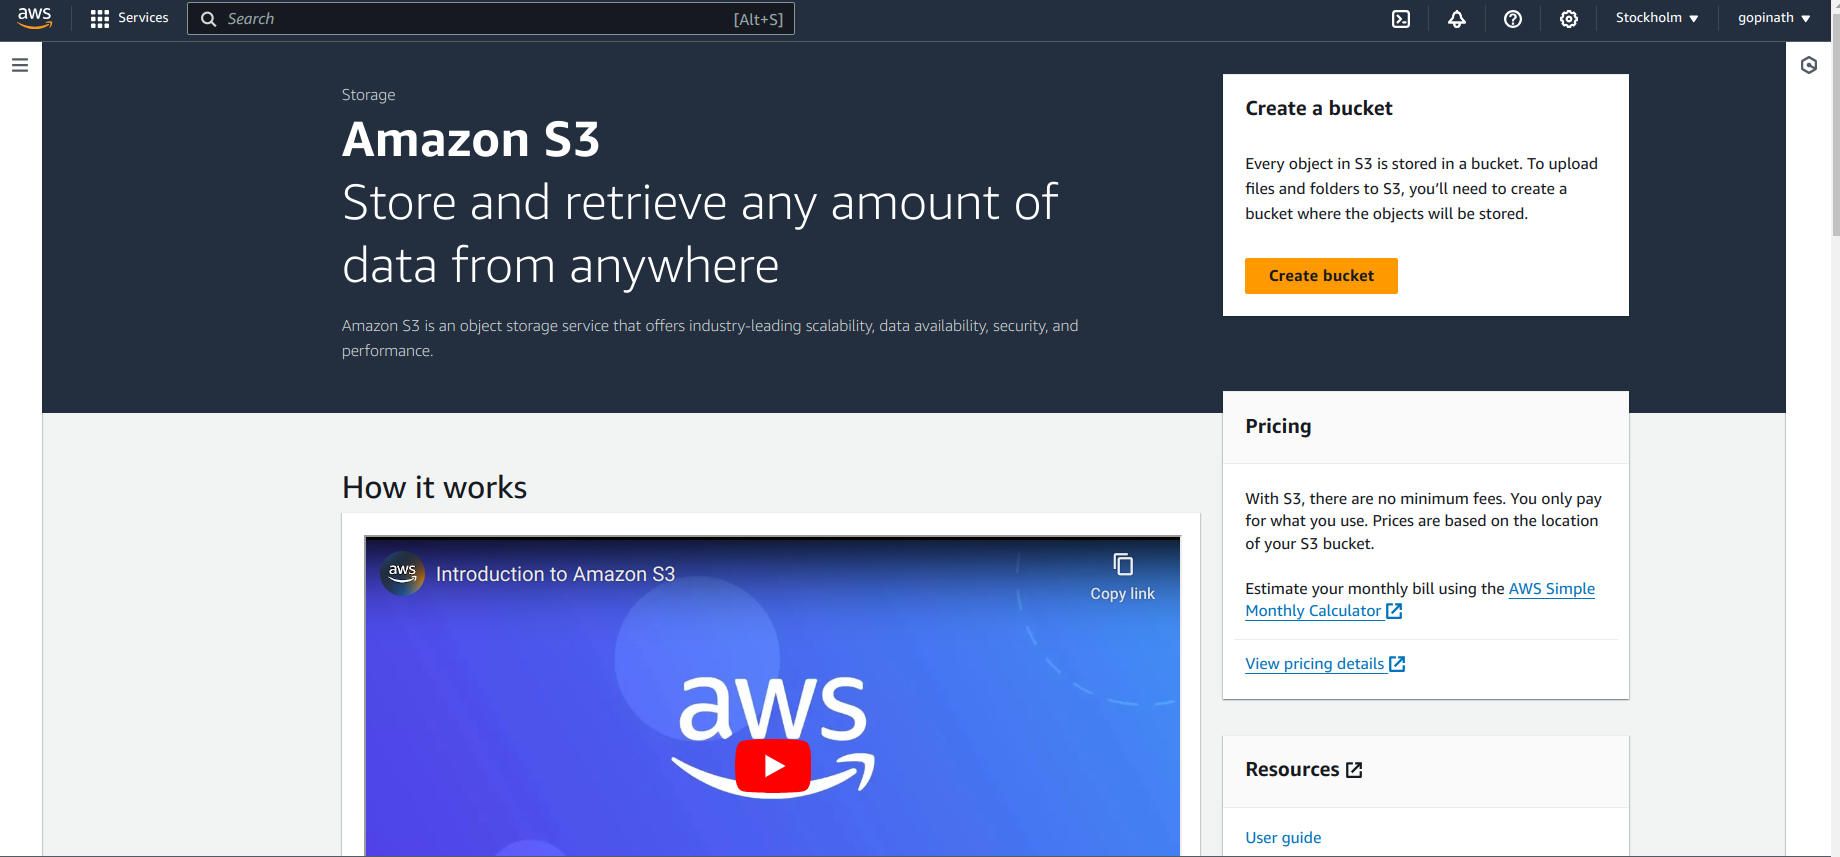
Enter the bucket name and select the location for bucket.
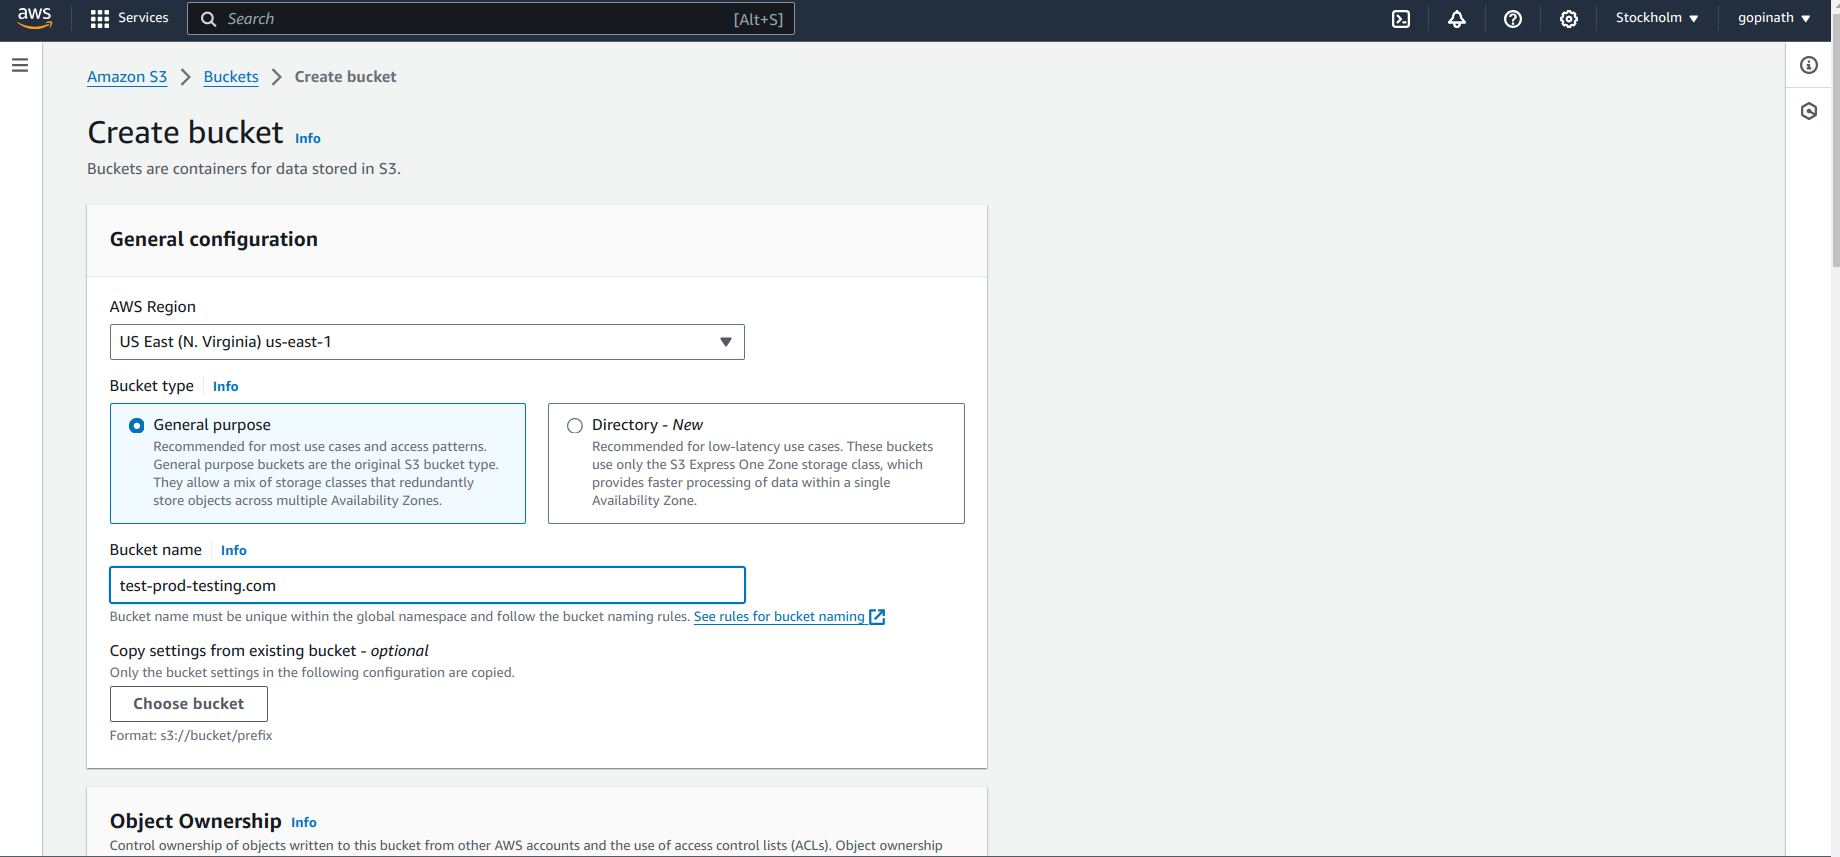
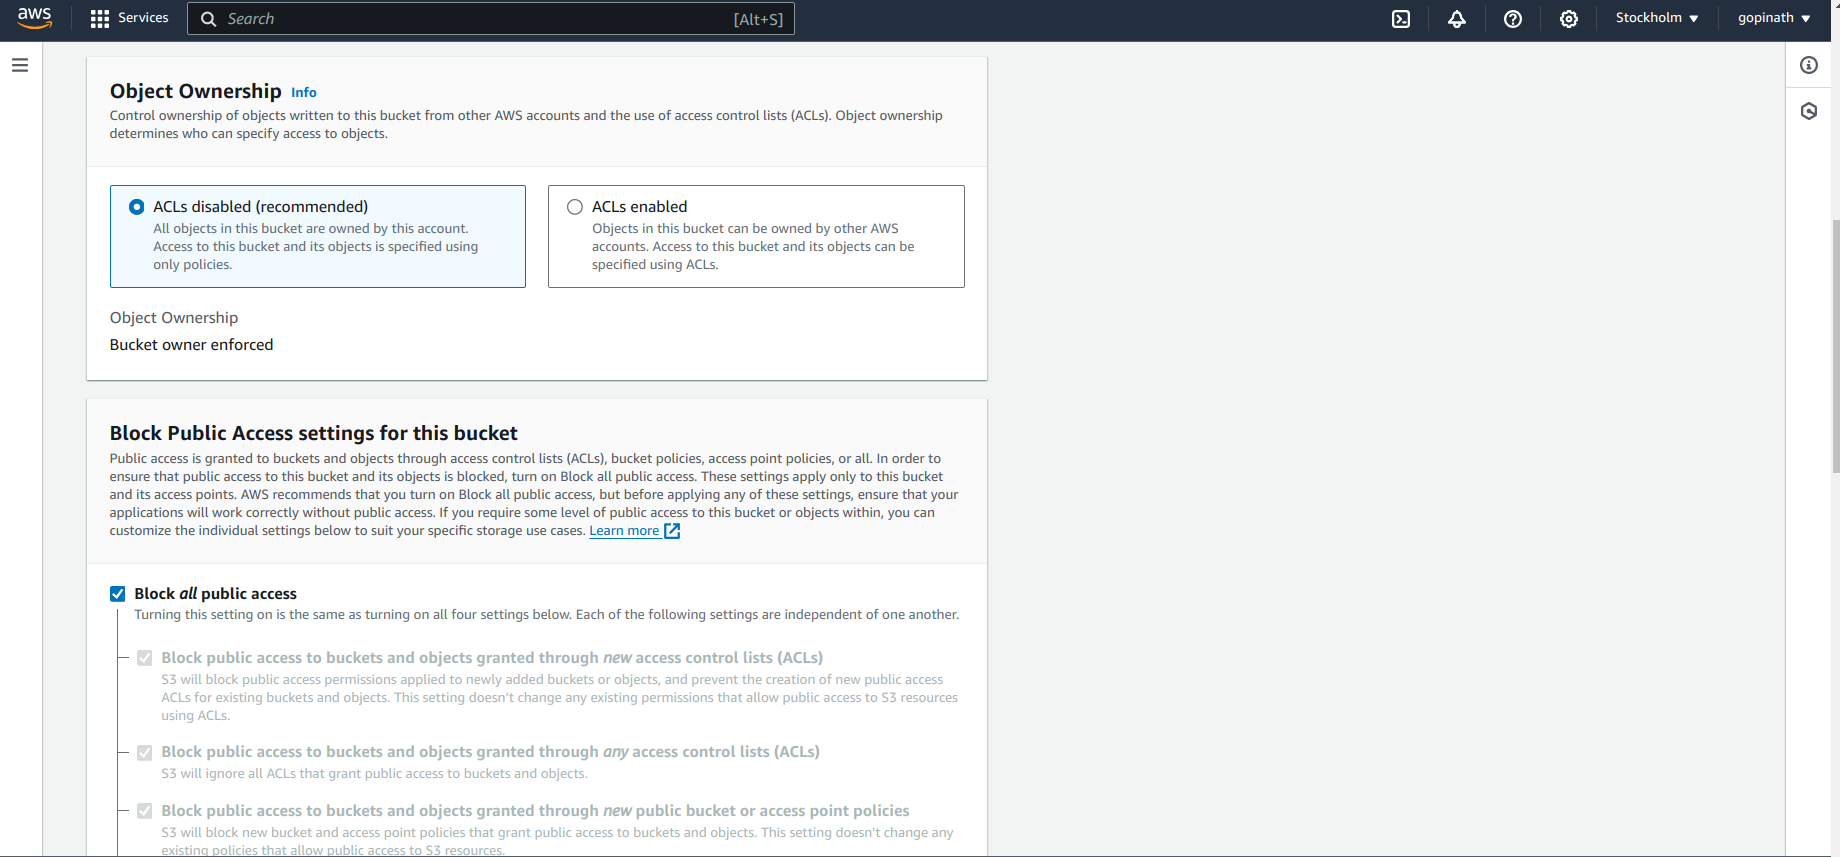
Select the object ownership and keep the block all public access as checked.
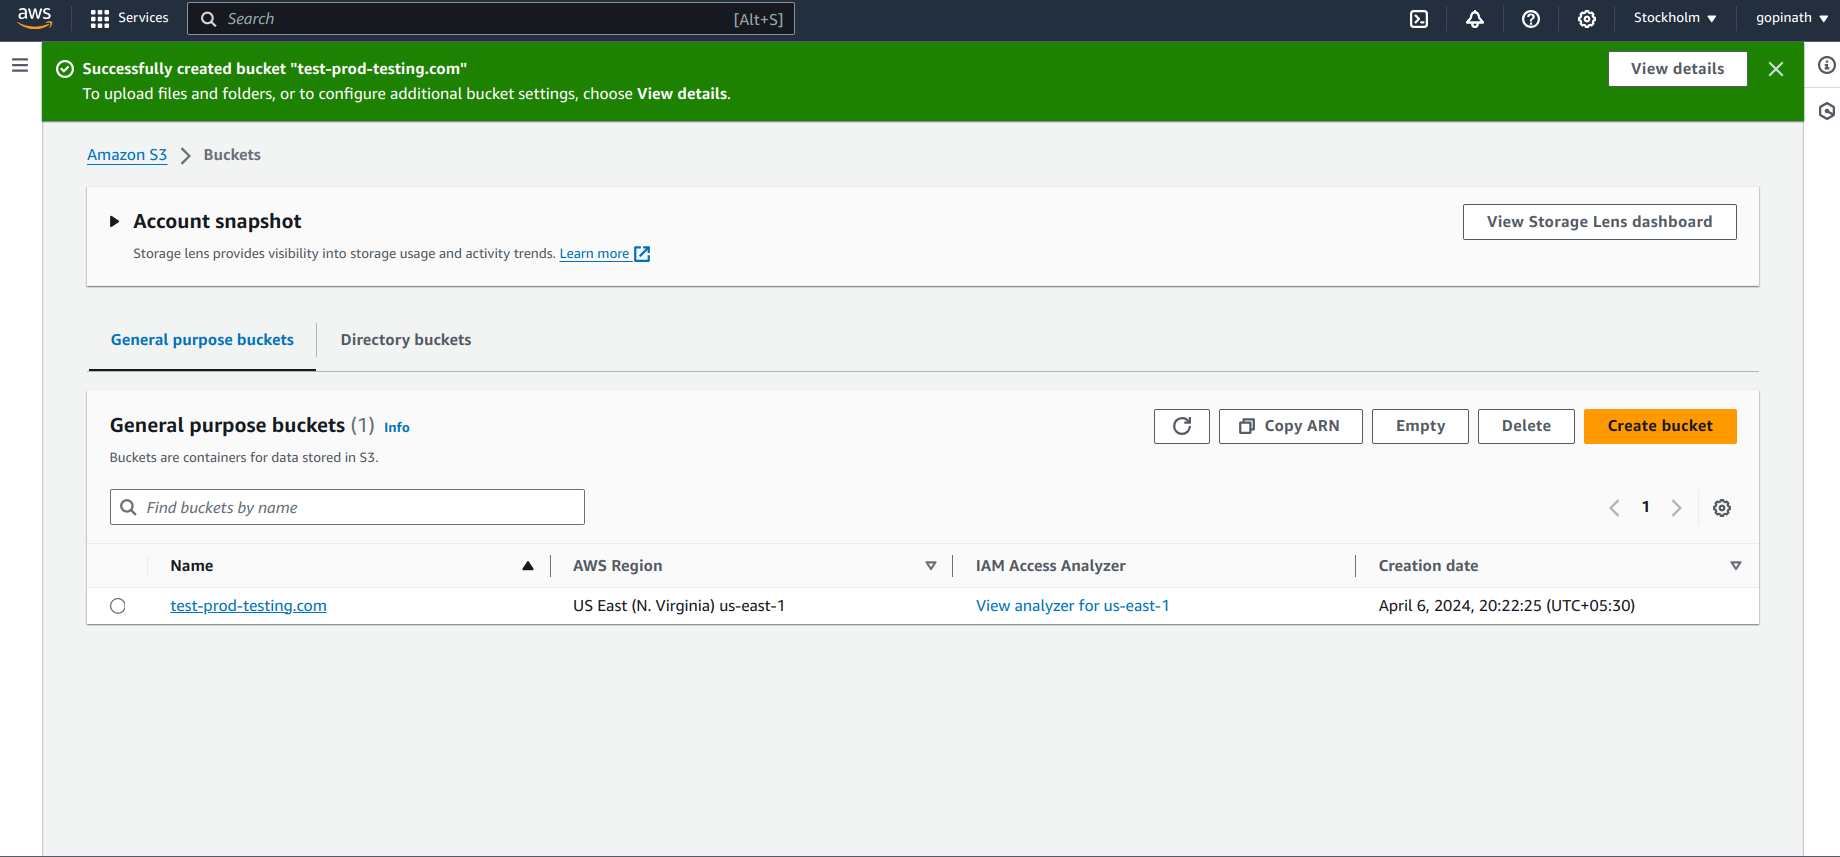
Then, create the bucket.
Bucket will be displayed here,
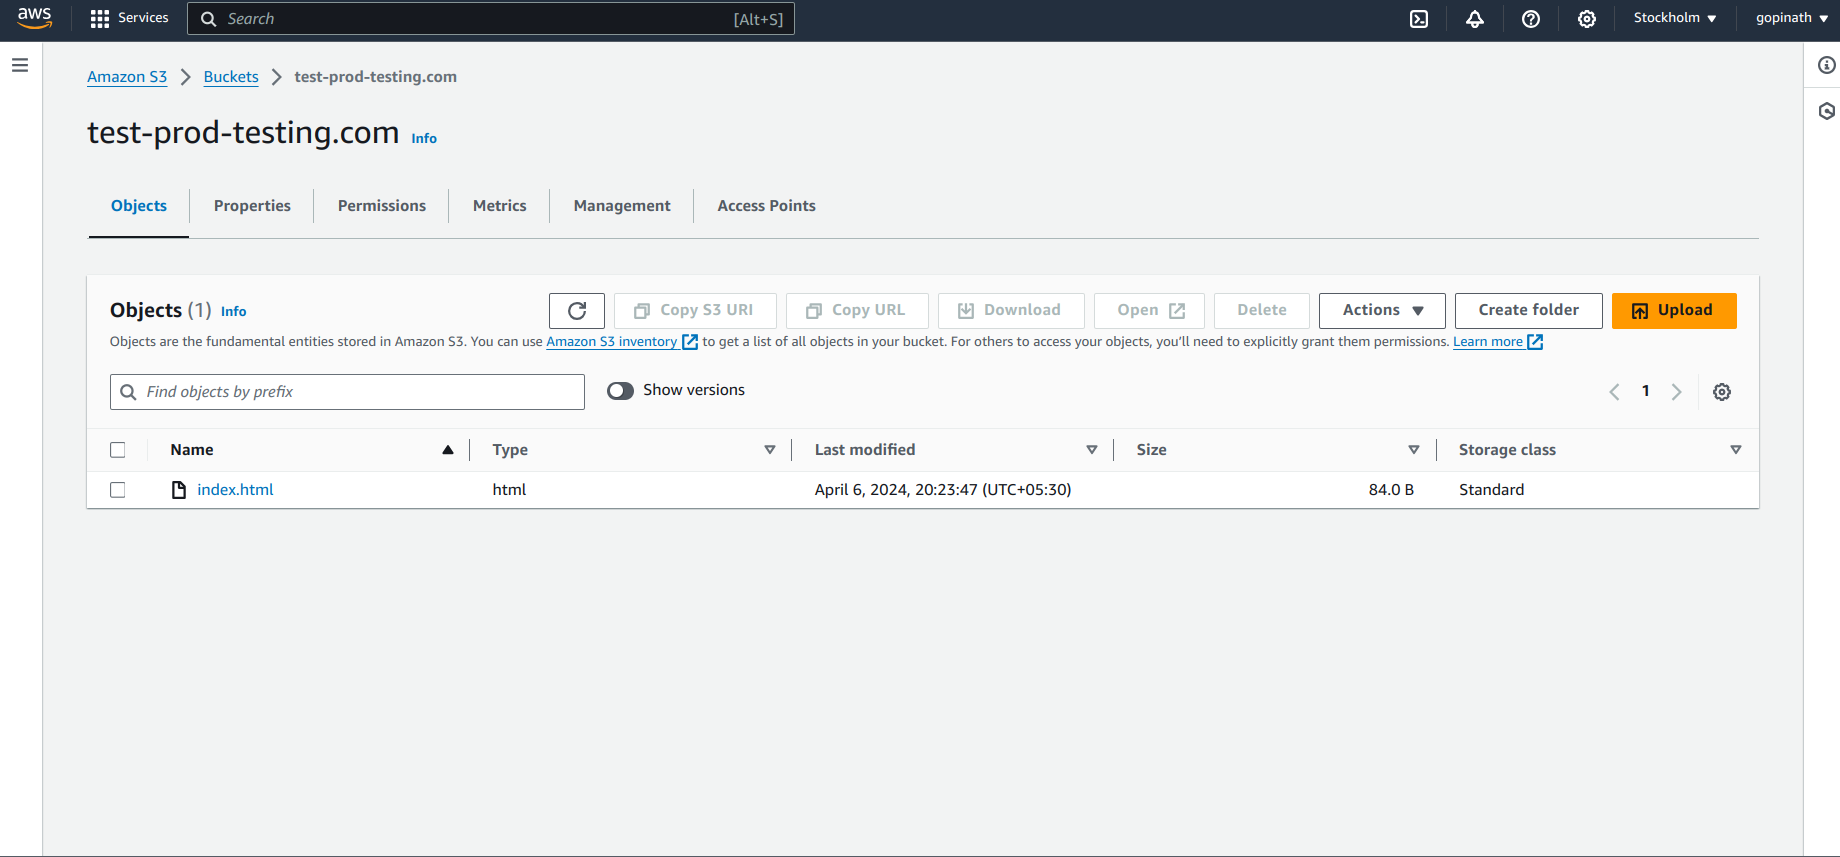
Open the bucket and add the static file to host.
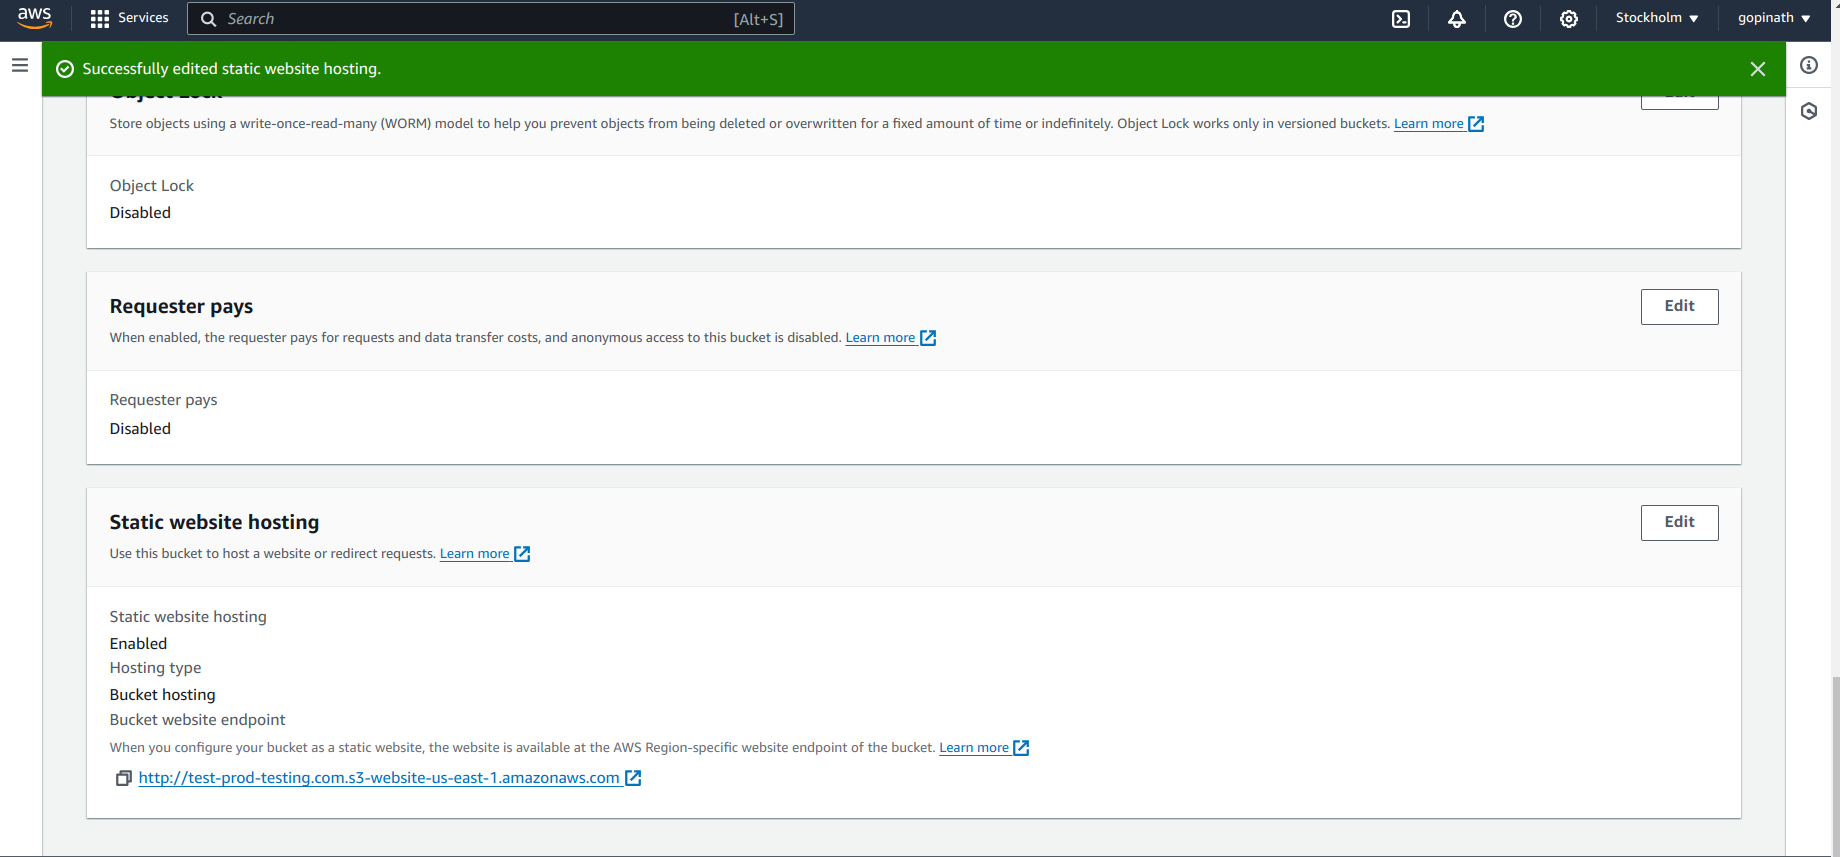
Go to properties and scroll down to enable static website hosting.
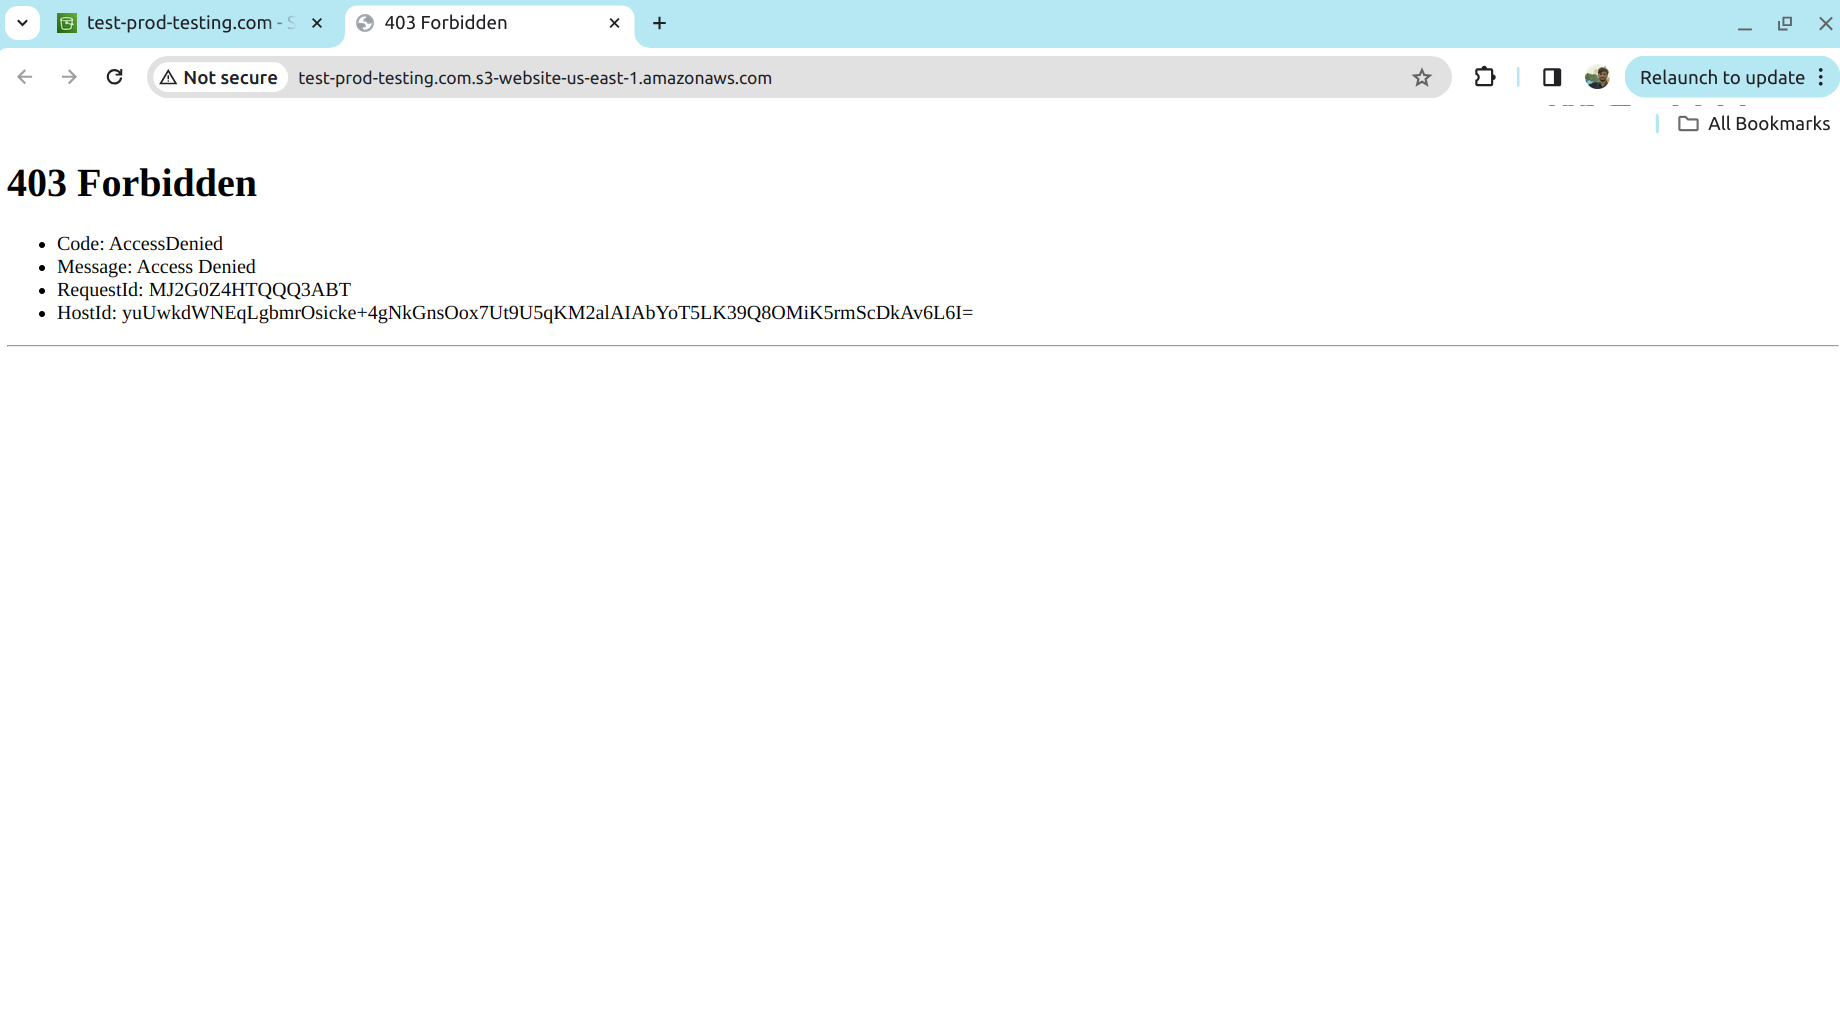
When you try to access the bucket, you will get Forbidden.
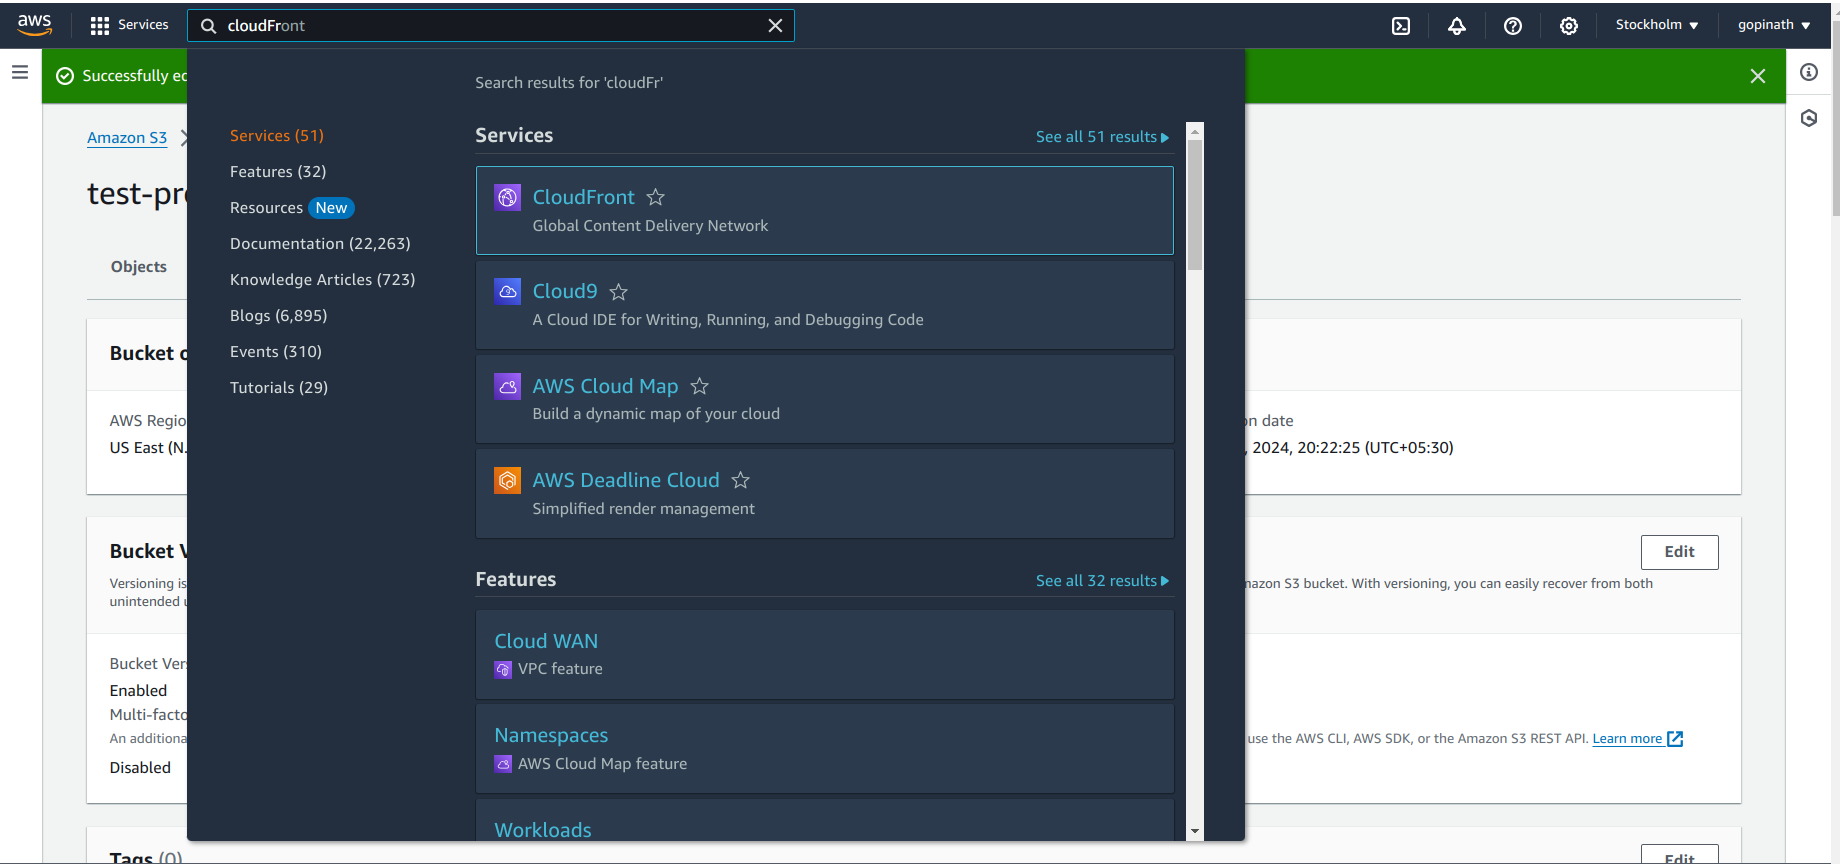
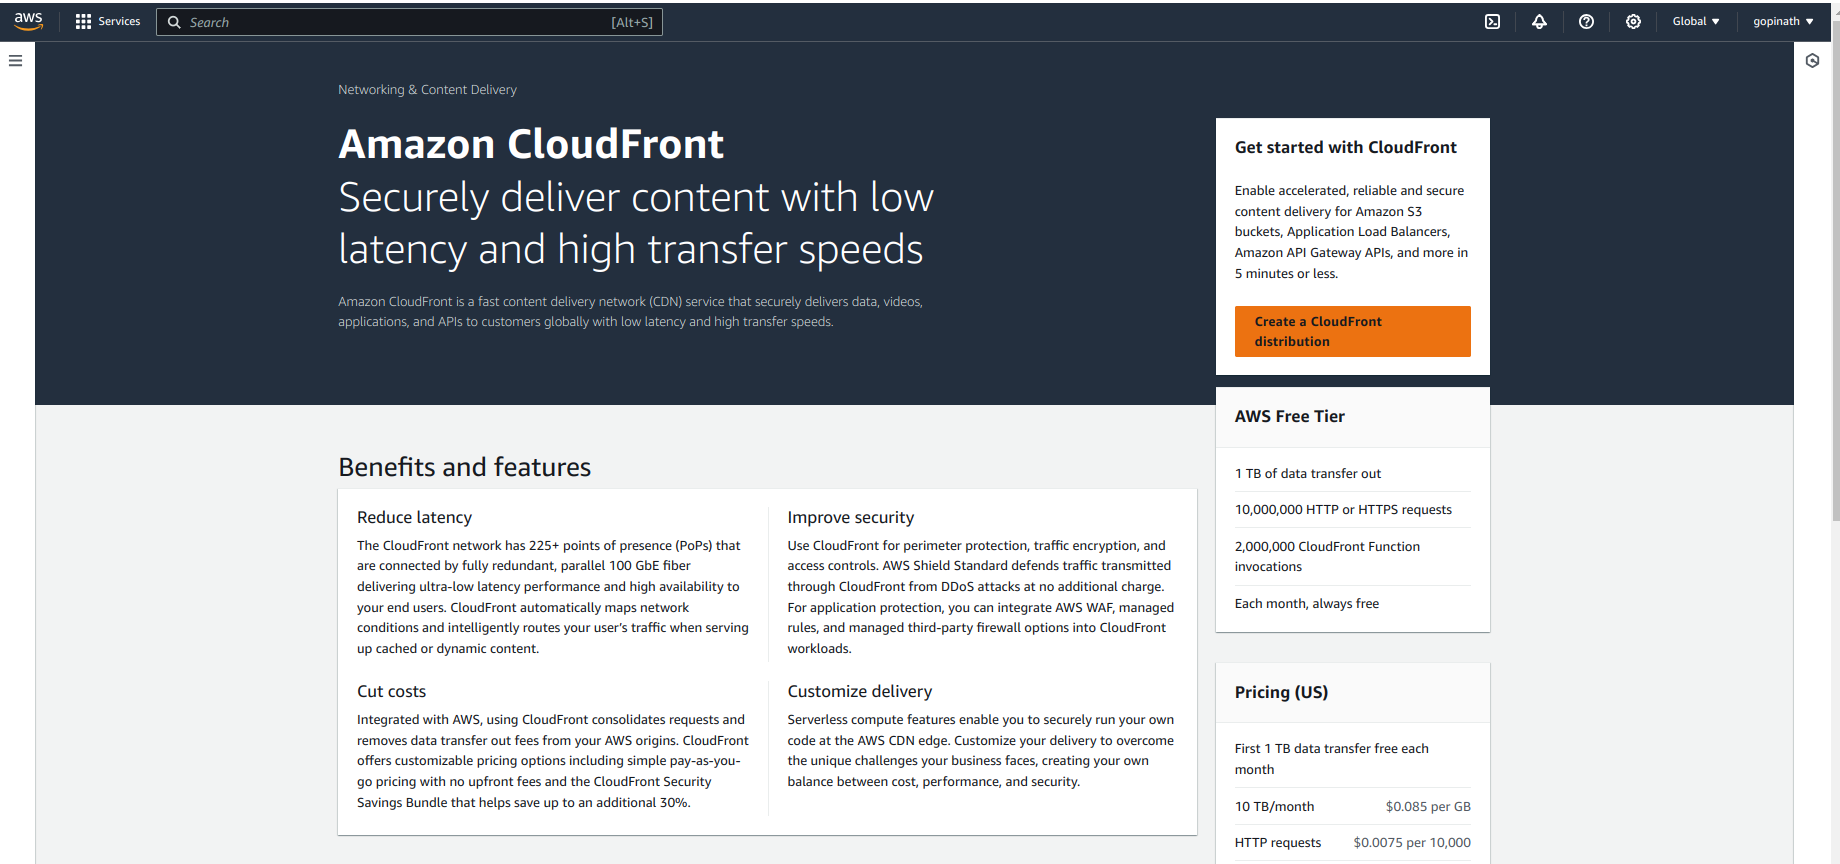
Now we need to add CloudFront distribution to the bucket.
Search CloudFront in the console.
Select create CloudFront Distribution.
Choose the origin domain and select the origin access to Origin Access Control setting and create new OAC or select the existing.
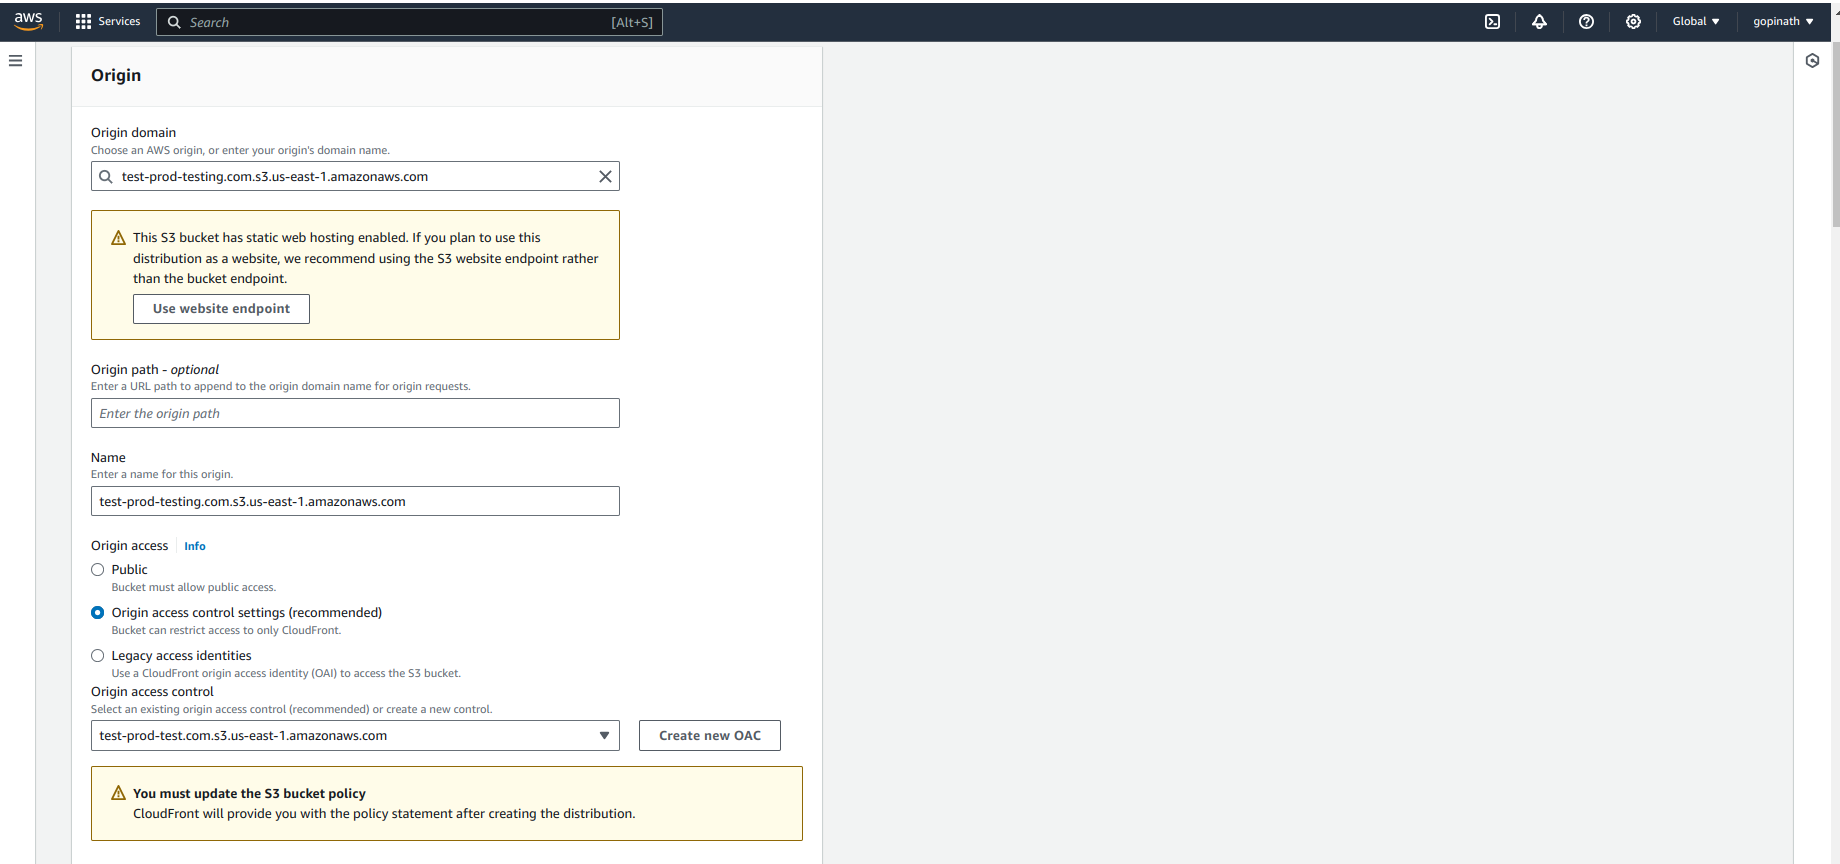
In this, I have selected origin acces control setting which enables makes only cloudFront to access the s3. In this I have to manullay update the policy for the bucket. You can choose Legacy access identitites which has option of automatic policy updation.
Select the Viewer Options
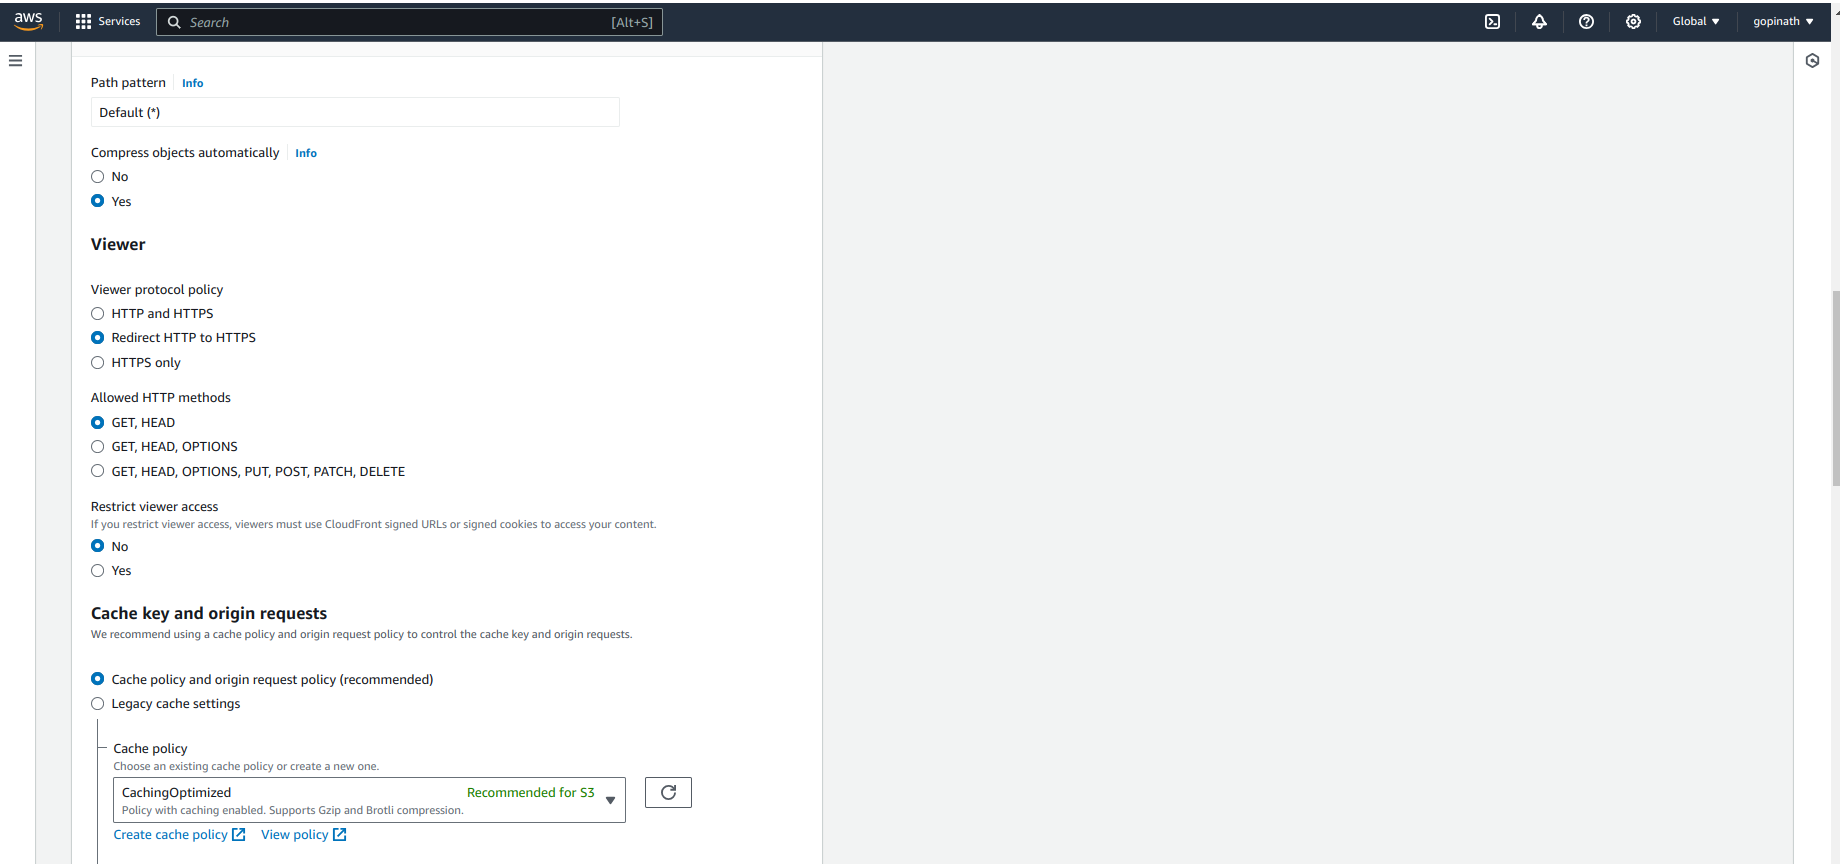
Viewer protocl policy - Determines if the users can access the contents using http or https.
Allowed HTTP methods - Specify which method that cloudFront need to redirect the request to S3.
Cache Key and Origin requests - Specifies how cloudFront caches ans retrives the content.
Choose the WAF and change the settings if needed.
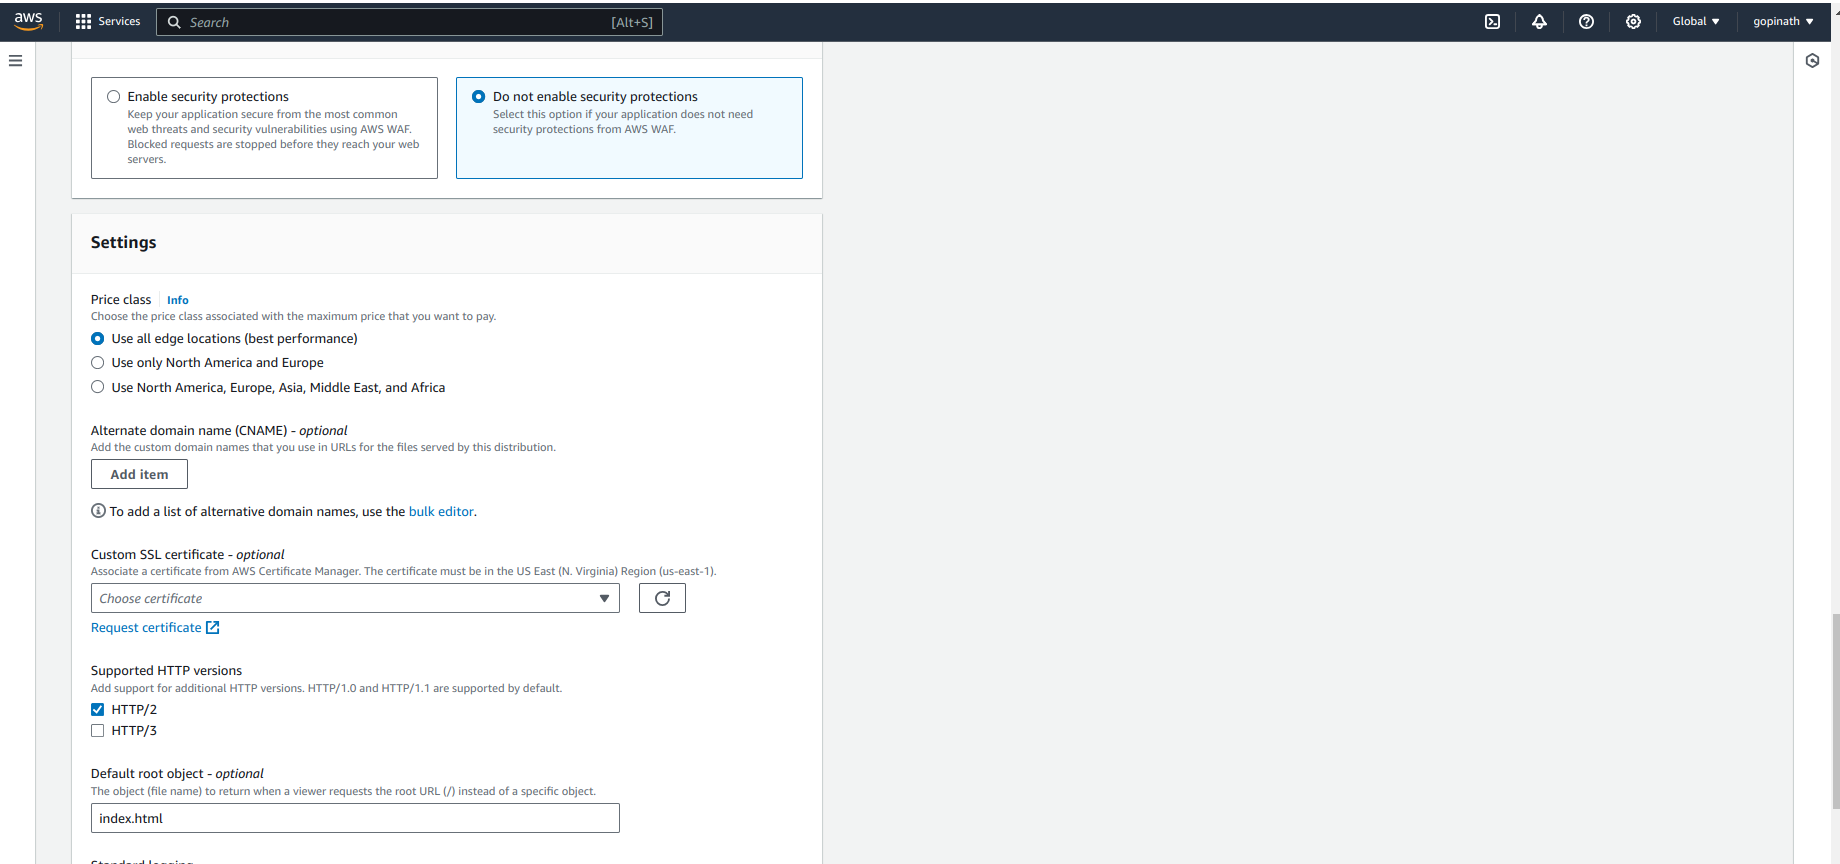
Web Application Firewall(WAF) allow to manage and configure security rules.
SSL Certificate - Attach the SSL certificates if any.
Price Class - Choose the locations where the contents need to be cached.
Default root object - Specifies the default file to be served when visitor access the URL.
We have Created the cloudFront Distribution. Now we need to attach the policy to S3 bucket.
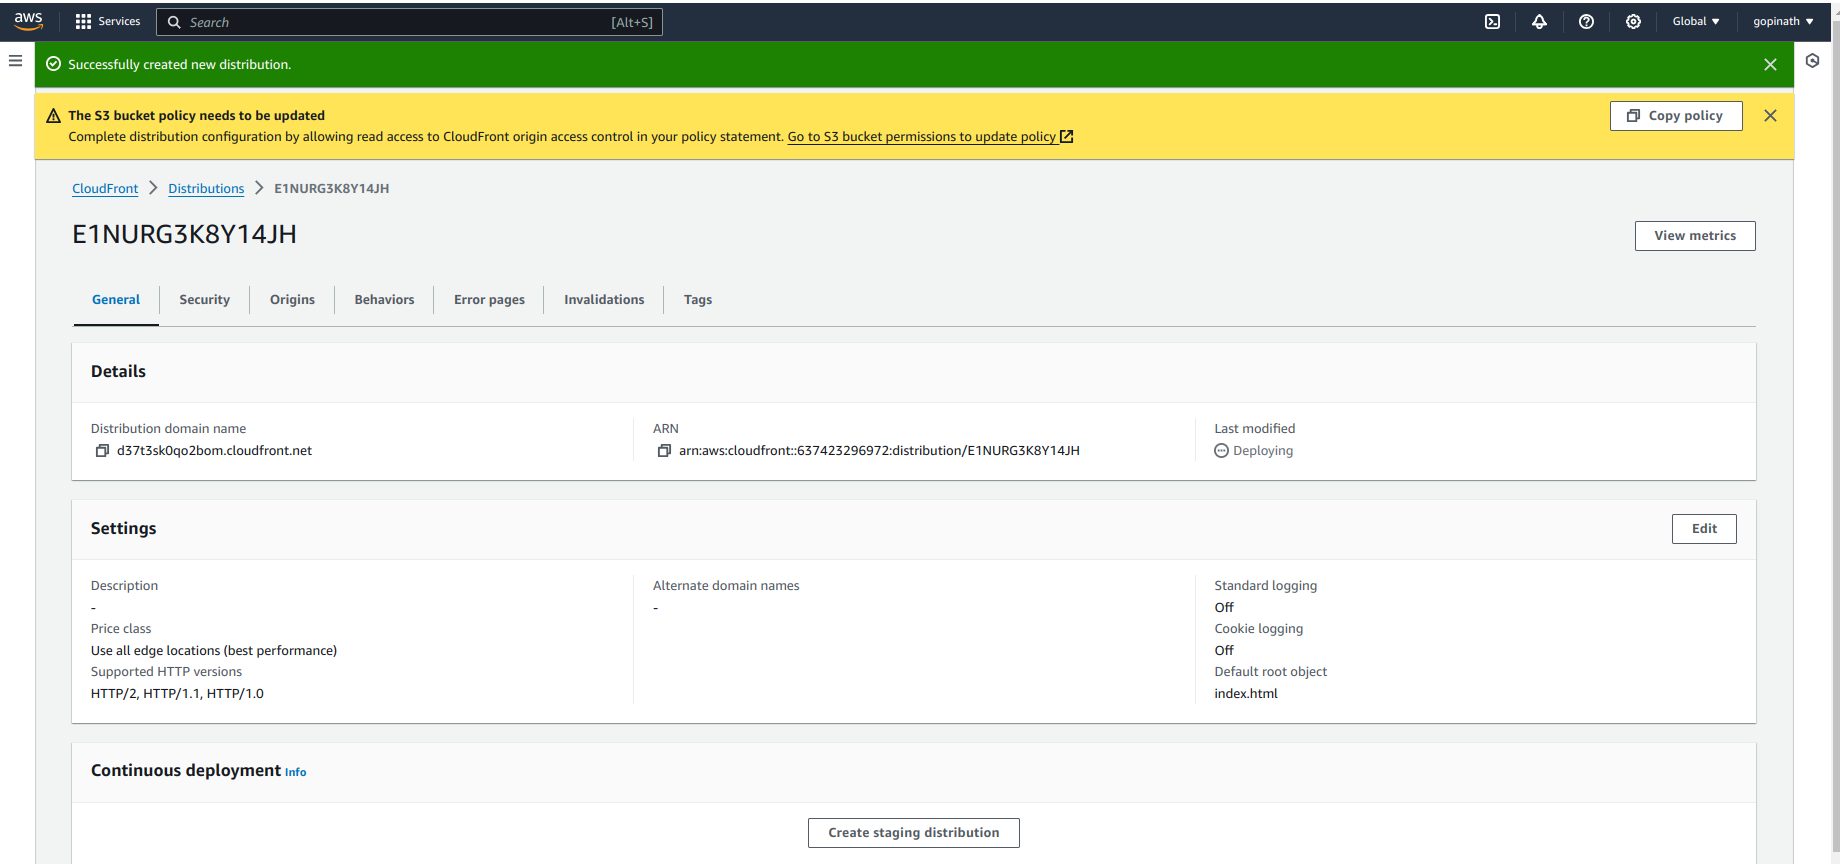
Select the copy policy in header section and go to s3 bucket permissions.
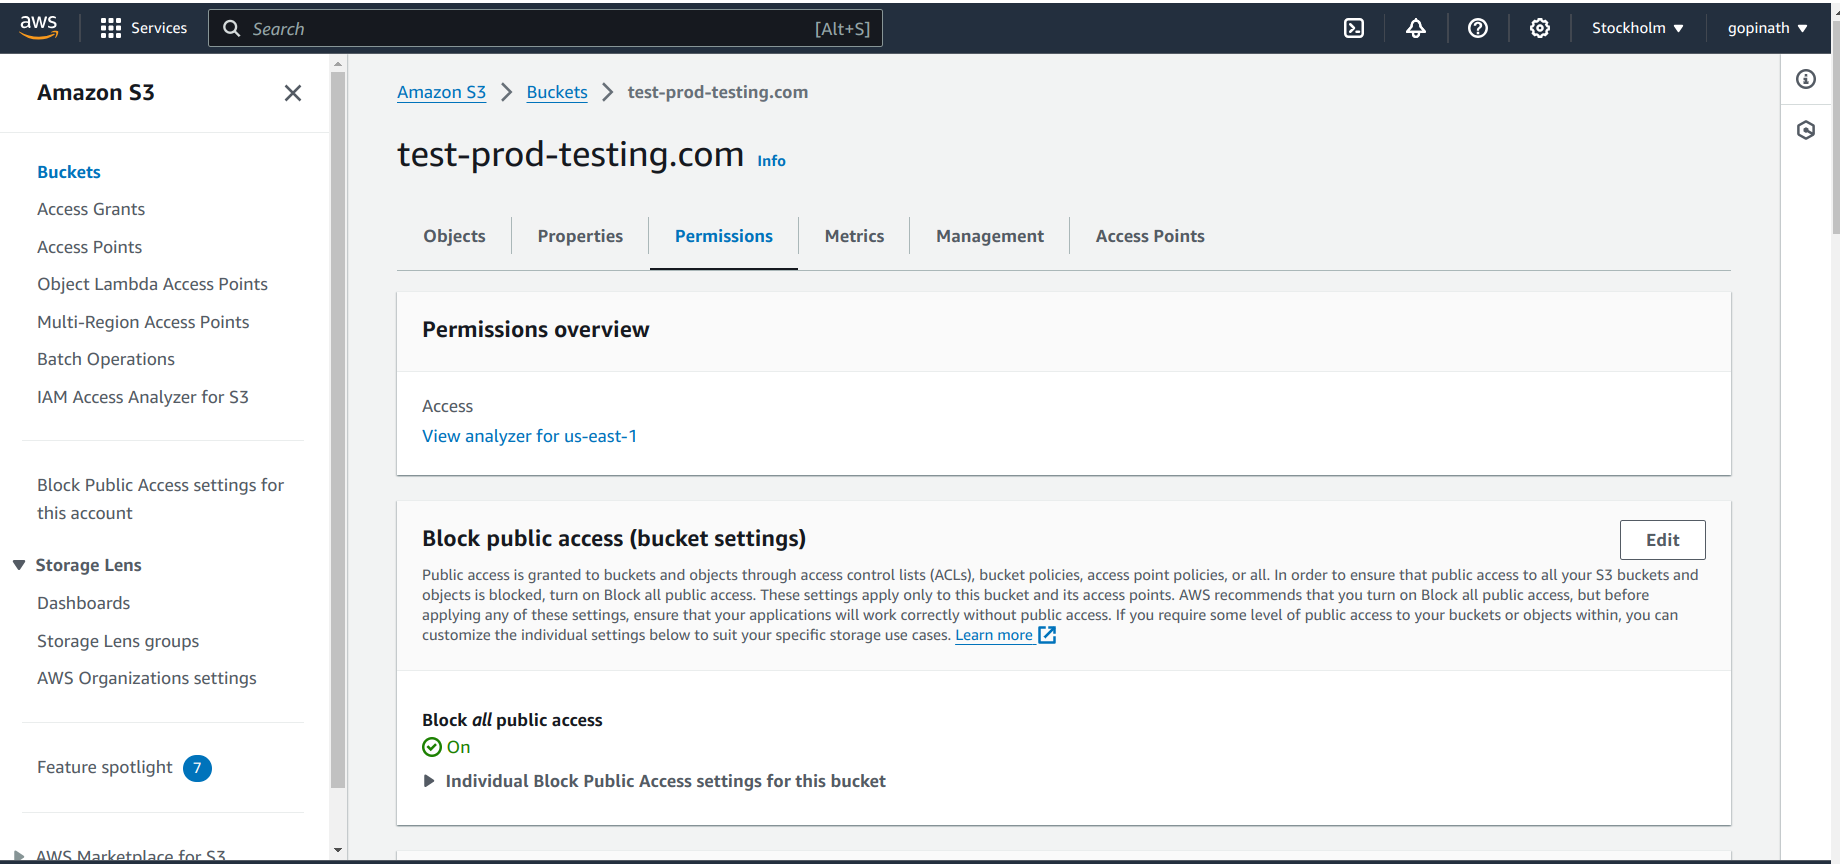
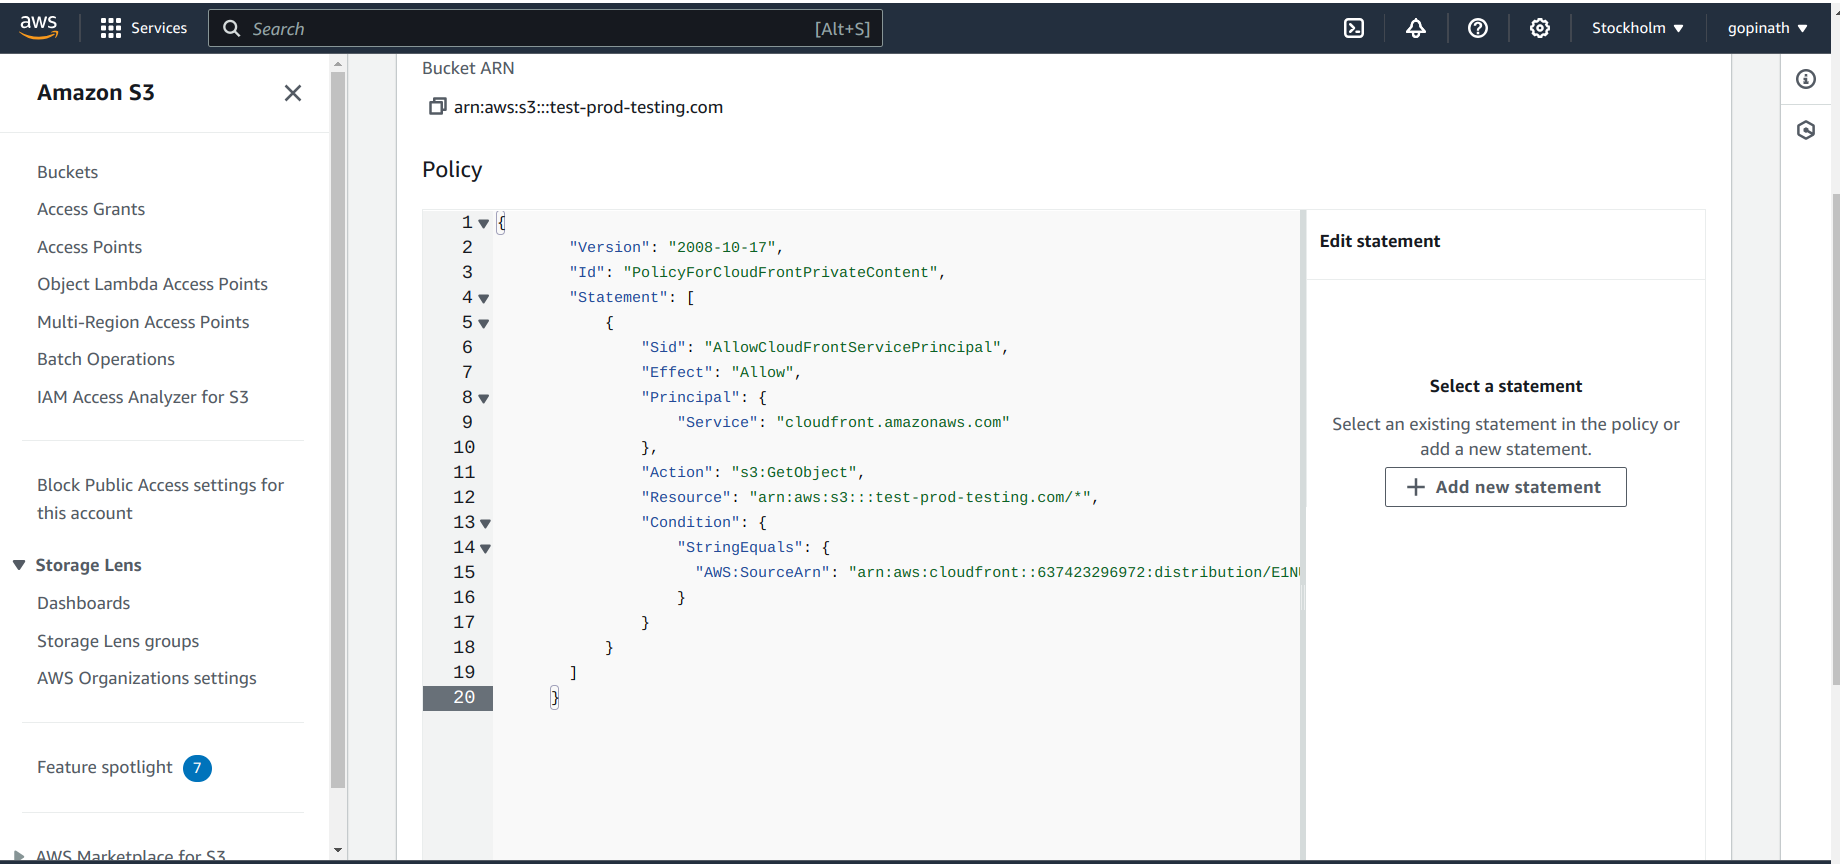
Scroll down and select edit policy in policy section and paste the copied policy & save it.
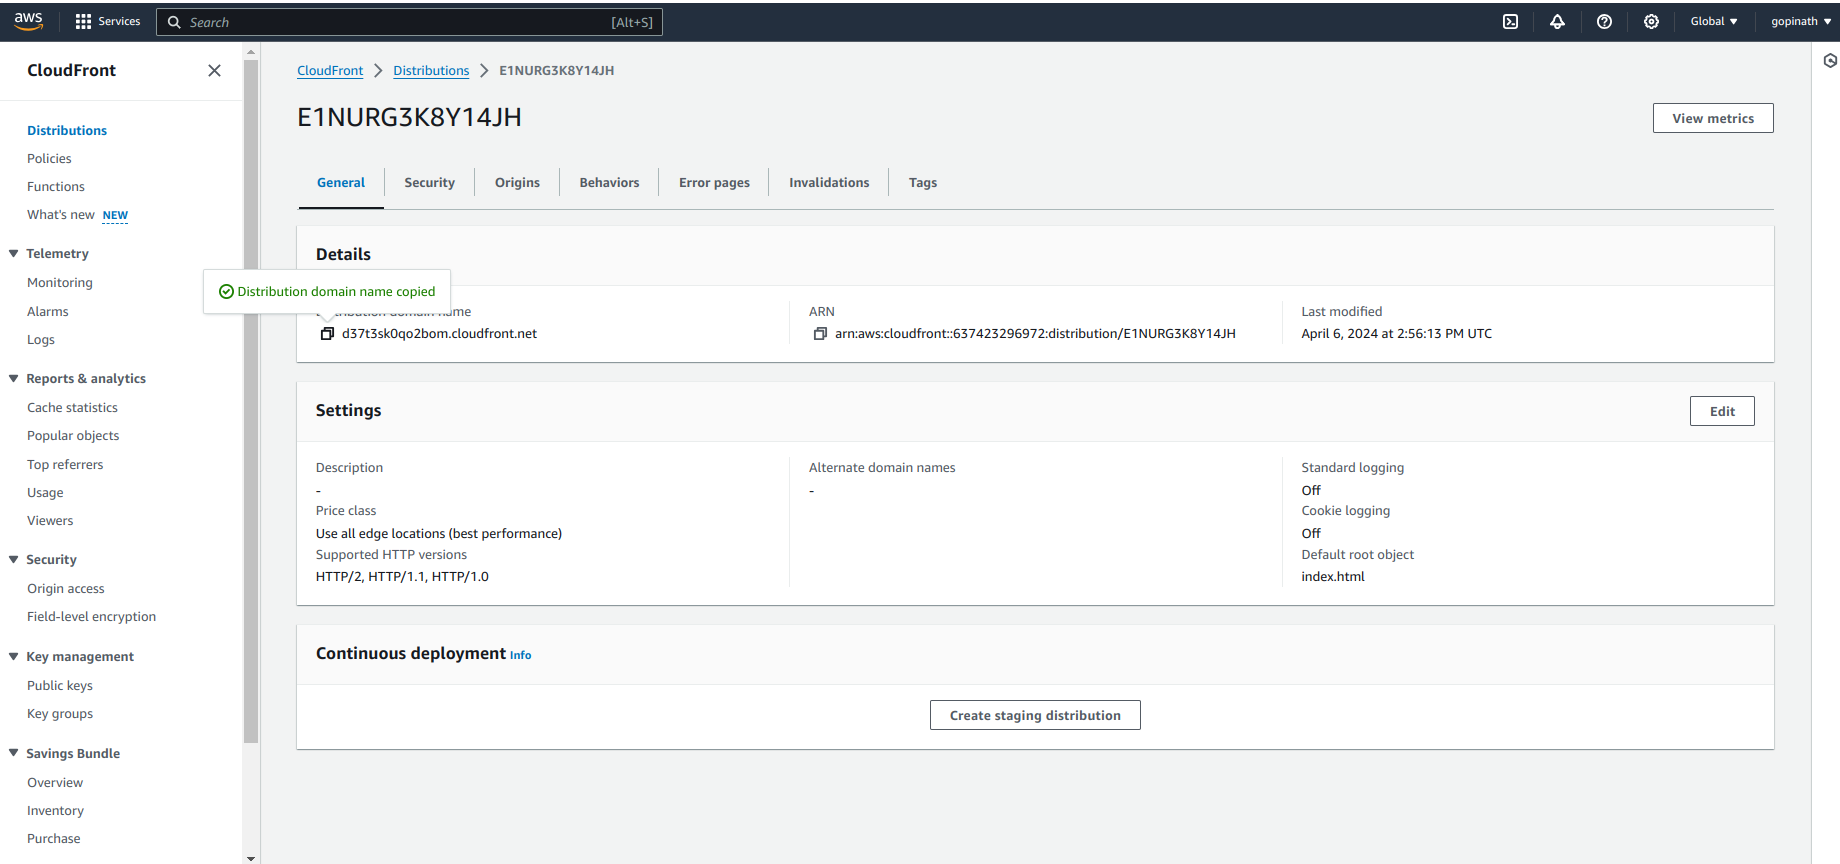
Now wait for few minutes for the cloudFront to deploy in all locations and copy the distribution domain name when deployed.
Open the distribution domain name in browser , You will be able to see the contents in static site.
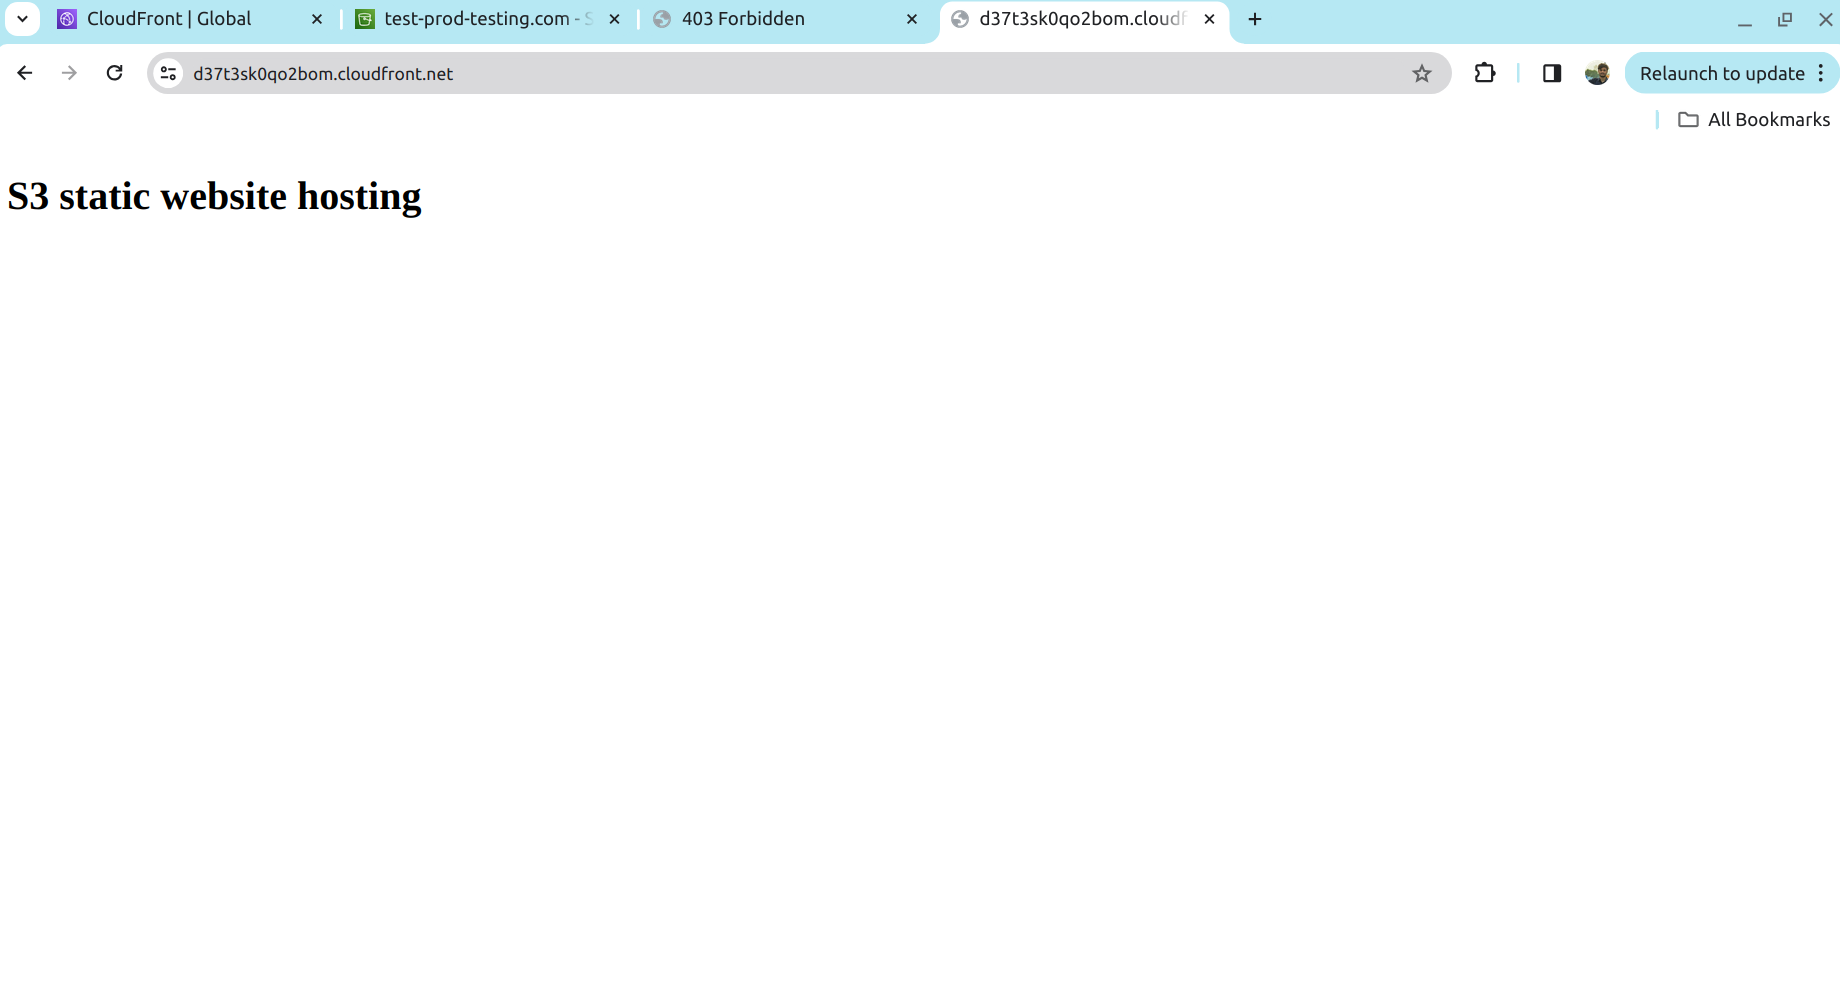
Finally, we have created a static site hosting using s3 bucket and integrated them with CDN (CloudFront).
Conclusion: In summary, CloudFront is a powerful tool for optimizing content delivery, reducing latency, and improving the performance and security of static websites hosted on S3 or other origin servers.
Subscribe to my newsletter
Read articles from Gopinath J directly inside your inbox. Subscribe to the newsletter, and don't miss out.
Written by
