Day 39 - Exploring AWS and IAM Essentials in the Cloud! ☁️🛡️
 Nilkanth Mistry
💡 Day 39 of the #90DaysOfDevOpsChallenge is here, focusing on AWS and IAM Basics! ☁️ Let's break it down step by step:
🚀 AWS:
Amazon Web Services (AWS) is a leading cloud provider, offering a free tier for students and enthusiasts to explore. With AWS, you can host applications, store data, and much more! 💻
🔧 User Data in AWS:
User Data allows you to automate configuration tasks and run scripts after launching an EC2 instance. Say goodbye to manual installations and hello to efficiency! 💼 Learn more about User Data here.
🛡️ IAM (Identity and Access Management):
IAM is your tool for securely controlling access to AWS resources. With IAM, you can manage permissions and access rights, ensuring your resources stay secure. 🔐 Dive deeper into IAM Roles and understand IAM Users, Groups, and Roles to enhance your AWS security. Learn more about IAM here.
Task 1️⃣:
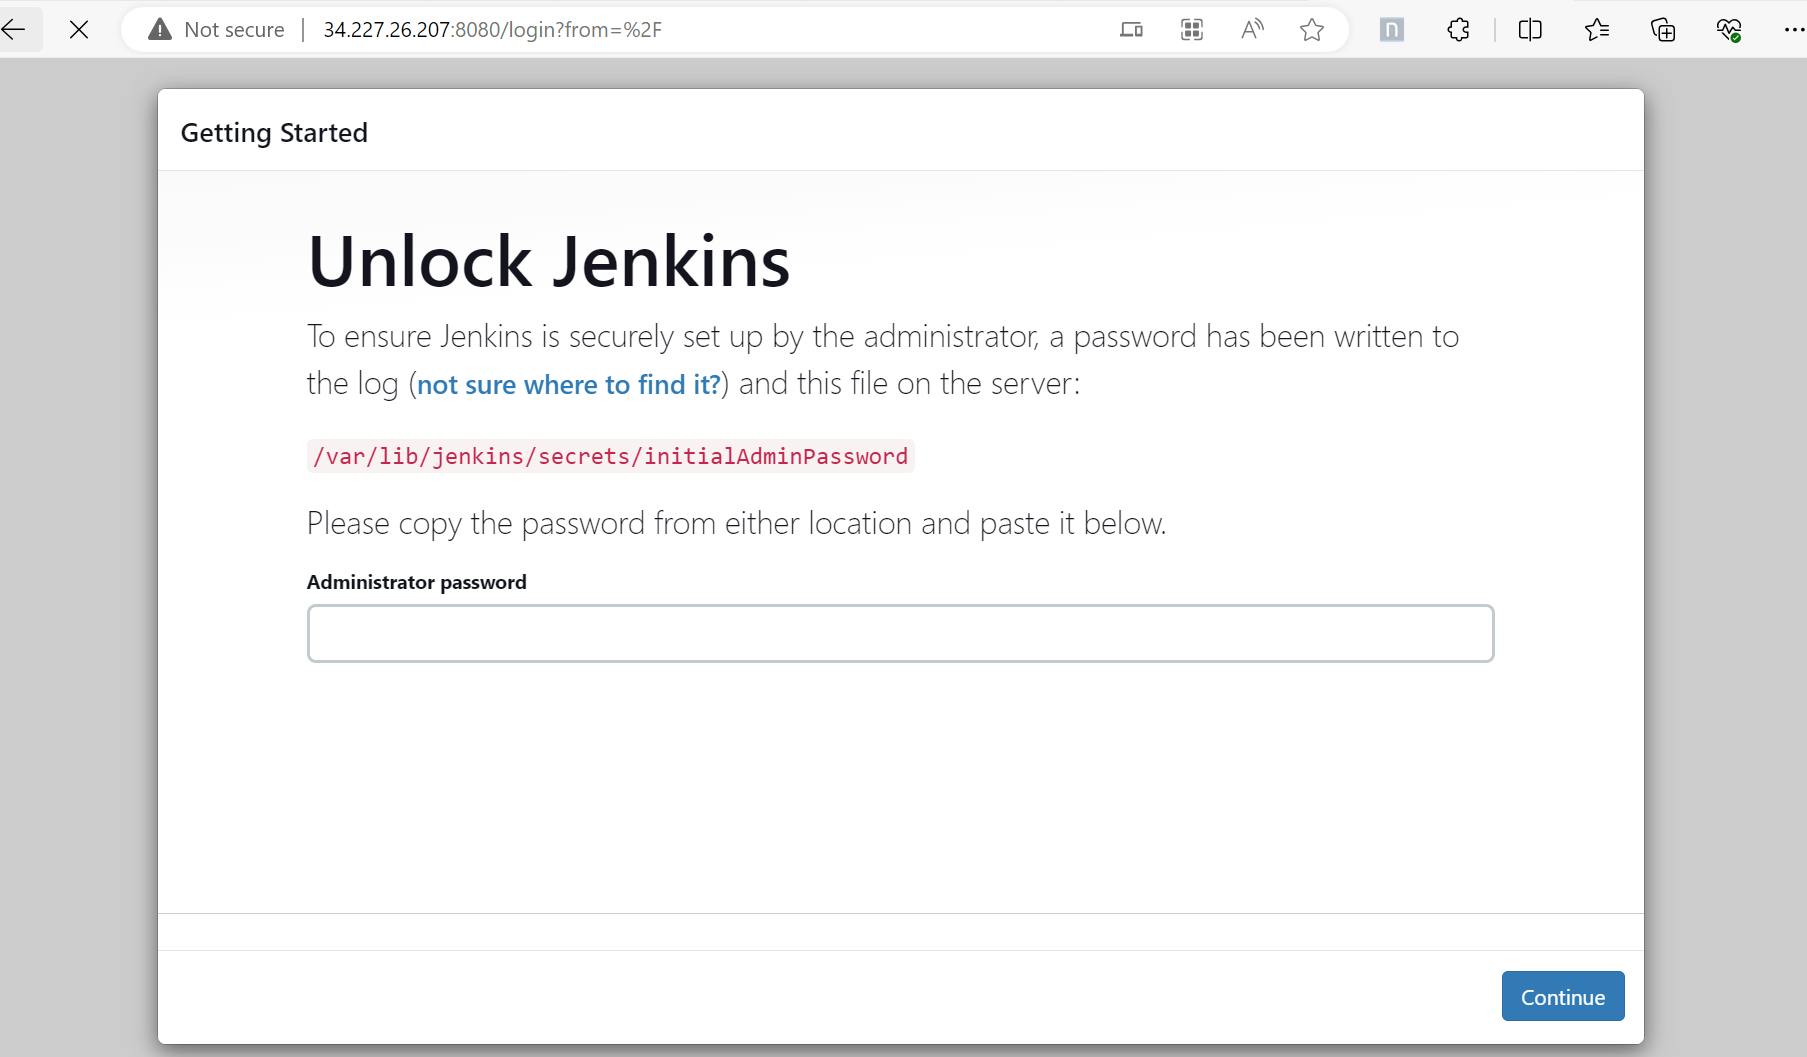
Launch an EC2 instance with pre-installed Jenkins. Access the Jenkins page via the IP address once the server is up. Take screenshots of User Data and the Jenkins page to verify task completion. 🖥️🔍
Steps:
1️⃣ Login to AWS Management Console and go to EC2 Dashboard.
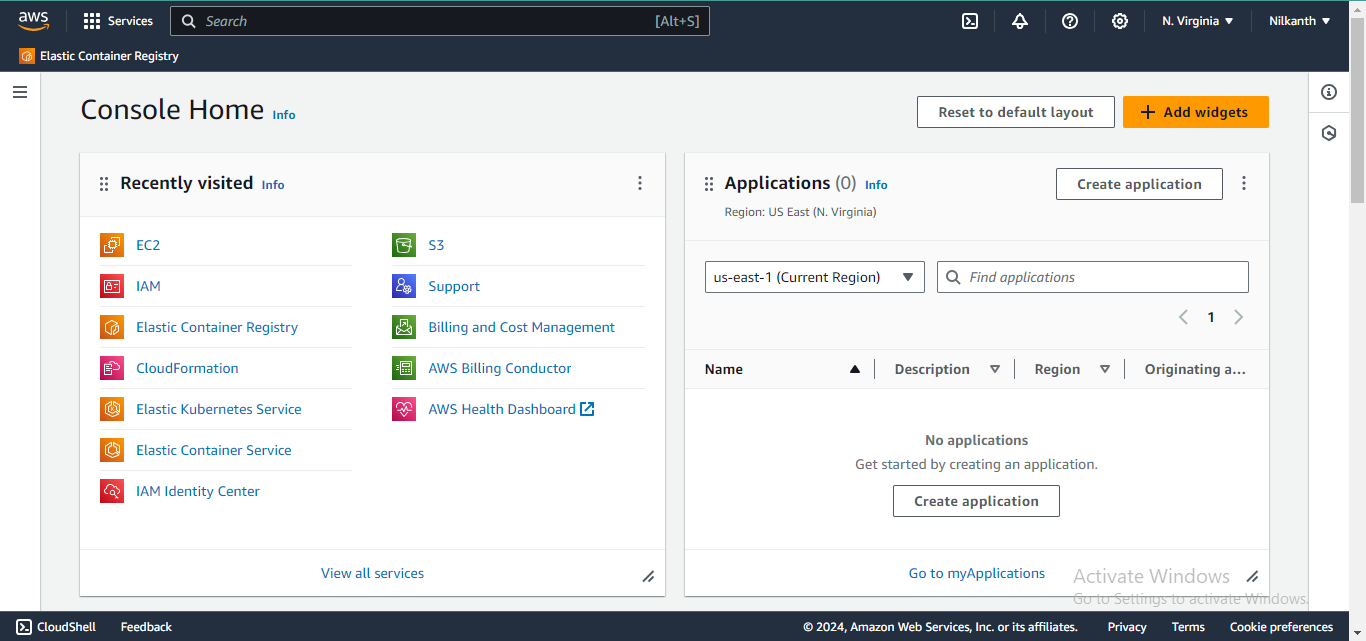
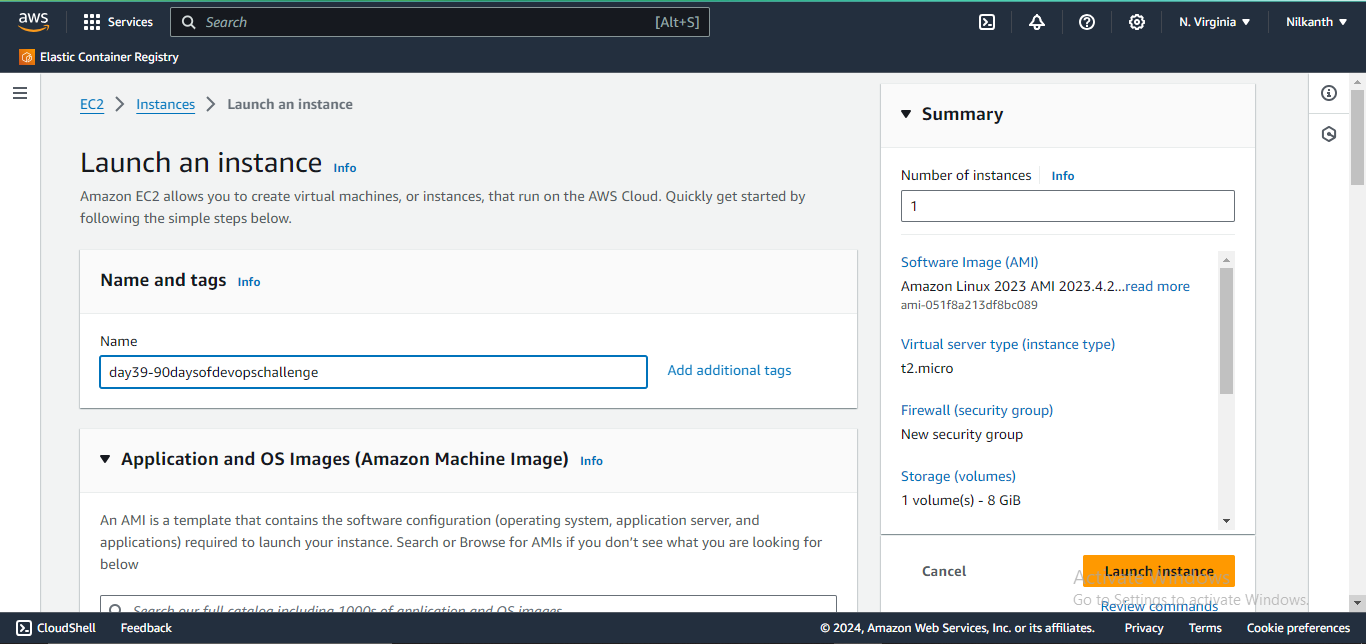
2️⃣ Click on Launch Instance. Provide the instance name.
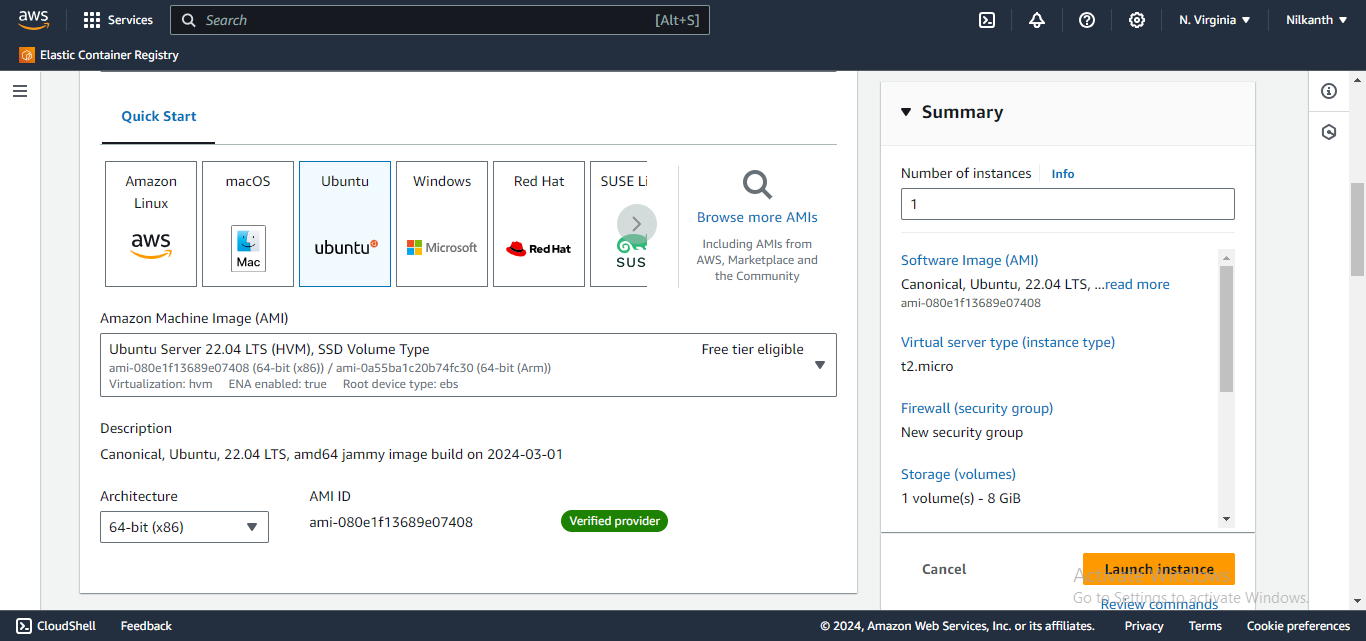
3️⃣ Select Ubuntu as the Amazon Machine Image.
4️⃣ Select Instance Type as t2.micro and key-pair value from the one stored in your local.
5️⃣ Configure the Network settings.
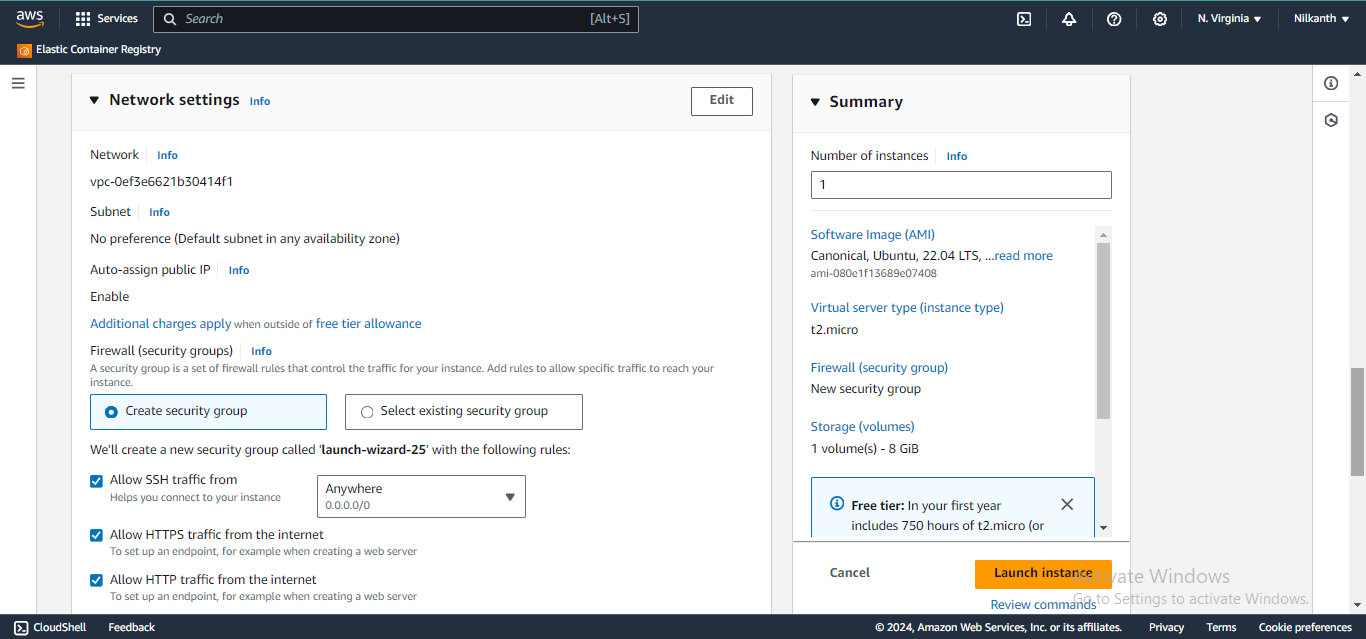
6️⃣ Expand Advance Details.
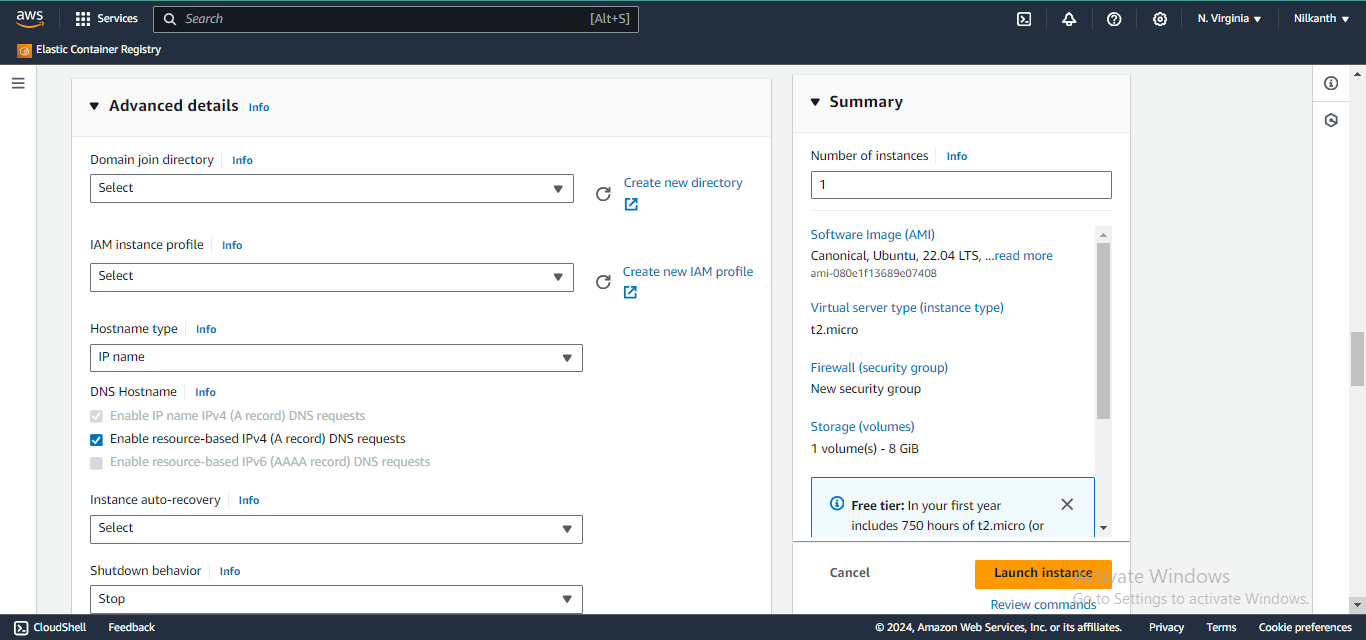
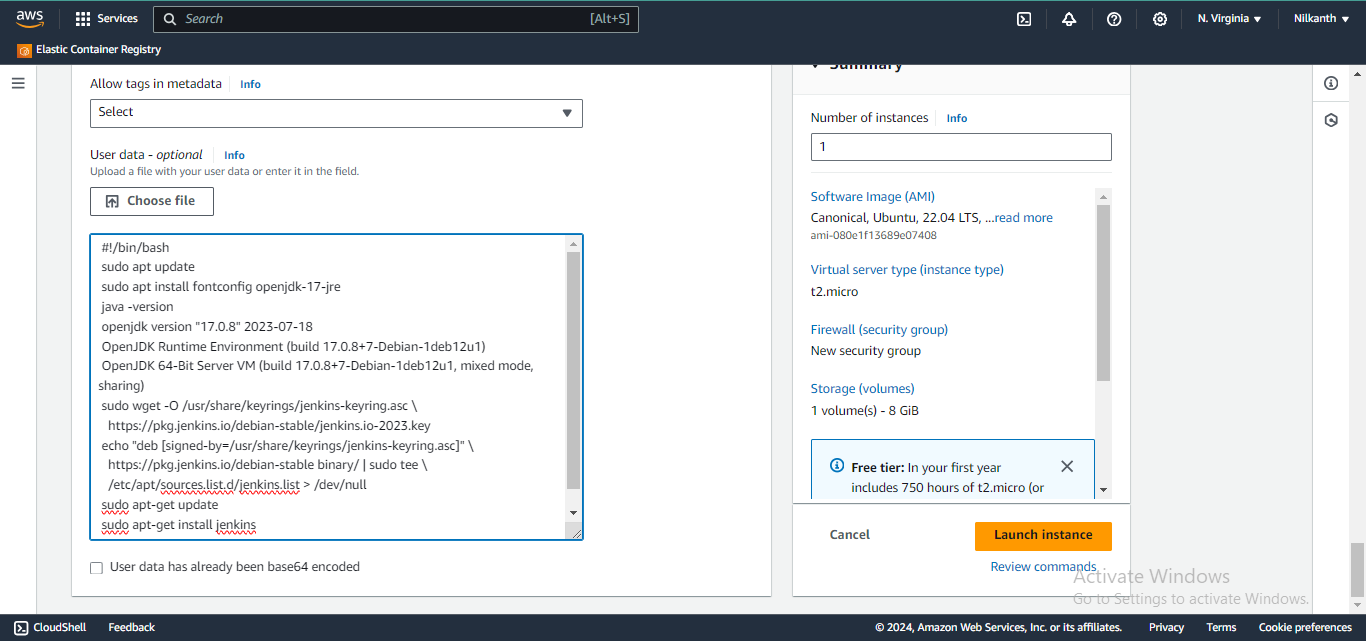
7️⃣ Scroll down to user data field and enter the below code to install Jenkins on the user data field and click on Launch Instance.
#!/bin/bash
sudo apt update
sudo apt install fontconfig openjdk-17-jre
java -version
openjdk version "17.0.8" 2023-07-18
OpenJDK Runtime Environment (build 17.0.8+7-Debian-1deb12u1)
OpenJDK 64-Bit Server VM (build 17.0.8+7-Debian-1deb12u1, mixed mode, sharing)
sudo wget -O /usr/share/keyrings/jenkins-keyring.asc \
  https://pkg.jenkins.io/debian-stable/jenkins.io-2023.key
echo "deb [signed-by=/usr/share/keyrings/jenkins-keyring.asc]" \
  https://pkg.jenkins.io/debian-stable binary/ | sudo tee \
  /etc/apt/sources.list.d/jenkins.list > /dev/null
sudo apt-get update
sudo apt-get install jenkins
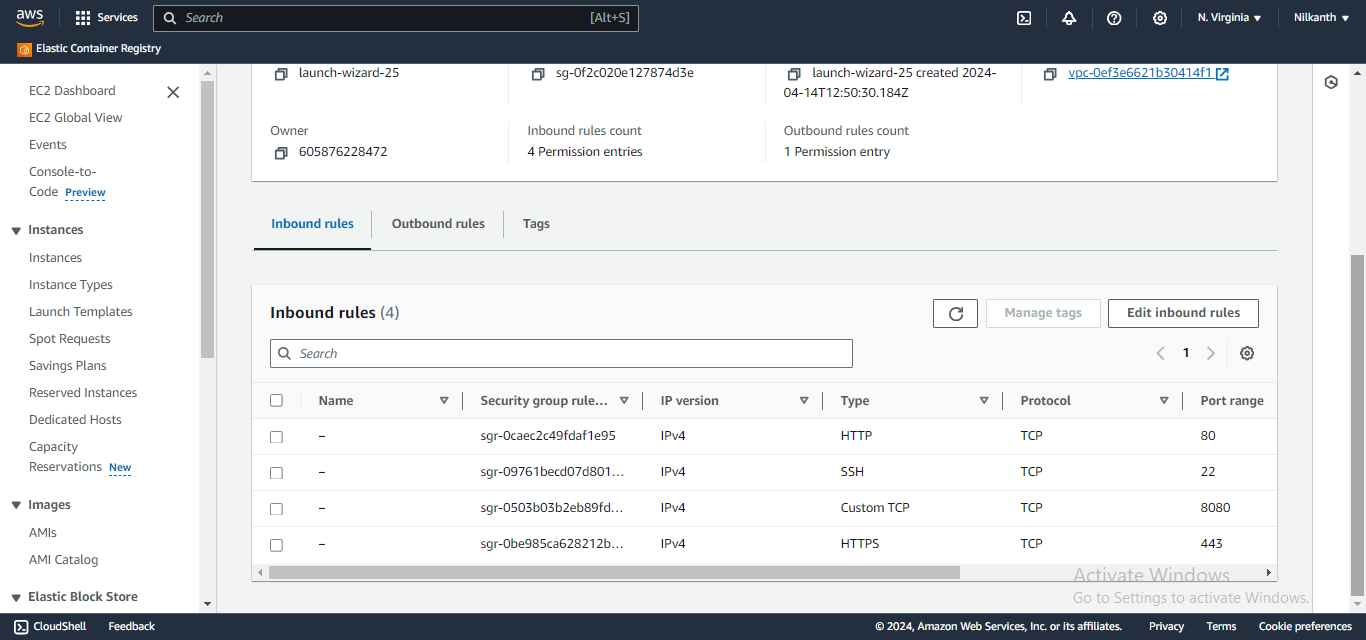
8️⃣ Go to Security Groups and edit the inbound rule to add port 8080 for allowing traffic for Jenkins.
9️⃣ Copy the public IPV4 address and add port 8080 to access the Jenkins URL.
🔟 Launch the Jenkins URL: http://3.86.149.151:8080/.
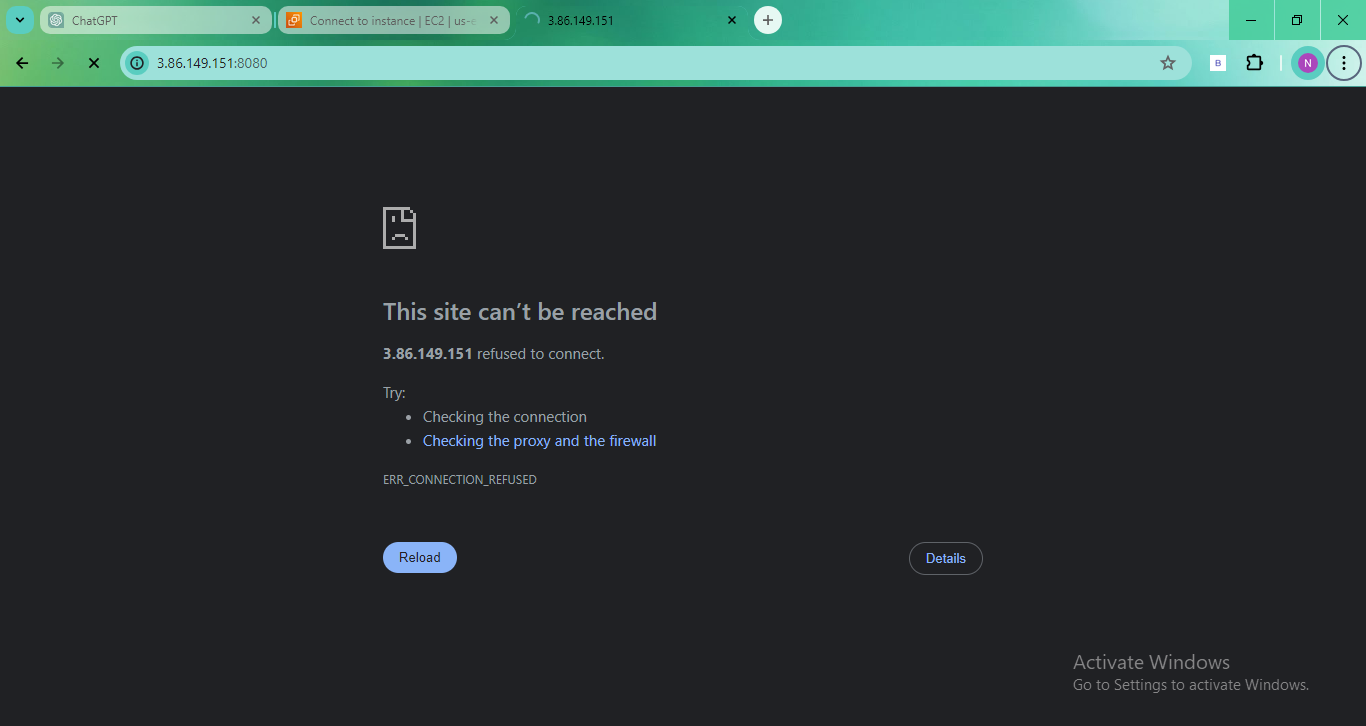
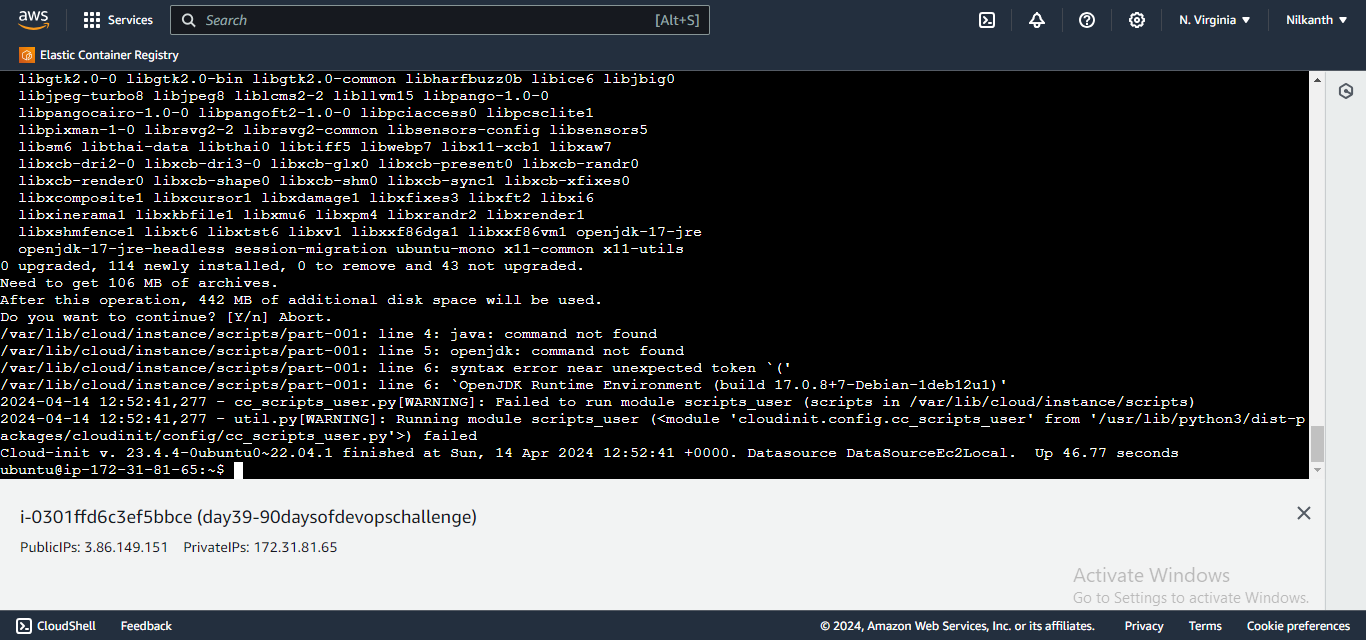
1️⃣1️⃣ If the page is not loaded, enter the command in your console to view the logs: sudo cat /var/log/cloud-init-output.log. Read the log and fix the issue. The issue was with '-y' missing from the command as it aborted the update.
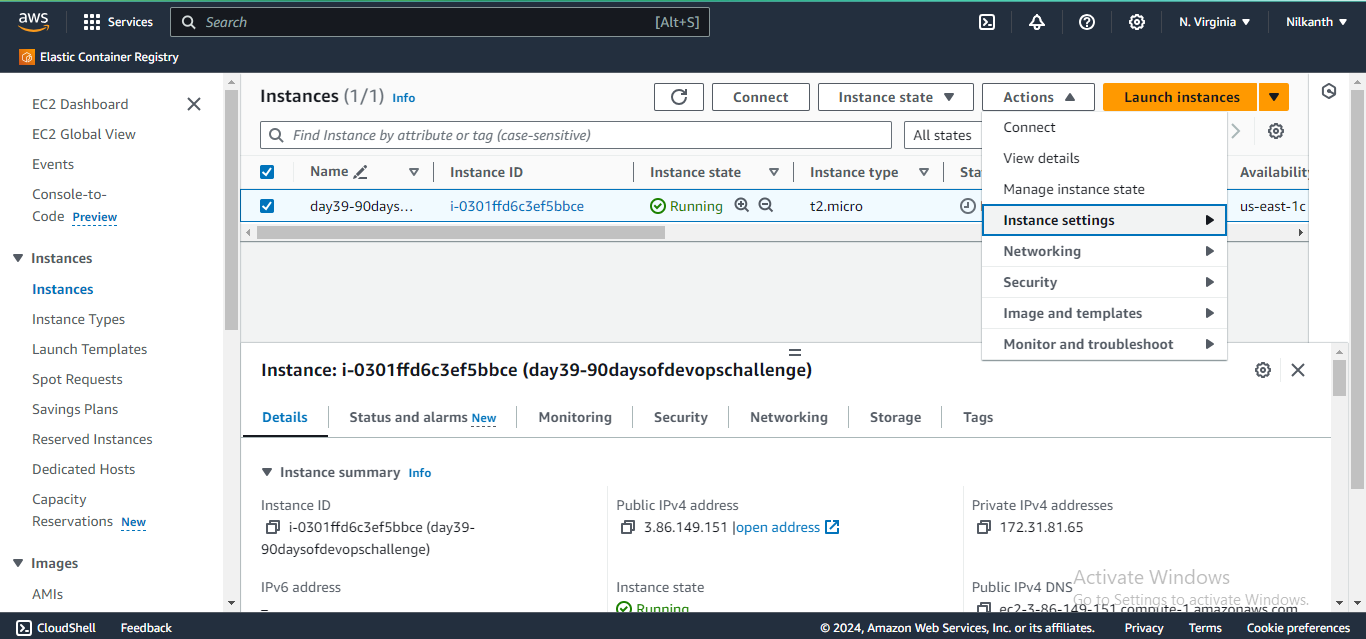
1️⃣2️⃣ Stop the running instance and edit the User Data by navigating to Actions -> Instance settings -> Edit user data.
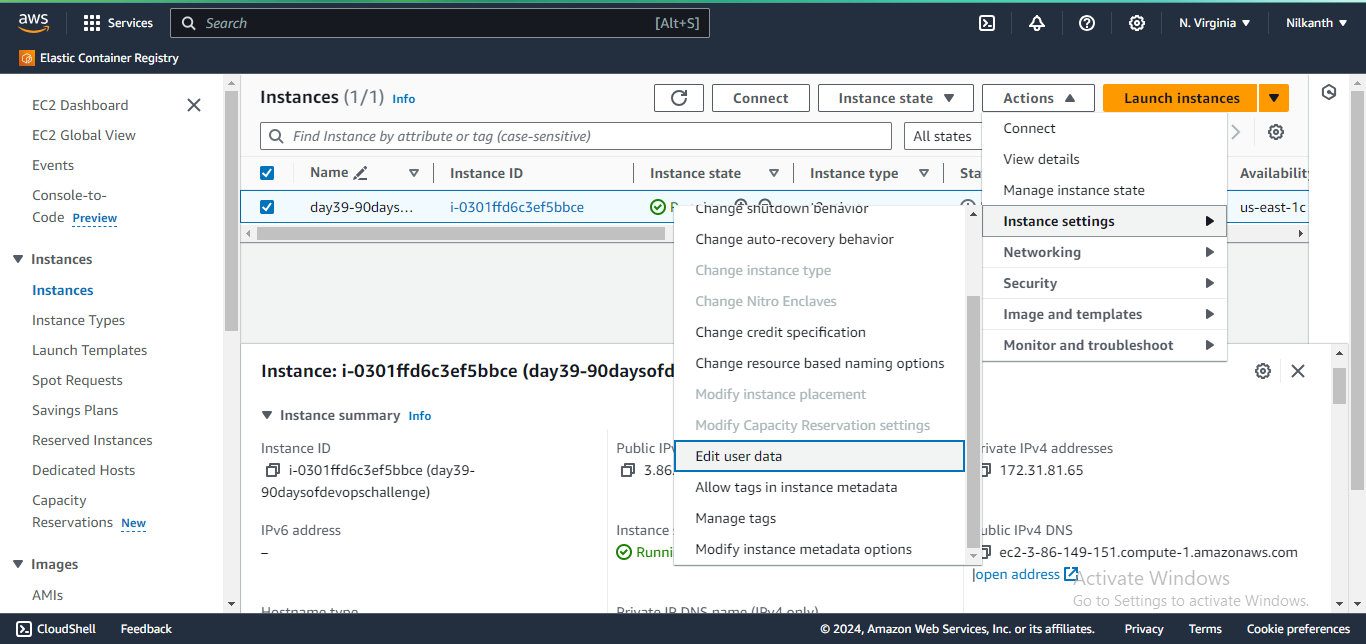
1️⃣3️⃣ Update the user data with the correct command and save the changes.
#!/bin/bash
sudo apt update -y
sudo apt install fontconfig openjdk-17-jre -y
java --version

sudo wget -O /usr/share/keyrings/jenkins-keyring.asc \
  https://pkg.jenkins.io/debian-stable/jenkins.io-2023.key
echo "deb [signed-by=/usr/share/keyrings/jenkins-keyring.asc]" \
  https://pkg.jenkins.io/debian-stable binary/ | sudo tee \
  /etc/apt/sources.list.d/jenkins.list > /dev/null
sudo apt-get update -y
sudo apt-get install jenkins -y
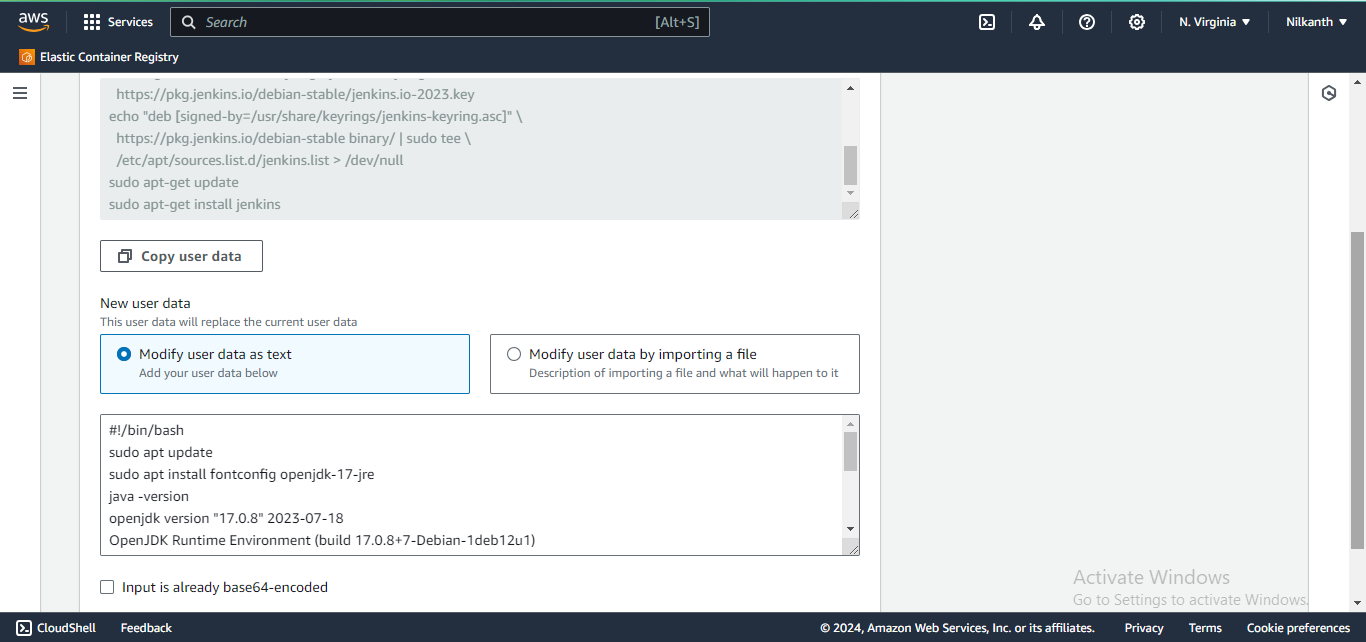
1️⃣4️⃣ Launch the instance again and open the Jenkins URL: http://34.227.26.207:8080/. User is able to launch Jenkins successfully.
Task 2️⃣:
Dive deeper into IAM Roles. Understand IAM Users, Groups, and Roles, then create three roles: DevOps-User, Test-User, and Admin. 🤓💼
Steps to create roles:
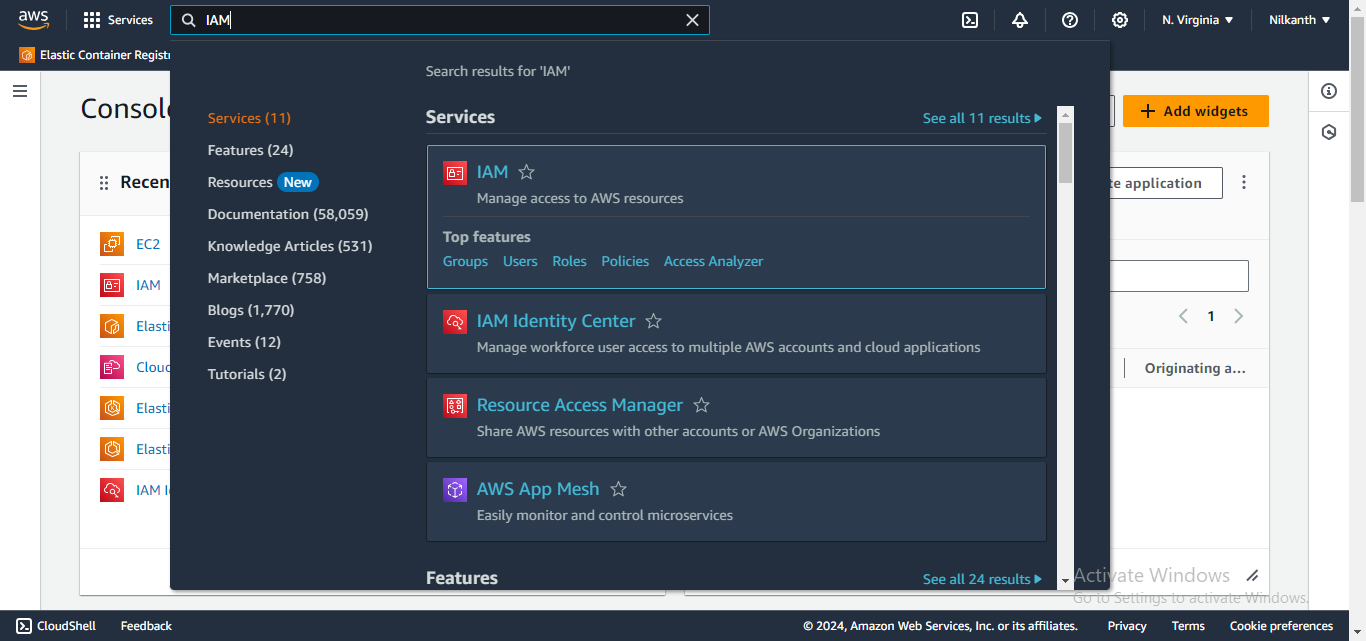
1️⃣ Login to AWS Console Management and search Roles from the top Search Bar.
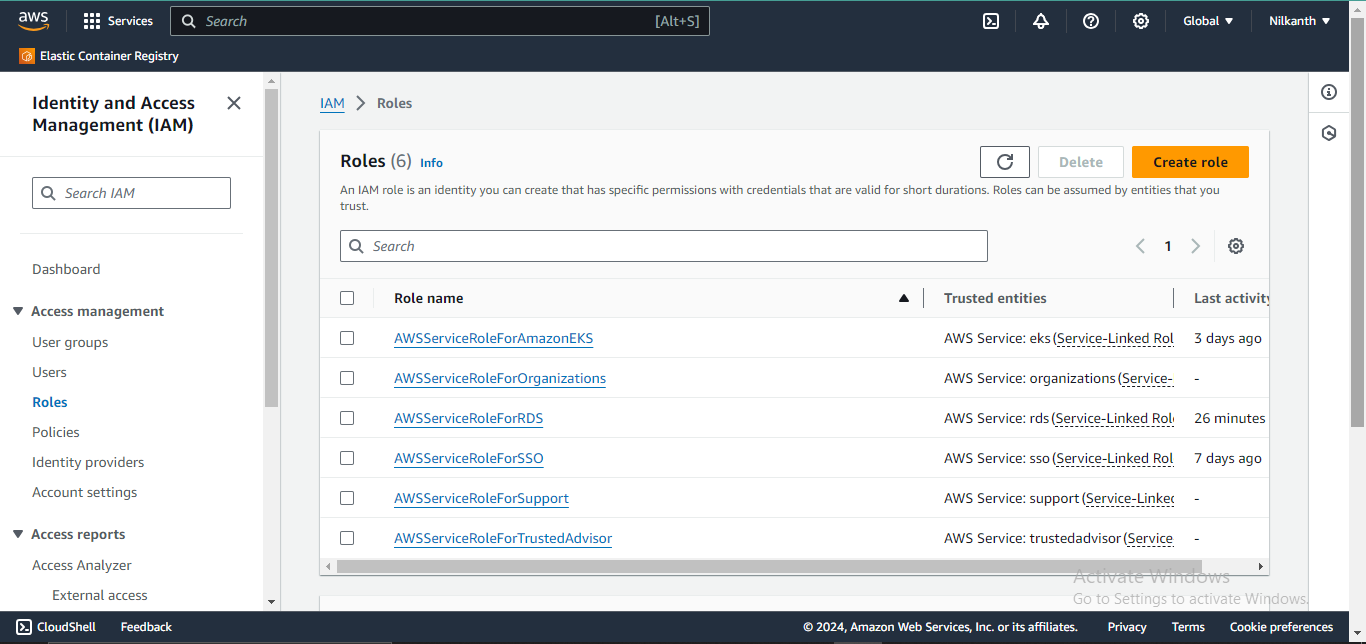
2️⃣ Click on Create Role Button present on the IAM Dashboard.
3️⃣ Choose the appropriate use case for the role. Select "AWS Service".
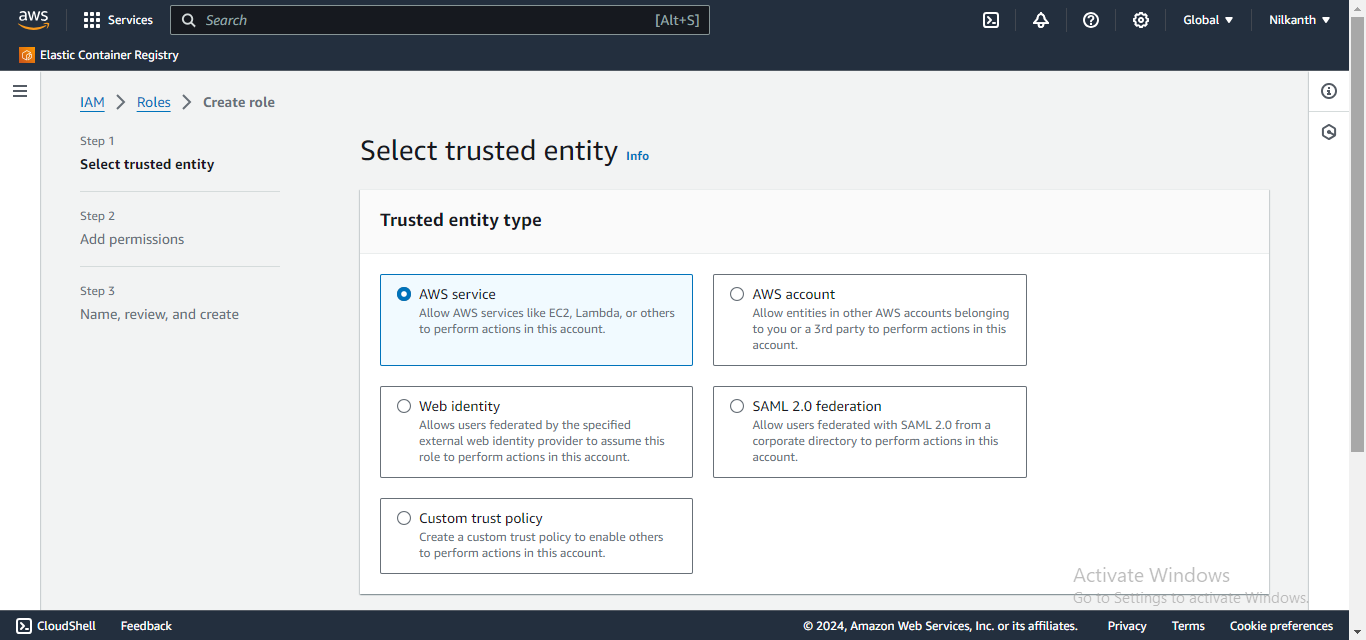
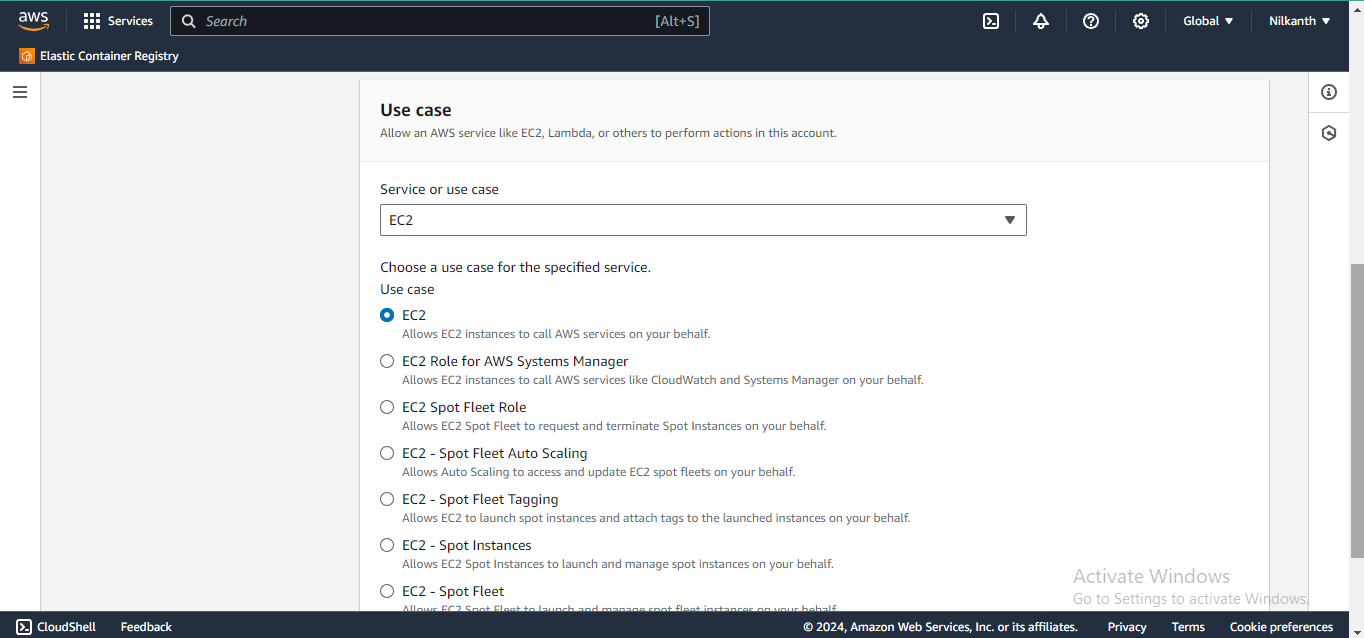
4️⃣ Select EC2 and click on Next.
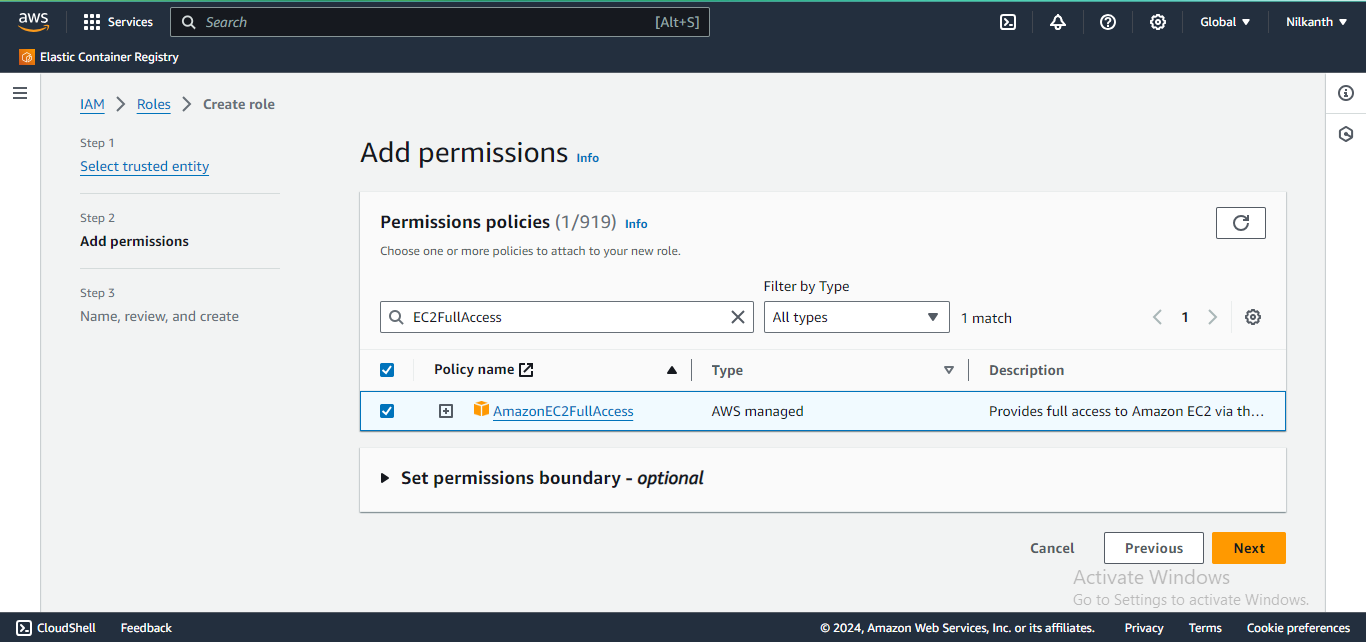
5️⃣ Select the Permission from the list of Permission Policies and click on Next.
6️⃣ Provide the Role name as "Devops-User".
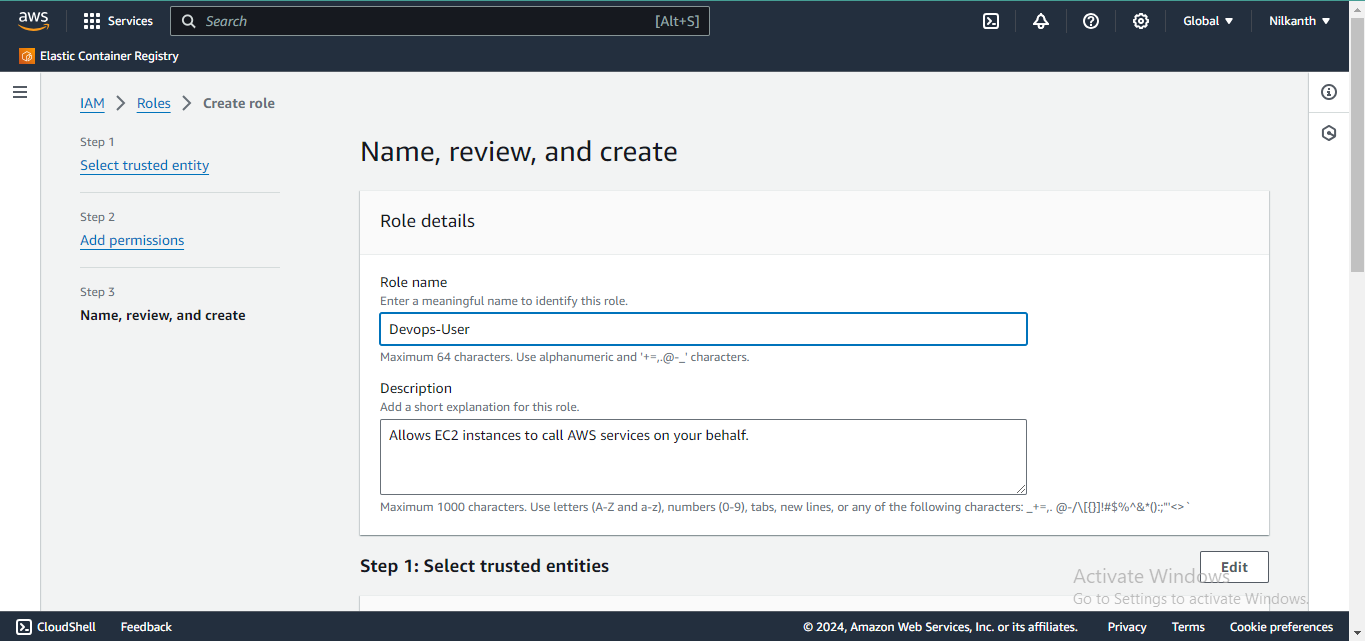
7️⃣ You can view the Permissions in Permission Policy Summary Section. Now, click on Create Role.
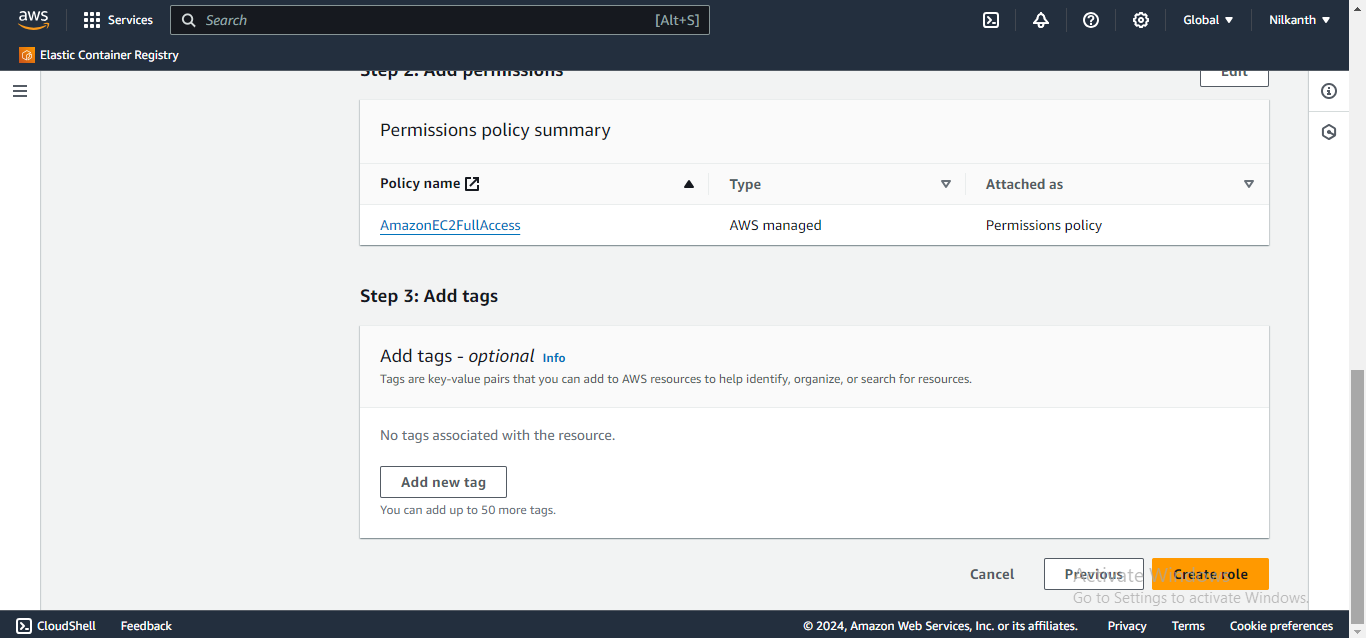
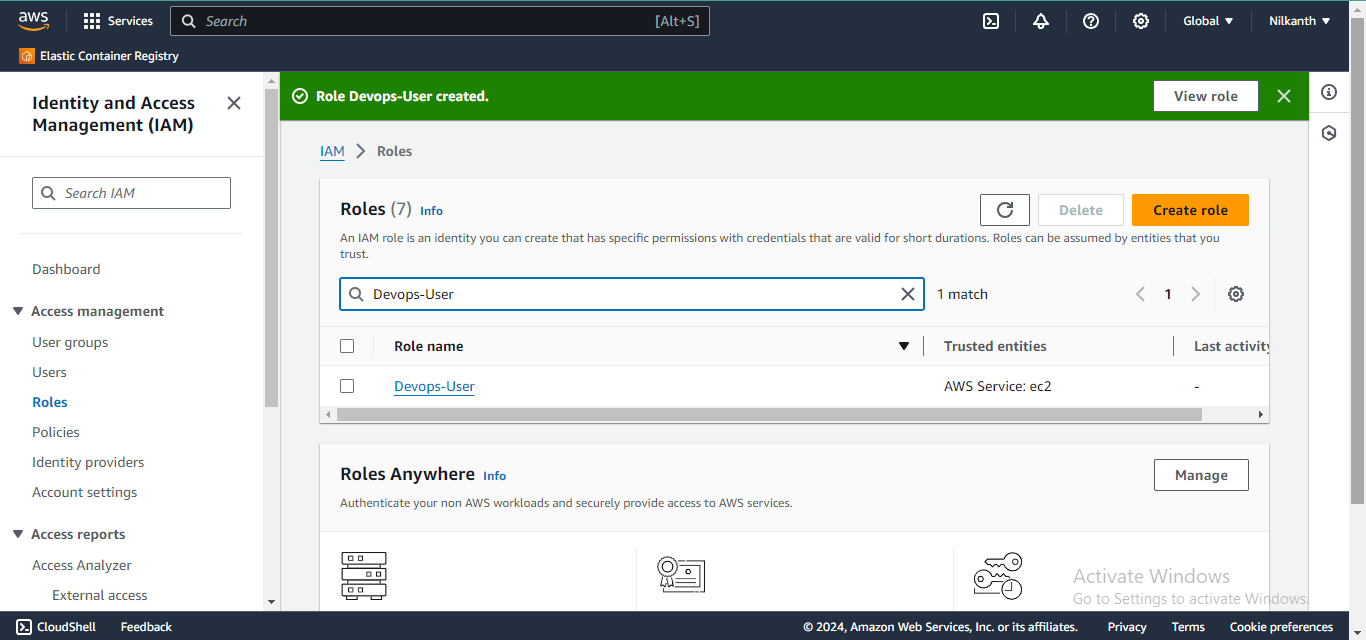
8️⃣ Devops-User role is created successfully. It can be seen in the Roles dashboard.
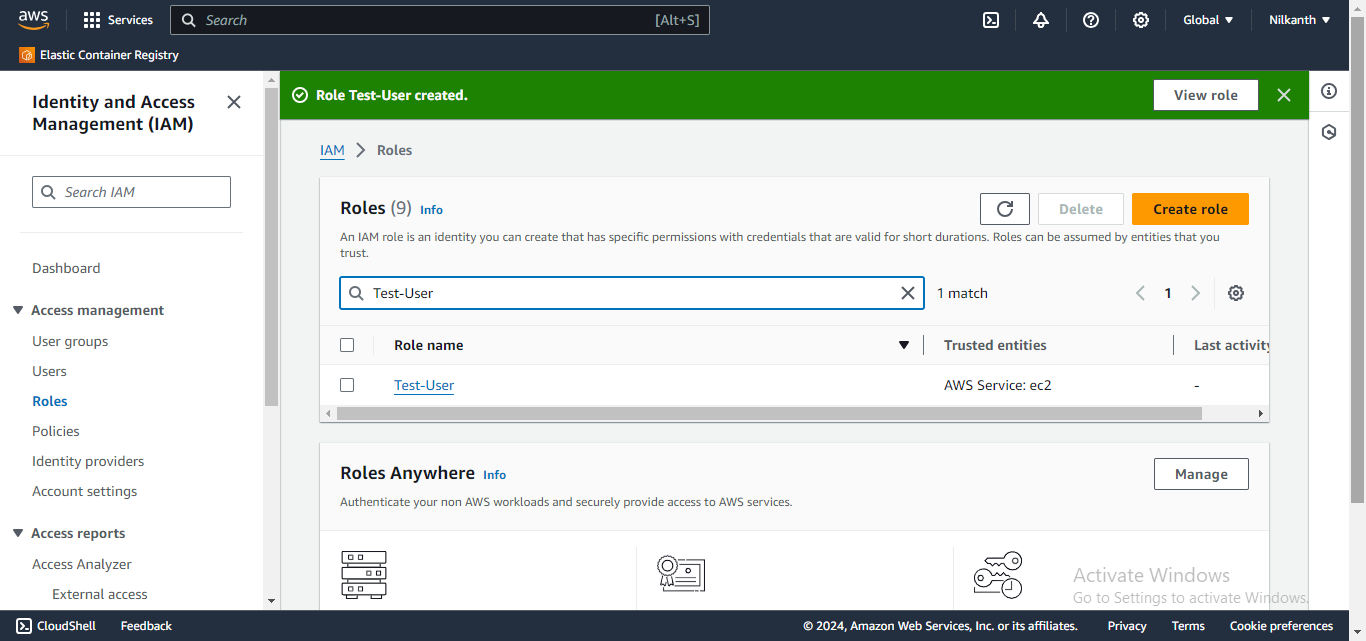
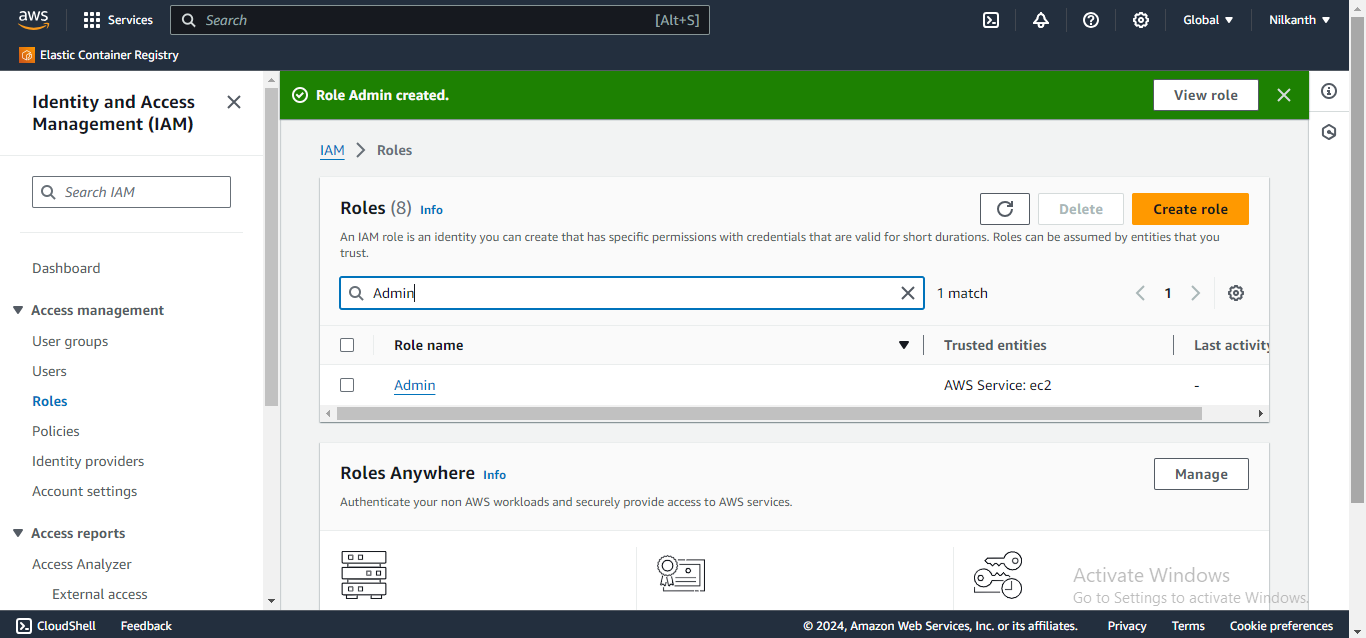
9️⃣ Similarly, we can create the other roles "Test-User" and "Admin" and assign appropriate permissions to each role based on their respective responsibilities.
Happy Learning! 🌟 #DevOps #AWS #IAM #LearningJourney 🛠️🔑
Subscribe to my newsletter
Read articles from Nilkanth Mistry directly inside your inbox. Subscribe to the newsletter, and don't miss out.
Written by

Nilkanth Mistry
Nilkanth Mistry
Embark on a 90-day DevOps journey with me as we tackle challenges, unravel complexities, and conquer the world of seamless software delivery. Join my Hashnode blog series where we'll explore hands-on DevOps scenarios, troubleshooting real-world issues, and mastering the art of efficient deployment. Let's embrace the challenges and elevate our DevOps expertise together! #DevOpsChallenges #HandsOnLearning #ContinuousImprovement