Day-2 Terraform provisioner
 Nehal Ingole
In Day-2 of Learning terraform from zero to expert we are going to see how the provisioner work and some practical implementation in it.
Let's break down the Terraform configuration provided and explain each part step by step
Github :- https://github.com/Ingole712521/terraform-aws-learning.git
Setting up the AWS Provider
provider "aws" {
  region = "ap-south-1" # Update with your desired AWS region
}
Here, we specify the AWS region where we want to deploy our resources. In this example, we've chosen the "ap-south-1" region, but you can replace it with your preferred region.
Defining the EC2 Instance Resource
resource "aws_instance" "clear" {
  ami           = "ami-09298640a92b2d12c" # Update with your desired AMI ID
  instance_type = "t2.micro"
  key_name      = "Project_Mario_game"

  vpc_security_group_ids = [aws_security_group.allow_all.id]
  subnet_id              = aws_subnet.default.id

  tags = {
    Name = "example-instance"
  }
}
Here, we define an EC2 instance resource named "clear." We specify the AMI ID, instance type, and key pair name. Additionally, we reference the security group and subnet to associate with the instance.
Configuring Provisioners
provisioner "file" {
  source      = "./script.sh"
  destination = "/tmp/script.sh"
}

provisioner "remote-exec" {
  inline = [
    "chmod +x /tmp/script.sh",
    "/tmp/script.sh"
  ]
}
We use provisioners to configure the instance after it's launched. The first provisioner copies a local script (script.sh) to the instance. The second provisioner executes the script inside the instance.
Defining Security Group Rules
resource "aws_security_group" "allow_all" {
  name        = "allow-all"
  description = "Allow all traffic"

  vpc_id = aws_default_vpc.default.id

  ingress {
    from_port   = 0
    to_port     = 65535
    protocol    = "tcp"
    cidr_blocks = ["0.0.0.0/0"]
  }

  egress {
    from_port   = 0
    to_port     = 0
    protocol    = "-1"
    cidr_blocks = ["0.0.0.0/0"]
  }
}
This code defines a security group named "allow-all" that allows all inbound and outbound traffic. We set the ingress rules to allow TCP traffic on all ports and the egress rules to allow all outbound traffic.
Creating a Default VPC and Subnet
resource "aws_default_vpc" "default" {}

resource "aws_subnet" "default" {
  vpc_id = aws_default_vpc.default.id
}
These resources create a default VPC and subnet. We associate the default VPC with the security group and instance.
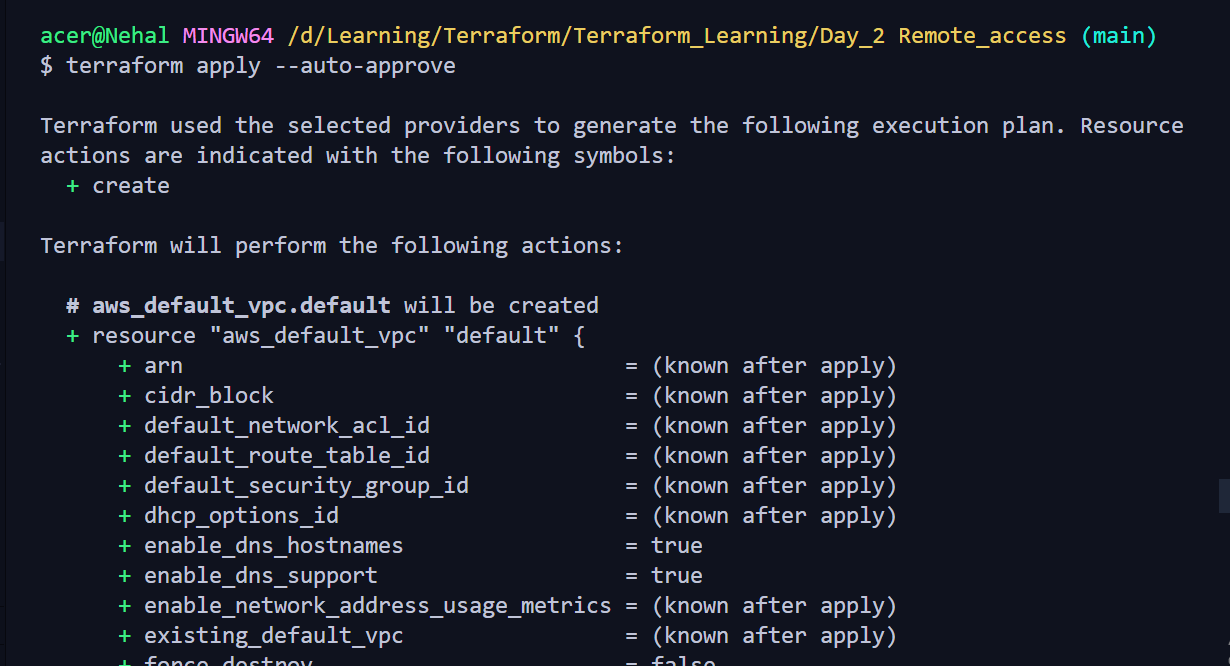
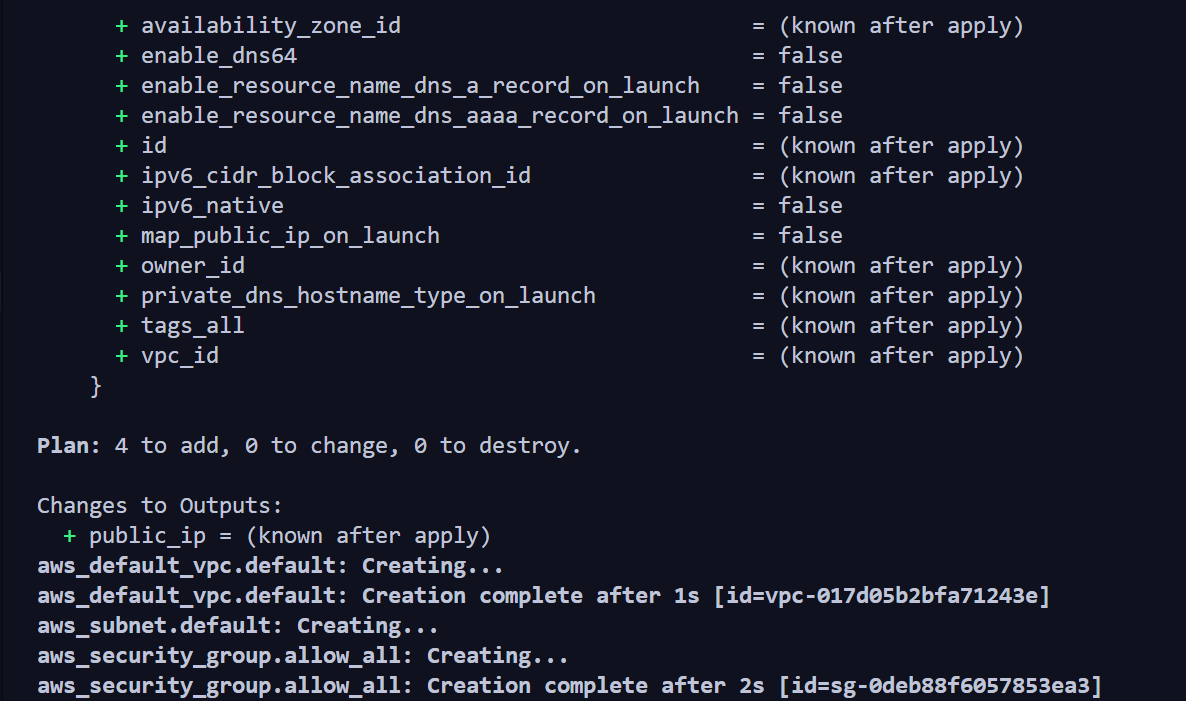
Running the terraform file


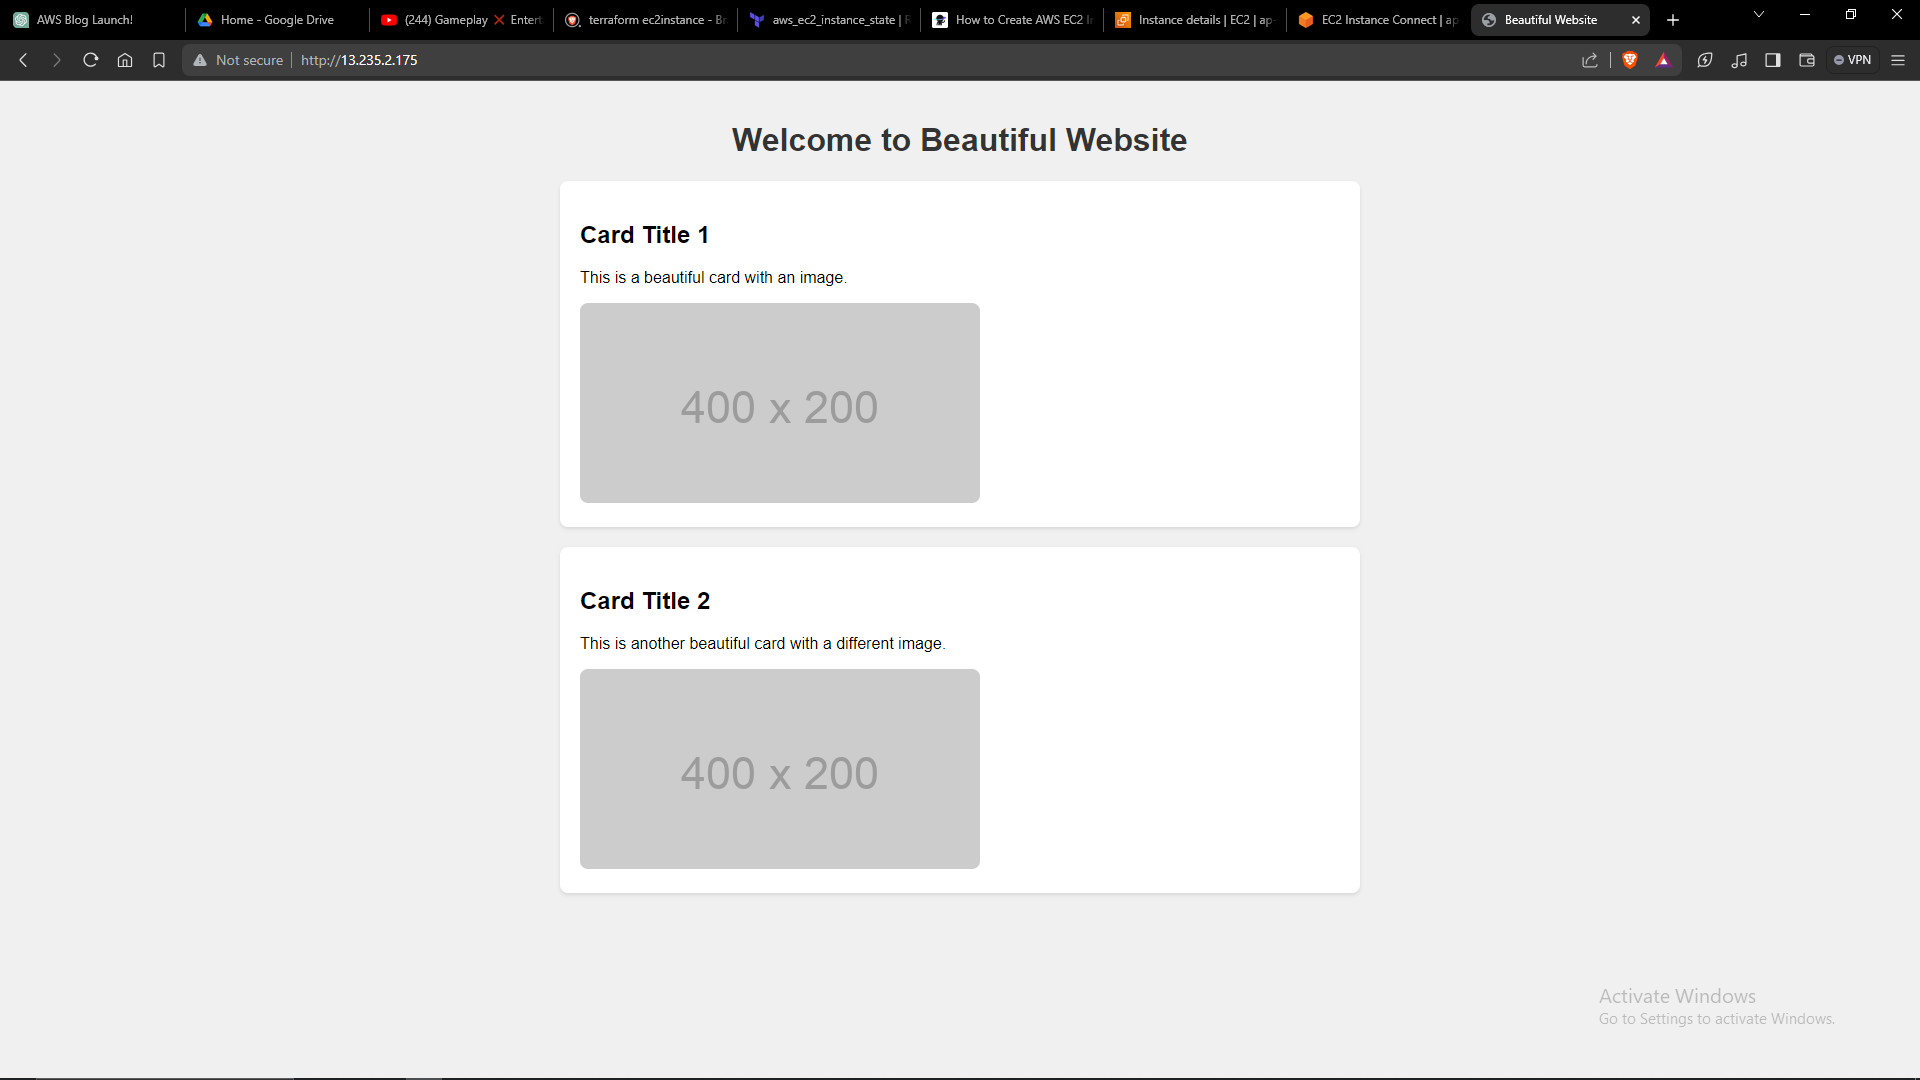
Final_result


By following these steps and executing the Terraform configuration, you'll be able to provision an EC2 instance on AWS with the specified settings and configurations. This approach enables you to automate the deployment of infrastructure and streamline your development workflow.
Connect with us:
Hashnode: https://hashnode.com/@Nehal71
Twitter : https://twitter.com/IngoleNehal
Subscribe to my newsletter
Read articles from Nehal Ingole directly inside your inbox. Subscribe to the newsletter, and don't miss out.
Written by

Nehal Ingole
Nehal Ingole
🚀 Greetings World! 🌐 Meet a dynamic Frontend Developer, UI/UX Designer, and avid explorer of Cloud & DevOps realms! Uncover the journey of a professional deeply passionate about crafting seamless user experiences, designing visually stunning interfaces, and navigating the cloud with a DevOps mindset. 🔧 Skills Snapshot: Frontend Mastery: HTML, CSS, and JavaScript expert, specializing in React, Angular, and Vue.js. Design Wizardry: Proficient in wireframing, prototyping, and Adobe Creative Suite and Figma for captivating designs. Cloud Maestro: Fluent in AWS, Azure, and Google Cloud Platform, adept at architecting scalable solutions. DevOps Guru: Skilled in Docker, Kubernetes, Jenkins, and Git, contributing to efficient development workflows. 🔗 Let's Connect: Open to collaborating on exciting projects and sharing industry insights, I invite connections for networking or discussions. Reach out for potential collaborations. 📧 Contact Me: GitHub: GitHub Profile Email: nehalingole2001@gmail.com Mobile: 7397966719 Figma: Figma Profile Twitter: Twitter Profile HashNode: HashNode Profile LinkedIn : LinkedIn Profile