Dockerize a Python Django App
 anj
anj
If you're ready to dive into web development using Python, you're in the right place! In this guide, I'll walk you through setting up your development environment and Dockerizing your Django application. But first, let's ensure you have everything you need.
Requirements
Python 3
Git / GitHub
Visual Studio Code (or any text editor of your choice)
pip
Docker
Docker Desktop (or Docker Engine)
To check which version of python do you have installed, just run:
python --version
Once you've got everything above, we can get started on building something awesome!
Step #1: Create a GitHub Repository with a README file and clone this in your local machine using SSH connections
Here are the step-by-step instructions to achieve this:
Create a GitHub Repository:
Go to GitHub.
Log in to your account.
Click on the "+" sign in the top-right corner and select "New repository."
Enter a name for your repository, optionally add a description, choose whether it should be public or private, and click "Create repository."
Add a README file:
Set up SSH Key:
- If you haven't already set up an SSH key, you need to generate one. Open a terminal window on your local machine.
Generate SSH Key:
Run the following command to generate a new SSH key. Replace
<your_email@example.com>with your email address connected to your GitHub account.ssh-keygen -t rsa -b 4096 -C "your_email@example.com"Press Enter to accept the default file location and optionally enter a passphrase (recommended).
Add SSH Key to SSH Agent:
Start the SSH agent by running the command:
eval "$(ssh-agent -s)"Add your SSH private key to the SSH agent:
ssh-add ~/.ssh/id_rsa
Add SSH Key to GitHub:
Copy the SSH key to your clipboard:
cat ~/.ssh/id_rsa.pubGo to your GitHub account settings.
Click on "SSH and GPG keys" in the left sidebar.
Click on "New SSH key" and paste your SSH key into the "Key" field.
Give your key a descriptive title and click "Add SSH key."
Clone Repository:
Go to your repository on GitHub.
Click on the green "Code" button and make sure "SSH" is selected.
Copy the SSH URL provided.
Open a terminal window and navigate to the directory where you want to clone the repository.
Run the following command, replacing
<repository_url>with the SSH URL you copied:git clone <repository_url>This will clone the repository to your local machine.
Now you have successfully created a GitHub repository, added a README file, set up SSH keys, and cloned the repository to your local machine using SSH.
Step #2: Set Up Your Development Environment
When beginning a new web development project, it's smart to organize your workspace first. Let's begin by navigating into the repository we created and cloned above:
Type the following commands:
$ cd <repository_name>
Once you're in the main directory, it's wise to establish a virtual environment to handle dependencies. The one I will use in this project is a Python virtual environment or venv. It includes installing Python itself, managing dependencies with tools like pip, setting up virtual environments to keep projects separate, using a code editor for writing code, and integrating version control for managing project history
Type the following command:
$ python3 -m venv <name>
This command generates a folder named "venv" within your current directory. Inside this folder, you'll find several files, including a copy of the Python standard library. Later, any new dependencies you install will also be stored here. After that, activate the virtual environment by executing this command:
$ source <name>/bin/activate
You'll know the virtual environment is active when your console prompt in the terminal changes. It should resemble this:
(venv) (base) <username> <repository_name> %
Step #3: Create a Django Project
Once you've set up a Python virtual environment, you should include the typical Python project requirements file, commonly named requirements.txt, along with the project dependencies. Once you've done that, your file should resemble this.
(venv) (base) <username> <repository_name> %
(venv) $ cat requirements.txt
asgiref==3.8.1
certifi==2024.2.2
charset-normalizer==3.3.2
Django==5.0.4
docker==7.0.0
idna==3.7
packaging==24.0
requests==2.31.0
sqlparse==0.4.4
urllib3==2.2.1
With the dependencies added, you can then install these using the following command:
(venv) $ pip install -r requirements.txt
Once dependencies are installed, you can create a new Django project using the django-admin command-line tool. Run the following command to create a project named "core" in the current directory:
(venv) $ django-admin startproject core .
This command creates a directory named "core" with the necessary files and directories for a Django project.
After creating the project, you can verify the project structure using the ls command (on Unix-like systems) or the dir command (on Windows). You should see the following structure:
├── <repositoryName>
│   ├── core
│   │   ├── __init__.py
│   │   ├── settings.py
│   │   ├── urls.py
│   │   └── wsgi.py
│   └── manage.py
└── requirements.txt
Understand Project Structure: Take a moment to understand the project structure. The core directory is the root directory of your Django project. Inside it:
The
coredirectory (inside thecoredirectory) is the Python package for your project, containing settings, URL configurations, etc.manage.pyis a command-line utility for interacting with your Django project.
You can start the Django development server using the manage.py file. Run the following command:
(venv) $ cd core
(venv) $ python manage.py runserver
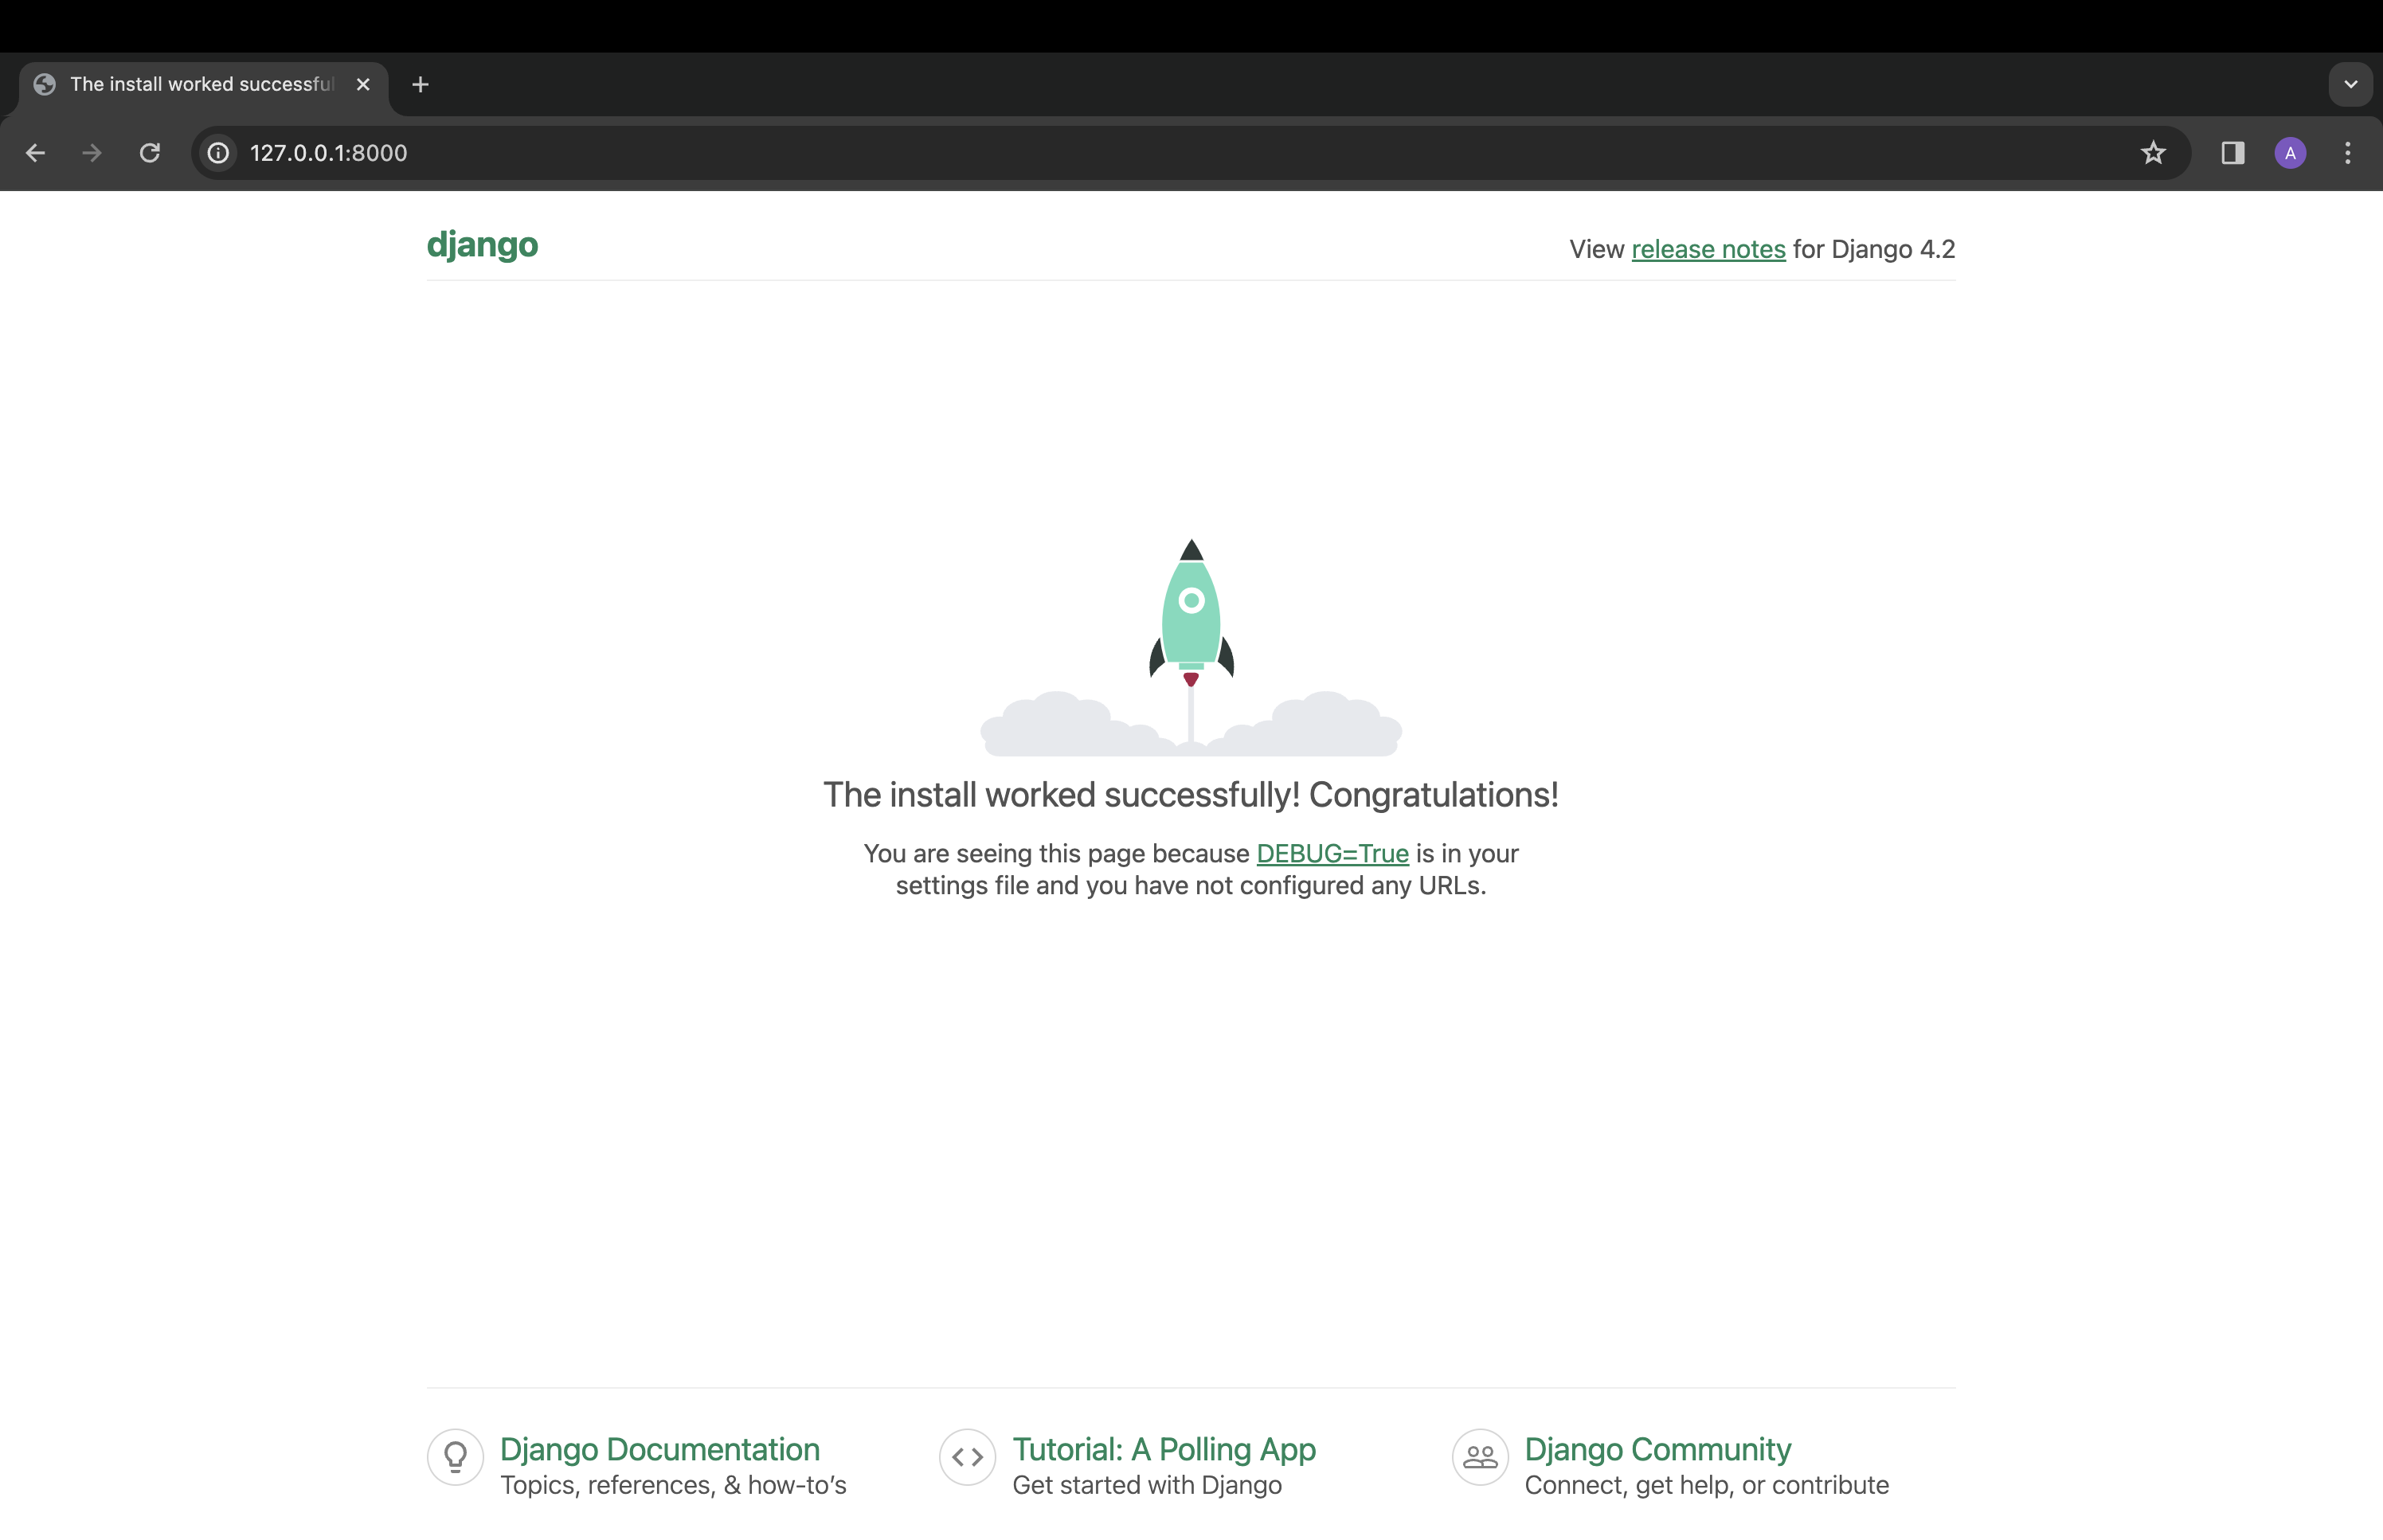
This command starts the development server, allowing you to view your application in a web browser at http://127.0.0.1:8000/ or http://localhost:8000.

Step #4: Dockerize the Application
Setup Docker:
Prior to containerizing and deploying the Django application, it's essential to set up Docker and Docker Desktop on your local system. For educational purposes, opt for Docker Community Edition.
Make the docker app image:
The next step is to include a Dockerfile in your project. A Dockerfile can be seen as a set of steps to construct your image and later your container.
To begin, make a new file named Dockerfile in the main directory of your project. Then, follow each step carefully, just like in the example provided.
  # Use the official Python image for an Operating System
  FROM python:3.12

  # Set working directory in the container
  WORKDIR /app

  # Copy the requirements file into the container
  COPY requirements.txt requirements.txt

  # Upgrade pip
  RUN pip install --upgrade pip
  # Install Python dependencies
  RUN pip install --no-cache-dir -r requirements.txt

  # Copy the all files into the container
  COPY . .

  # Expose the port the app runs on
  EXPOSE 8000

  # Command to run the application
  # "0.0.0.0:8000" makes the container externally available
  CMD ["python3", "manage.py", "runserver", "0.0.0.0:8000"]
The first instruction in the Dockerfile, "FROM python:3.12," tells Docker which image to start building our container from. We're using the official Python image from Dockerhub, which already has Python and Linux set up for you, all ready to go for a Python project.
Now, you're all set to build the container image and then run it to see everything working together.
Building and Running the Container:
Creating the container is simple once you have Docker and Docker Desktop (or Docker Engine) installed.
The following command finds your Dockerfile and gets all the necessary parts to set up your container. Then, it follows the instructions in the Dockerfile, leaving you with a container ready to go.
To make your container, use the
docker buildcommand and give it a tag or name so you can find it later.The last part or the "." of the command shows Docker where to build from.
  (venv) $ cd <dockerize-django-app name>
  (venv) $ docker build -tag <python-django-app or containerName> .
To run the container you just made with Docker:
(venv) $ docker run -it -p 8000:8000 <python-django-app or containerName>This tells Docker to run the container and send what's on port 8000 to port 8000 on your computer.
After you do this, you can go to
http://127.0.0.1:8000/orhttp://localhost:8000in your browser to see your dockerized app.To see what Docker containers are running on your system (with their IDs):
(venv) $ docker ps -aTo stop your Docker container:
(venv) $ docker stop container_id
Congratulations on completing the setup for your Python web development! You've learned how to create a GitHub repository, set up SSH keys, and clone your repository locally. Additionally, you've organized your development environment, created a Django project, and Dockerized your application for easy deployment.
Find the GitHub repo here. I've included the errors I've encountered and how I solved it.
I trust we all learned something from this blog. If you found it helpful too, give back and show your support by clicking heart or like, share this article as a conversation starter and join my newsletter so that we can continue learning together and you won’t miss any future posts.
Thanks for reading until the end! If you have any questions or feedback, feel free to leave a comment.
Subscribe to my newsletter
Read articles from anj directly inside your inbox. Subscribe to the newsletter, and don't miss out.
Written by