Creating a Wiki and Diagnostic Pass for My Contribution to the AFMV Project
 Steven David Pillay
For Stage Three, I will be creating and editing the existing Wiki of our GCC repository so that the students can easily follow it and create Pull Requests, Issues, etc.
My main reason for creating this Wiki was to help my classmates in their path to open-source development, as most of the students in my class had never contributed to open-source. They had no idea about what was a Fork or Pull request. Now as we were a lot of people working on this project, it was also really necessary to set some protocols for contributing to the repository.
Our Initial Idea was that each of the students would first open an issue in the repository for their specific problem and then work on the issue, and finally create a PR to merge.
Then the maintainer will create a separate branch for their feature/improvement, merge the PR, and close the issue.
Now, In order to explain this to the students, I started by requesting write access to the repository and once I received it. I created a page on How to create an Issue, How to create a Pull Request, How to create a Fork, and How to open a branch. I used my secondary GitHub account and created a step-by-step guide for all the pages, so even a person who has never used GitHub in their life can easily contribute to the repository.
Here are the links to the Wiki Pages:
Opening A Branch for Diagnostic Output
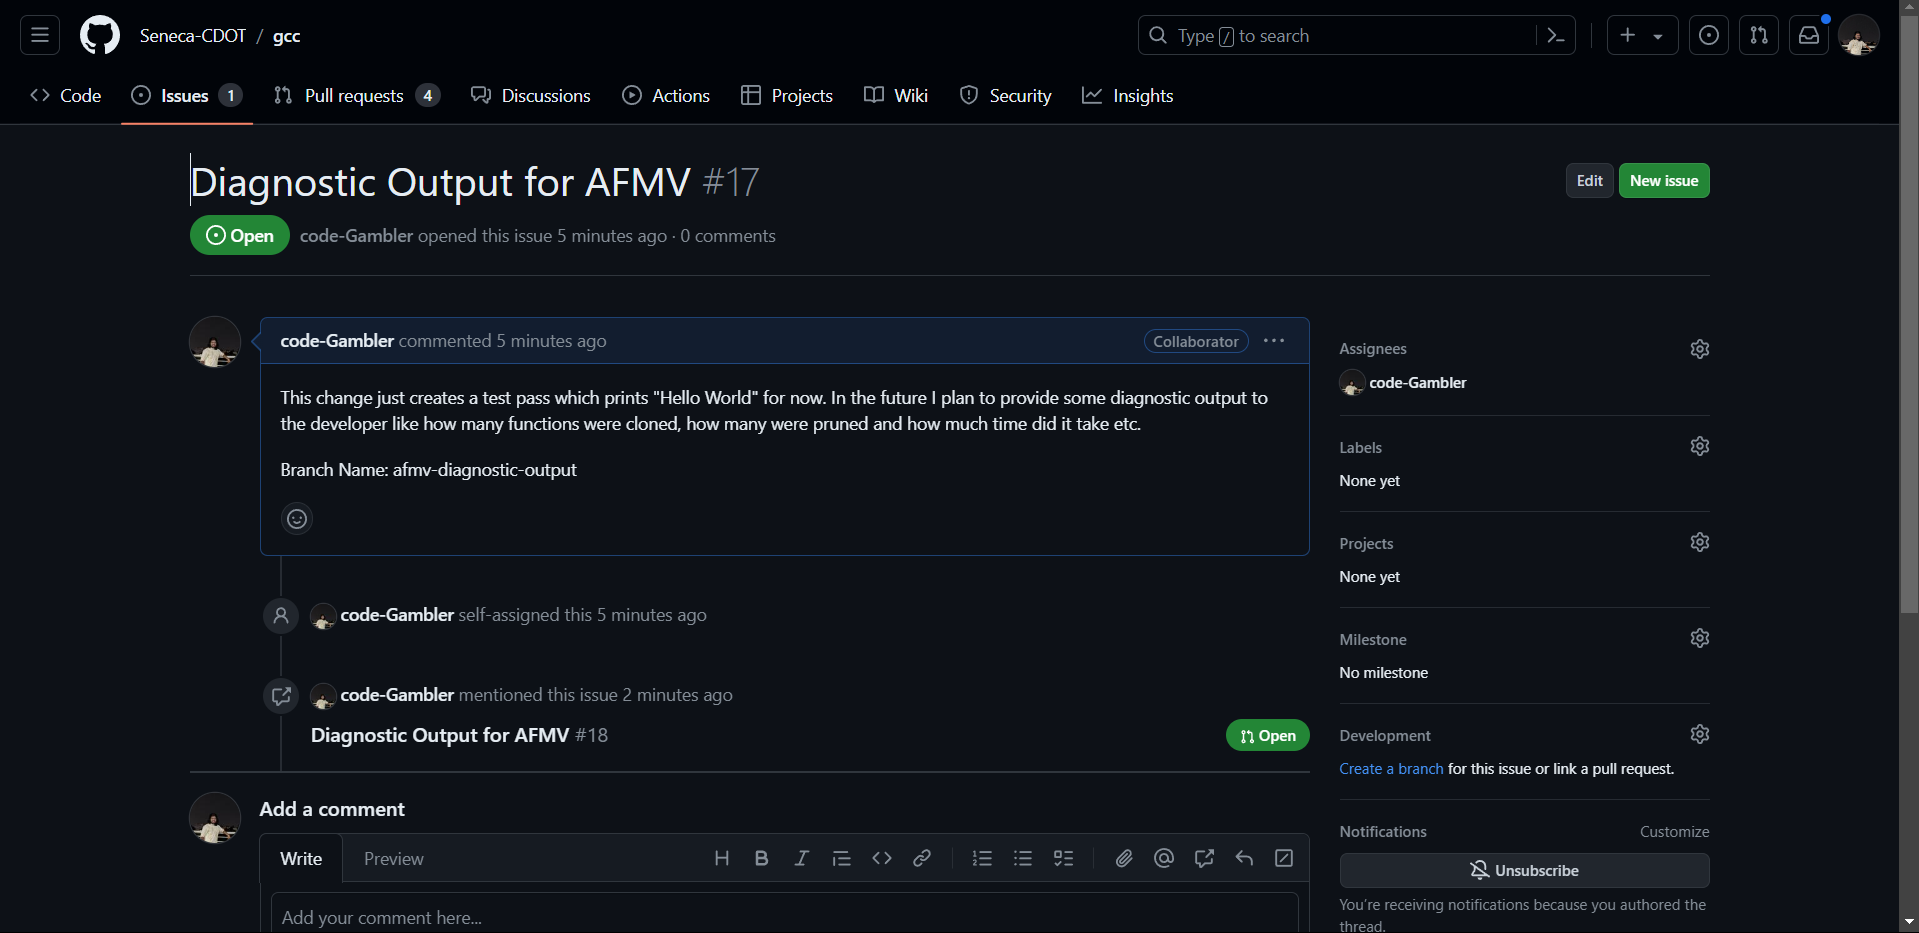
I started by creatin an Issue for Diagnostic output in our GCC repository.

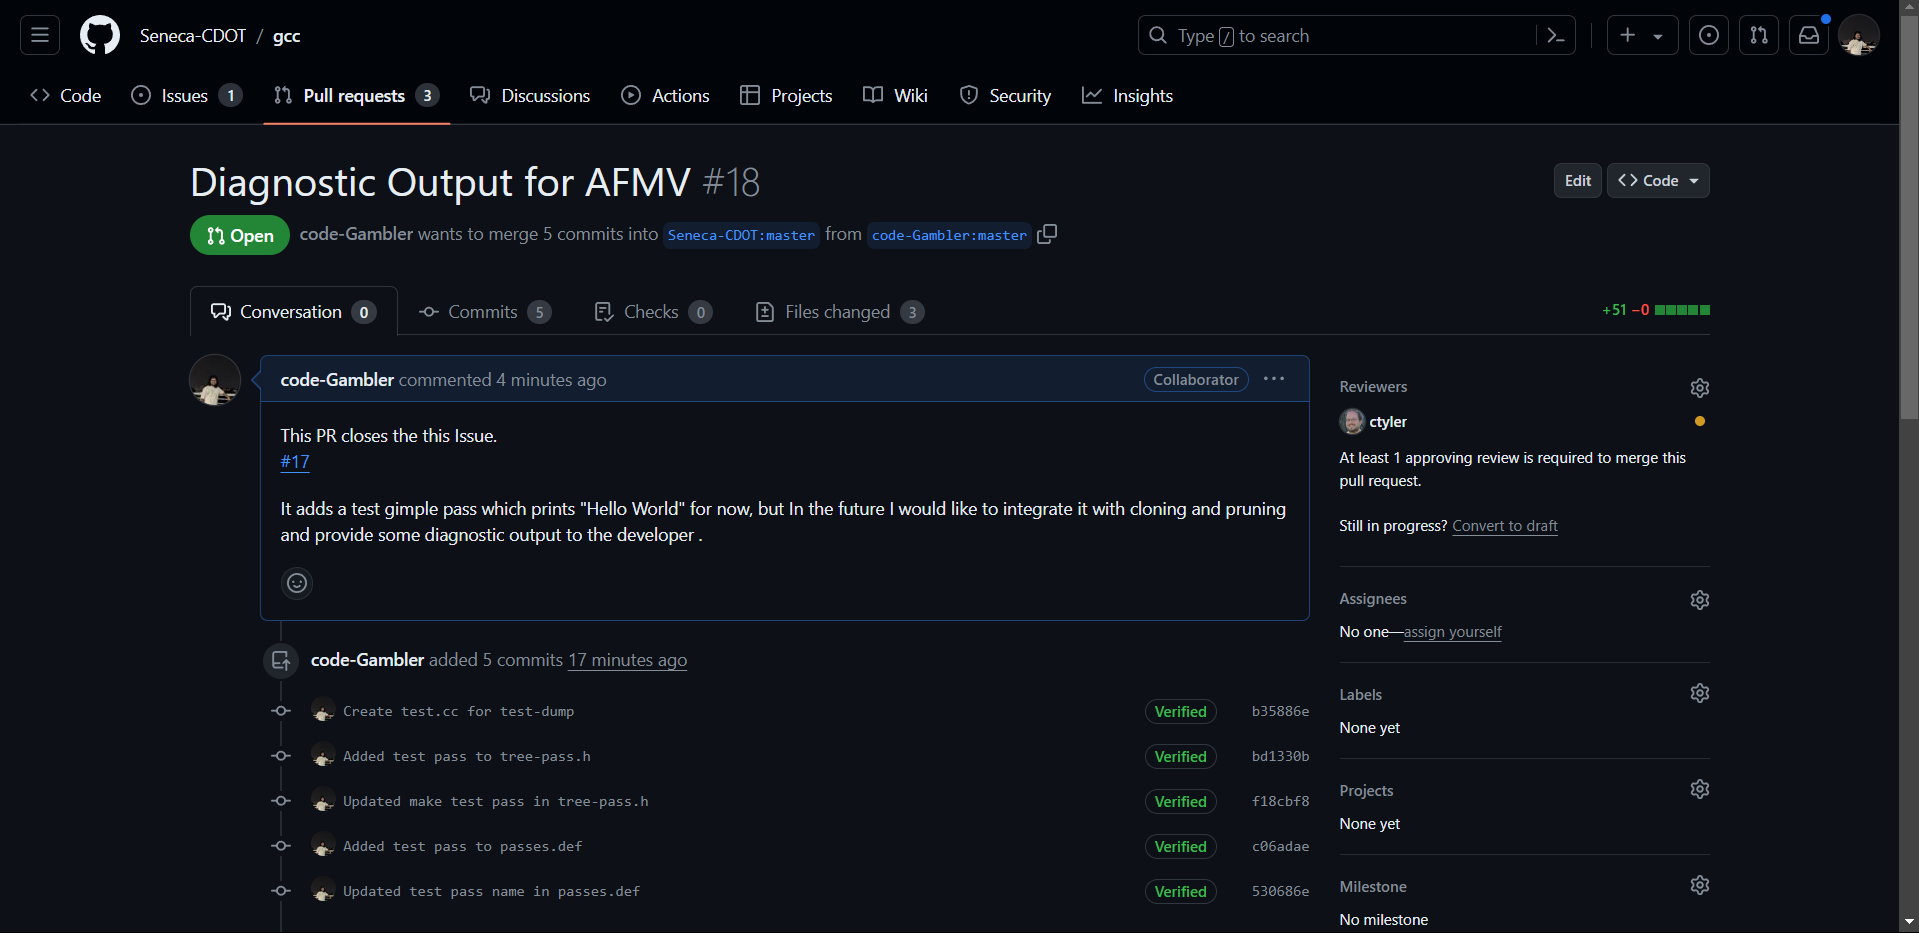
Then following the issue, I also created a PR with the necessary changes.

Now I am awaiting the code review by Chris(My professor) and once he approves it we can create a separate branch for diagnostic output and merge the changes.
Sources
GCC, the GNU Compiler Collection - GNU Project. (n.d.). gcc.gnu.org
Vaidehi. (2022, June 19). Wiki Picture. https://myoutreachyblogs.wordpress.com/. https://myoutreachyblogs.files.wordpress.com/2022/06/pon-una-wiki-en-tu-vida.jpg
Subscribe to my newsletter
Read articles from Steven David Pillay directly inside your inbox. Subscribe to the newsletter, and don't miss out.
Written by
