Day 42 - Exploring IAM Programmatic Access and AWS CLI Mastery! 🚀☁
 Nilkanth Mistry
🚀 Day 42 of the #90DaysOfDevOpsChallenge! Today, we're delving into IAM Programmatic access and AWS CLI to enhance our AWS skills. 💻☁️
💻 IAM Programmatic Access:

This feature allows you to interact with your AWS account programmatically, using AWS Access Keys and AWS Secret Access Keys. These keys serve as credentials that you can use to authenticate yourself when making requests to AWS services from your terminal or system. 🔑
IAM Programmatic access allows you to interact with your AWS account via terminal or system, using AWS Access keys and AWS Secret Access keys. 🔑 Learn more in this helpful video guide.
🚀 AWS CLI (Command Line Interface):

The AWS CLI is a unified tool that enables you to manage your AWS services directly from the command line. It streamlines the process of interacting with AWS services, allowing you to automate tasks, configure resources, and access various AWS functionalities with ease. With AWS CLI v2, managing AWS resources becomes even more efficient, thanks to new features and improved installers. 🛠️
AWS CLI, the AWS Command Line Interface, is a powerful tool for managing AWS services from the command line. With AWS CLI v2, managing AWS resources becomes even easier with new features and improved installers. 🛠️
Tasks:
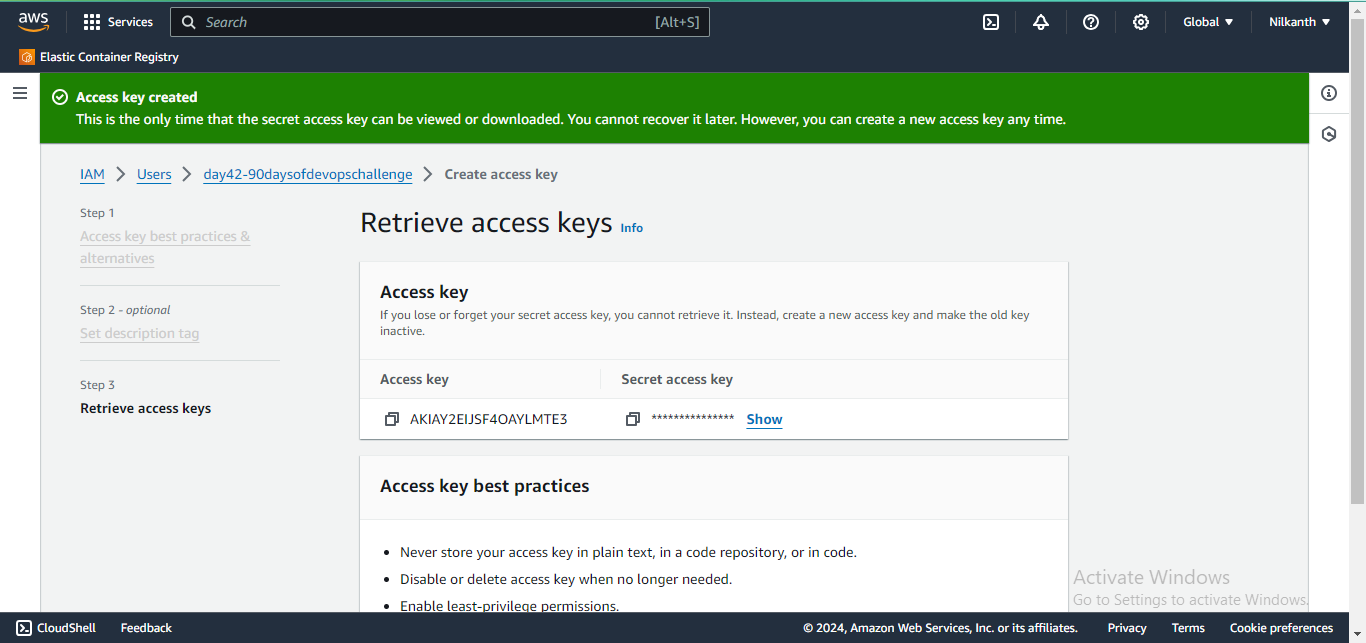
Task-01: 🎯 Create AWS_ACCESS_KEY_ID and AWS_SECRET_ACCESS_KEY from the AWS Console.
Log in to the AWS Management Console.
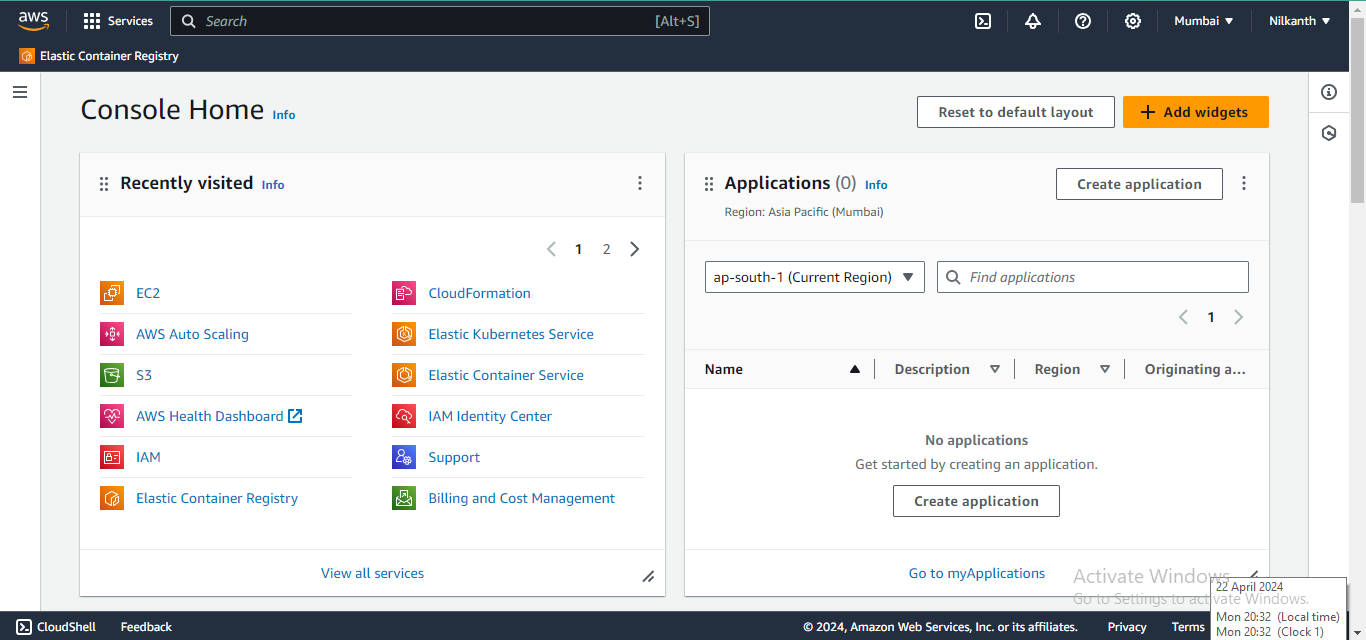
Open the IAM service.
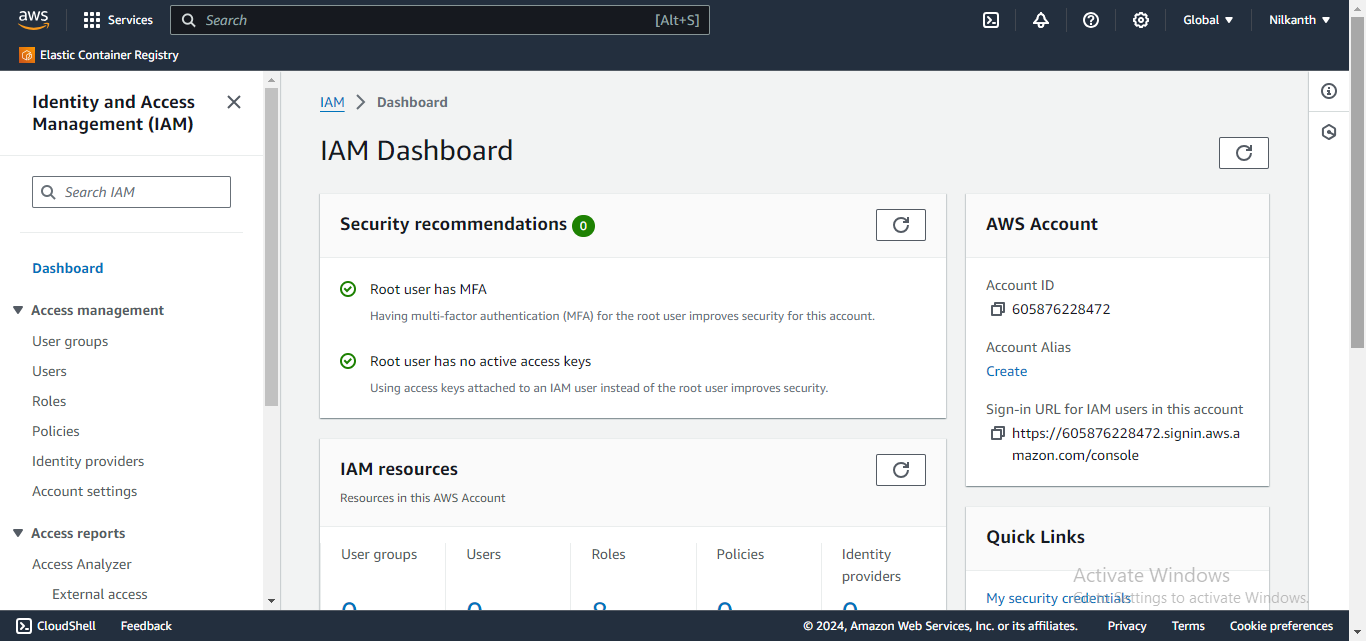
Navigate to the “Users” section.
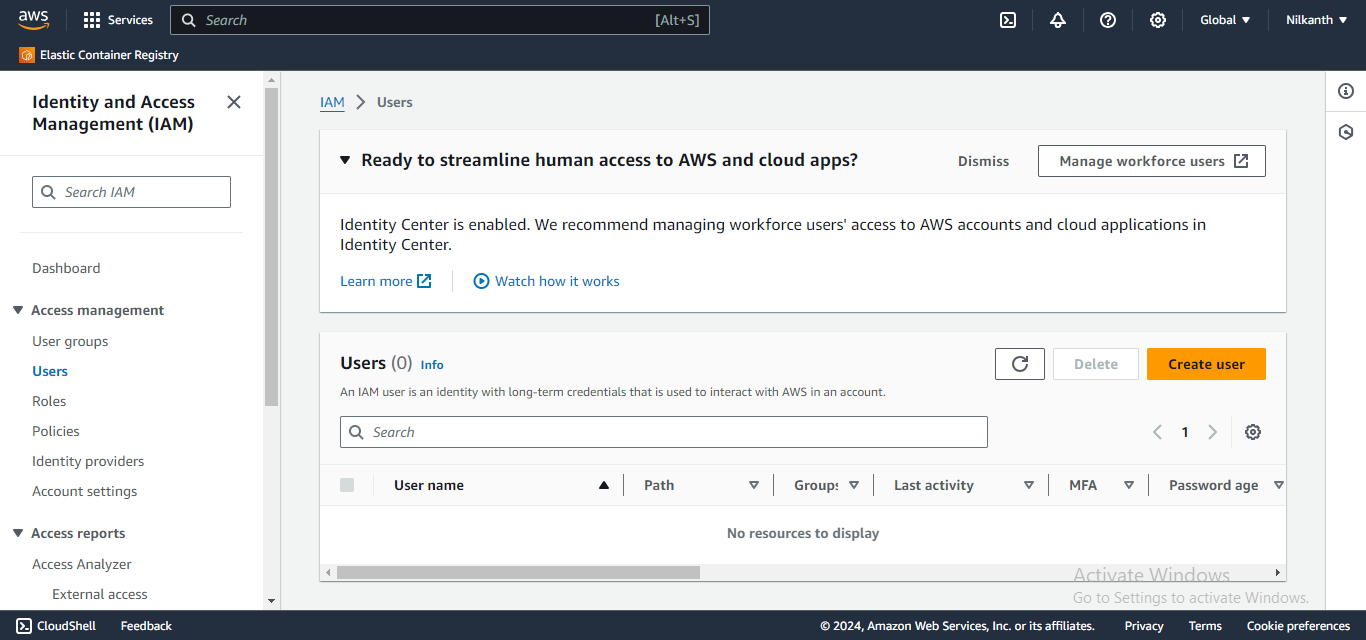
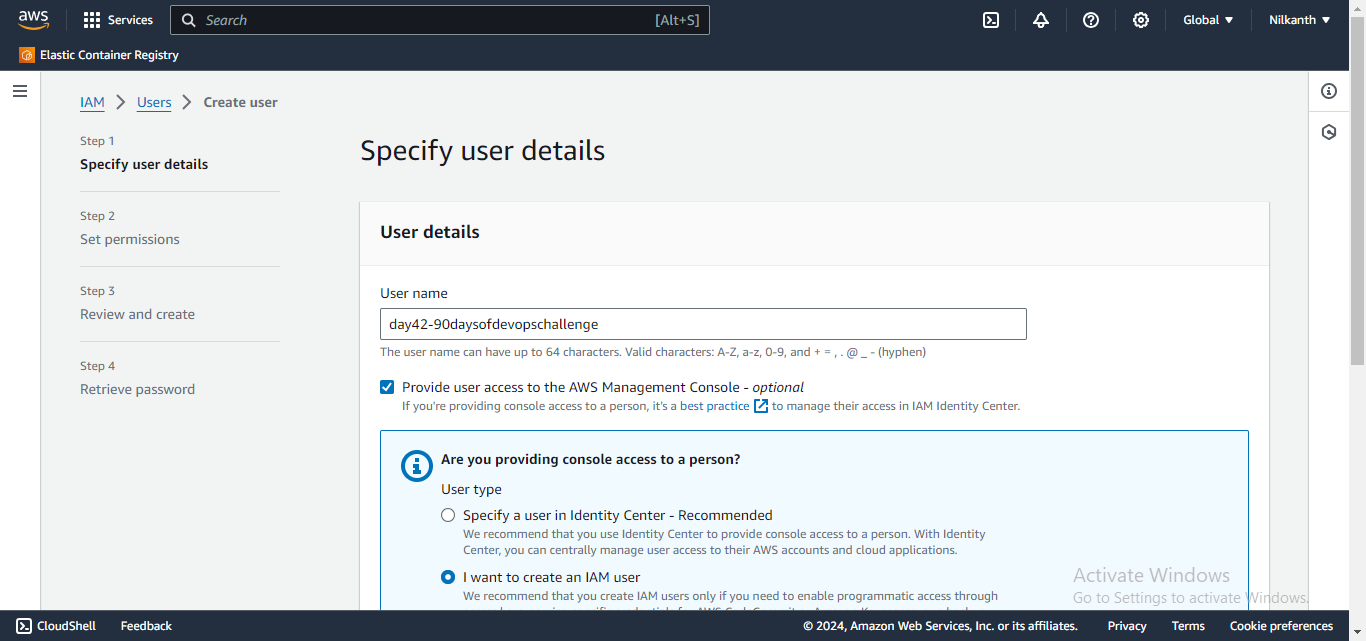
Select the user for whom you want to create access keys.
Open the “Security credentials” tab.
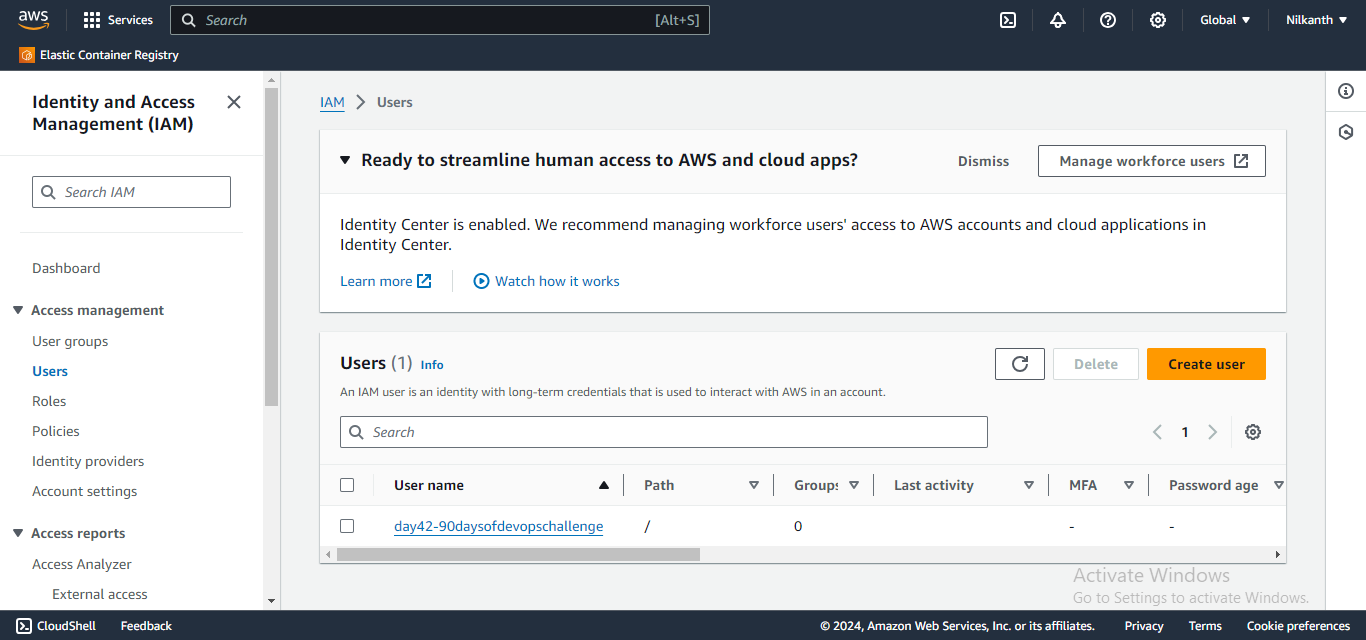
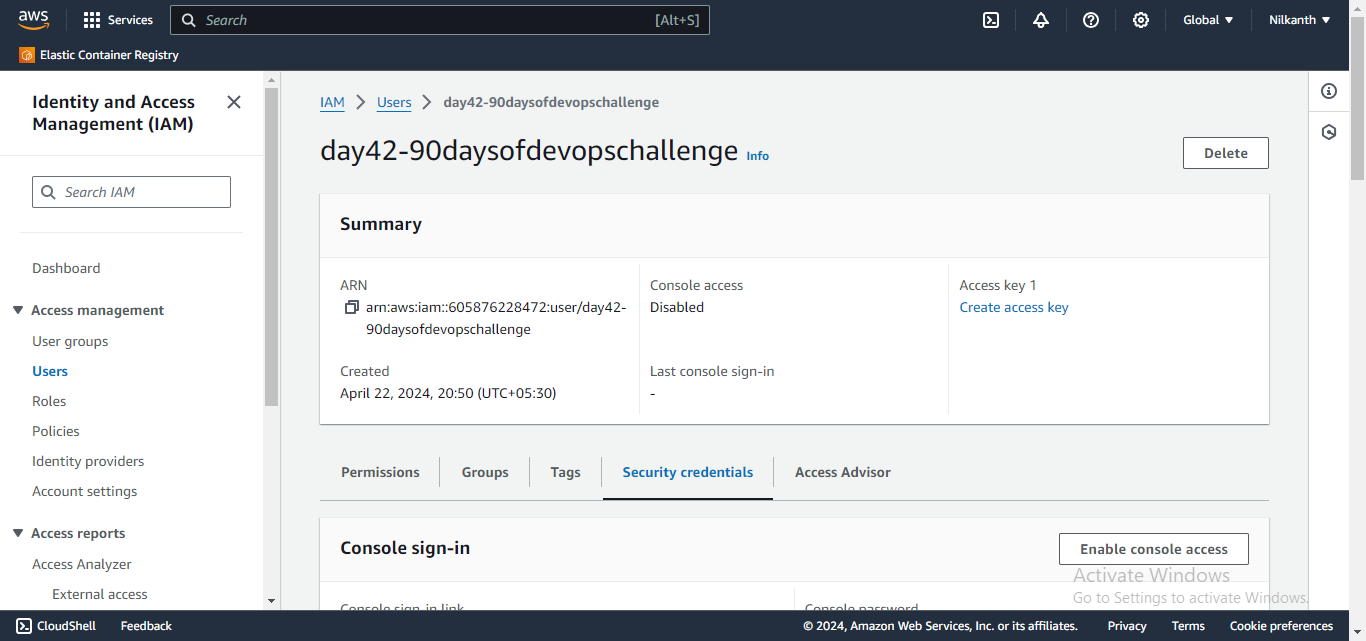
Under the “Access keys” section, click on “Create access key”. Use case “Command Line Interface (CLI)” 💻
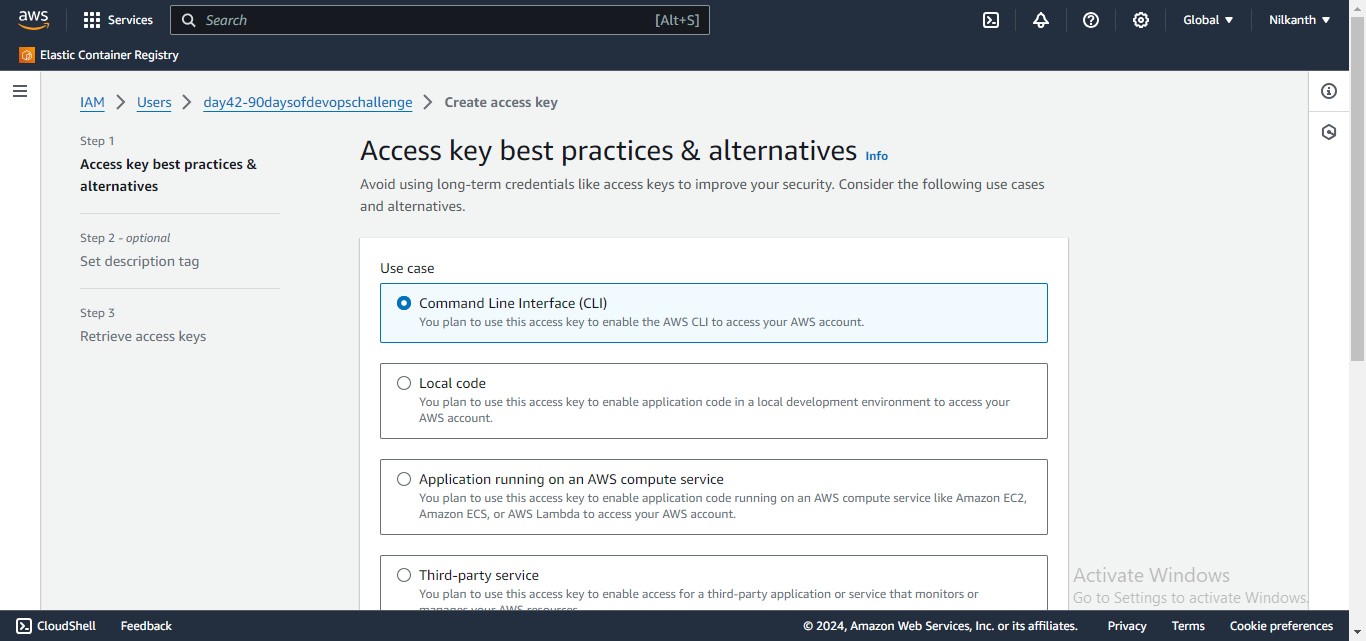
Take note of the generated AWS_ACCESS_KEY_ID and AWS_SECRET_ACCESS_KEY. These will be needed later for configuration.
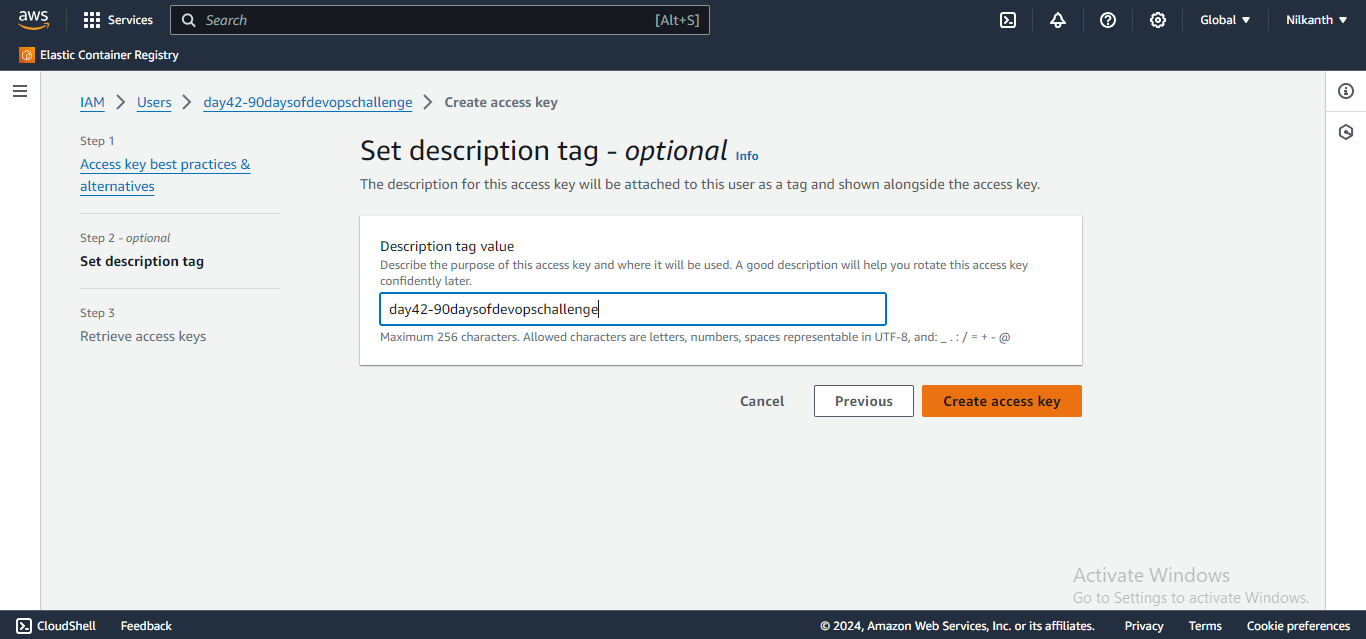
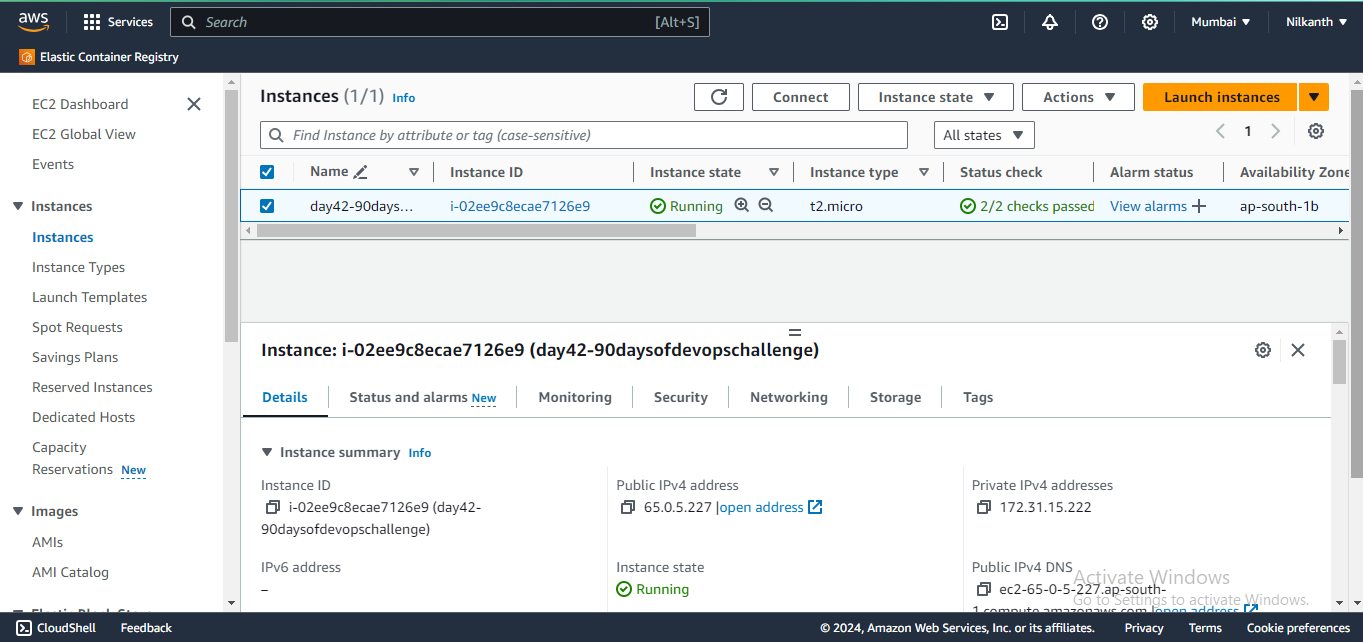
Task-02: ⚙️ Install and configure AWS CLI to automate AWS service management.
Install AWS CLI on your local machine. Refer to the official AWS CLI documentation for installation instructions tailored to your operating system.
Once installed, open a terminal or command prompt.
Run the following command to configure AWS CLI:
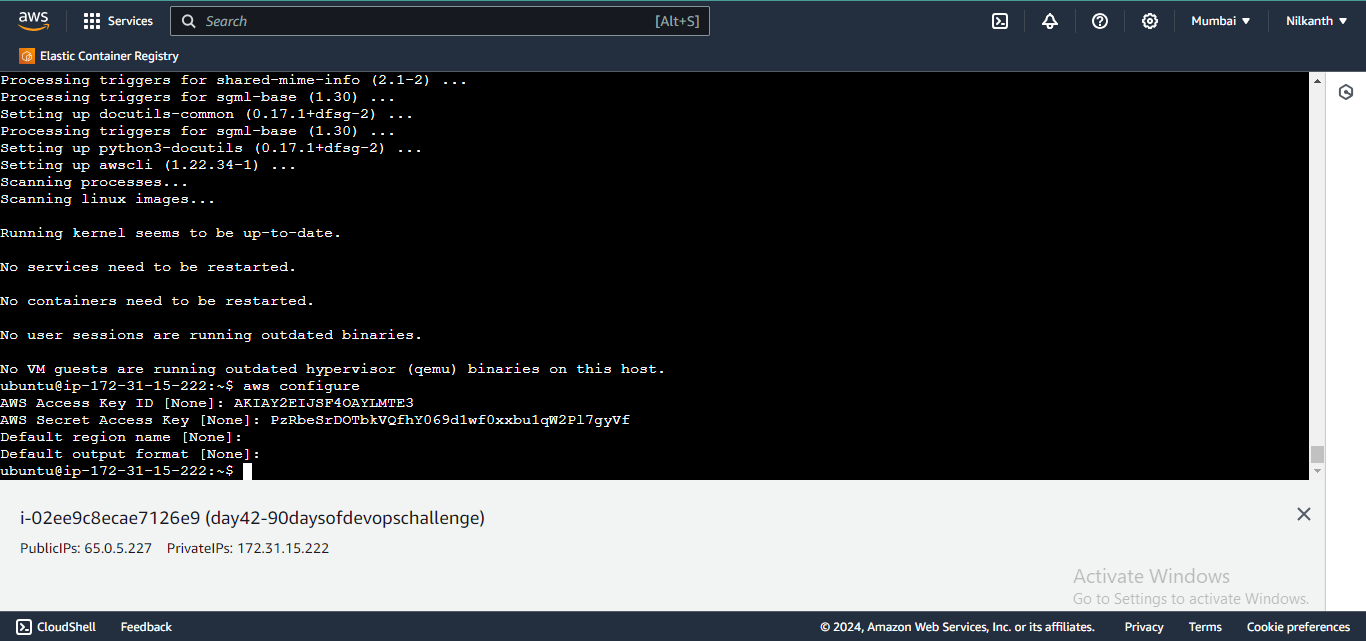
aws configure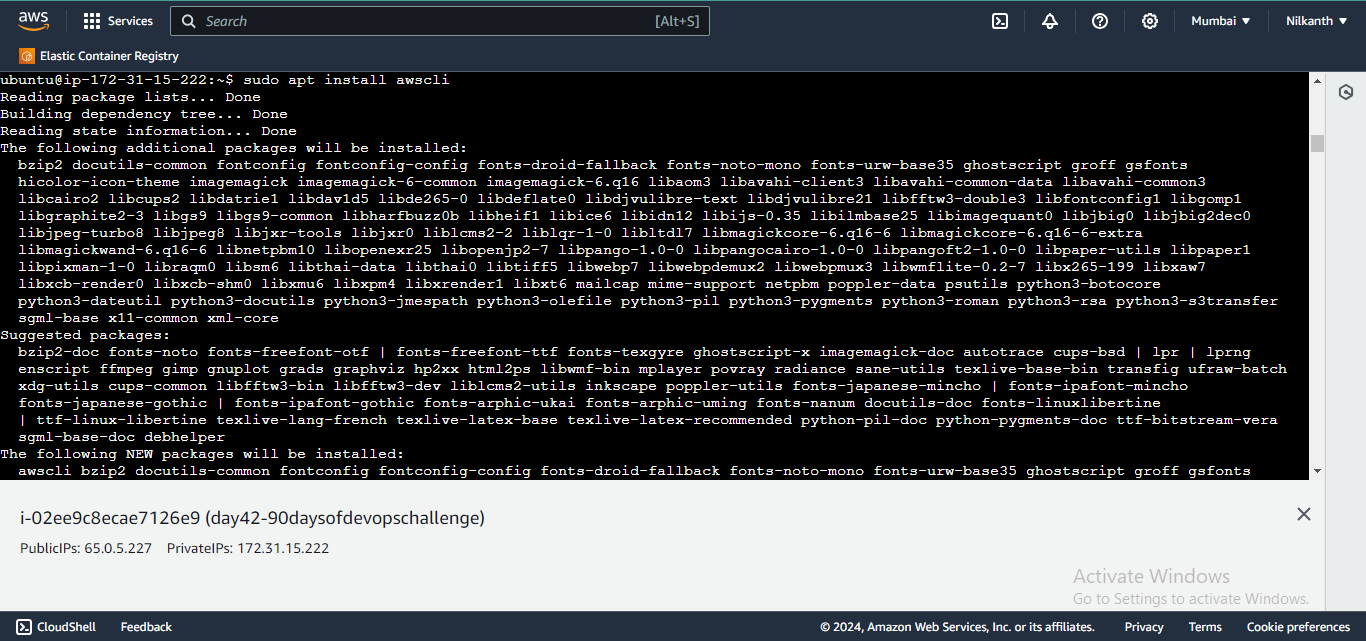
When prompted, enter the AWS_ACCESS_KEY_ID and AWS_SECRET_ACCESS_KEY obtained in Task 1.
Specify your preferred region (e.g., us-west-2) and default output format (e.g., YAML). 🗺️
Follow these steps to enhance your AWS skills and streamline your workflow. Let's dive in and master the AWS CLI together! 💡
Happy Learning! 🌟 #AWS #DevOps #CloudComputing ☁️🔧
Subscribe to my newsletter
Read articles from Nilkanth Mistry directly inside your inbox. Subscribe to the newsletter, and don't miss out.
Written by

Nilkanth Mistry
Nilkanth Mistry
Embark on a 90-day DevOps journey with me as we tackle challenges, unravel complexities, and conquer the world of seamless software delivery. Join my Hashnode blog series where we'll explore hands-on DevOps scenarios, troubleshooting real-world issues, and mastering the art of efficient deployment. Let's embrace the challenges and elevate our DevOps expertise together! #DevOpsChallenges #HandsOnLearning #ContinuousImprovement