Day 43 - S3 Programmatic Access with AWS-CLI 💻 📁
 Nilkanth Mistry
**S3 Overview**
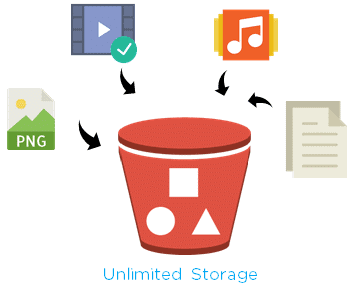
Amazon Simple Storage Service (Amazon S3) is like your 💎 digital treasure chest in the cloud - it securely stores and serves up your data whenever you need it. It's super versatile, handling everything from text files to images, videos, backups, and beyond. 🌟
Task-01
Launch an EC2 instance using the AWS Management Console and connect to it using Secure Shell (SSH).
Log in to the AWS Management Console. 🔑
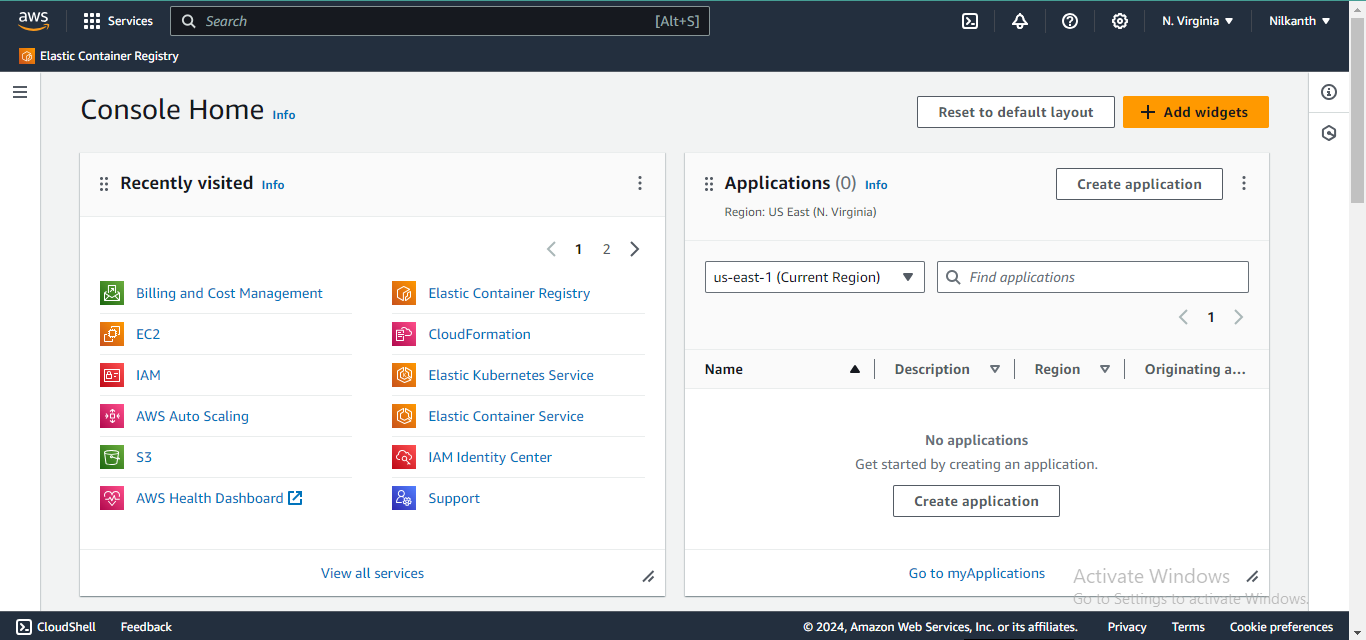
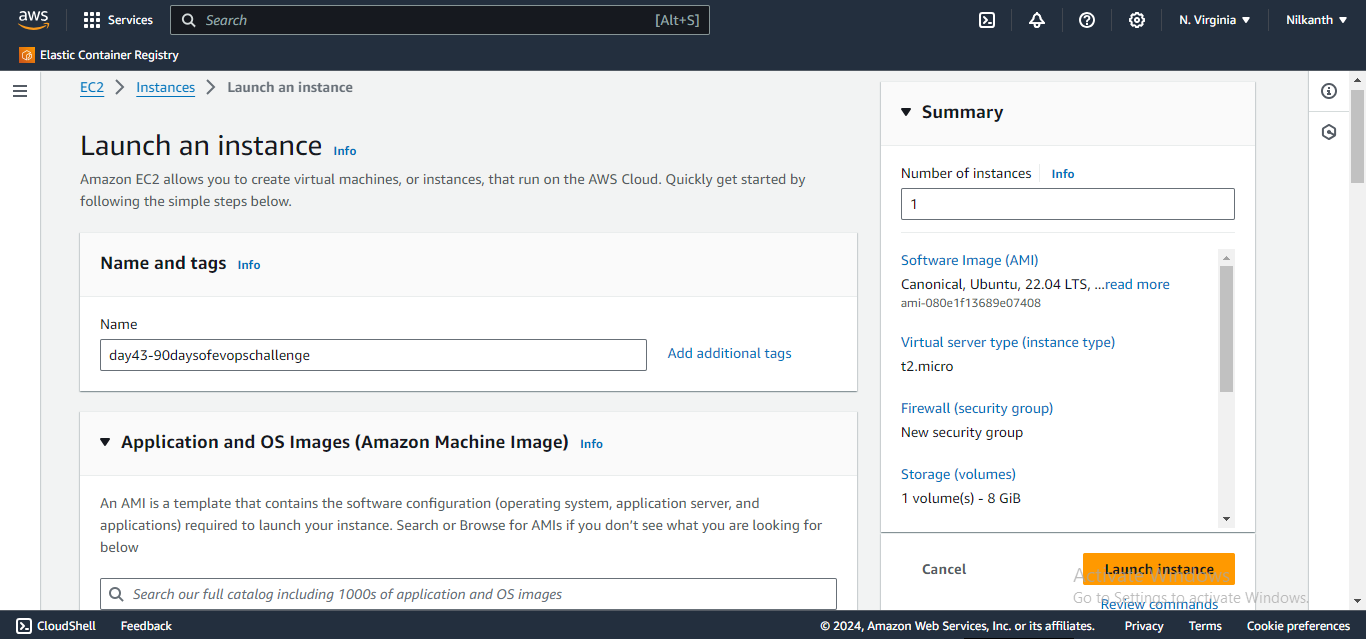
Navigate to the EC2 service and launch an EC2 instance using the console. 🚀
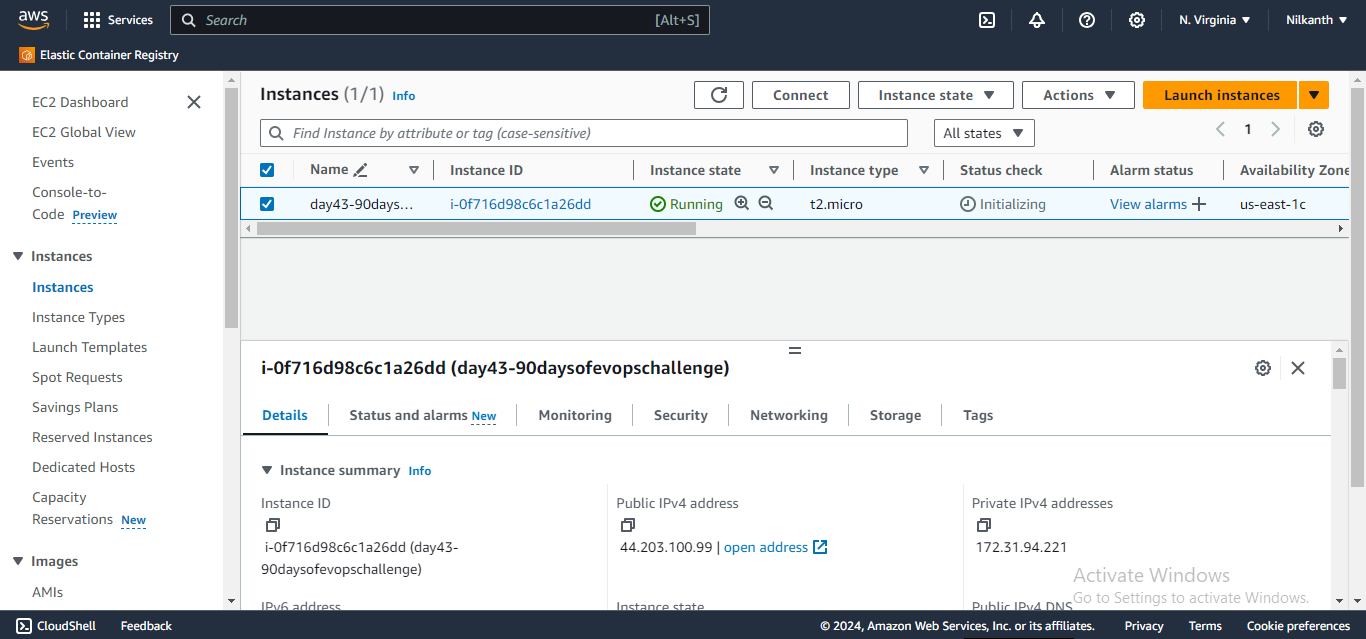
Connect to the EC2 instance using SSH. 🔒
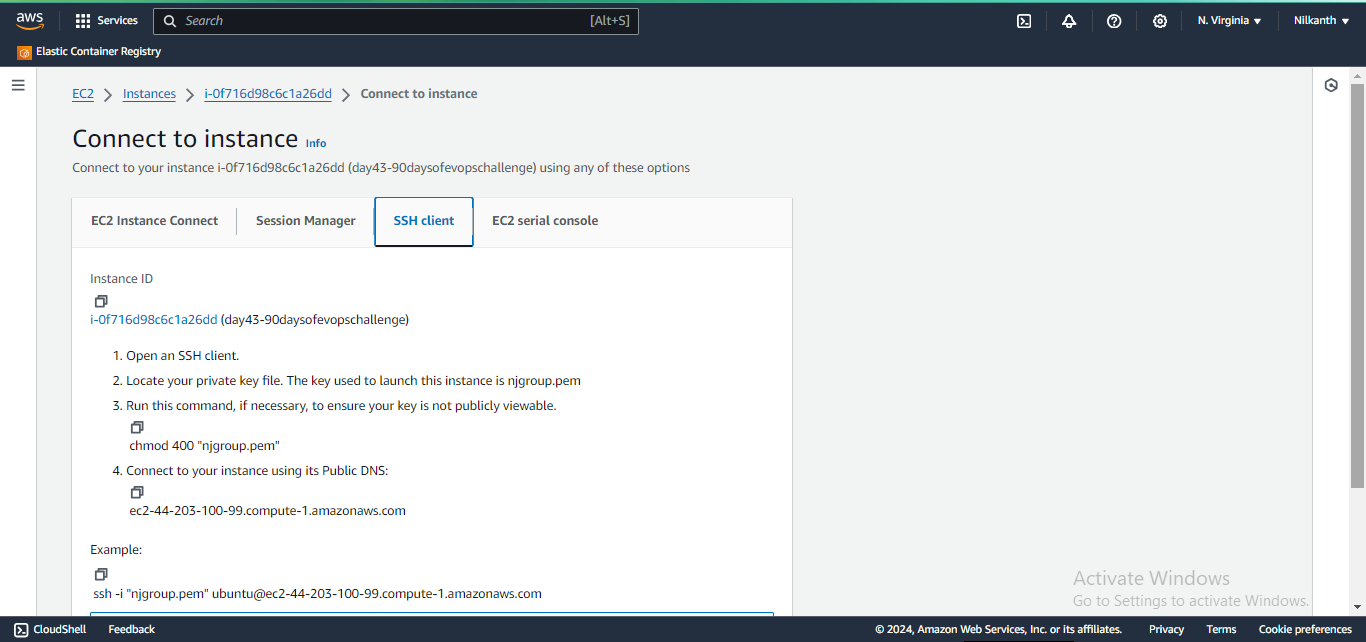
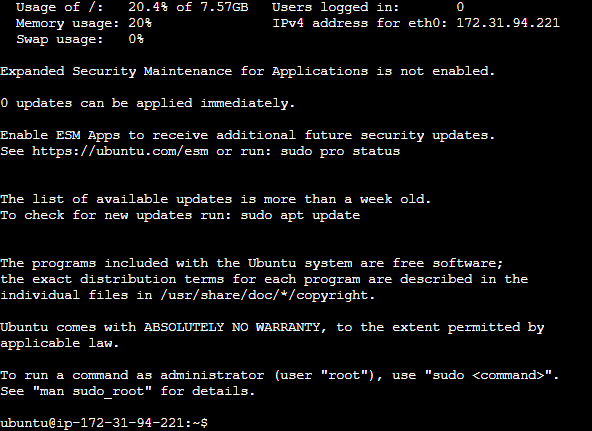
Create an S3 bucket and upload a file to it using the AWS Management Console.
Log in to your AWS Management Console and go to the S3 service. 🔵
Click on the "Create bucket" button. 📦
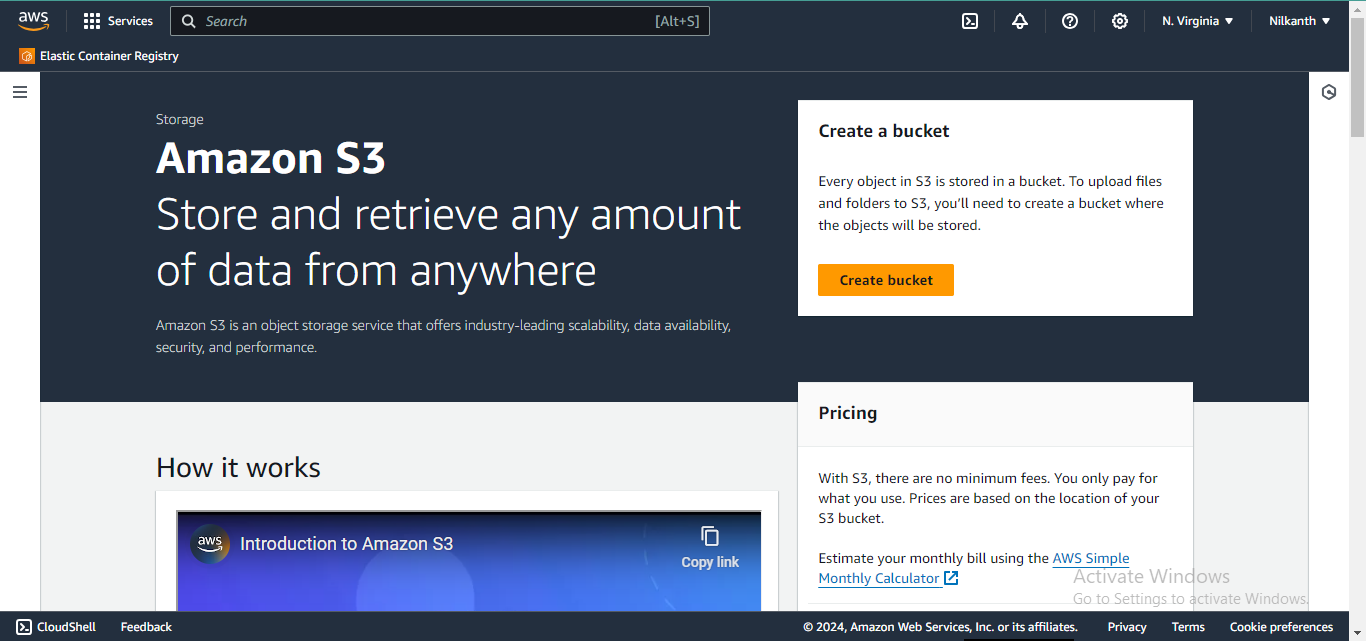
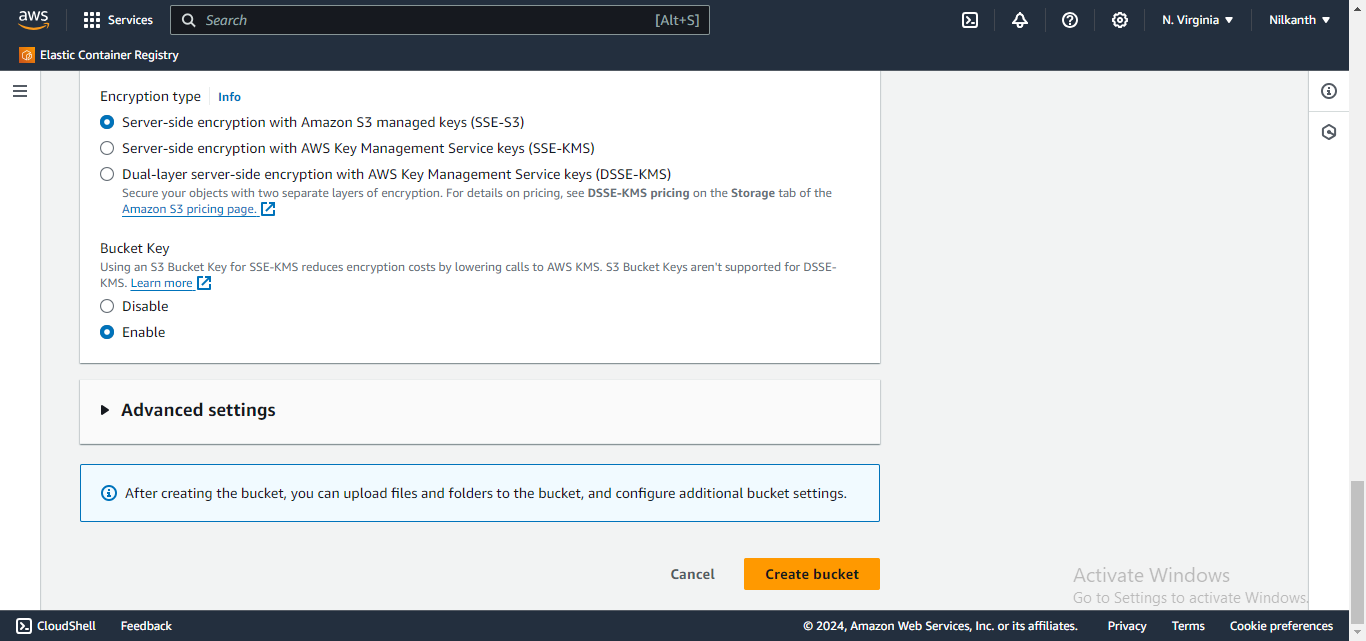
Enter a unique name for your bucket, select the region you want to create it in, and then click "Create."
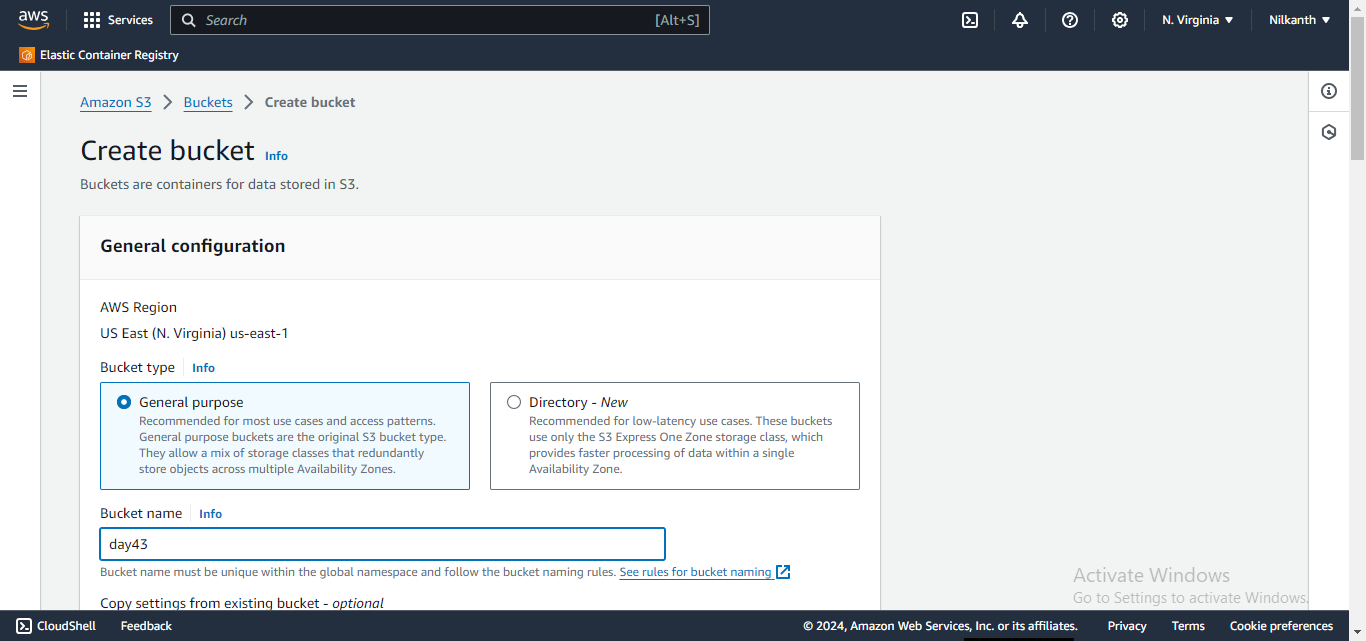
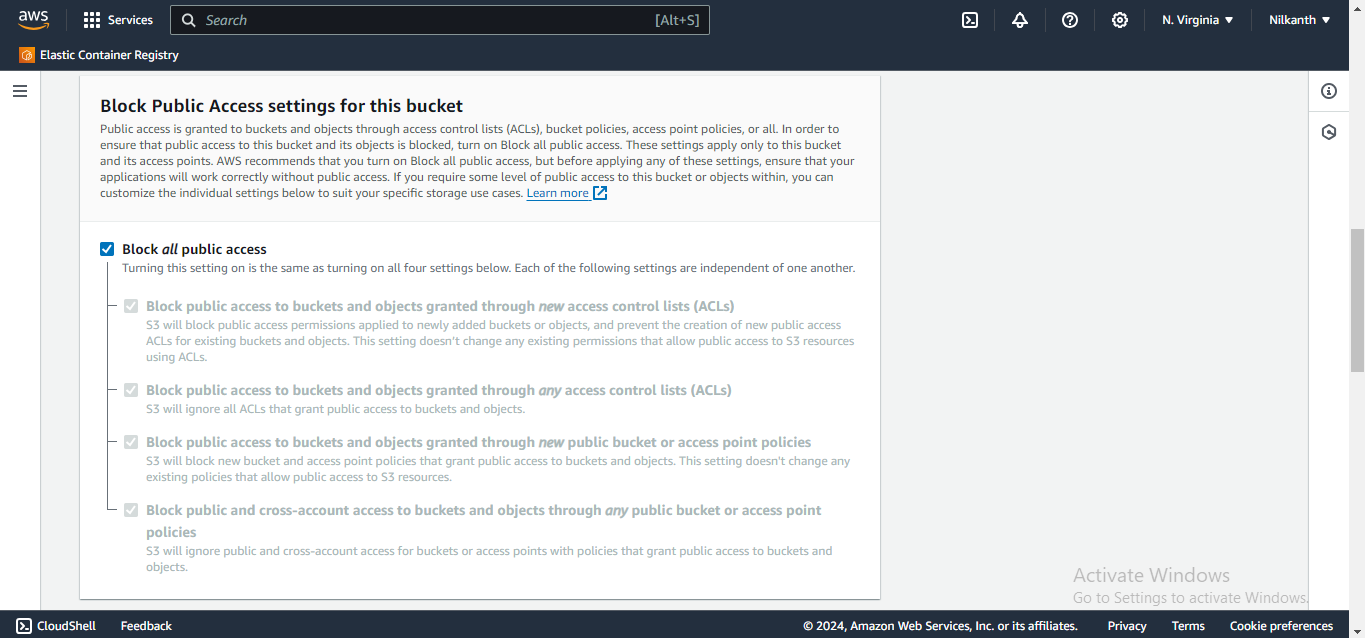
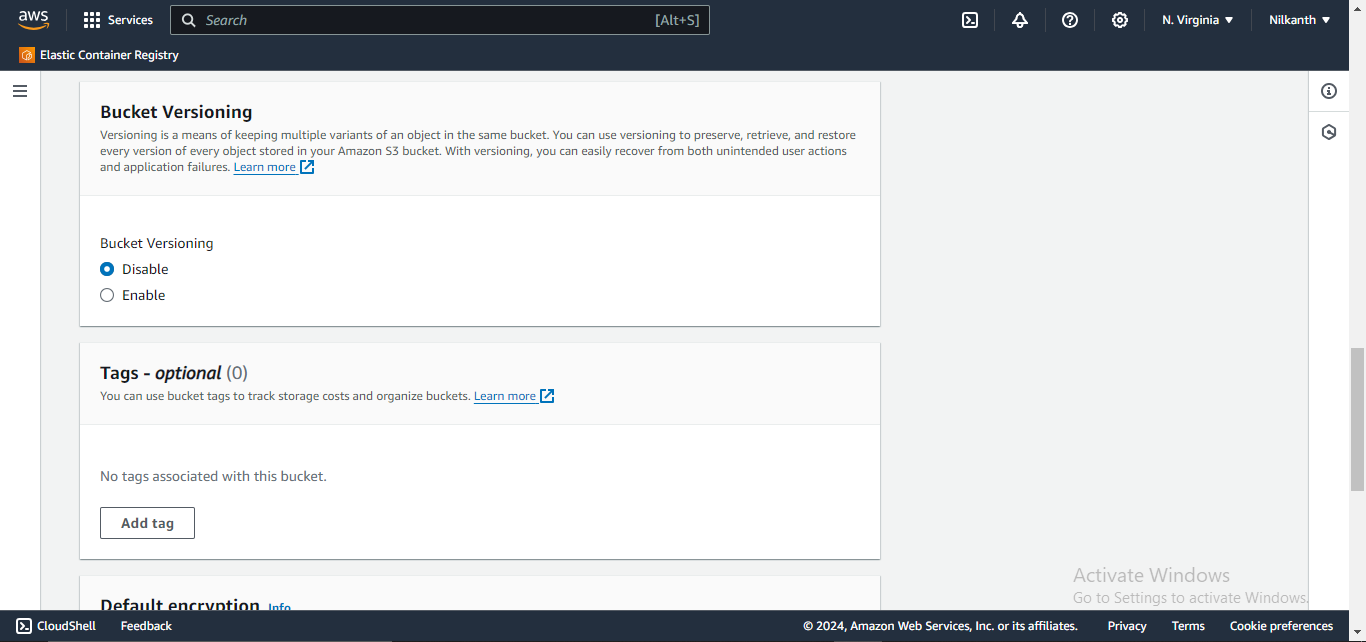
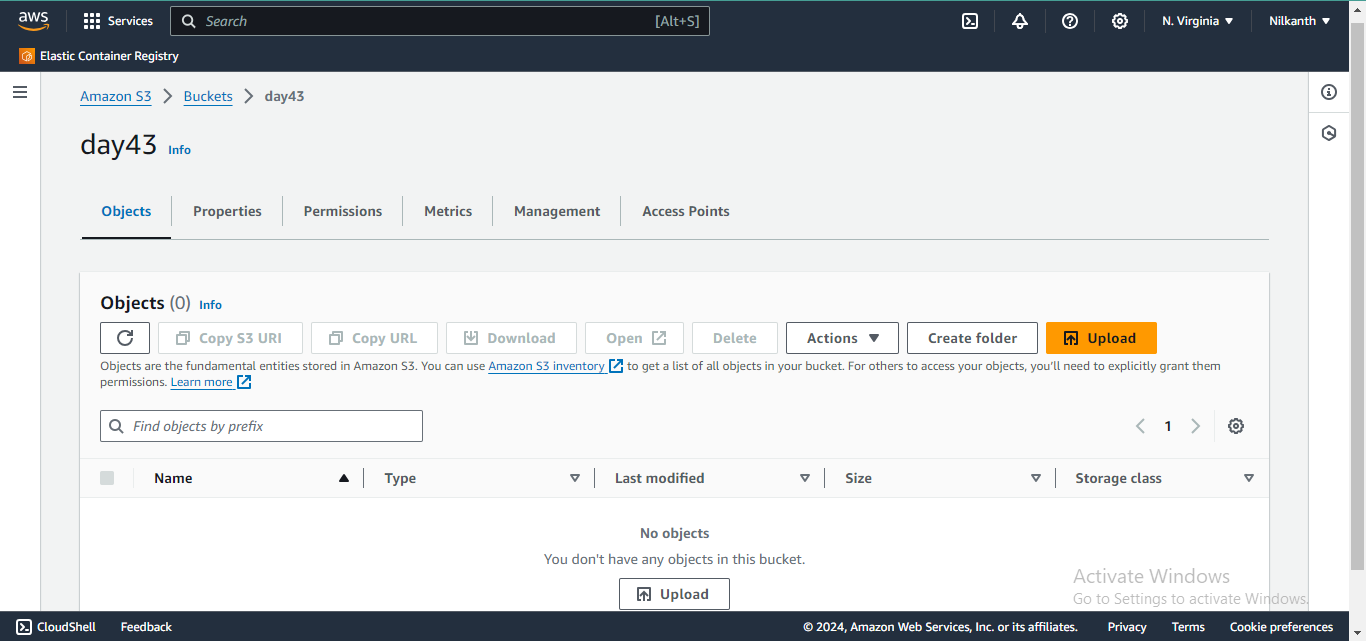
Once your bucket is created, click on its name to open it.
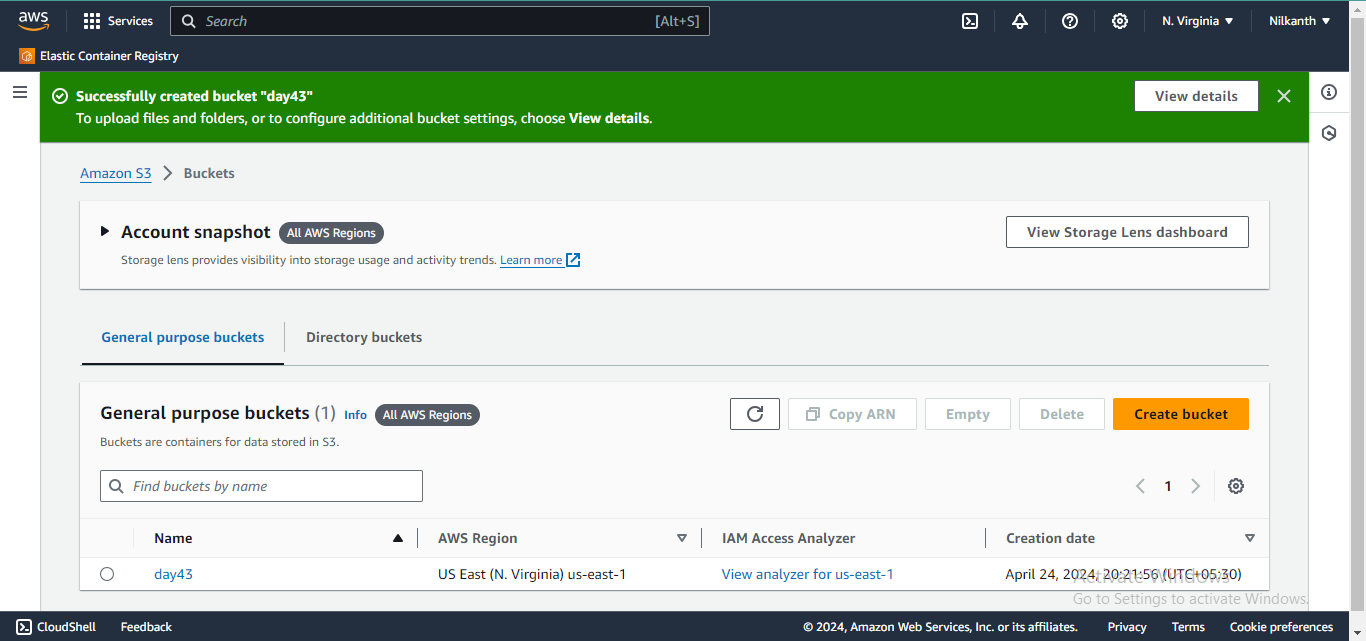
Click on the "Upload" button to upload a file. ⬆️
In the "Upload" window, click on the "Add files" button to select the file you want to upload.
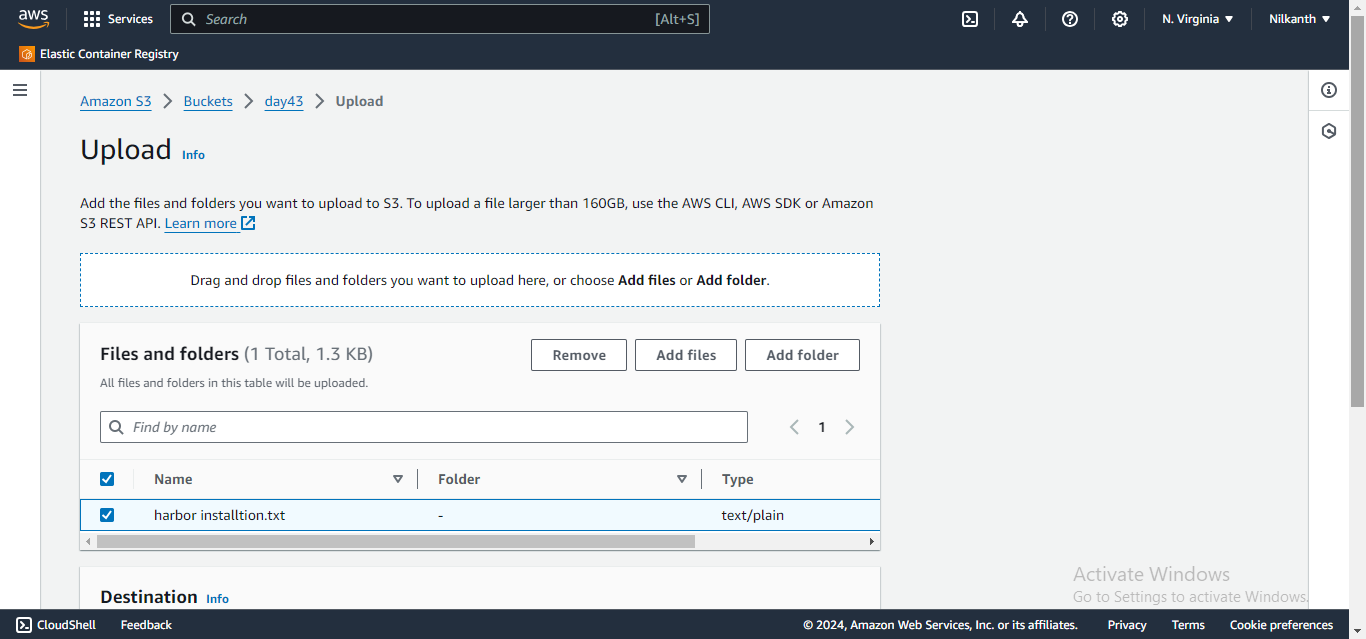
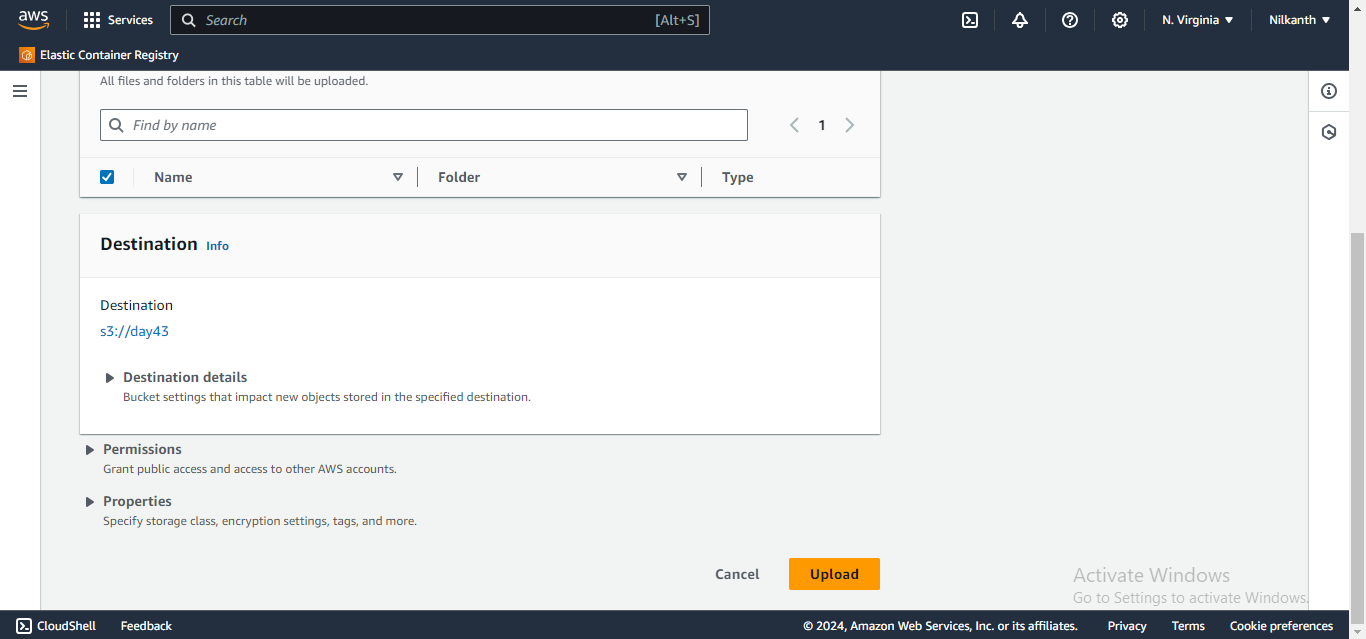
Once you've selected your file, click "Next".
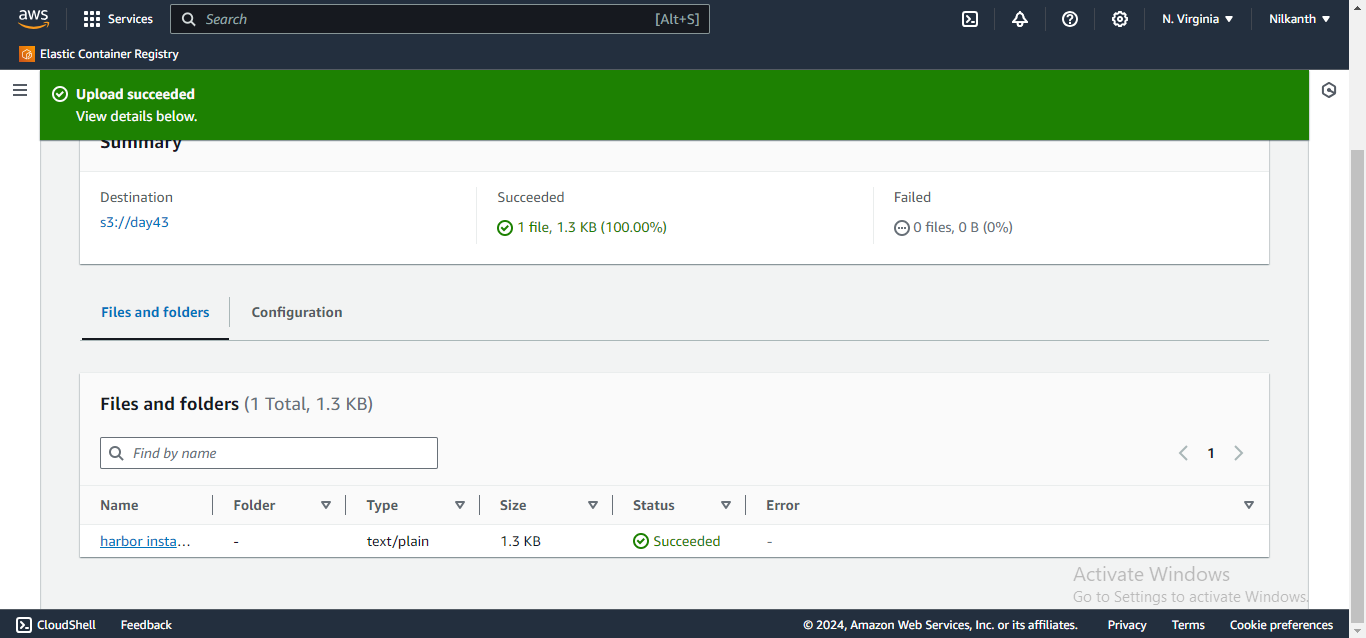
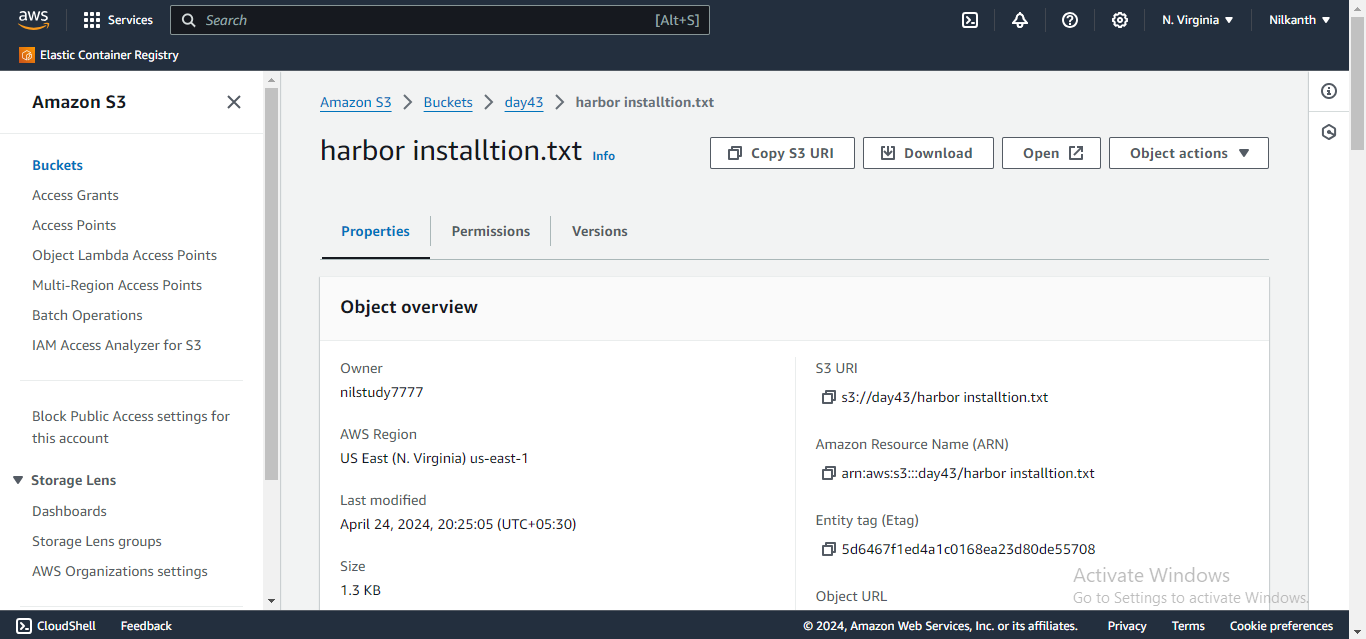
Next, you can set permissions for your file, configure storage class, and set metadata.
Review the details before clicking on the "Upload" button to upload your file.
Once the upload is complete, you can see the file in your S3 bucket.
Access the file from the EC2 instance using the AWS Command Line Interface (AWS CLI).
Install the AWS CLI. 💻
To install the AWS CLI, you can use the following commands:
  sudo apt update
  sudo apt install awscli
Check if AWS CLI is installed by checking the AWS version.
aws --version
Once installed, open a terminal and run the command
aws configureto configure your account credentials.aws configure
List S3 buckets using the command
aws s3 ls.aws s3 ls
You can use the
aws s3 cpcommand to copy the file from your S3 bucket to your EC2 instance and view the content of the file using thecatcommand.
Task-02
Create a snapshot of the EC2 instance and use it to launch a new EC2 instance.
Select the EC2 instance that you want to create a snapshot of.
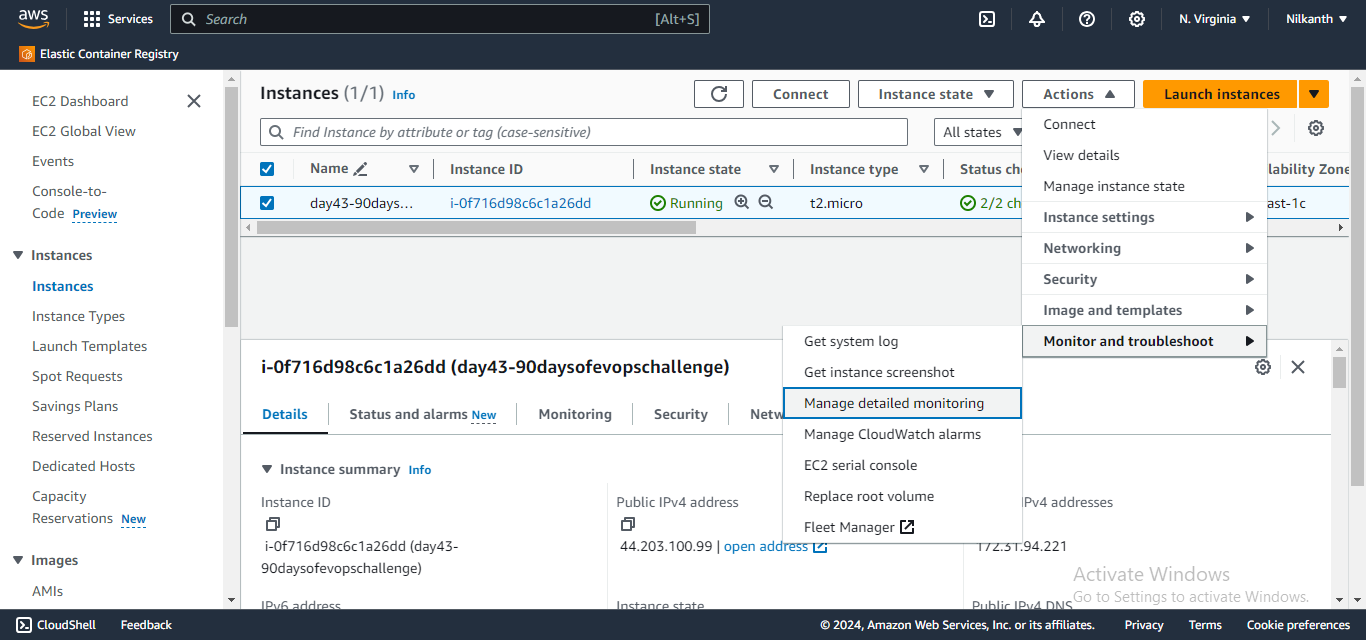
Create a snapshot of the selected EC2 instance. 📸
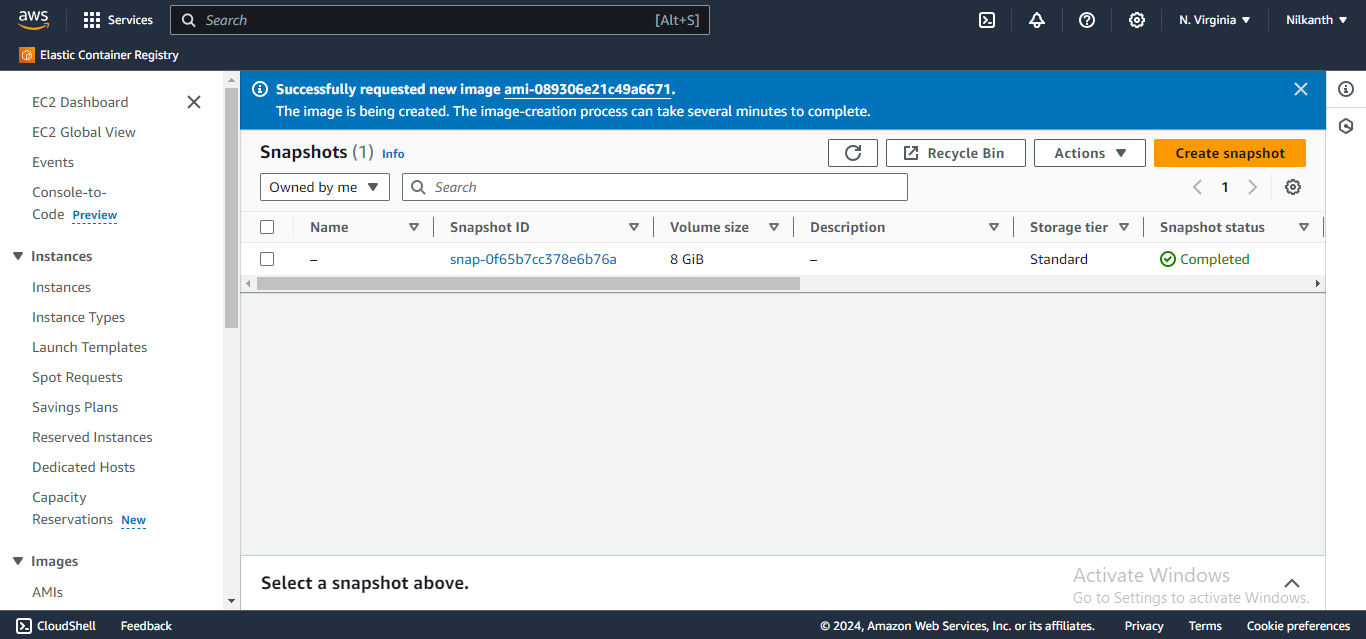
Use the snapshot to launch a new EC2 instance.
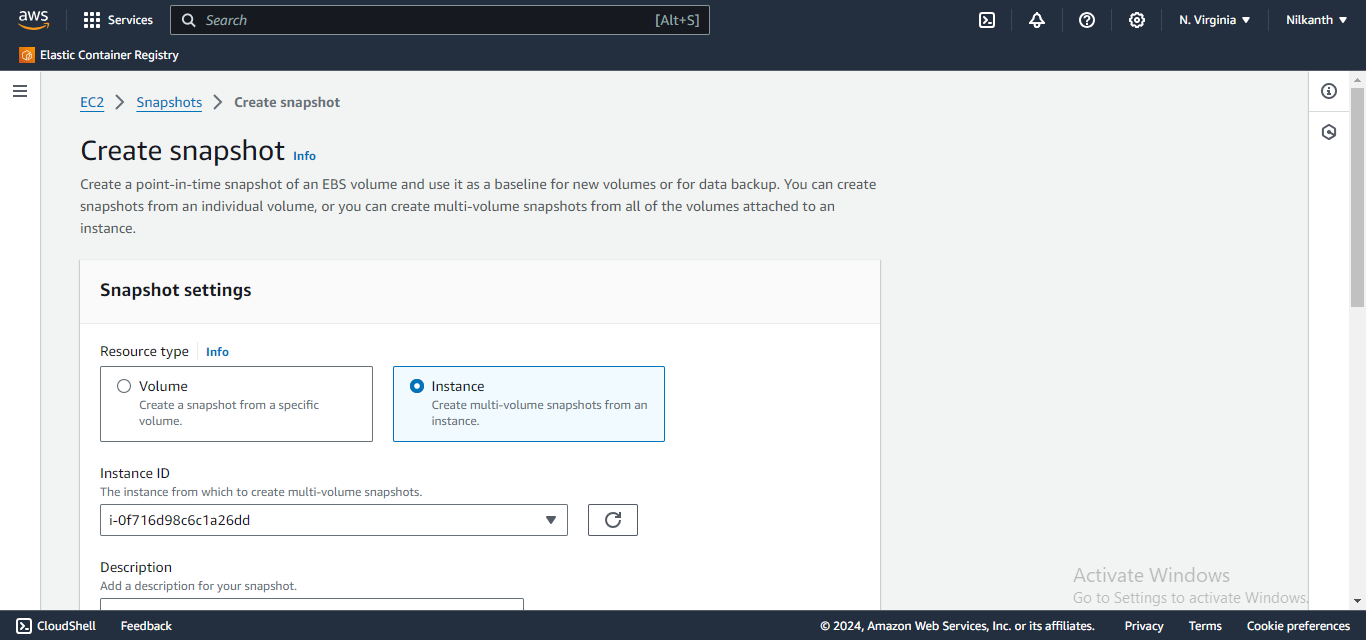
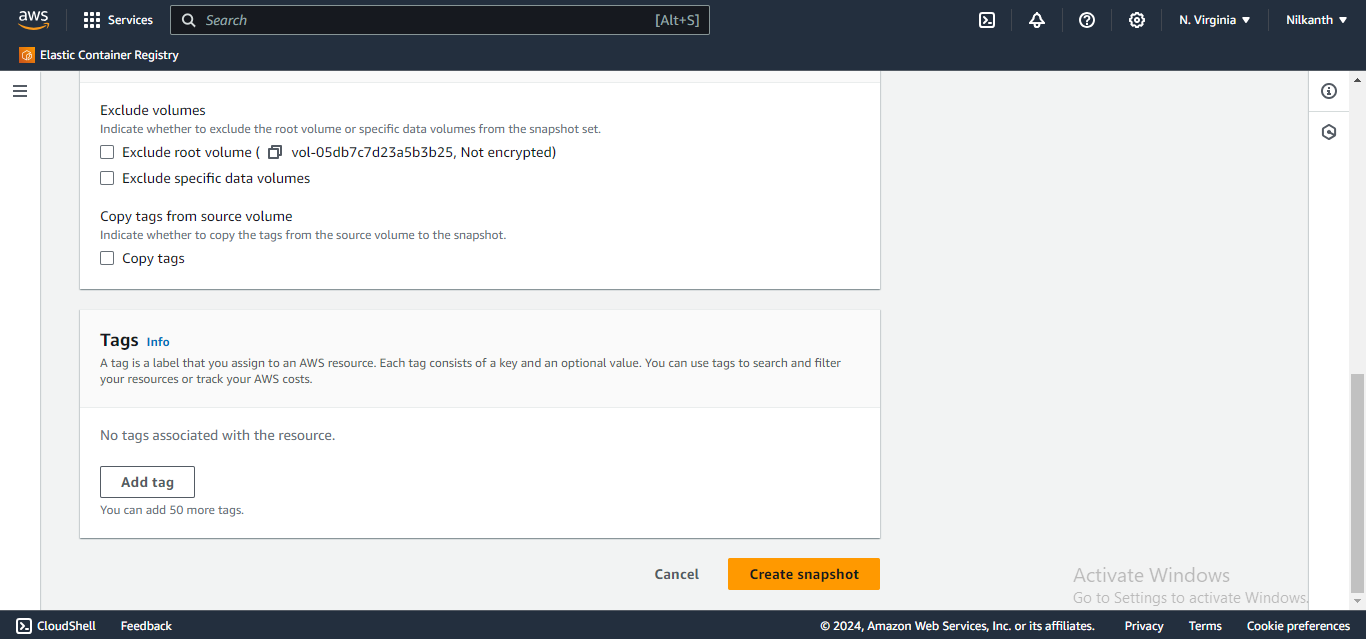
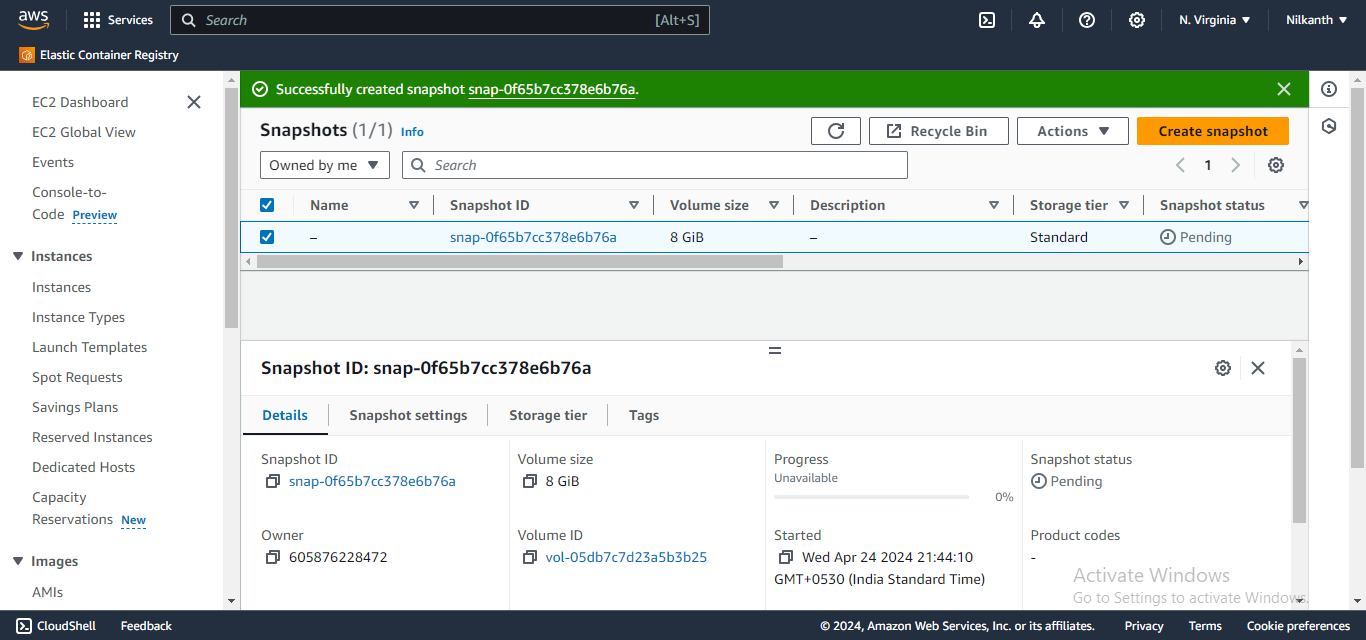
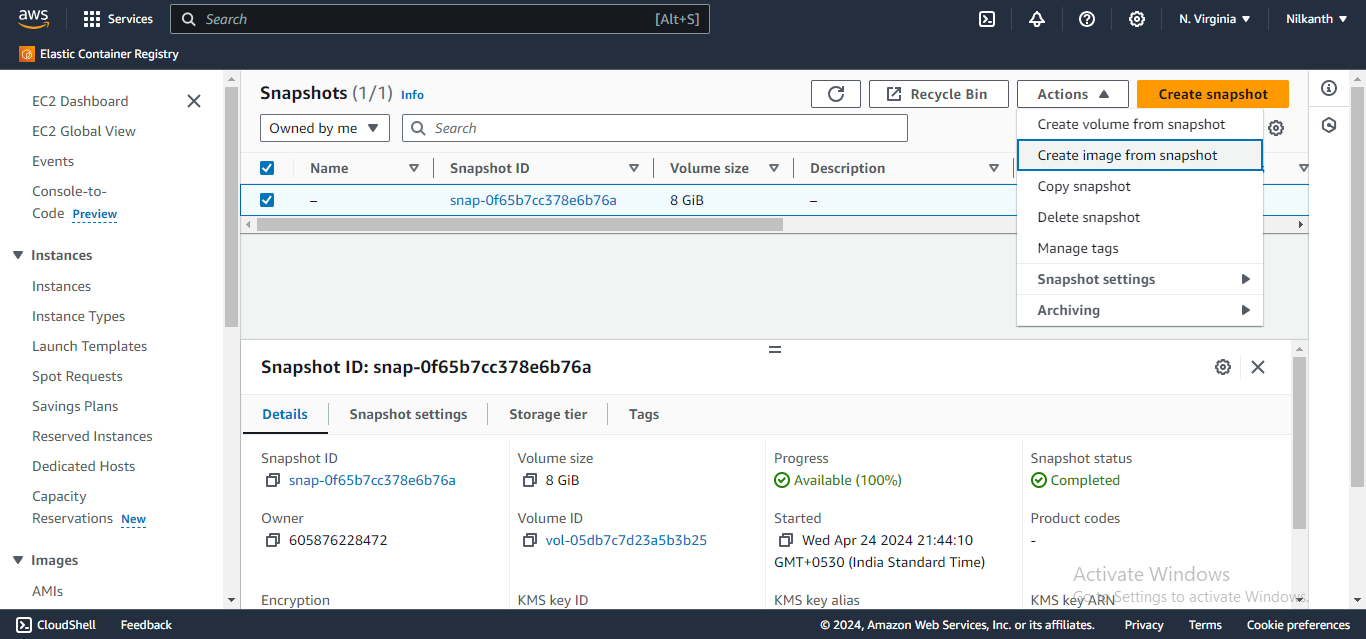
In the right side, click on Actions and select 'Create image from snapshot'.
In the "Create Image from snapshot" window, enter a name and description for the image.
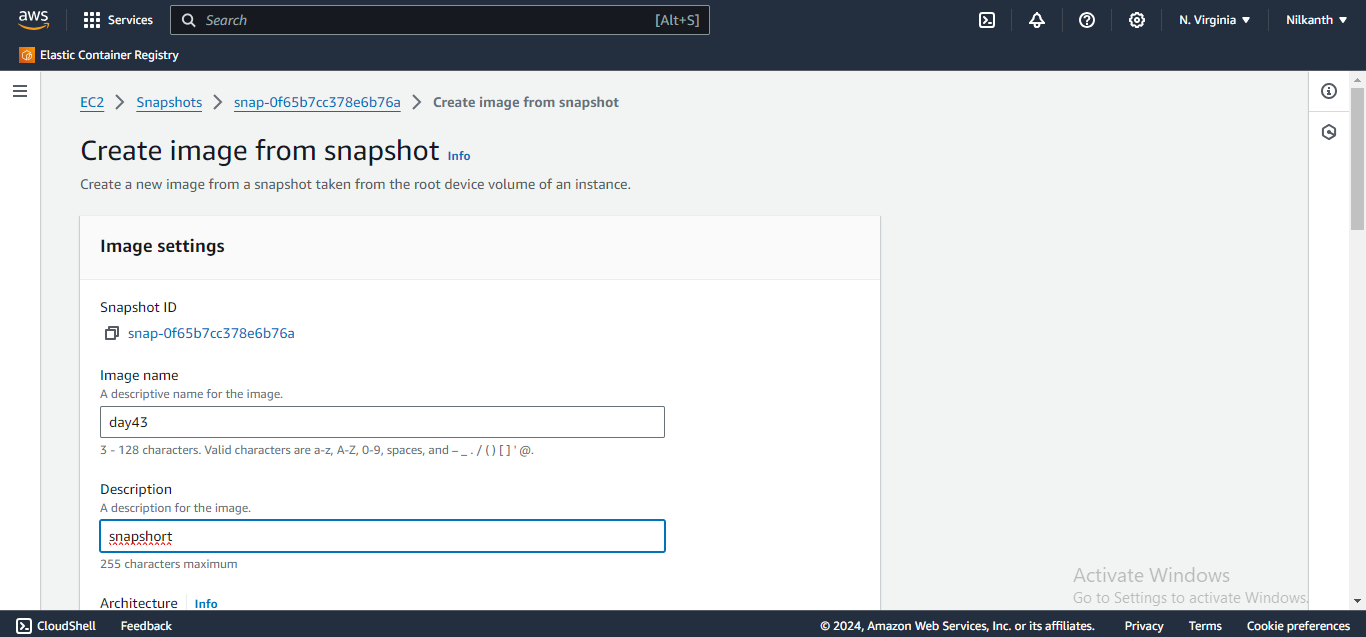
Click on 'create image'.
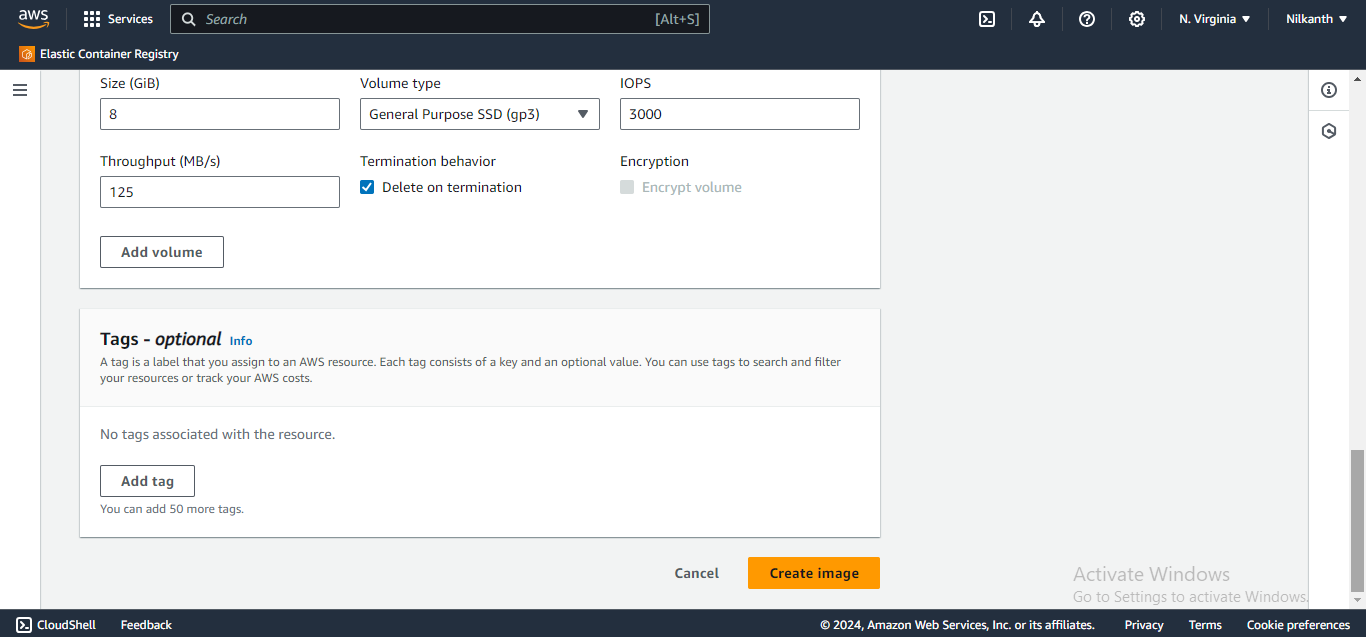
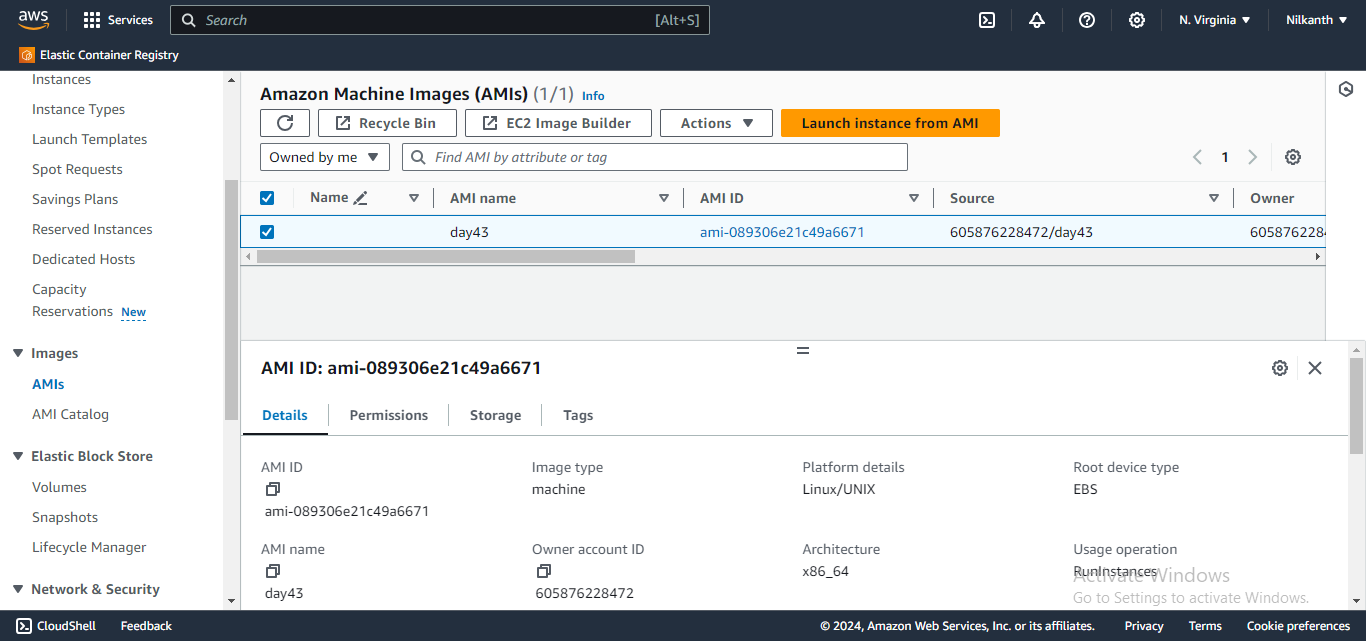
Once the image is created, go to the "AMIs" section in the EC2 Dashboard.
Select the newly created AMI, right-click on it, and select "Launch Instance."
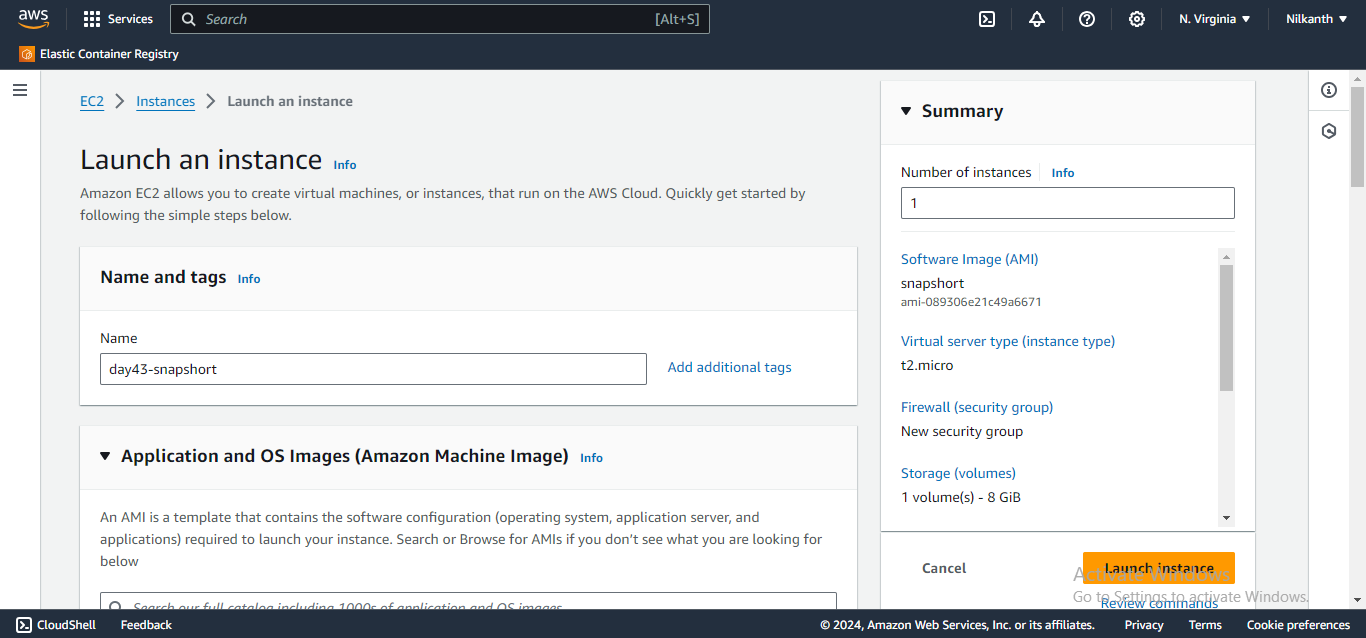
In the "Launch Instance" window, choose the configuration options for the new instance.
Choose the VPC and subnet you want to launch the new instance in.
In the "Add Storage" section, you can choose to modify the storage volumes as per your requirements.
Review the instance details and click "Launch instance" to launch the new instance.
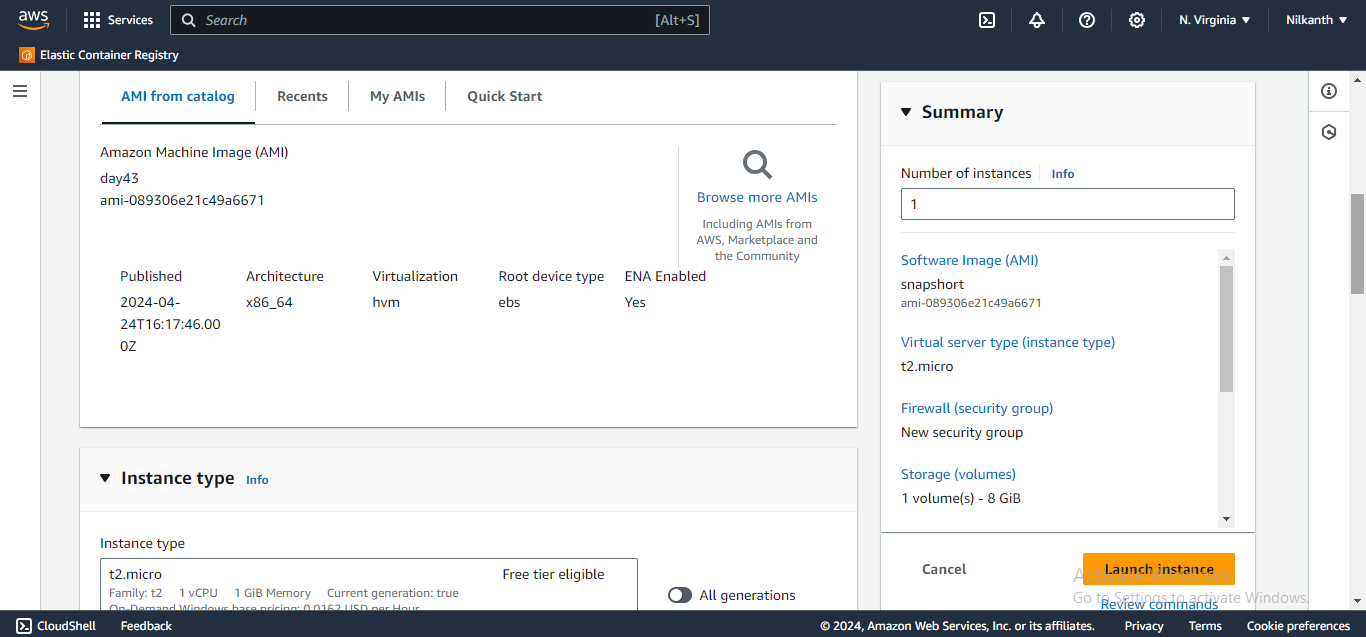
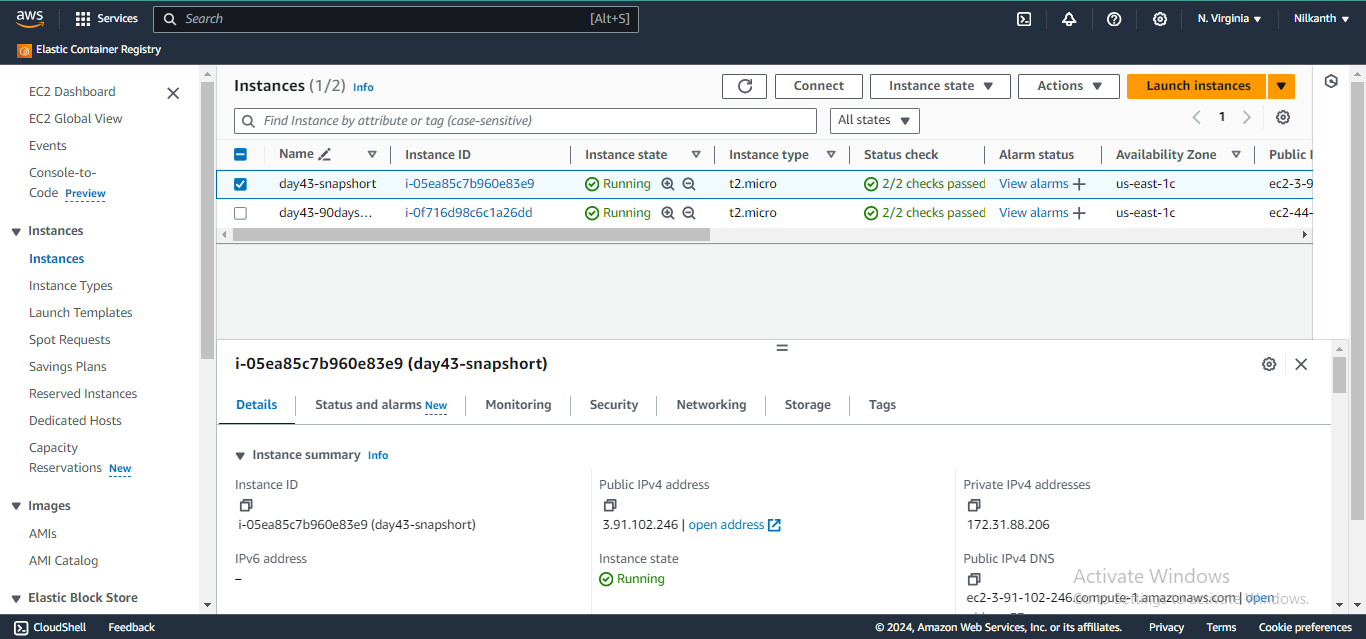
Connect to instance using SSH:
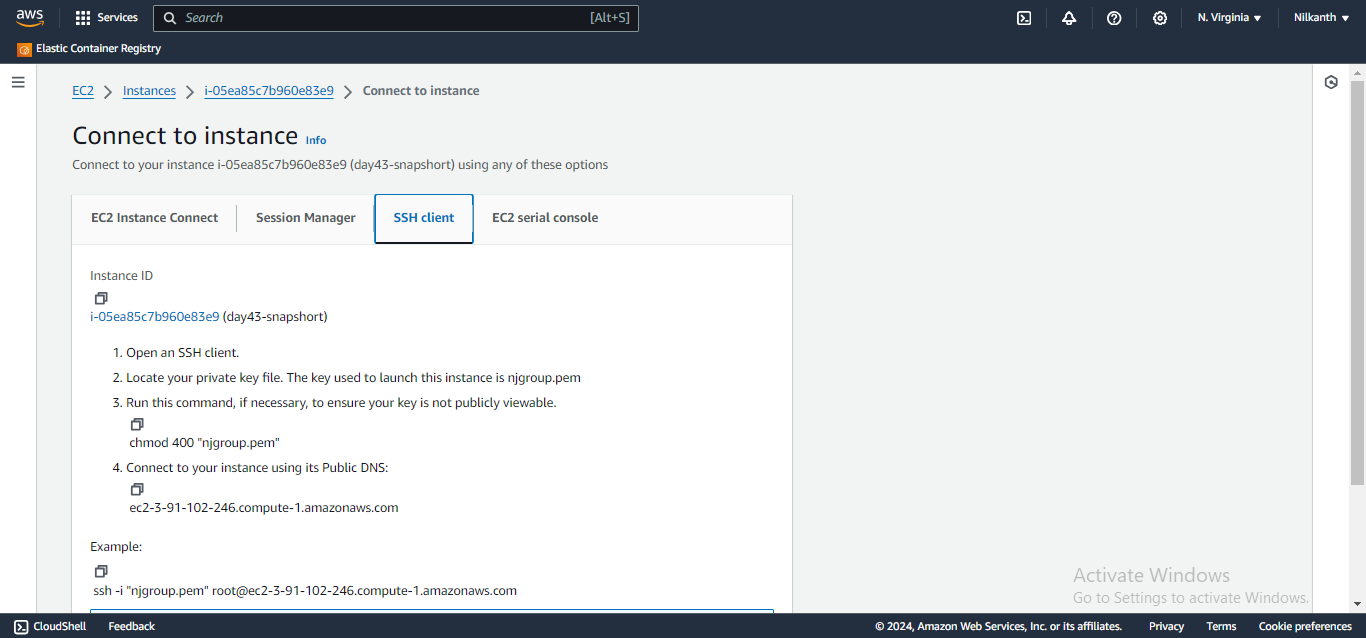
Here, login as the user "ubuntu" rather than the user "root".
Download a file from the S3 bucket using the AWS CLI.
Use the aws s3 cp command to download the file from your S3 bucket to your EC2 instance.
aws s3 cp s3://BUCKET_NAME/PATH/TO/FILE /PATH/TO/LOCAL/FILE
Verify that the contents of the file are the same on both EC2 instances.
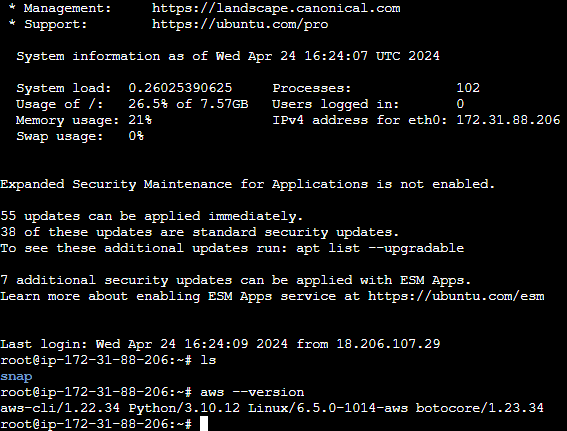
AWS CLI commands for S3:
Here are some commonly used AWS CLI commands for Amazon S3:
aws s3 ls📂 This command lists all of the S3 buckets in your AWS account.aws s3 mb📁 This command creates a new S3 bucket with the specified name.aws s3 rb🗑️ This command deletes the specified S3 bucket.aws s3 cp🔄 This command uploads a file to an S3 bucket.aws s3 sync🔄 This command syncs the contents of a local folder with an S3 bucket.aws s3 rm🗑️ This command deletes an object from an S3 bucket.aws s3 presign📝 This command generates a pre-signed URL for an S3 object, which can be used to grant temporary access to the object.aws s3api list-buckets📋 This command retrieves a list of all S3 buckets in your AWS account, using the S3 API.
Thank you for reading! 🚀
Subscribe to my newsletter
Read articles from Nilkanth Mistry directly inside your inbox. Subscribe to the newsletter, and don't miss out.
Written by

Nilkanth Mistry
Nilkanth Mistry
Embark on a 90-day DevOps journey with me as we tackle challenges, unravel complexities, and conquer the world of seamless software delivery. Join my Hashnode blog series where we'll explore hands-on DevOps scenarios, troubleshooting real-world issues, and mastering the art of efficient deployment. Let's embrace the challenges and elevate our DevOps expertise together! #DevOpsChallenges #HandsOnLearning #ContinuousImprovement