📅 Day-46 - Set up CloudWatch alarms and SNS topic in AWS
 Nilkanth Mistry
Hey learners! 🚀 You've been diving into AWS services for at least the past 45 days. Ever thought about what happens if a service keeps charging you and you're unaware until your pocket money evaporates? 😅
Well, it's time to take charge! Let's set up something to alert you when your bill hits a certain threshold.
Amazon CloudWatch 🌥️
Amazon CloudWatch is like a watchtower 🏰 overseeing your AWS resources and applications, keeping an eye on how they're performing in real time. It collects and tracks metrics 📊, which are like measurements, for your AWS resources and applications.
Example: Imagine you have a website hosted on AWS. CloudWatch can monitor how many visitors 🚶♂️ your website gets, how long they stay, and if there are any errors 🛑 occurring. It's like having a guard 🛡️ watching over your website's health.
Amazon SNS 📩
Amazon Simple Notification Service (SNS) is like a messenger 📬 for AWS services. It delivers messages 📧 or notifications to different endpoints like email, SMS, or even other AWS services.
Example: Let's say you want to get notified 🚨 whenever there's an issue with your website. You can set up SNS to send you an email 📧 whenever CloudWatch detects a problem, like a sudden increase in error rates. It's like having a messenger bird 🐦 delivering important messages directly to you.
In summary, CloudWatch keeps watch over your AWS resources, while SNS delivers notifications about what CloudWatch observes. Together, they help you keep your AWS environment healthy and running smoothly! 🌟
Step 1️⃣: Log in to your AWS Management Console.
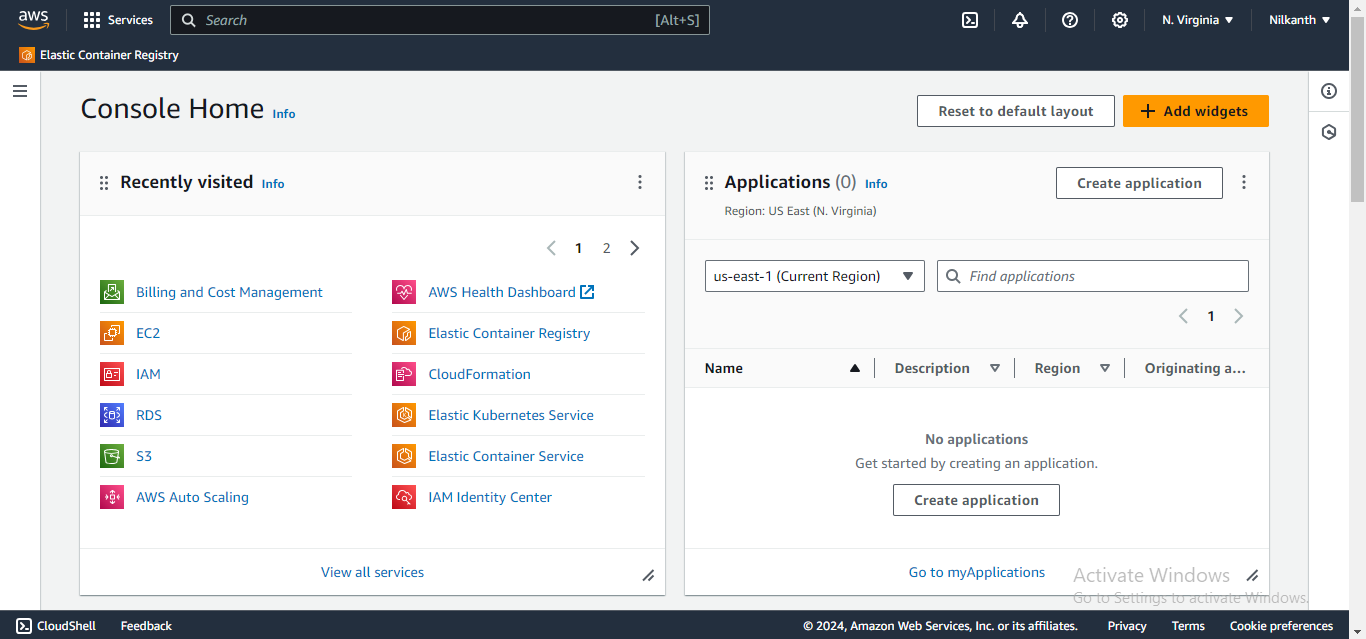
Step 2️⃣: Navigate to the CloudWatch service.
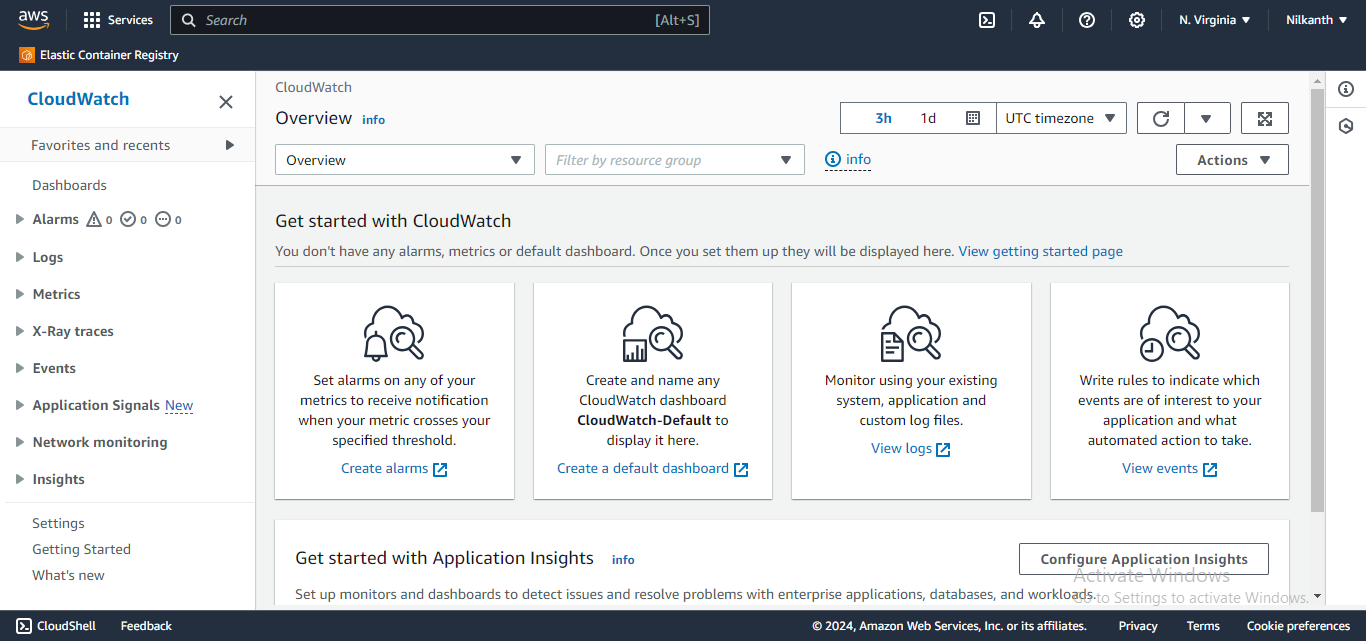
Step 3️⃣: In the CloudWatch dashboard, find and click on "Alarms" in the left-hand menu.
Step 4️⃣: Click on the "Create Alarm" button.
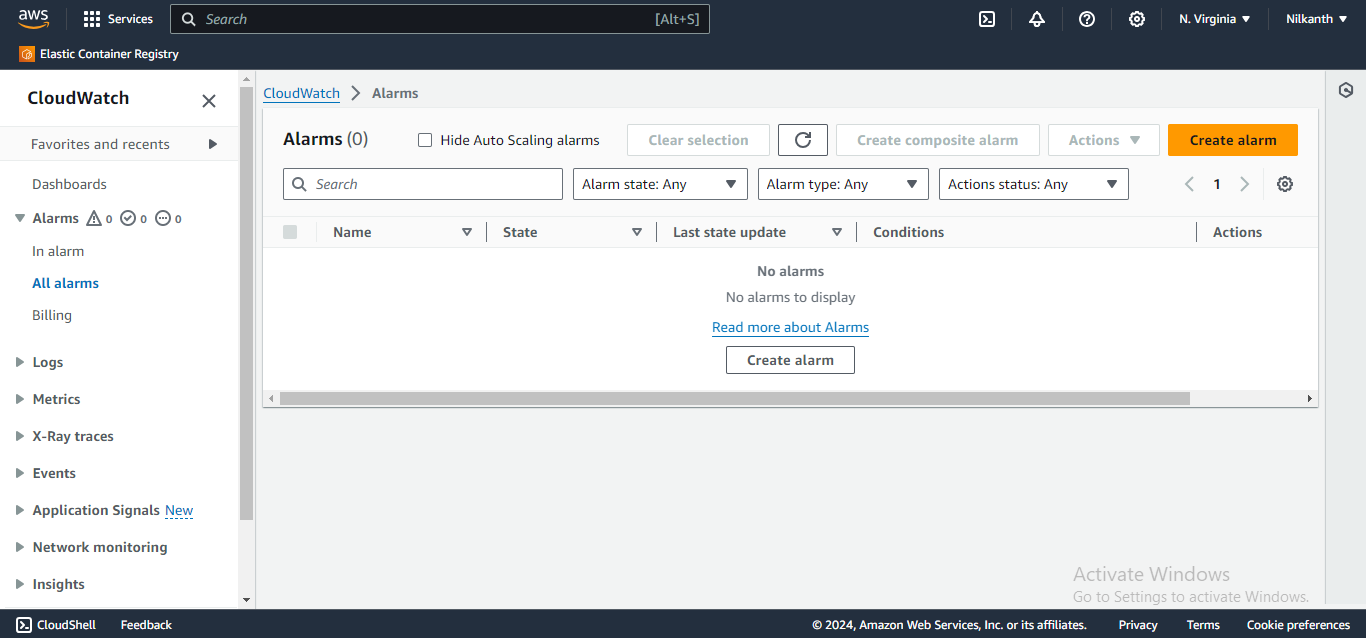
Step 5️⃣: Choose the "Billing" metric.
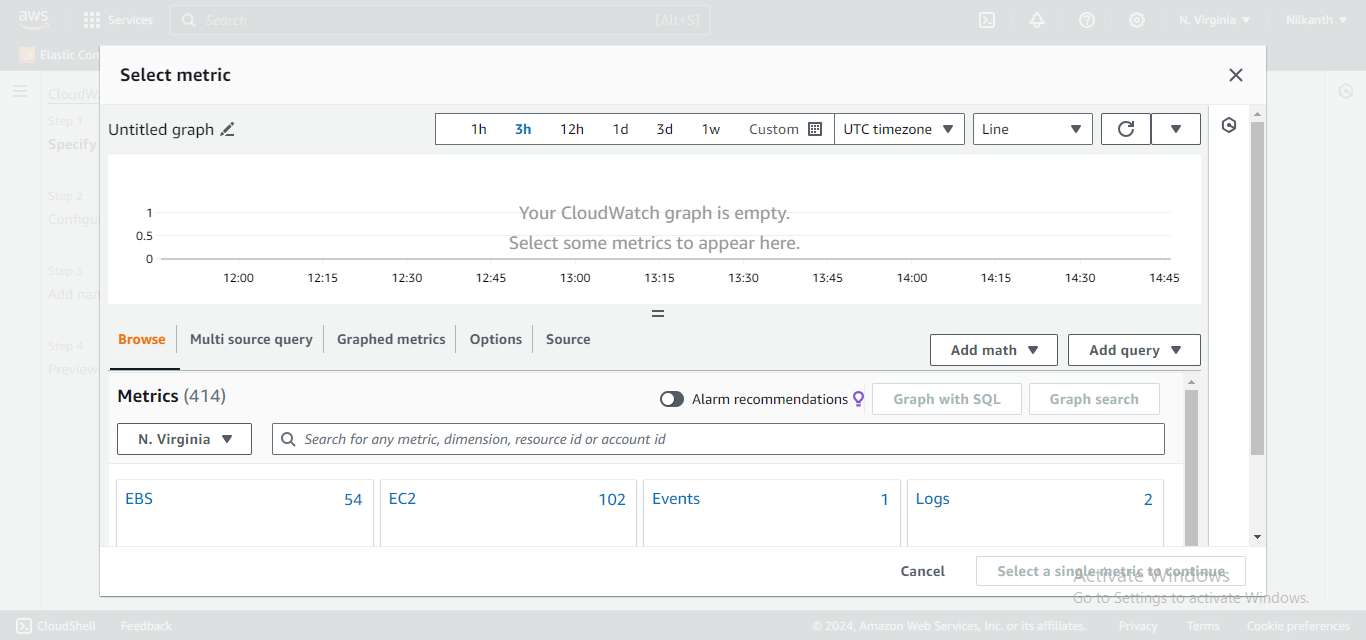
Step 6️⃣: Under "Select metric", choose "Total Estimated Charge".
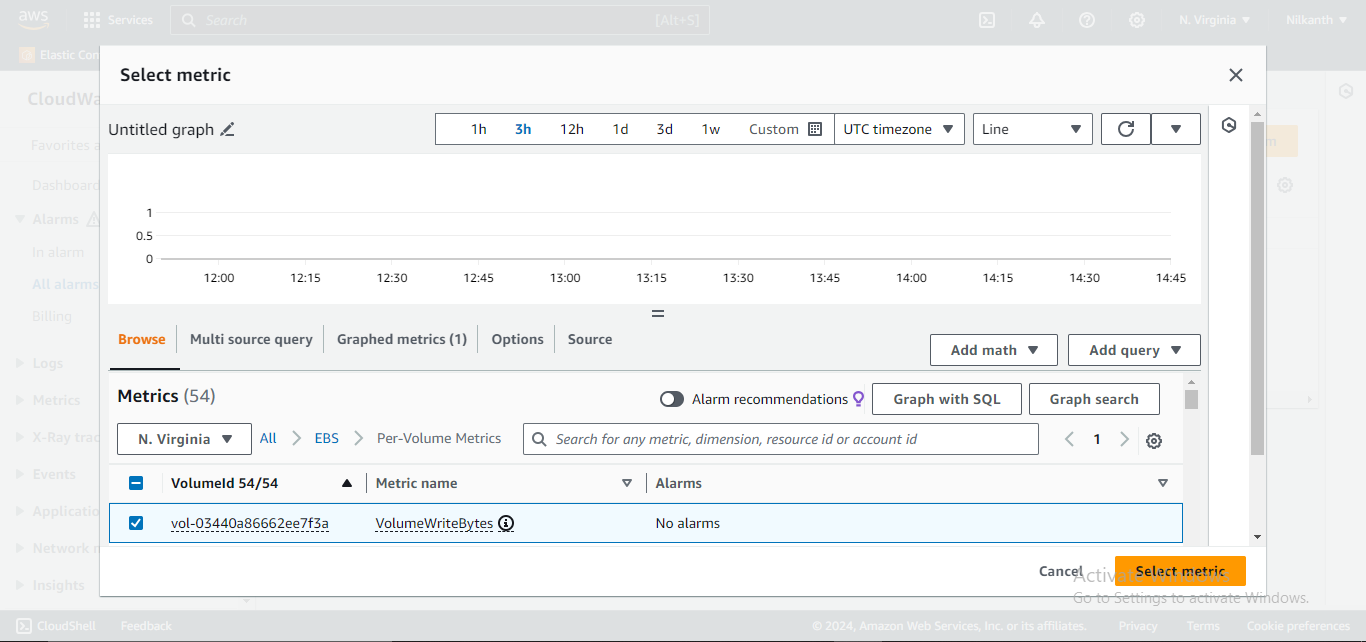
Step 7️⃣: Set the conditions for your alarm. In this case, set it to "Greater" than or equal to $2.
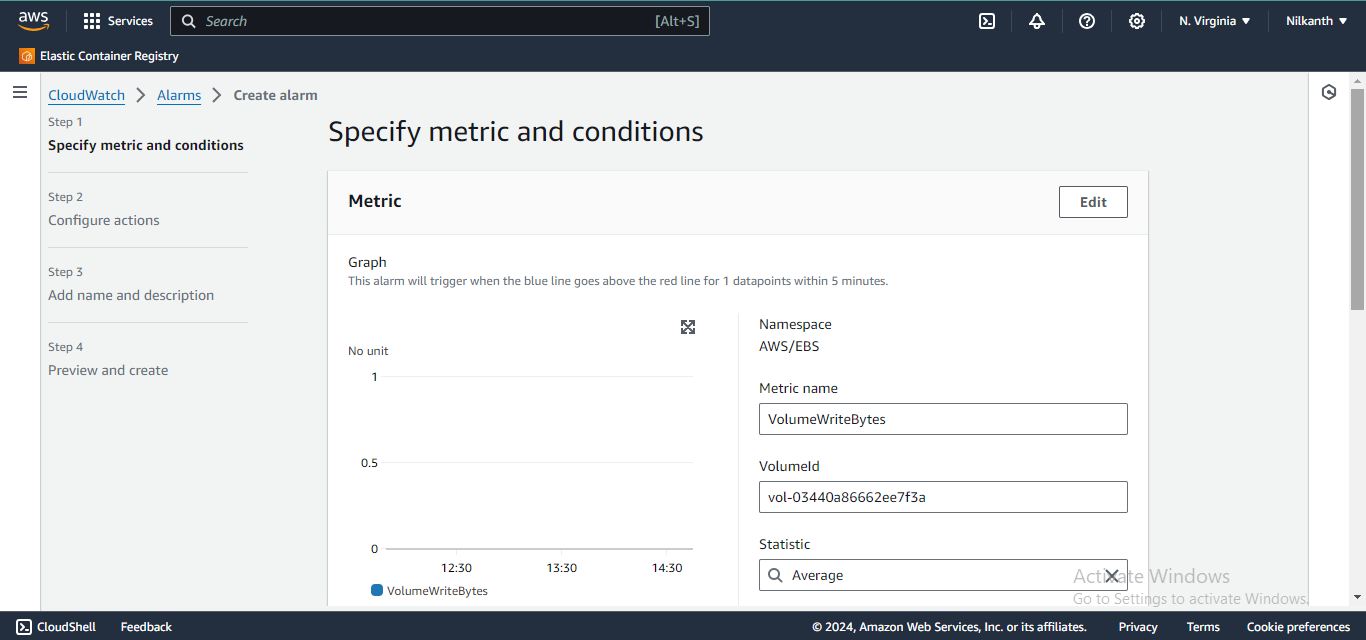
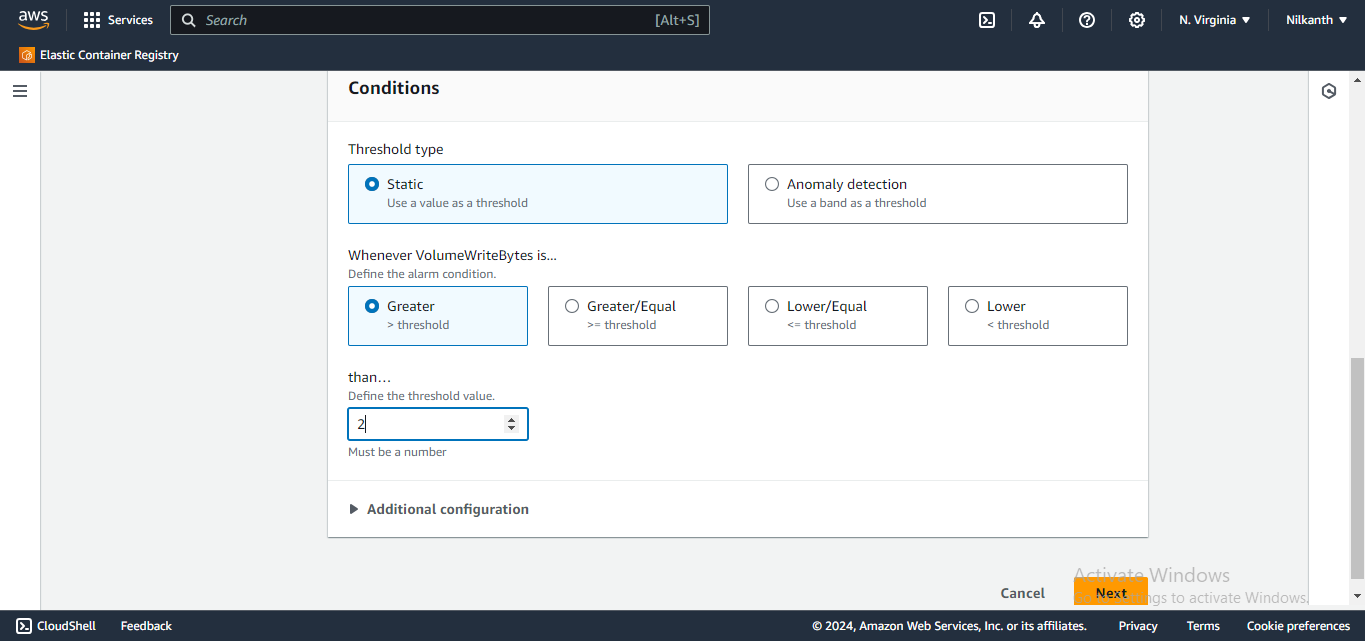
Step 8️⃣: Configure the notification action. Choose "Send a notification to an Amazon SNS topic."
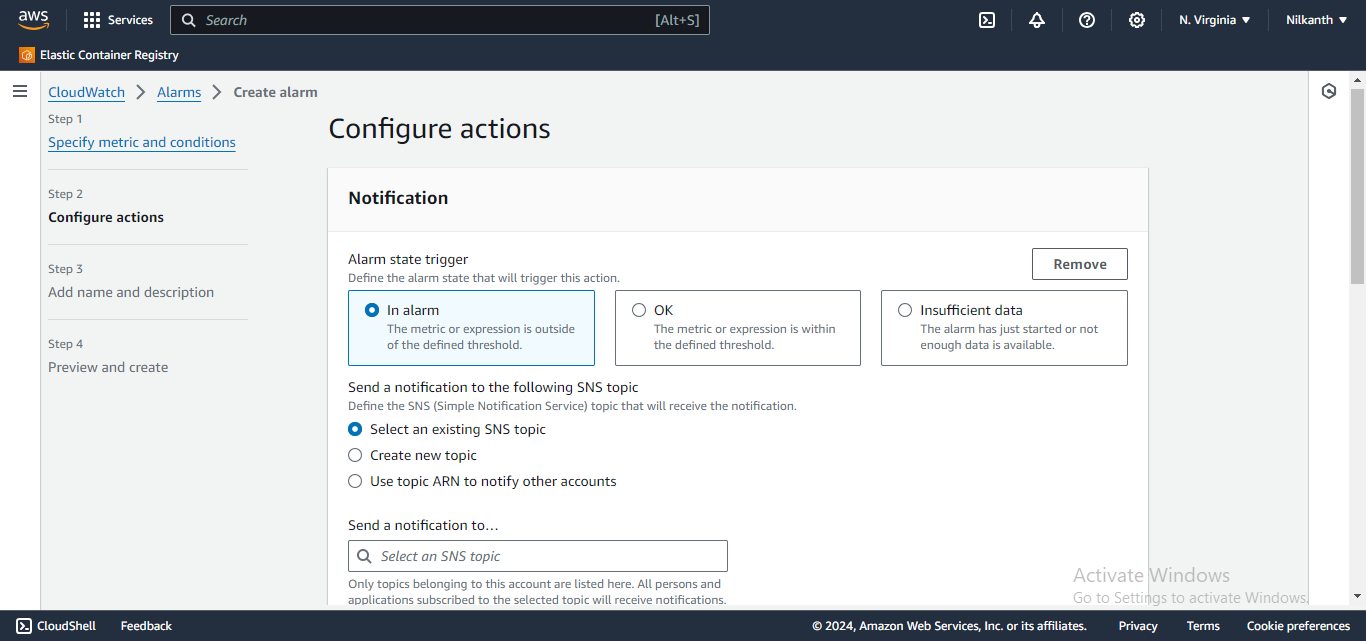
Step 9️⃣: If you haven't set up an SNS topic yet, you'll need to create one. Follow the prompts to create a new SNS topic.
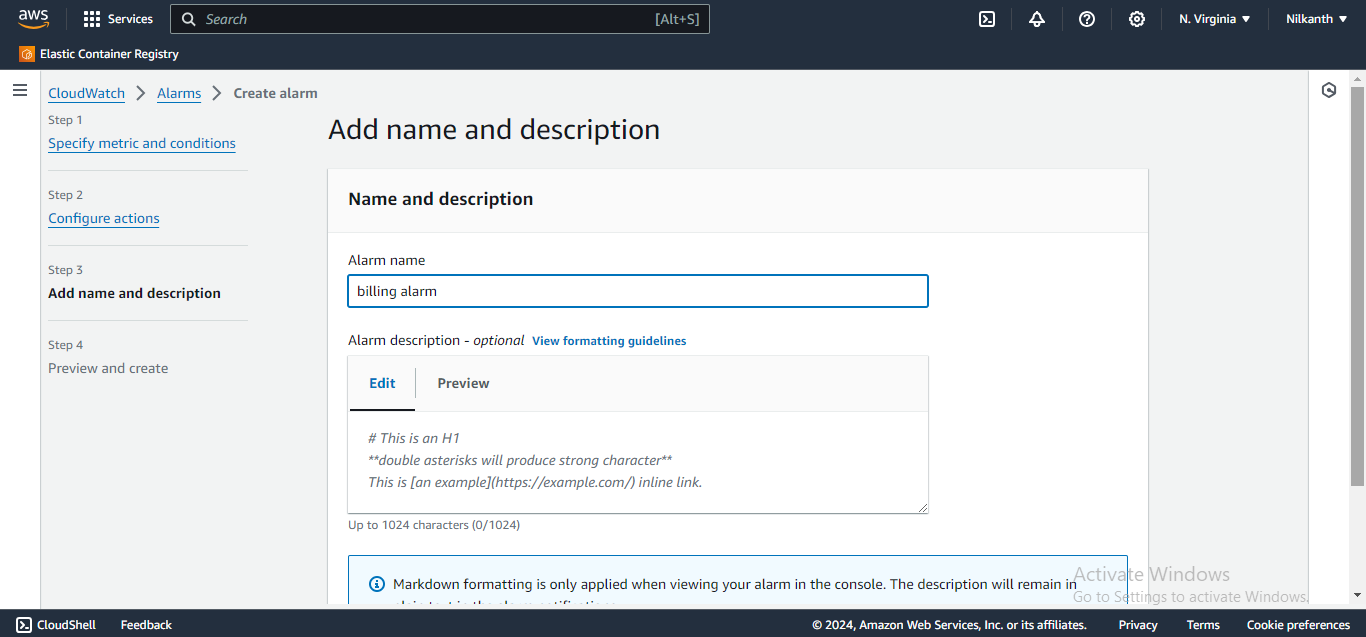
Step 🔟: Give your alarm a name and description.
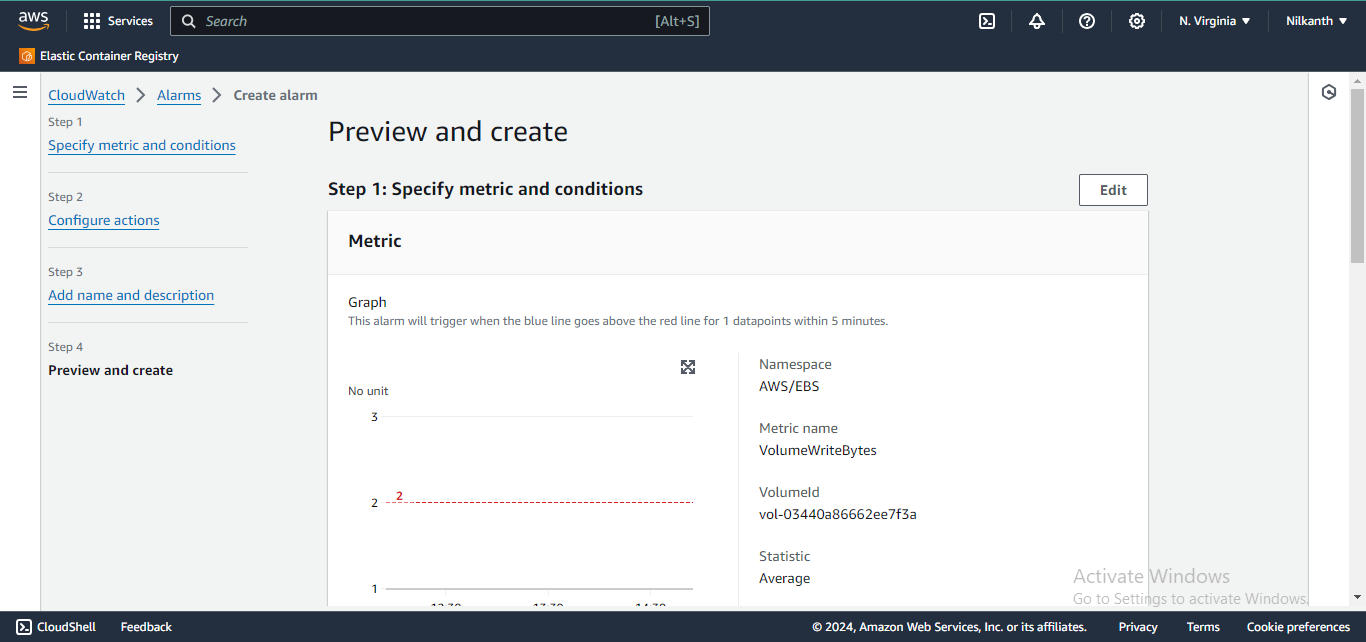
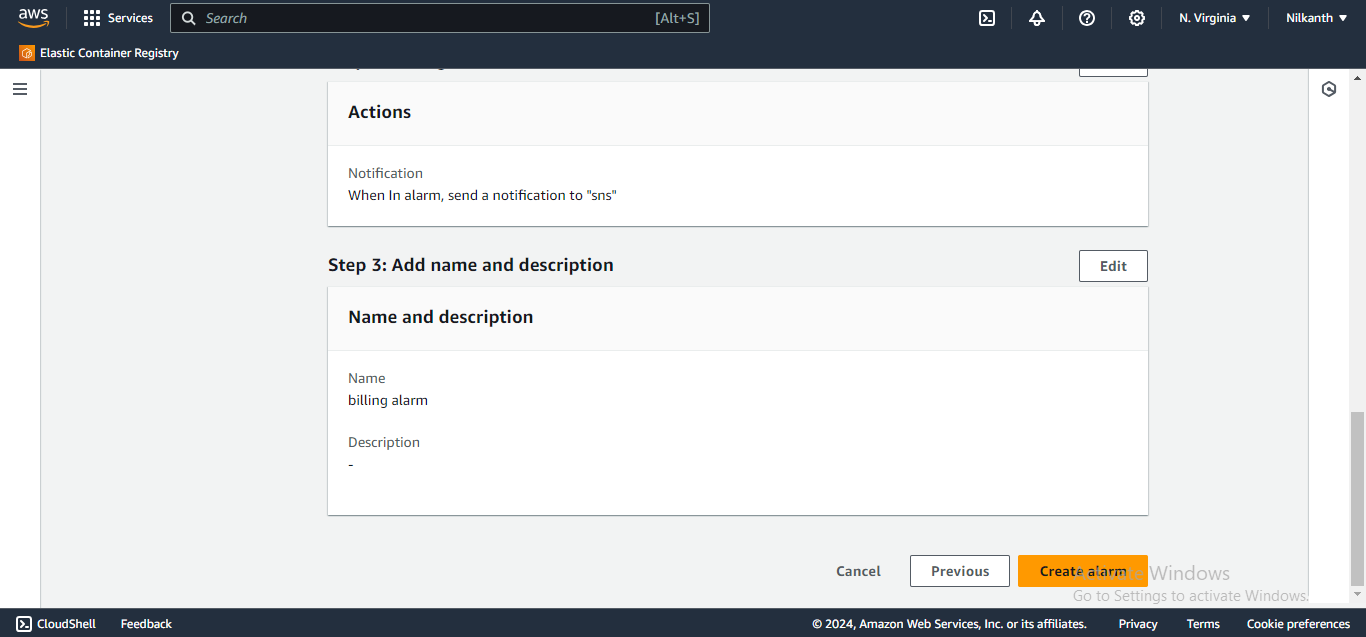
Step 1️⃣1️⃣: Click "Create alarm."
🎉 Congratulations! You've now set up a CloudWatch alarm to monitor your billing and send an email notification when it reaches $2.
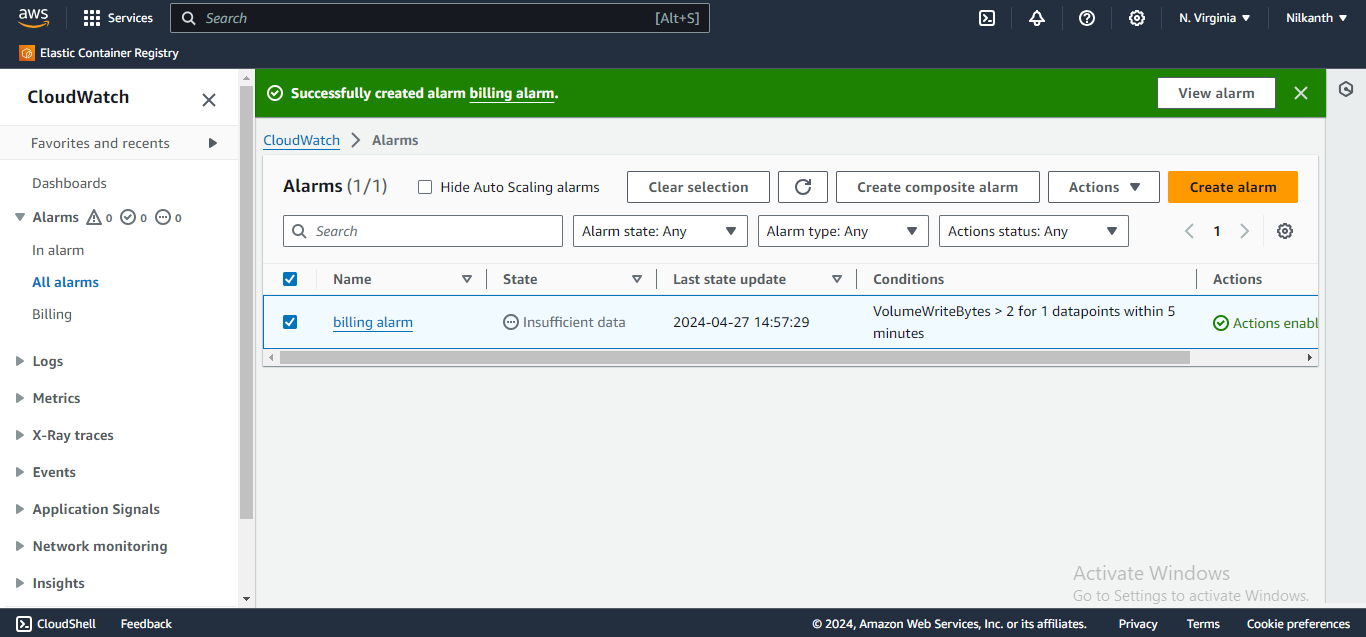
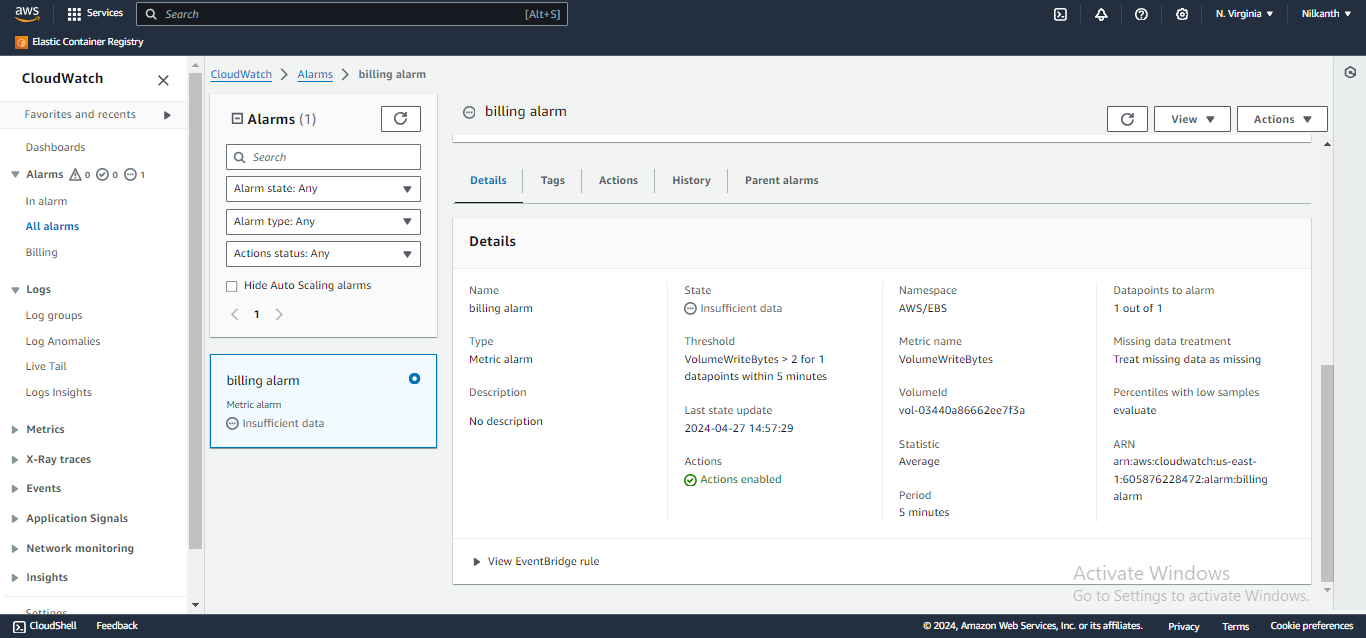
Now, to delete the alarm:
Step 1️⃣: Go back to the CloudWatch dashboard.
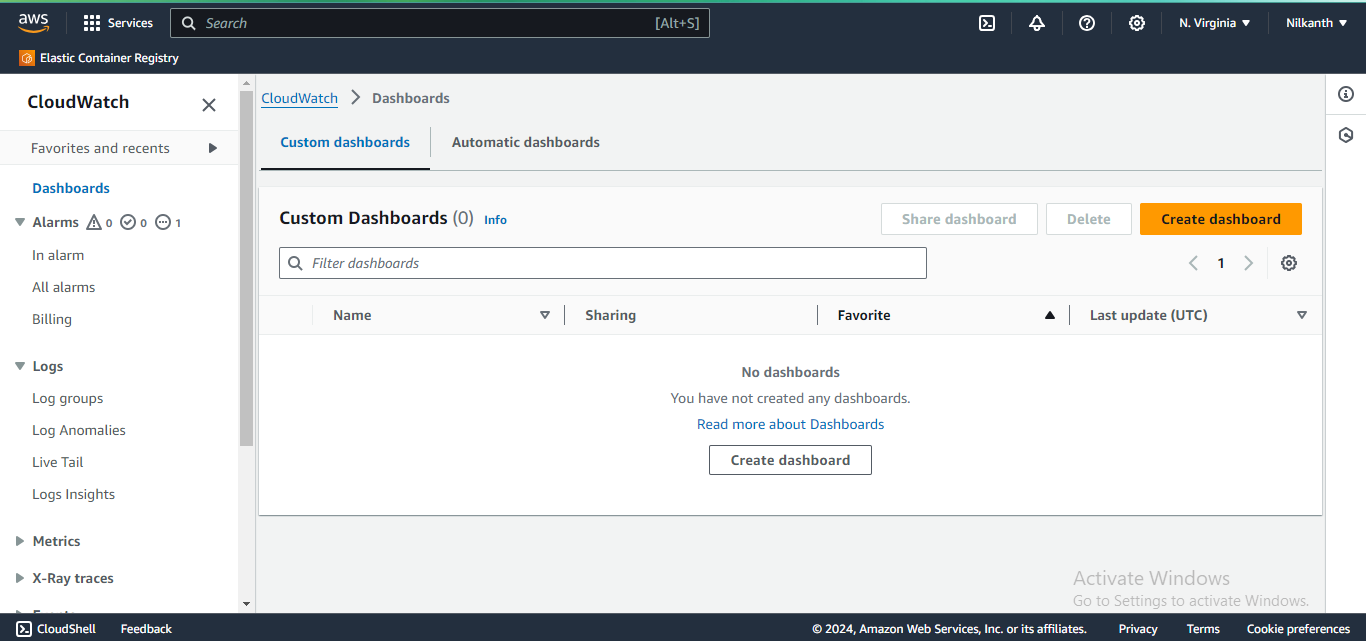
Step 2️⃣: Click on "Alarms" in the left-hand menu.
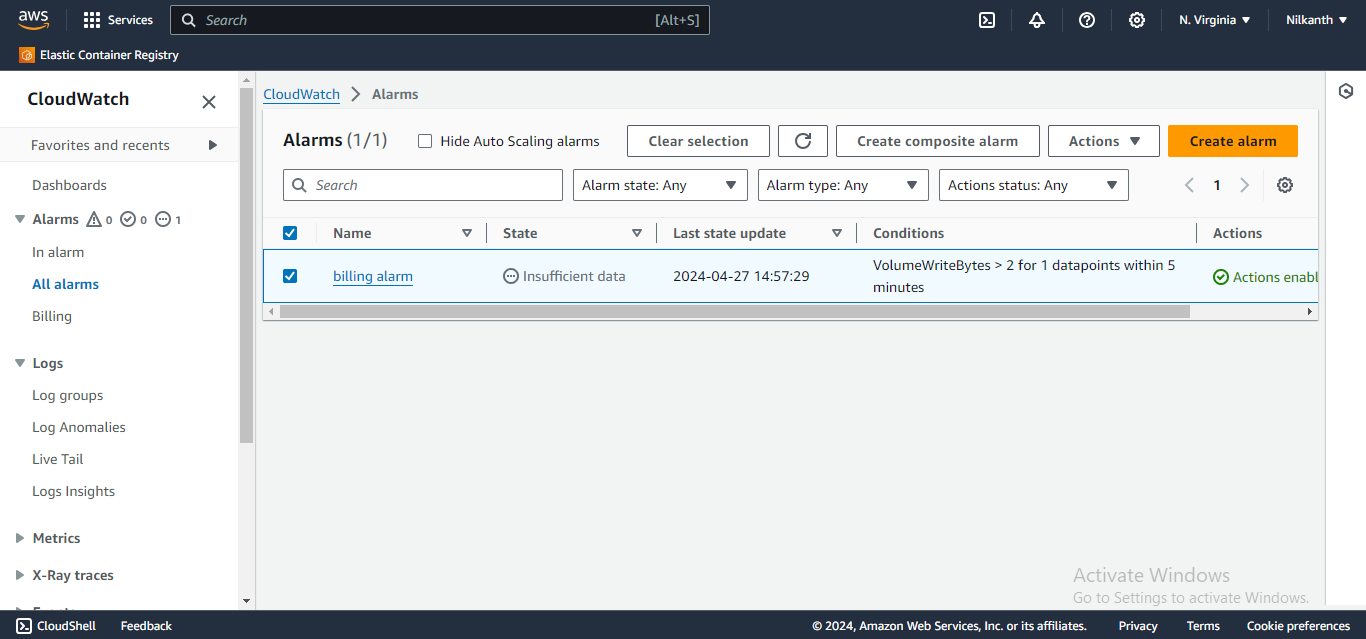
Step 3️⃣: Find the alarm you created (it should be named based on the name you gave it earlier).
Step 4️⃣: Select the alarm by checking the box next to it.
Step 5️⃣: Click on the "Actions" dropdown menu.
Step 6️⃣: Select "Delete."
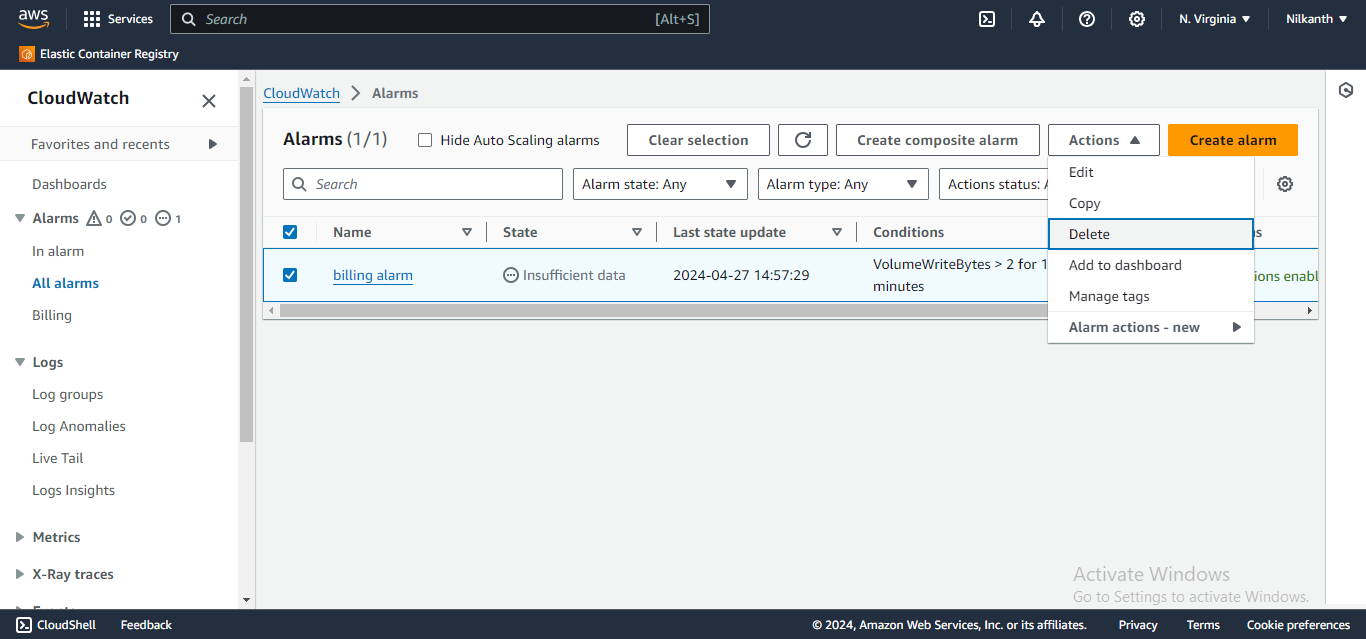
Step 7️⃣: Confirm the deletion.
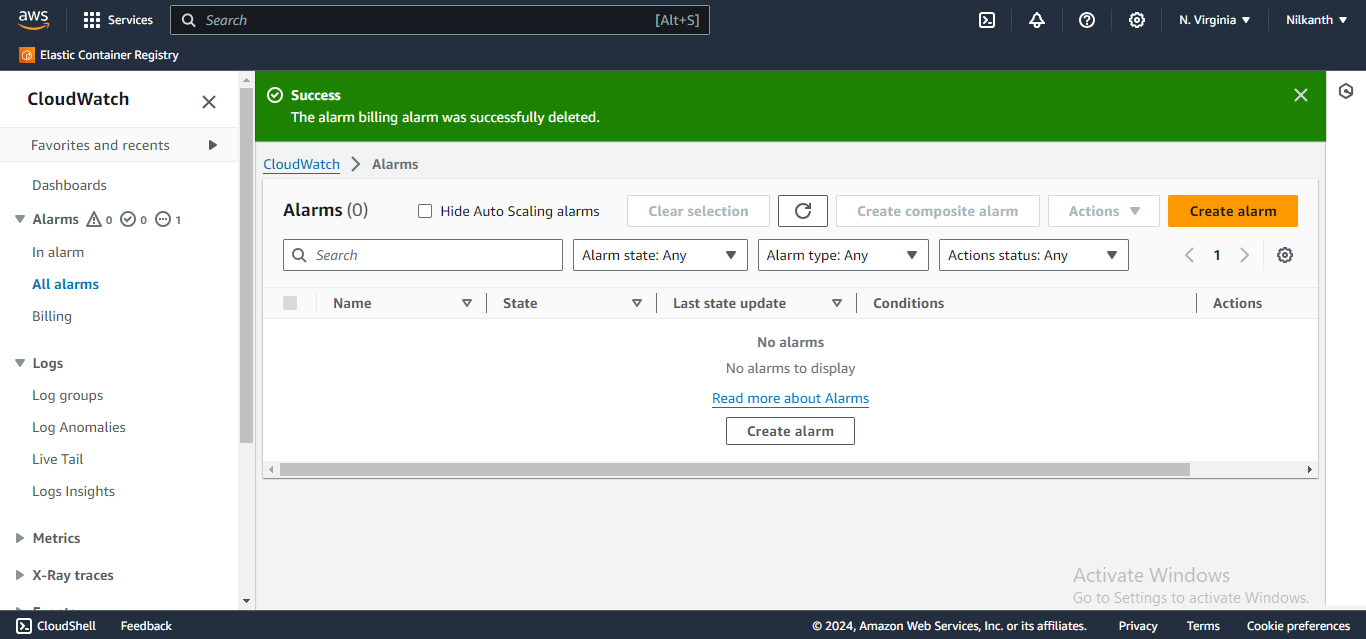
👍 And that's it! You've successfully set up and deleted a CloudWatch alarm for monitoring your AWS billing. Happy learning! 🚀
Subscribe to my newsletter
Read articles from Nilkanth Mistry directly inside your inbox. Subscribe to the newsletter, and don't miss out.
Written by

Nilkanth Mistry
Nilkanth Mistry
Embark on a 90-day DevOps journey with me as we tackle challenges, unravel complexities, and conquer the world of seamless software delivery. Join my Hashnode blog series where we'll explore hands-on DevOps scenarios, troubleshooting real-world issues, and mastering the art of efficient deployment. Let's embrace the challenges and elevate our DevOps expertise together! #DevOpsChallenges #HandsOnLearning #ContinuousImprovement
