Day 51 : Your CI/CD pipeline on AWS - Part 2 🚀 ☁
 Prathmesh Vibhute
Welcome back to the second part of our journey in creating a robust CI/CD pipeline on AWS! In our previous installment, we laid the groundwork by setting up a CodeCommit repository and understanding its key features. Now, let's dive into the next phase of our CI/CD pipeline journey, focusing on AWS services like CodeBuild, CodeDeploy, CodePipeline, and S3.
What is CodeBuild?
AWS CodeBuild is a fully managed build service in the cloud. CodeBuild compiles your source code, runs unit tests, and produces artifacts that are ready to deploy. CodeBuild eliminates the need to provision, manage, and scale your own build servers.
Task-01 :
Read about Buildspec file for Codebuild.
A Buildspec file is a YAML file that defines the build process for your CodeBuild project. It contains a series of commands that CodeBuild will execute to build and package your application.
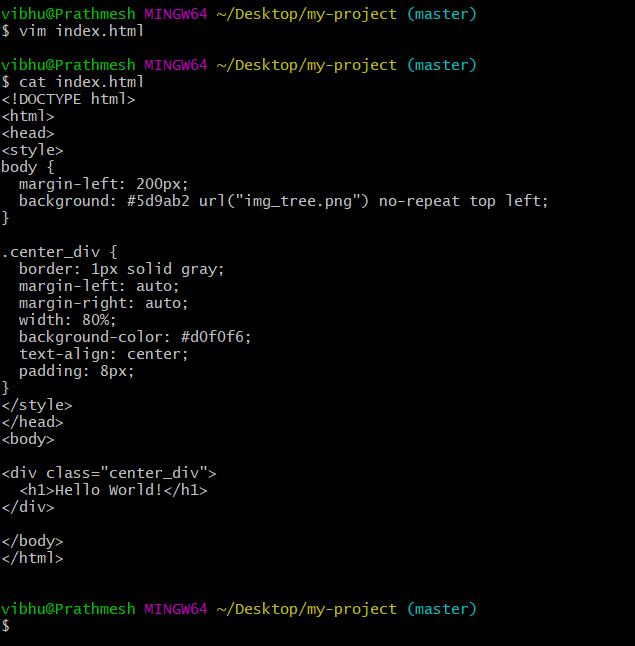
Create a simple index.html file in CodeCommit Repository.
you have to build the index.html using nginx server
Login to your AWS account by using valid credentials. Search CodeCommit from the search box and click on it. Click on Create repository. Enter mandatory details like the Repository name and Create a code commit repository.

Copy clone HTTPS URL.
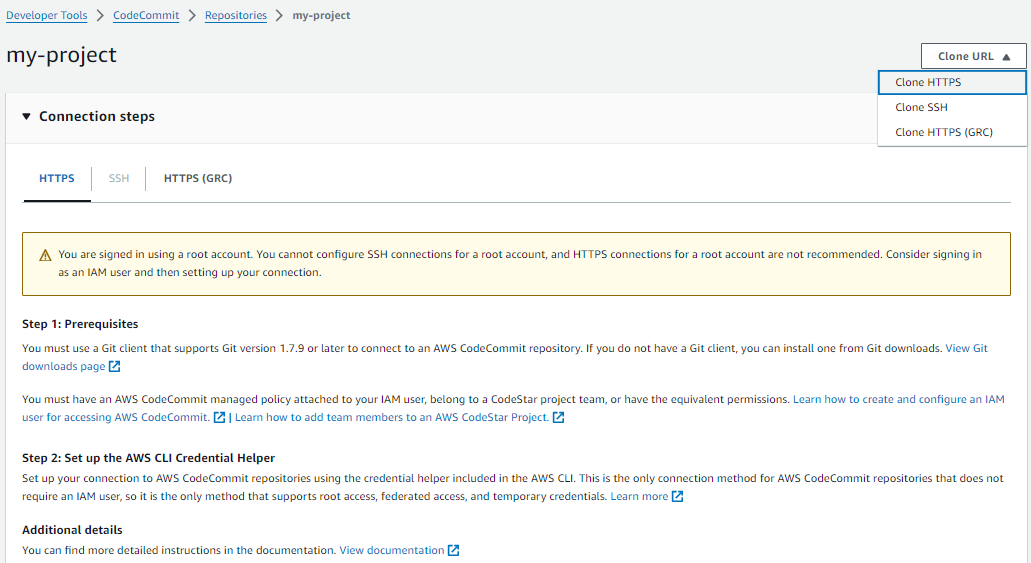
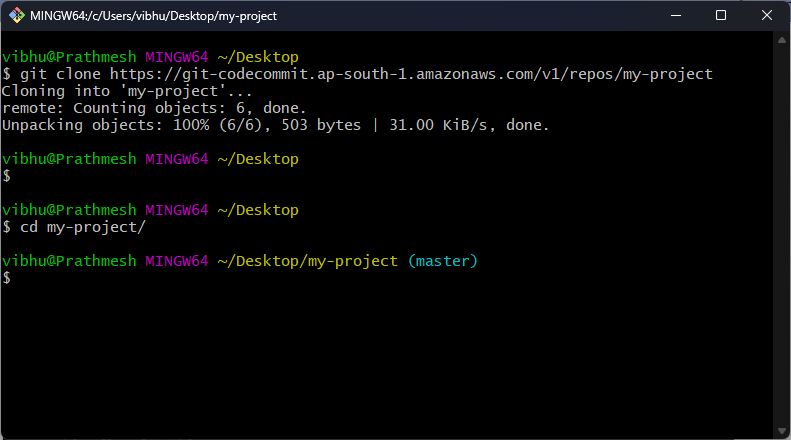
In git bash, clone the repository to your local machine using the git clone command.
Inside code commit repository create a index.html file
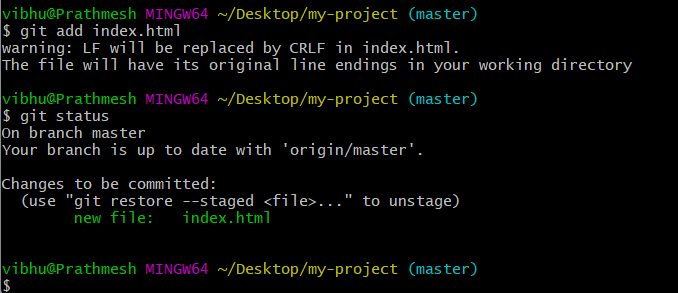
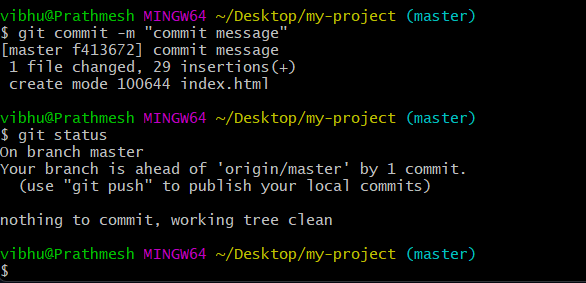
Save the file and commit the changes to the repository using the git add and git commit commands.
git add <file-name>
git commit -m "commit message"
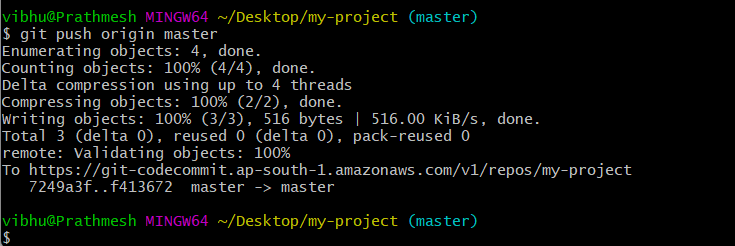
Push the changes to the repository using the git push command.
git push origin master
You have a simple index.html file in your CodeCommit repository

Task-02 :
Add buildspec.yaml file to CodeCommit Repository and complete the build process.
Create a Buildspec file to build the file using an nginx server.
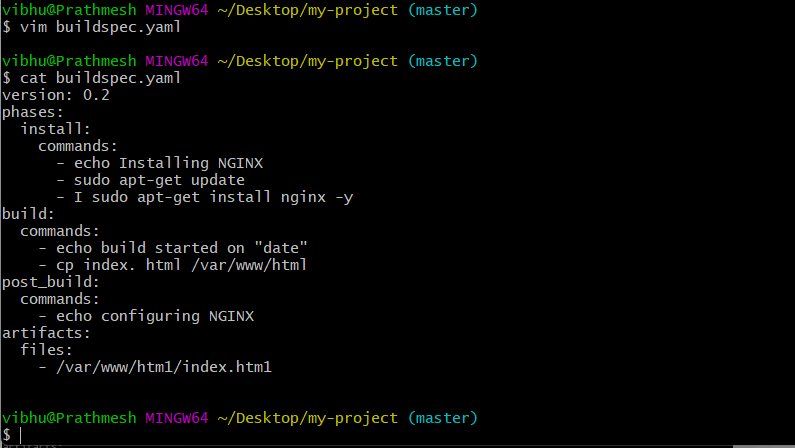
Here's what each step of the build does:
version: 0.2 specifies the version of the Buildspec syntax we're using.
phases contains the build phases for our project.
install: Installs nginx on the build environment using the apt-get package manager.
build: Copies the index.html file to the default web root directory for nginx.
post_build: Performs any additional configuration for nginx, if necessary.
artifacts: Specifies the location of the index.html file to be included in the build artifact.
Save the file and commit the changes to the repository using the git add and git commit commands.
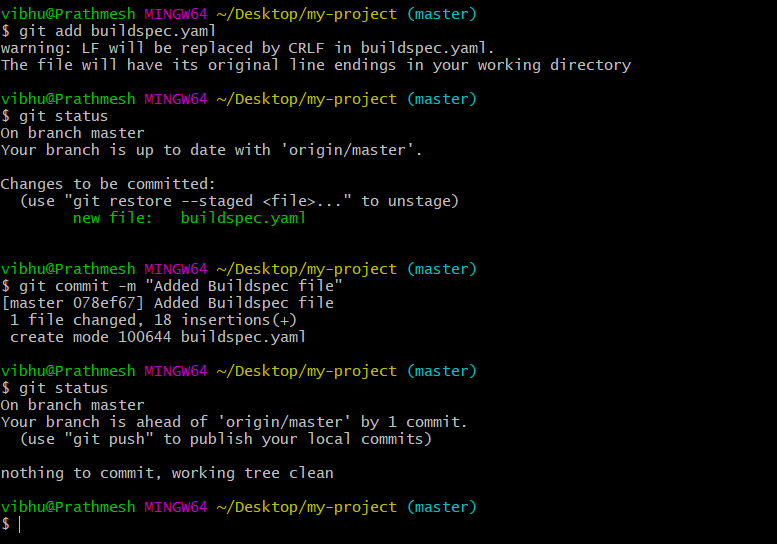
Push the changes to the code commit repository

You have a buildspec.yaml and index.html file in your CodeCommit repository
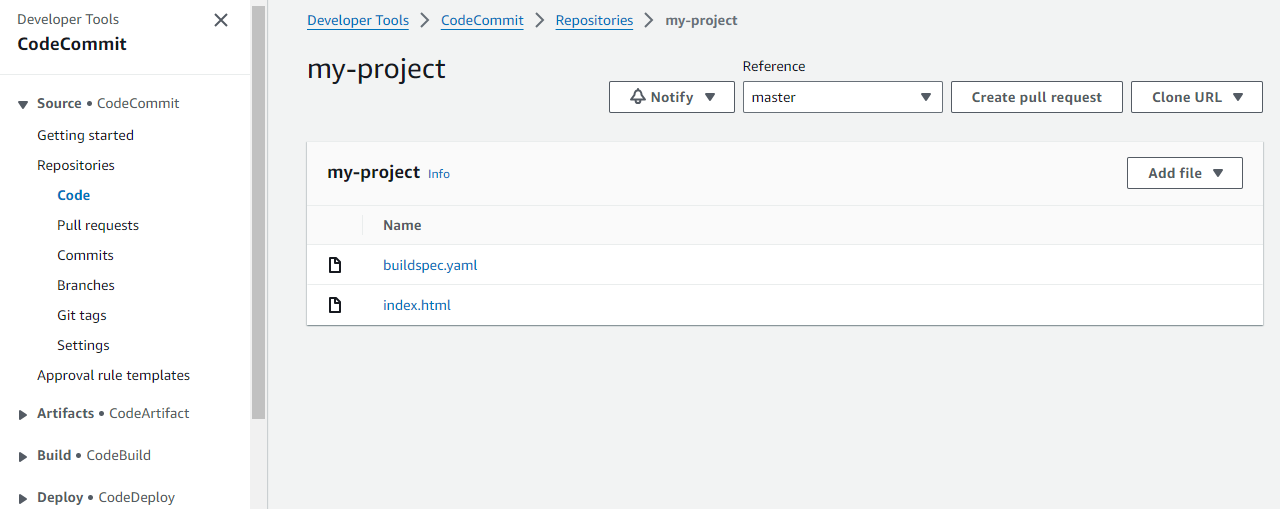
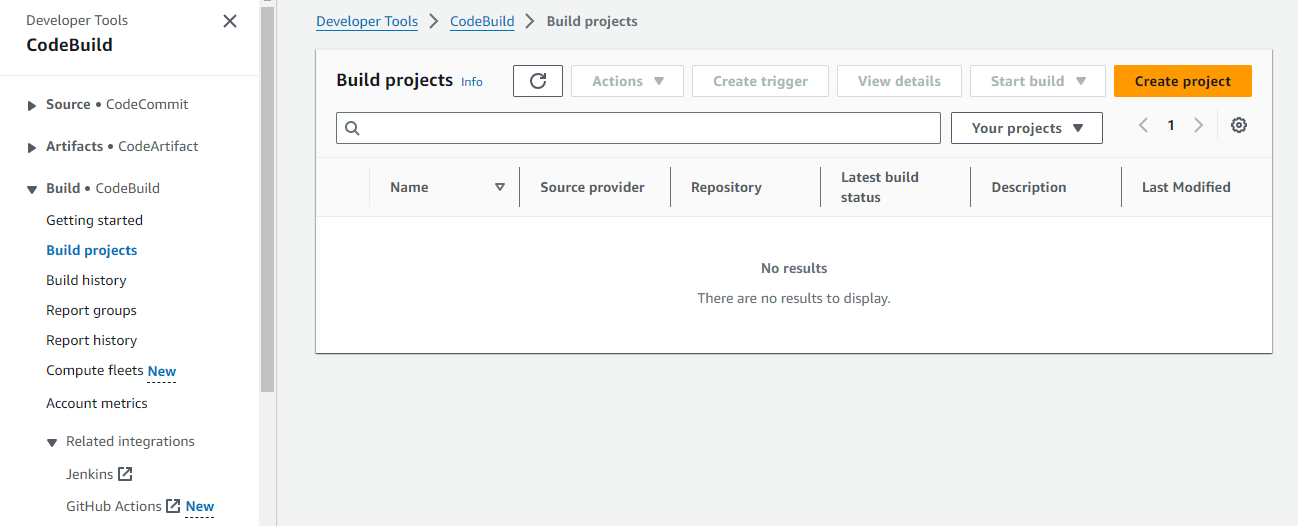
Create build project:
Go to the CodeBuild service. Click the "Create build project" button.
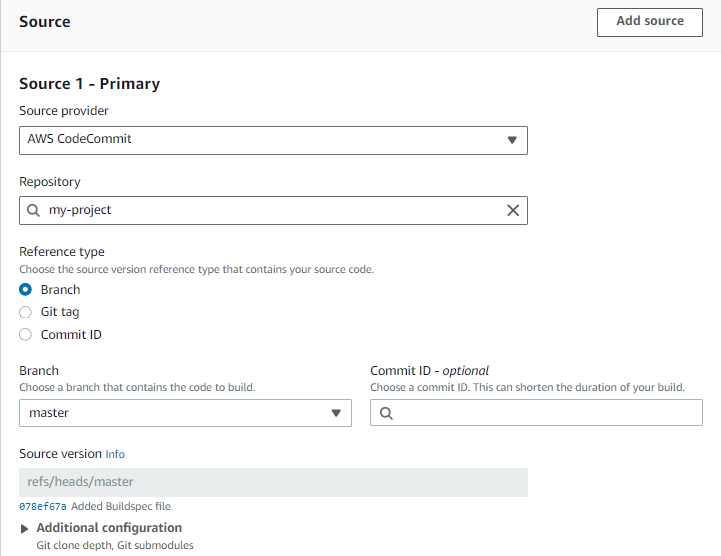
Fill in the details of your build project, including the project name, source provider (CodeCommit), repository, and branch.
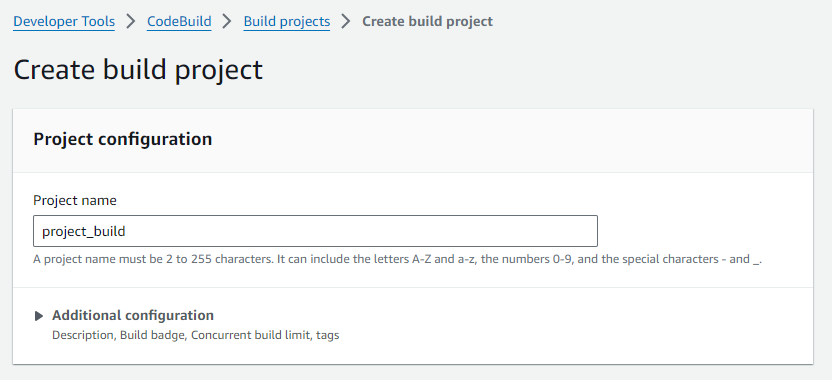
In source section, select source provider AWS CodeCommit, select Repository that you created earlier and select branch master.
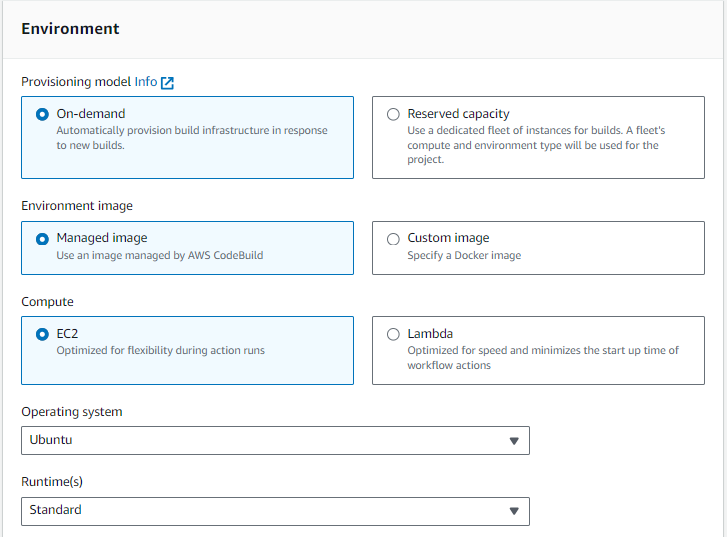
In Environment section, choose operating system, runtime ad image.
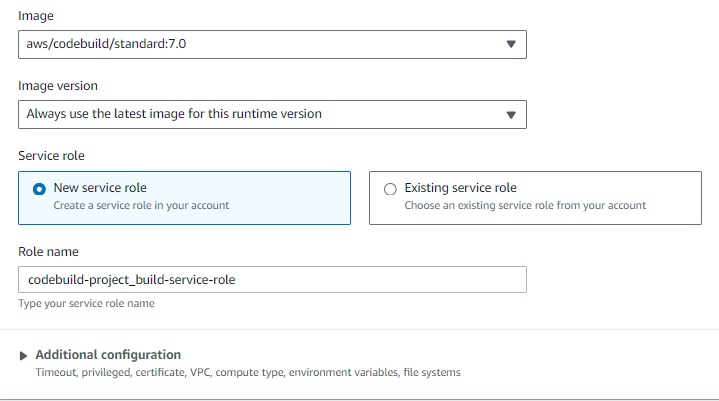
Create a new service role and Under the "Buildspec" section, choose "Use a buildspec file".
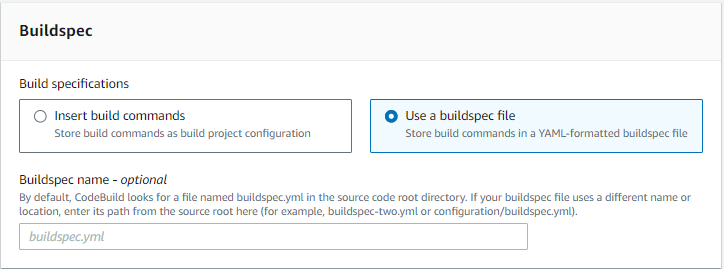
Click "Create build project" to create your project.
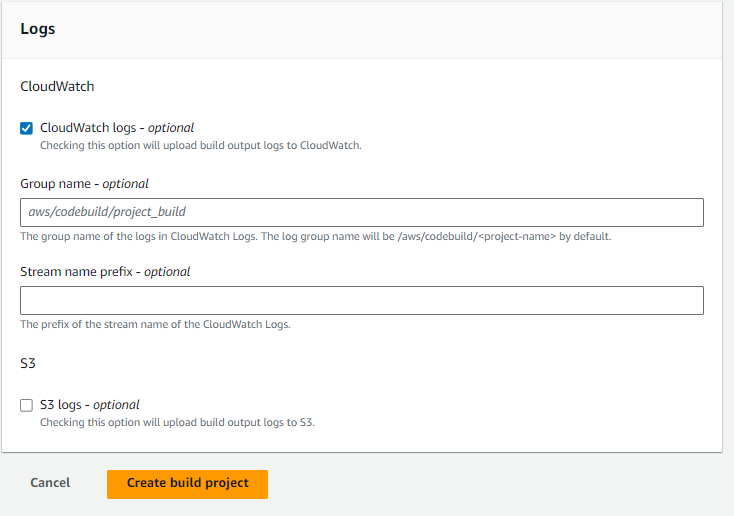
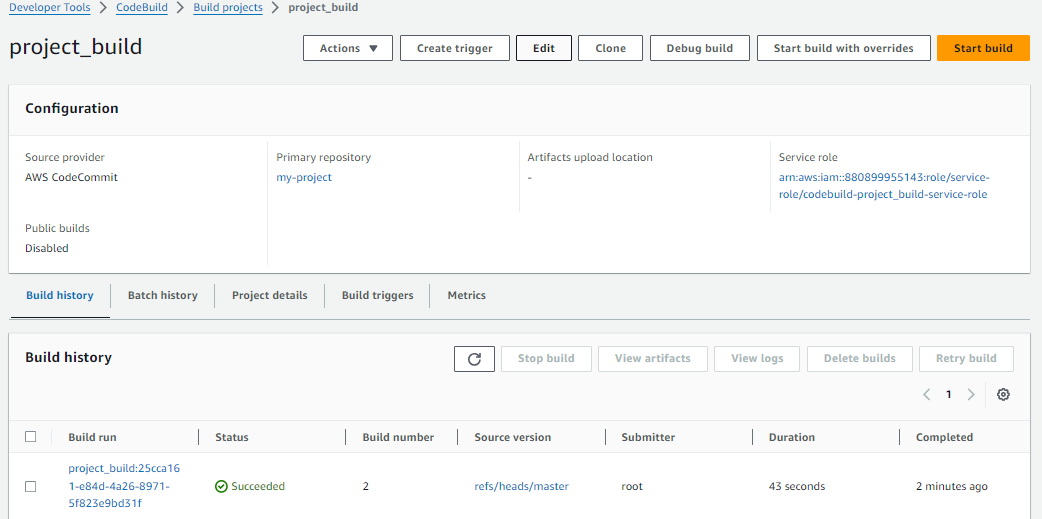
Successfully build project is created.
Click the "Start build" button to start a new build.
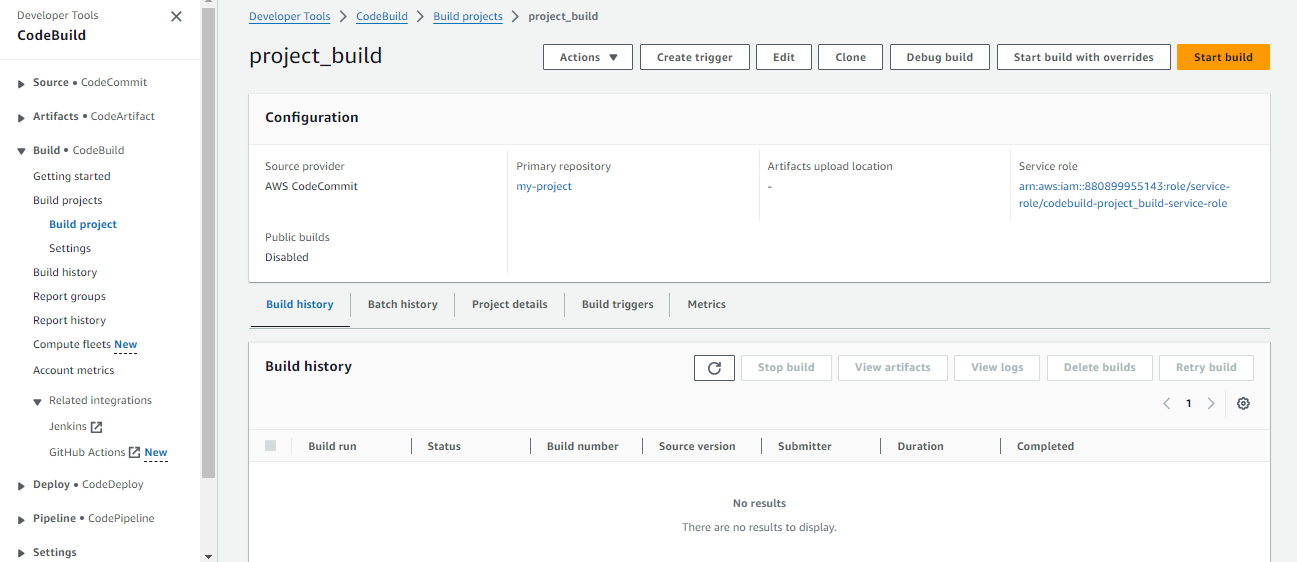
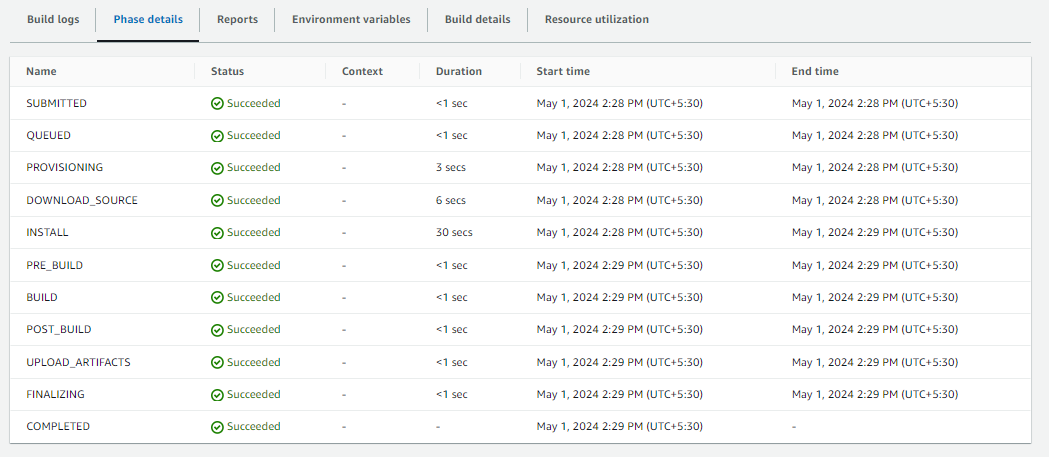
Check status of build which is Succeeded.
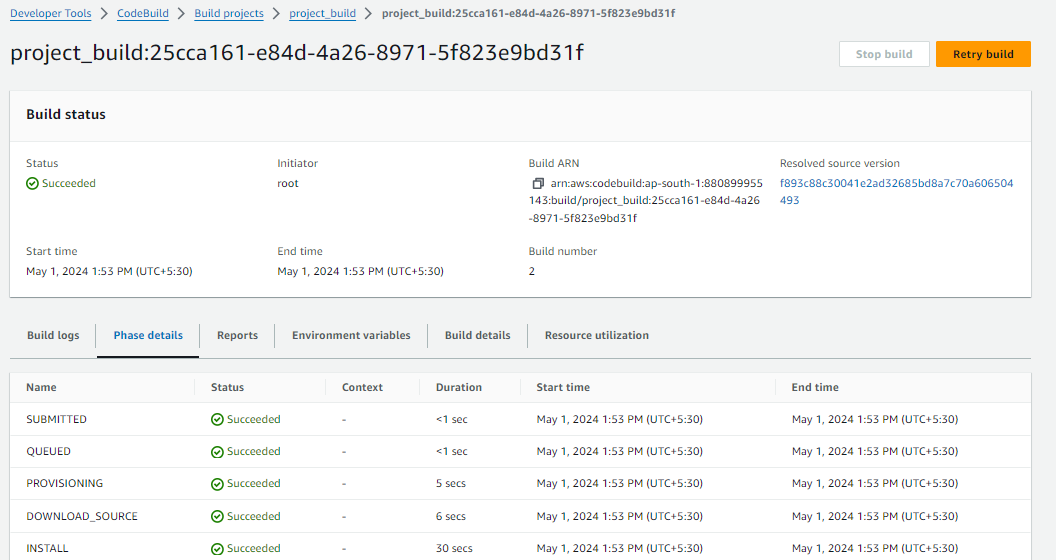
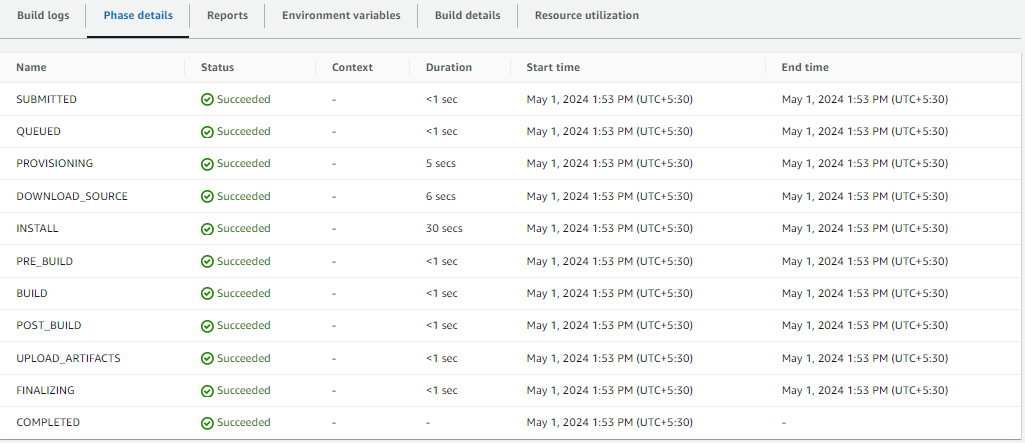
All the phase steps also succeeded.
To add artifacts to a CodeBuild project and store them in an S3 bucket.
Click on 'edit' .
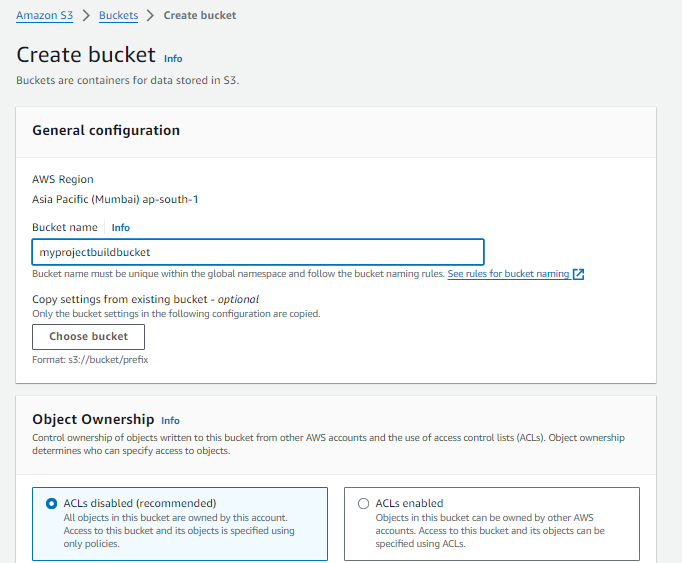
First create S3 bucket.
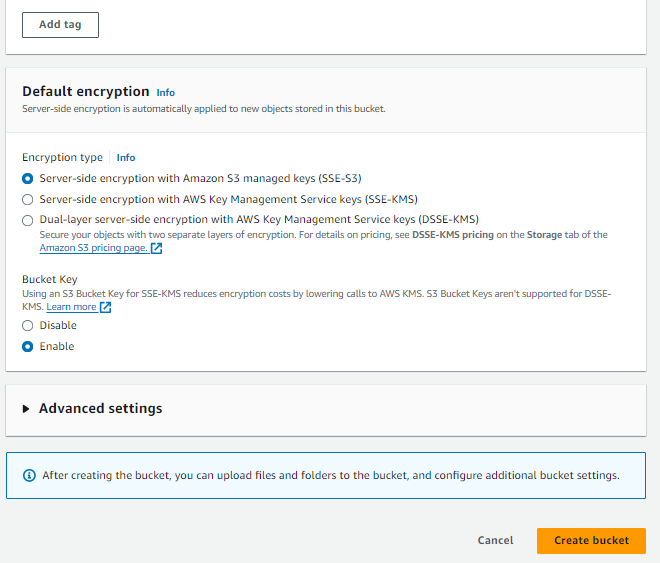
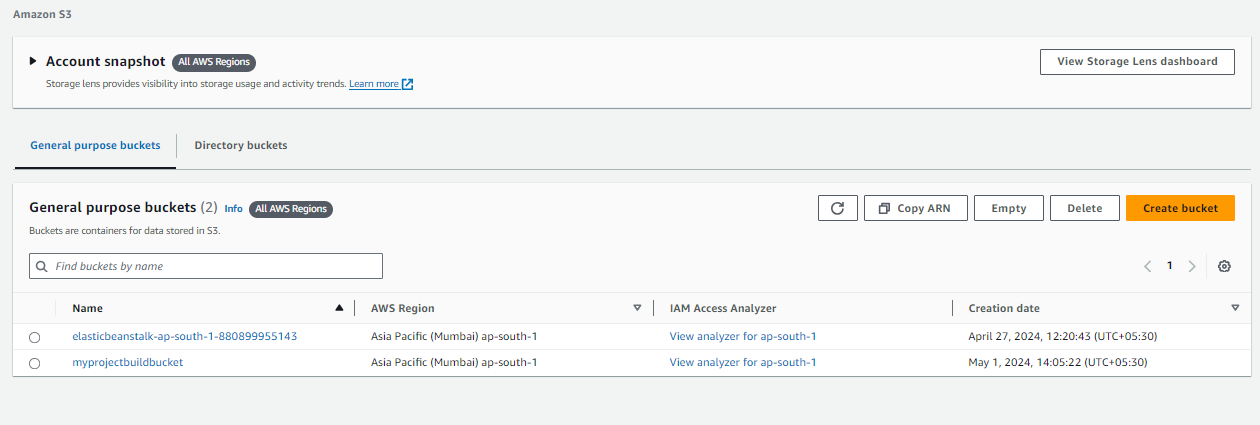
Bucket is successfully created.
In Edit, select type Amazon S3 and select bucket name that you created in above step.
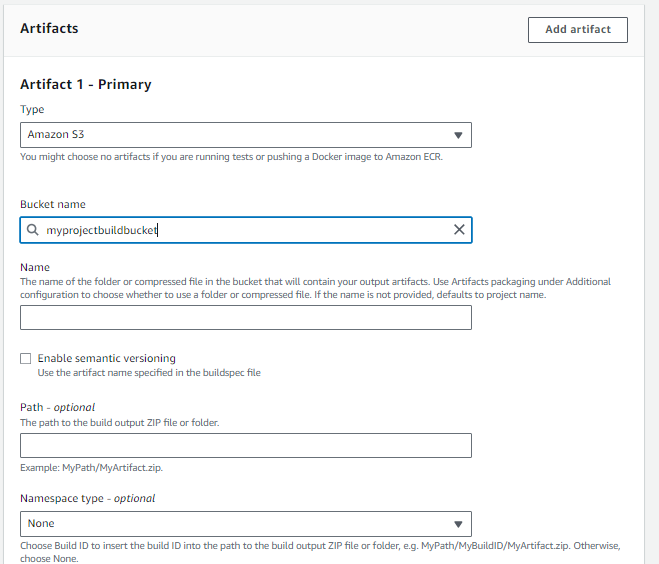
Click on 'Update project'.
After updating artifacts, click the "Start build" button again to start a new build.
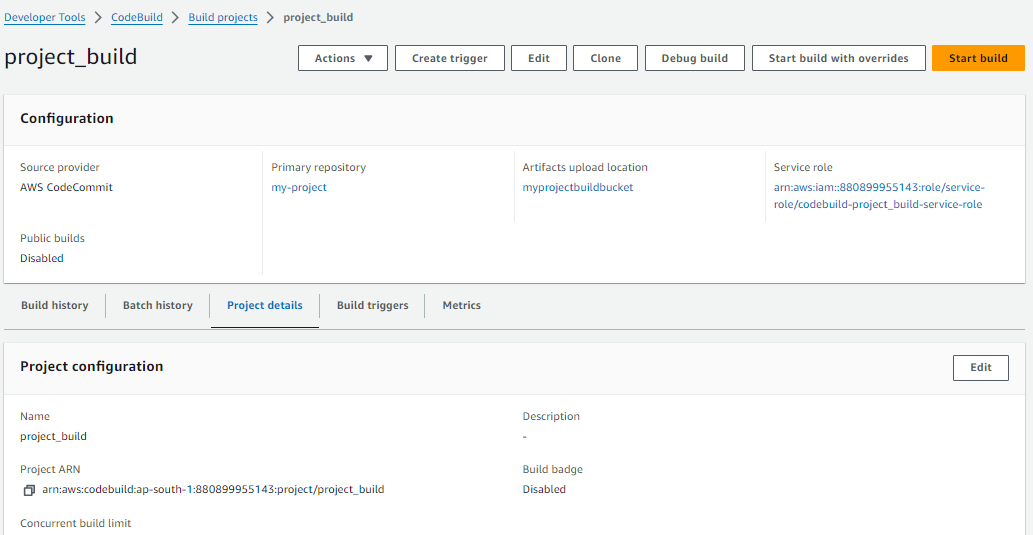
After the build process is complete, the artifacts will be uploaded to the specified S3 bucket location.
In buildspec.yml file, inside artifacts phase there is a location of file which is /var/www/html/index.html. you can check that folders and index.html file inside s3 bucket.
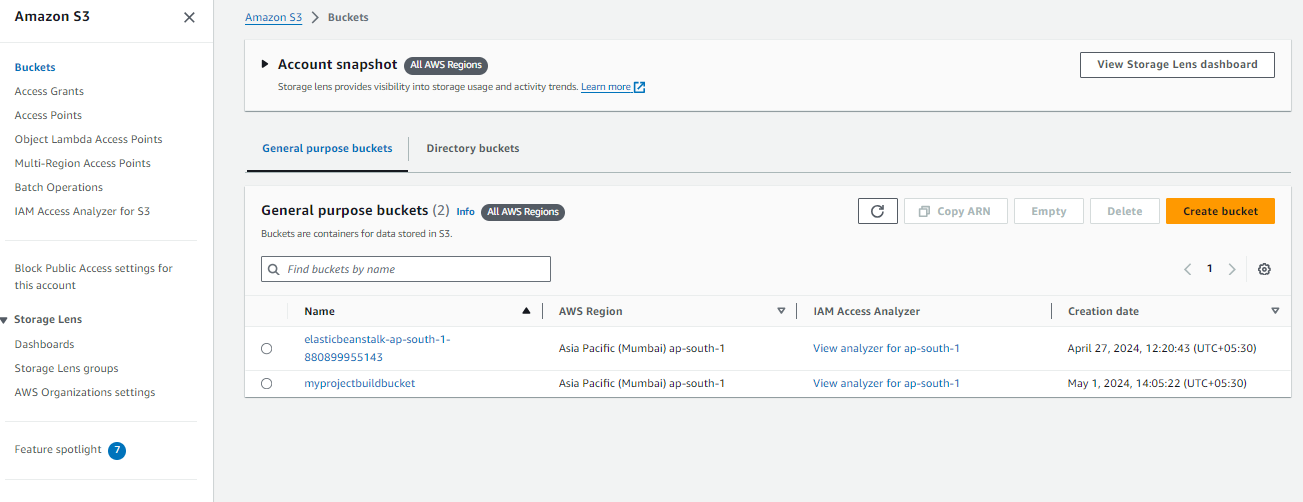
Inside bucket, project_build folder is created.
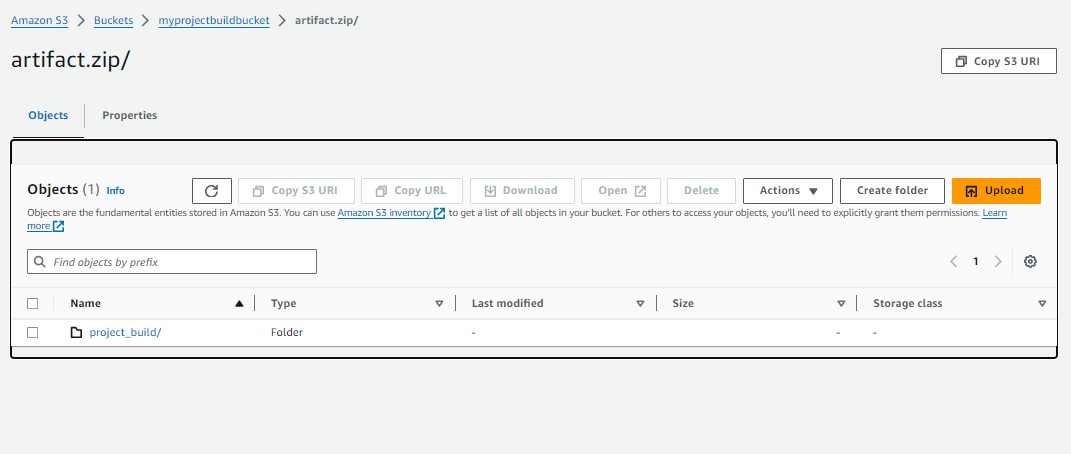
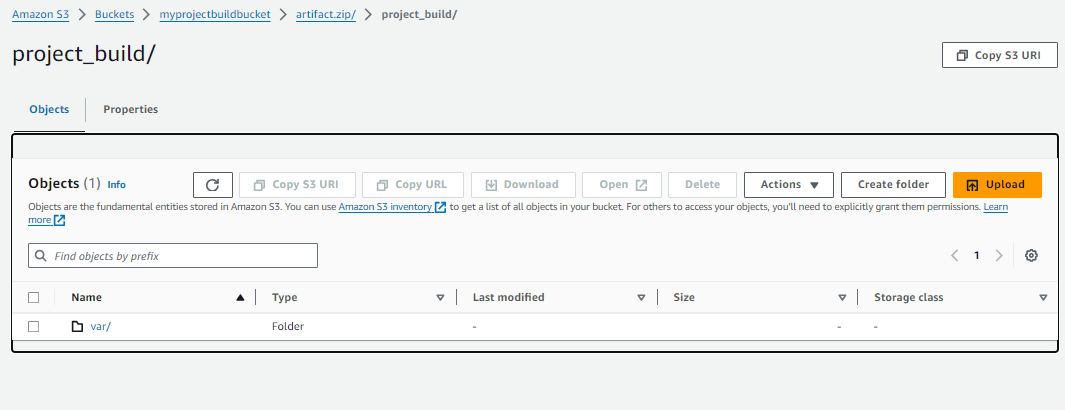
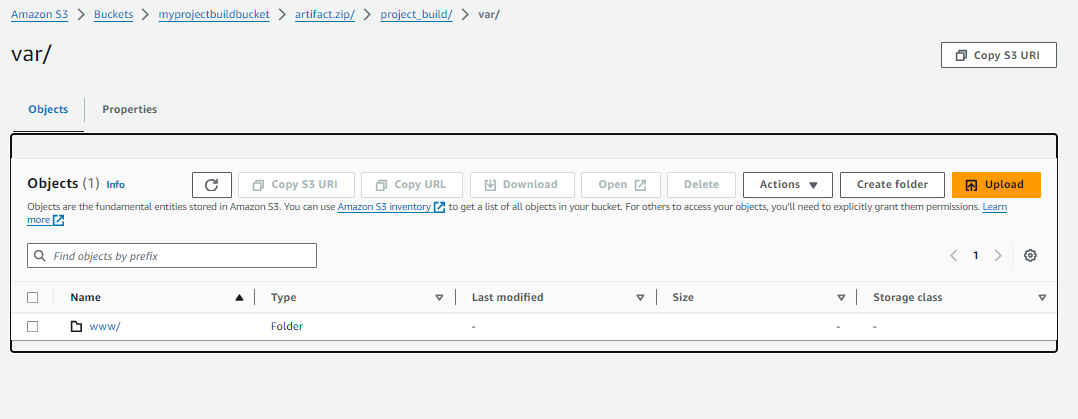
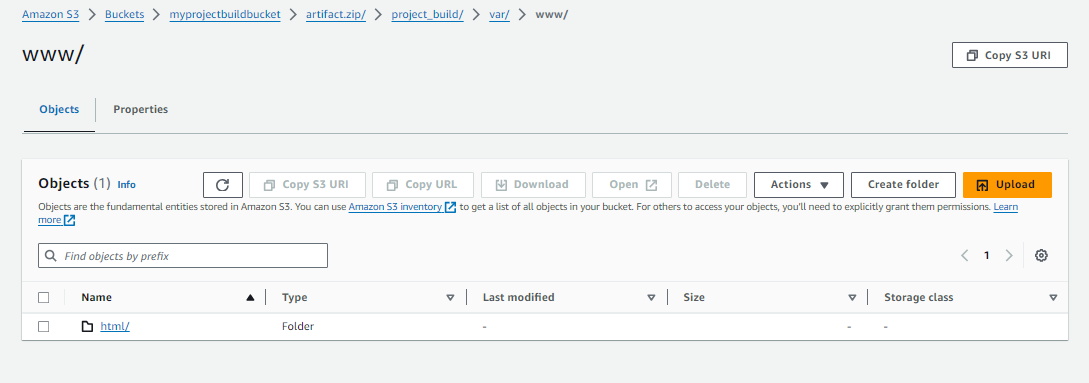
You can see inside /var/www/html there is index.html file.
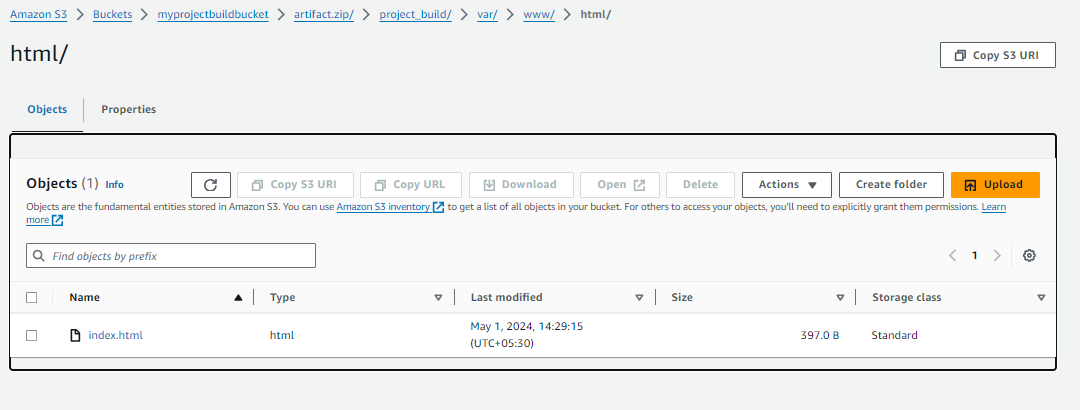
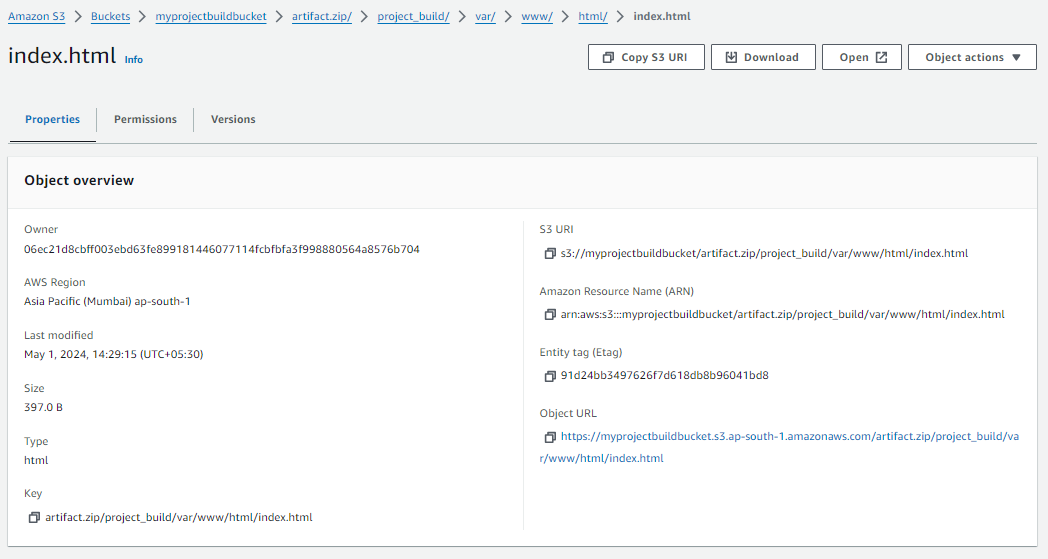
Click on 'index.html' file, below you can see properties of file.
Click on 'open' on right-hand side.
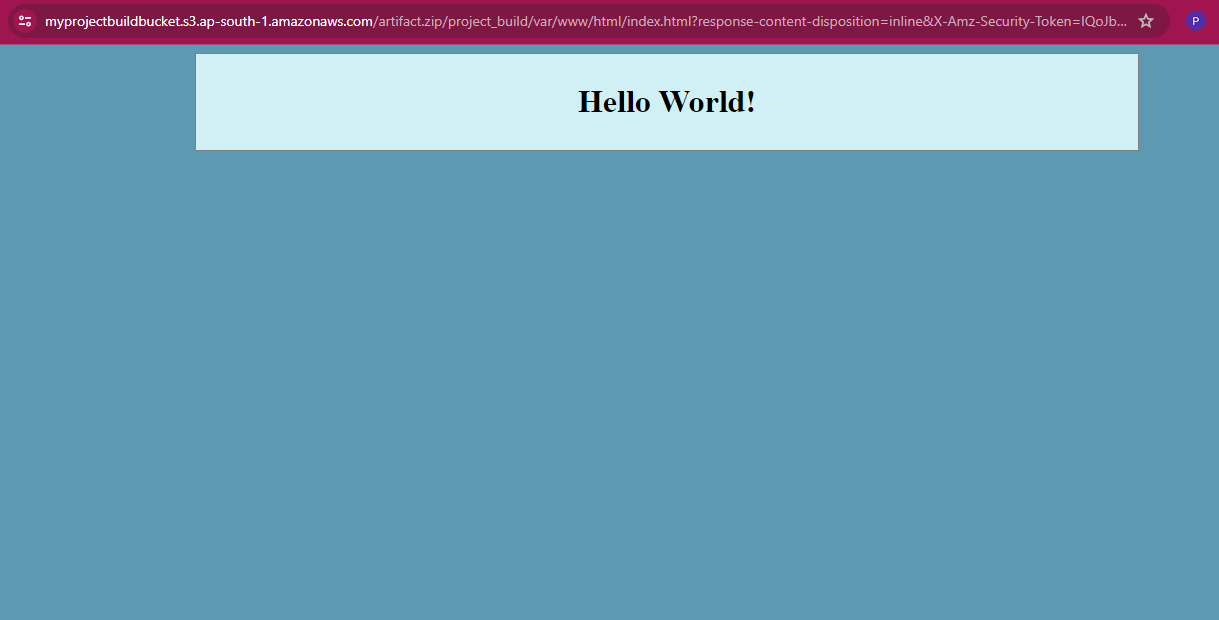
Here is an output of index.html file.
Congratulations! You've successfully integrated AWS CodeBuild into your CI/CD pipeline, automated the build process for your index.html file using Nginx, and produced deployable artifacts. This marks a significant step towards achieving a streamlined and automated software delivery pipeline on AWS.
Stay tuned for Part 3, where we'll explore further integration with CodeDeploy for deployment automation and delve into CodePipeline for orchestrating our CI/CD workflow seamlessly. Keep building and innovating! 🚀 ☁️
I'm confident that this article will prove to be valuable, helping you discover new insights and learn something enriching .
thank you : )
Subscribe to my newsletter
Read articles from Prathmesh Vibhute directly inside your inbox. Subscribe to the newsletter, and don't miss out.
Written by
