Enhanced Security and Connectivity: Deploying EC2 Instances in a Private Subnet with NAT Gateway in AWS
 Yukesh K
AWS offers a service known as NAT Gateway, which stands for Network Address Translation. It allows instances within a private subnet to access the internet while ensuring that the internet cannot establish connections with those instances. Thus handling only the outbound traffic.
Instances deployed in a private subnet lack direct internet connectivity, thus they cannot access online resources or be reached from the internet. To grant internet access to instances in a private subnet, a NAT Gateway can be utilized.
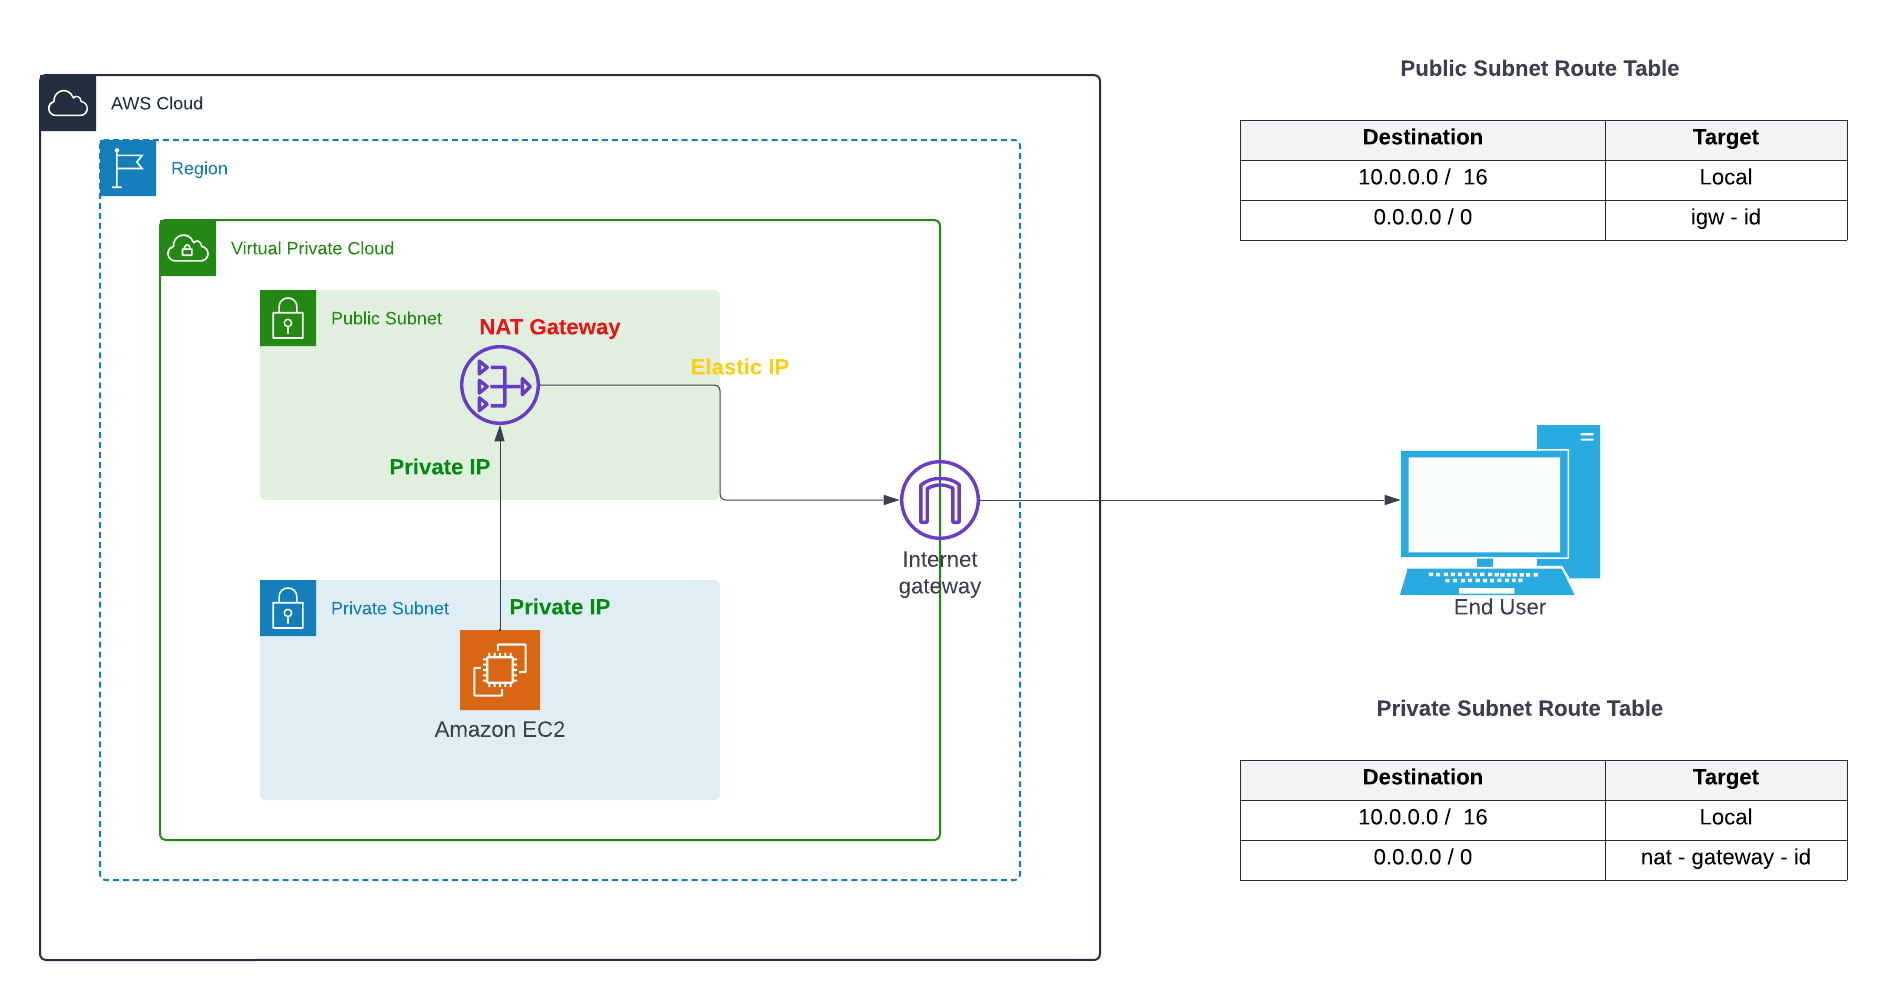
The above depiction provides a clear understanding of how the NAT gateway facilitates access to online resources through the internet.
Hands-On - Creating a NAT Gateway in AWS
To proceed with the procedure, we must adhere to the steps outlined in the article "Unlocking Secure Access: Navigating AWS Bastion Host for Enhanced Cloud Security"
Go to the AWS console and set up a VPC with the specified CIDR block.
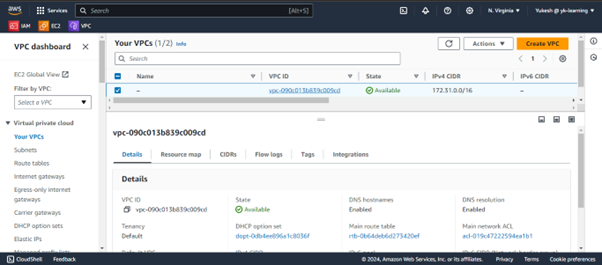
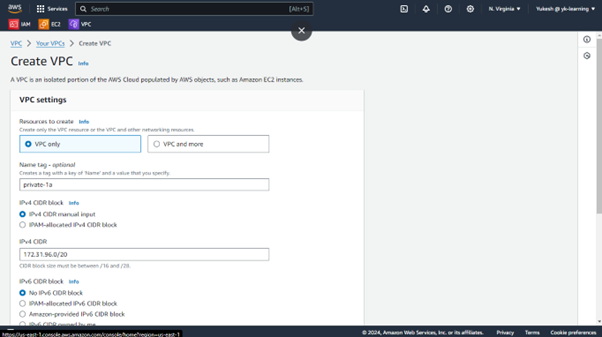
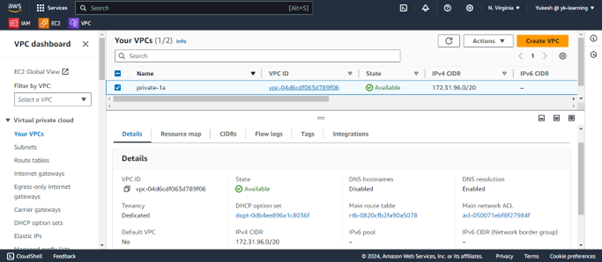
Create subnet from default VPC with the next set of CIDR block.
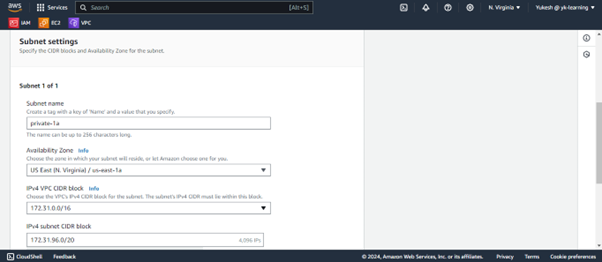
Create a NAT Gateway in the public subnet of your VPC and assign an Elastic IP address to it.
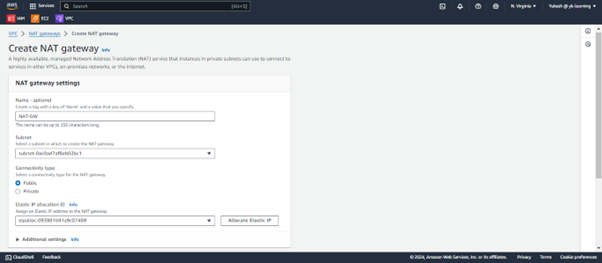
Edit the route table of the Private Subnet already created. Configure the NAT-GW Id.
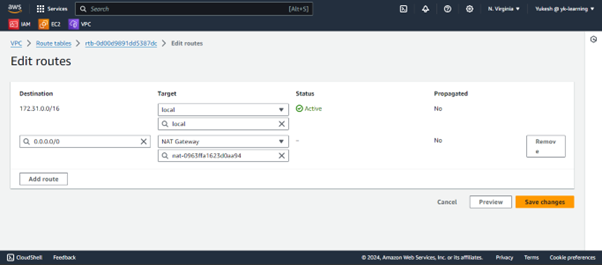
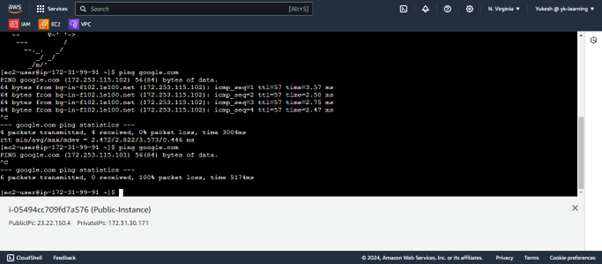
Now when ping is carried out by an Instance from the private subnet we are able to receive the data packets.
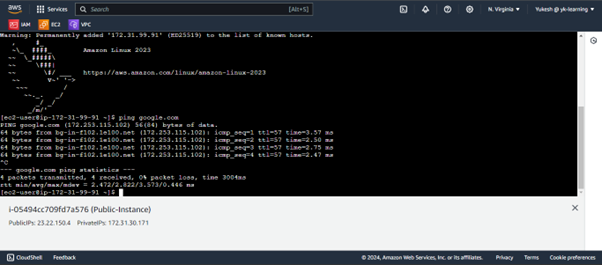
The data packet was received because the Route table of the private subnet was added with the NAT gateway ID which ultimately connected to the internet. Now if we remove the route table configuration with the NAT gateway ID we will not be able to get the data packets.
Ensure to always delete the created NAT Gateway, release the associated Elastic IP, and terminate any instances as they may incur costs.
Subscribe to my newsletter
Read articles from Yukesh K directly inside your inbox. Subscribe to the newsletter, and don't miss out.
Written by
