Capturing the Web: How to properly screenshot websites
 Nader Ikladious
In today's digital age, the ability to capture screenshots of websites and web applications is invaluable. Whether you're a developer creating a new web application or simply want to capture a specific moment on a website, knowing how to take screenshots effectively is essential.
The Traditional Way
As you know its not rocket science to take screenshot, we always do it.
If you are using macOS you would be familiar with ⌘ ⇧ (3,4,5)
⌘ ⇧3: To capture entire screen
⌘ ⇧4: To capture specific window or area
⌘ ⇧5: To open screenshot app from which you can specify all settings from your choice
Otherwise, if you are using Windows, you might be familiar with Snipping Tool or PrtScr trick. Which in most of the cases does the job as needed.
The Advanced Way
If you tend to take a lot of screenshot of web application for example to showcase your website or just want to take a screenshot of specific part of a website for a stakeholder or just for fun.
If you are like me, Always like to take the screenshot pixel-perfect, Content Aligned and do it a lot. So If I would proceed with the traditional way I always have to stare on the screen until I get it right or crop afterwards.
Alternatively, What you can do you can use the already existing chromium browser feature.
Open the Developer Tools
Shortcut: ⌘ ⌥ I (), Ctrl + Shift + I (⊞)
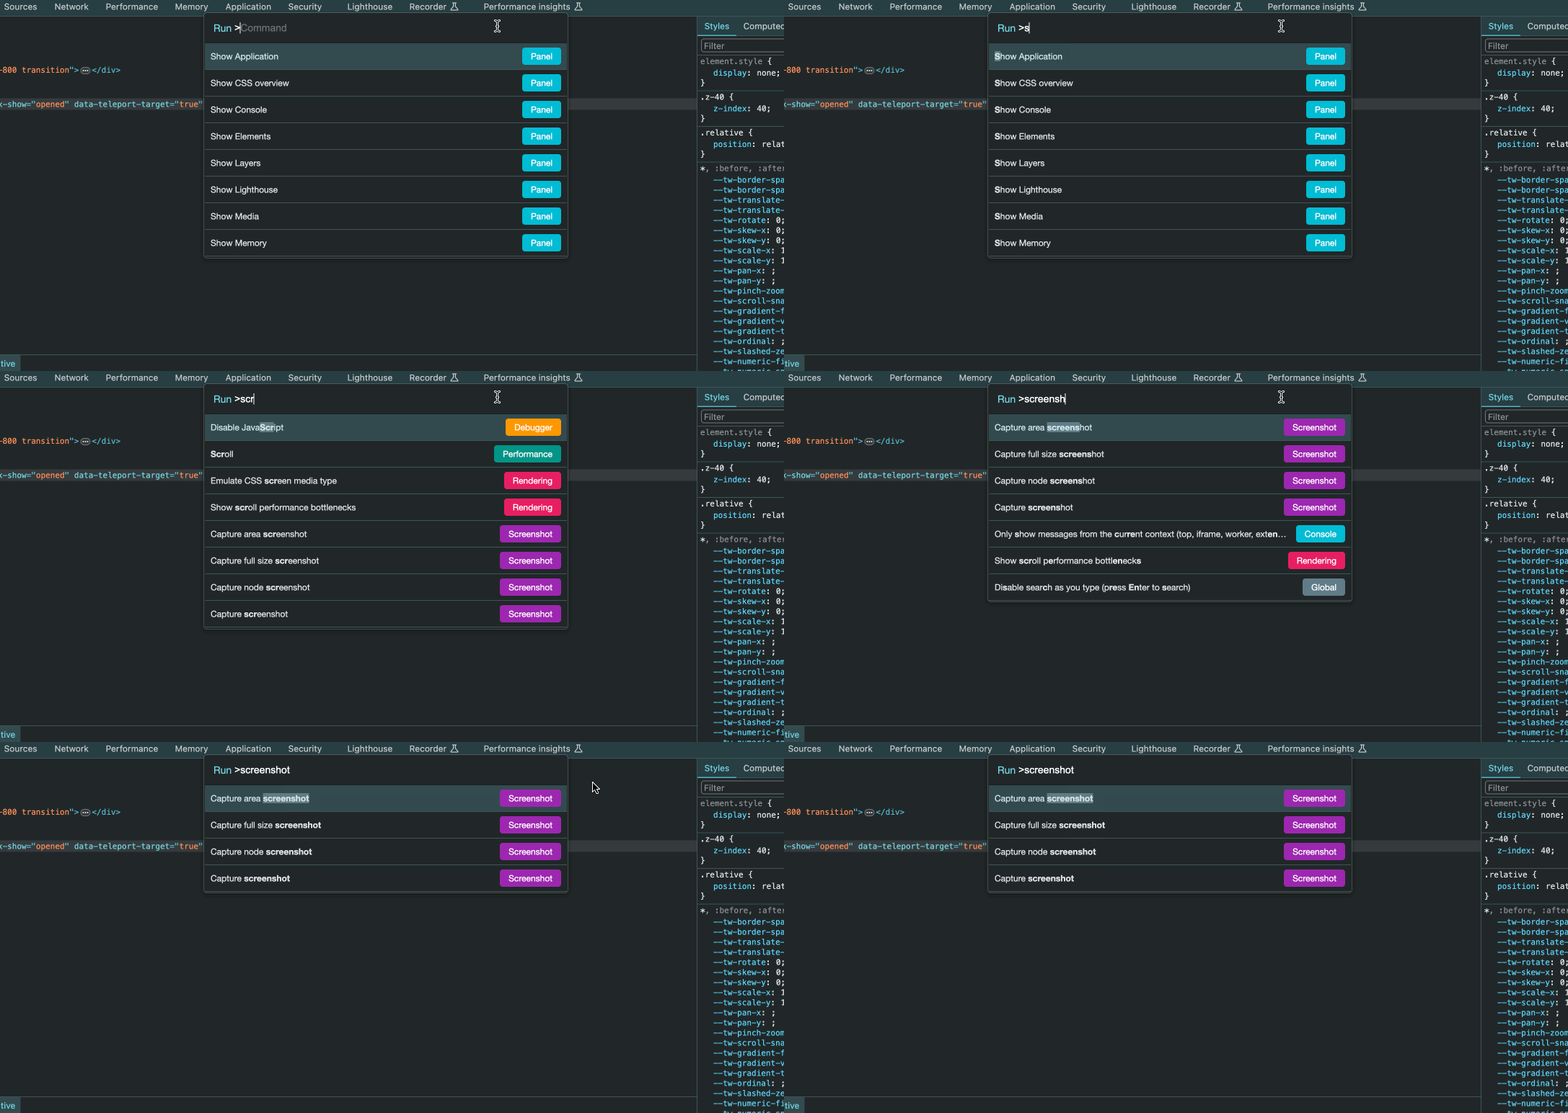
In the devtools you can search for commands using ⌘ ⇧ P (), Ctrl + Shift + P (⊞) which will open the this tab below, which from you can perform different actions from the browser.
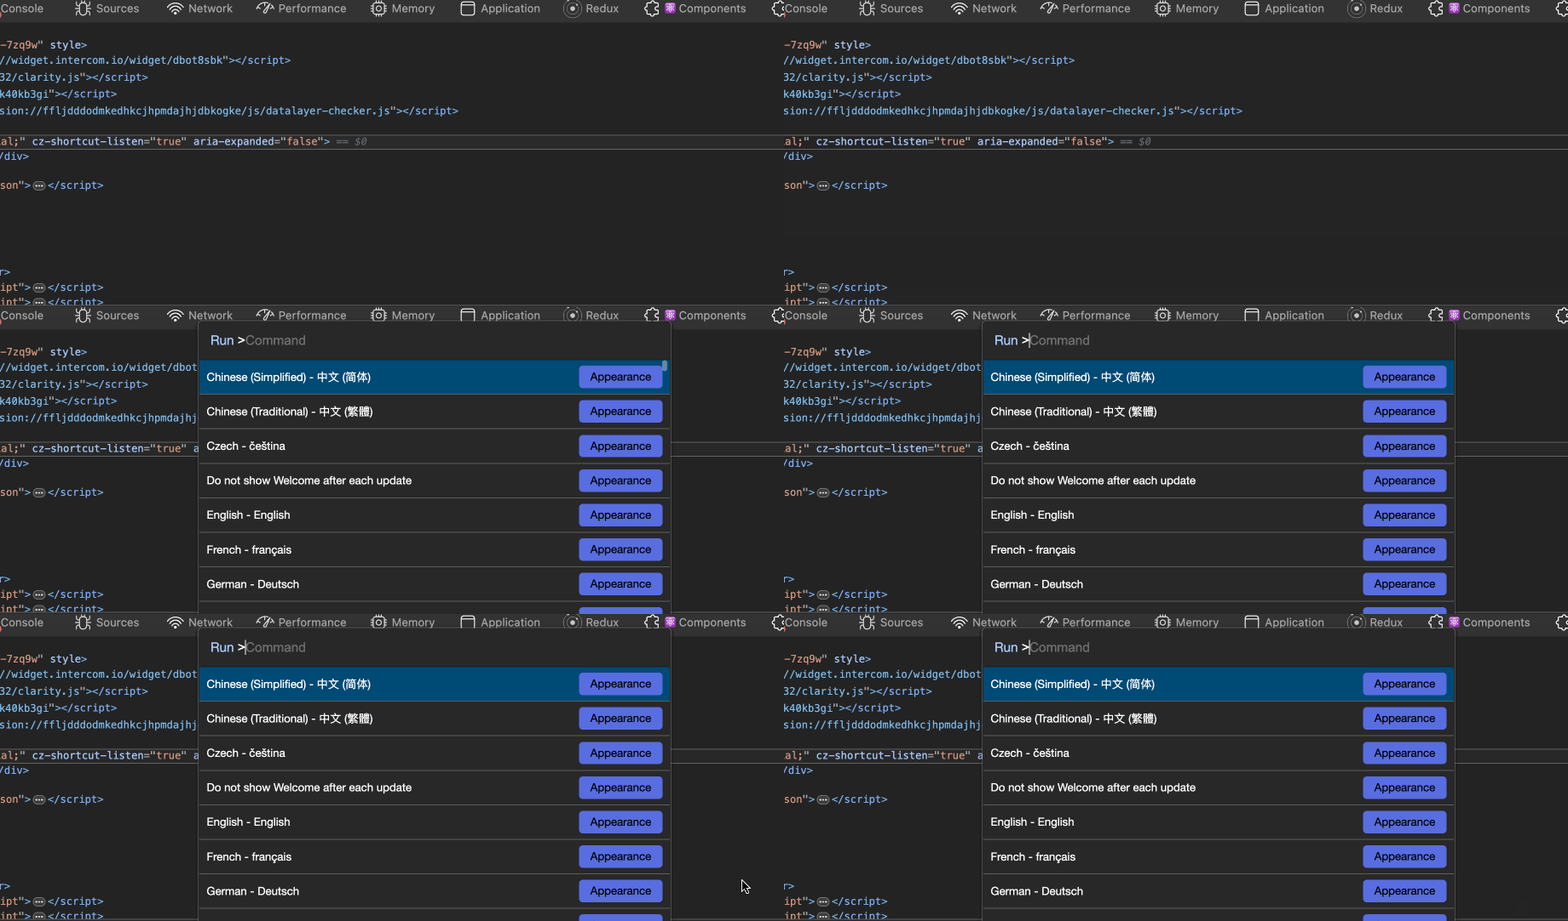
Search for screenshot commands
Now narrow the search down by looking for screenshot,
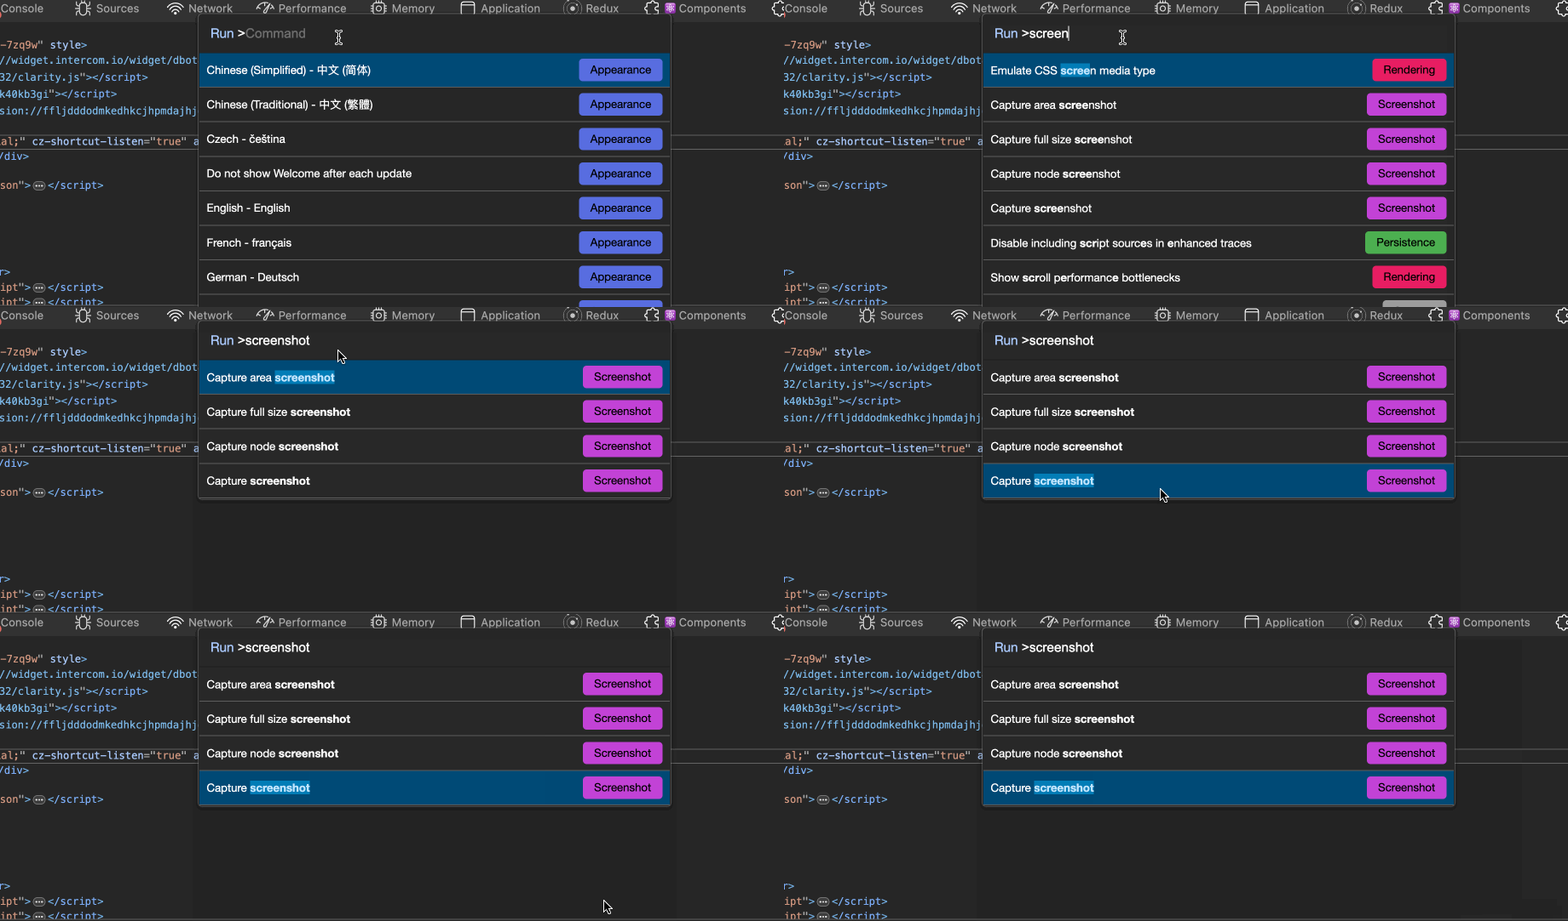
You will see 4 options available
Capture Area Screenshot: Which is very similar to the the traditional method but provided by the browser.
Capture full size screenshot: You can use this option to take a screenshot of the entire webpage, This option is good if you want to the the whole website which is not possible by traditional methods.
Capture Screenshot: Take screenshot of the visible viewport
Capture node screenshot (The best of all): You can take a screenshot of any html element by selecting it in the DOM.
Capture Node Screenshot
You can find a lot of use cases for this, but I will share with you the recent use-case I was working on.
I was trying to take some screenshot for newest UI components to share them in social media for Spur.
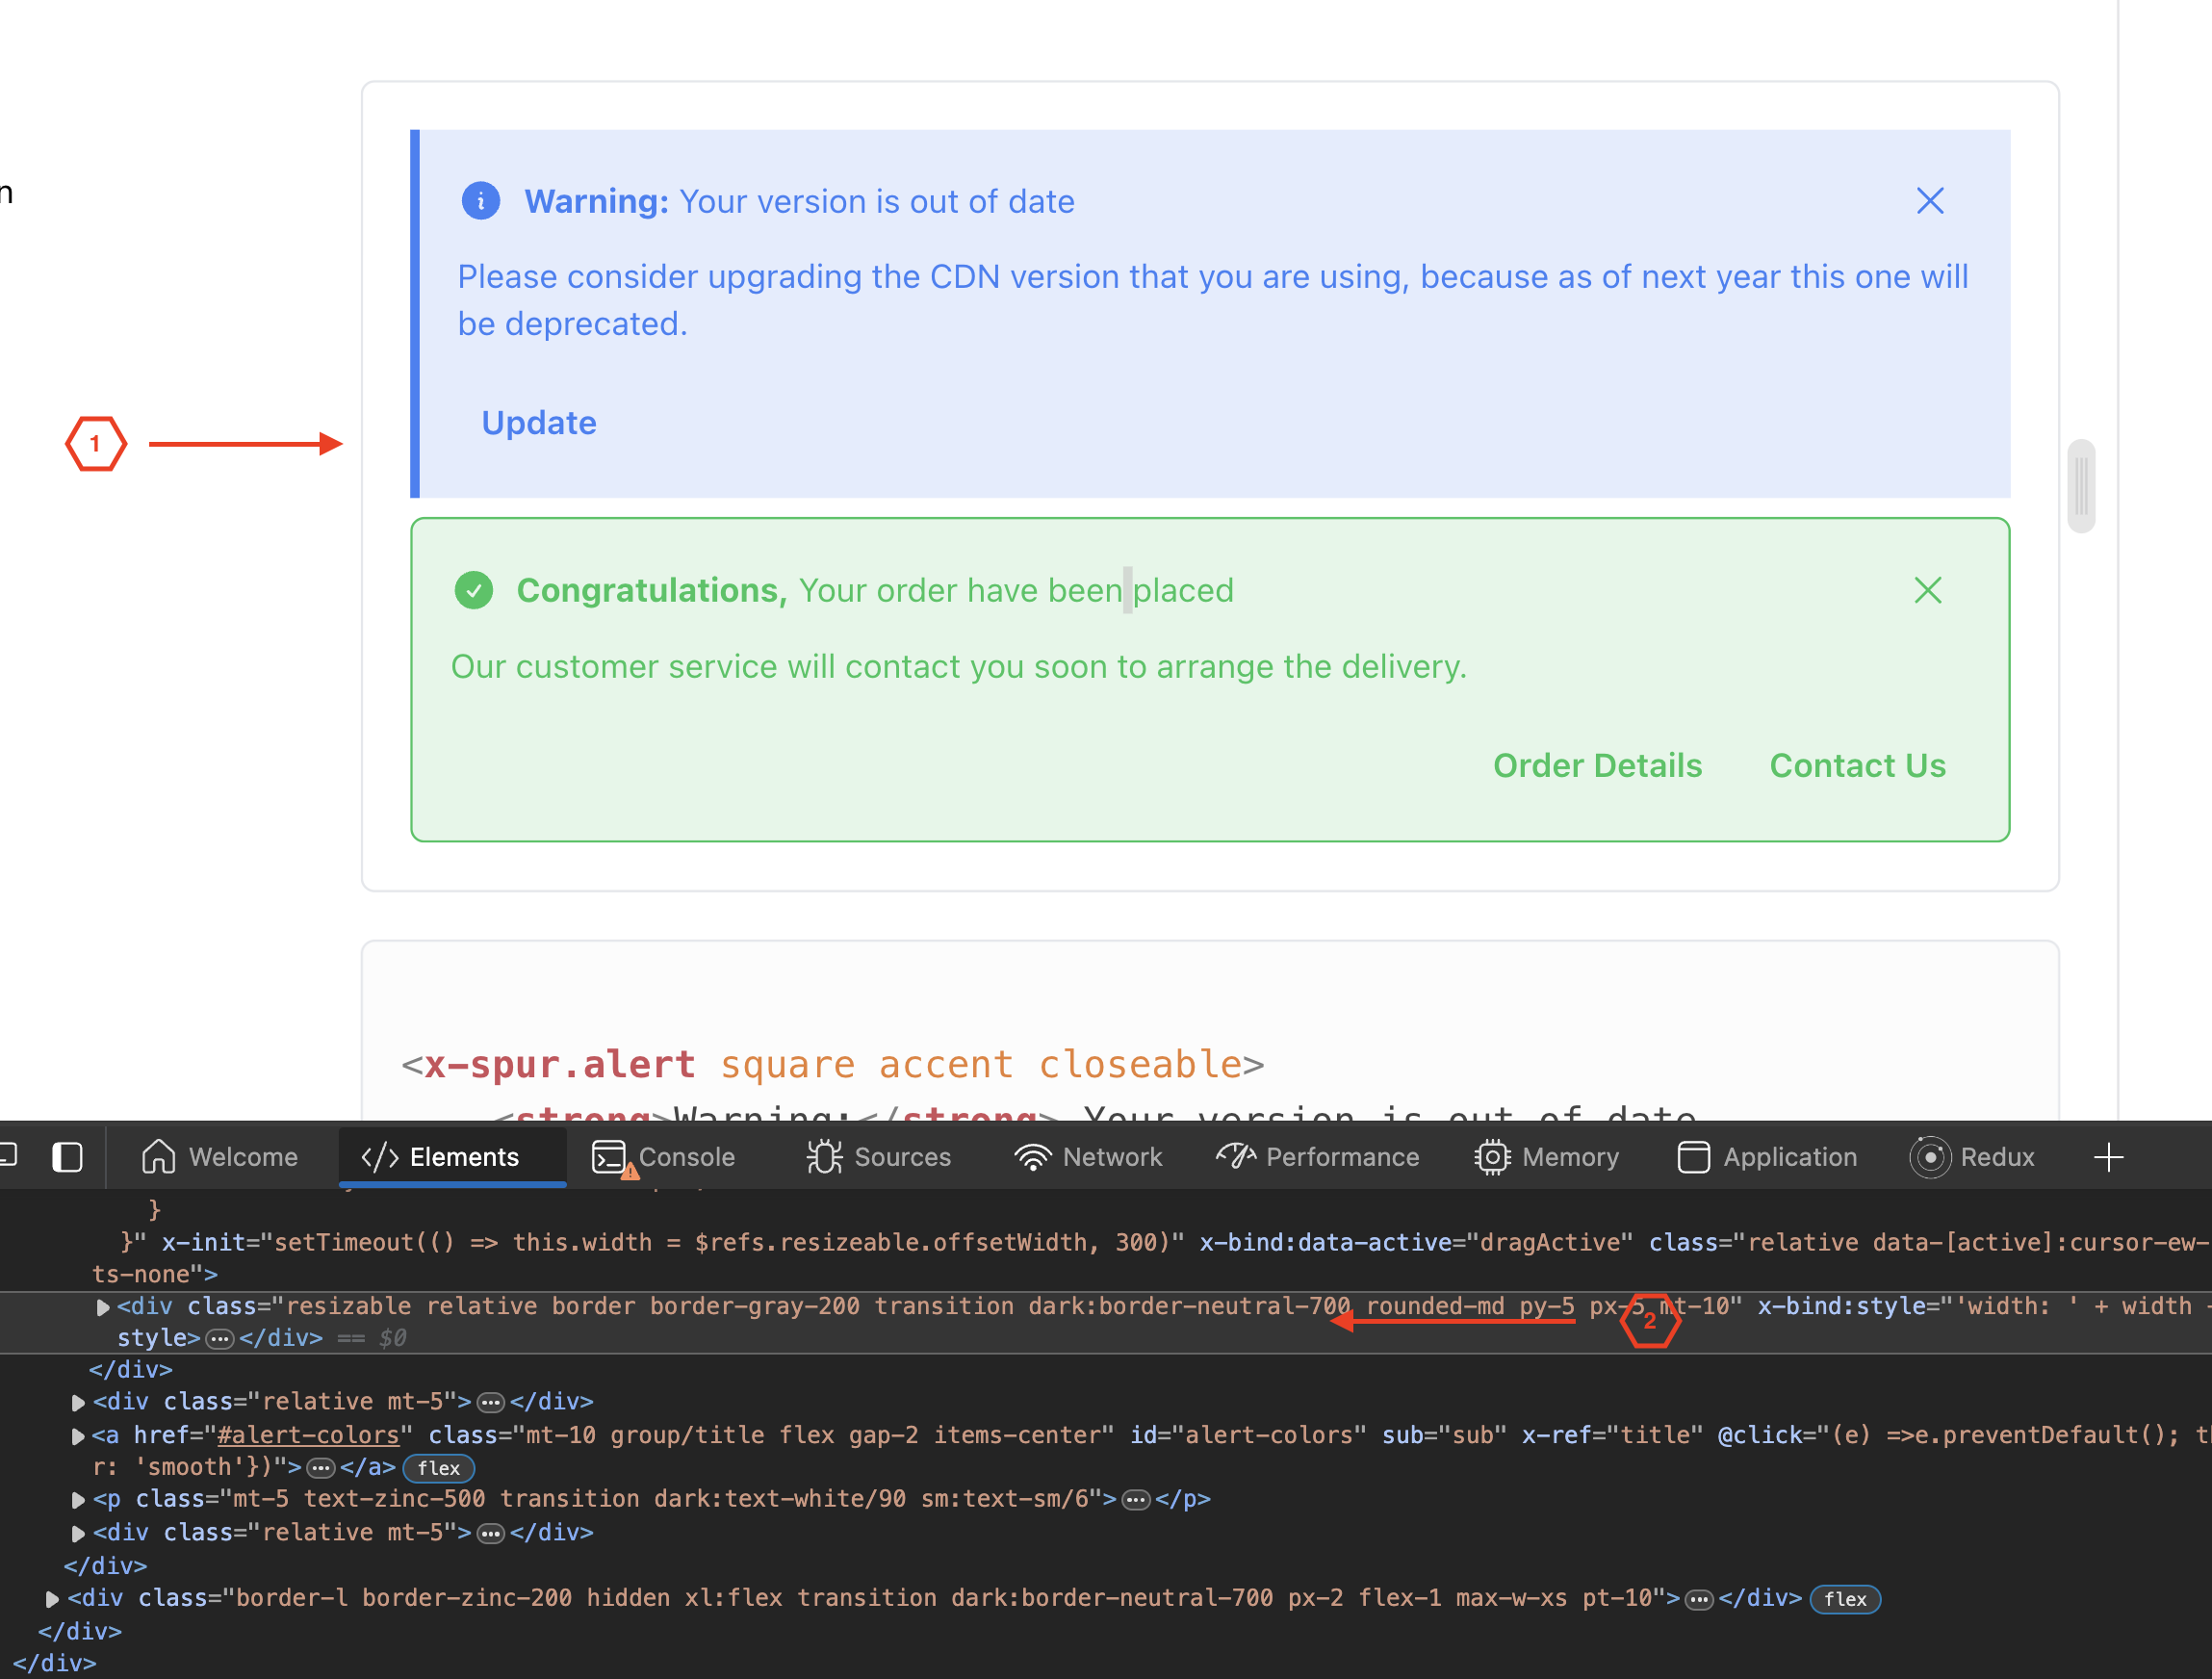
In this use case I wanted to take screenshot for the box (1) including the border
(2) is the DOM element in question.
After following the step above and choosing the Capture Node Screenshot it will goes straight to the Downloads folder. (like below)
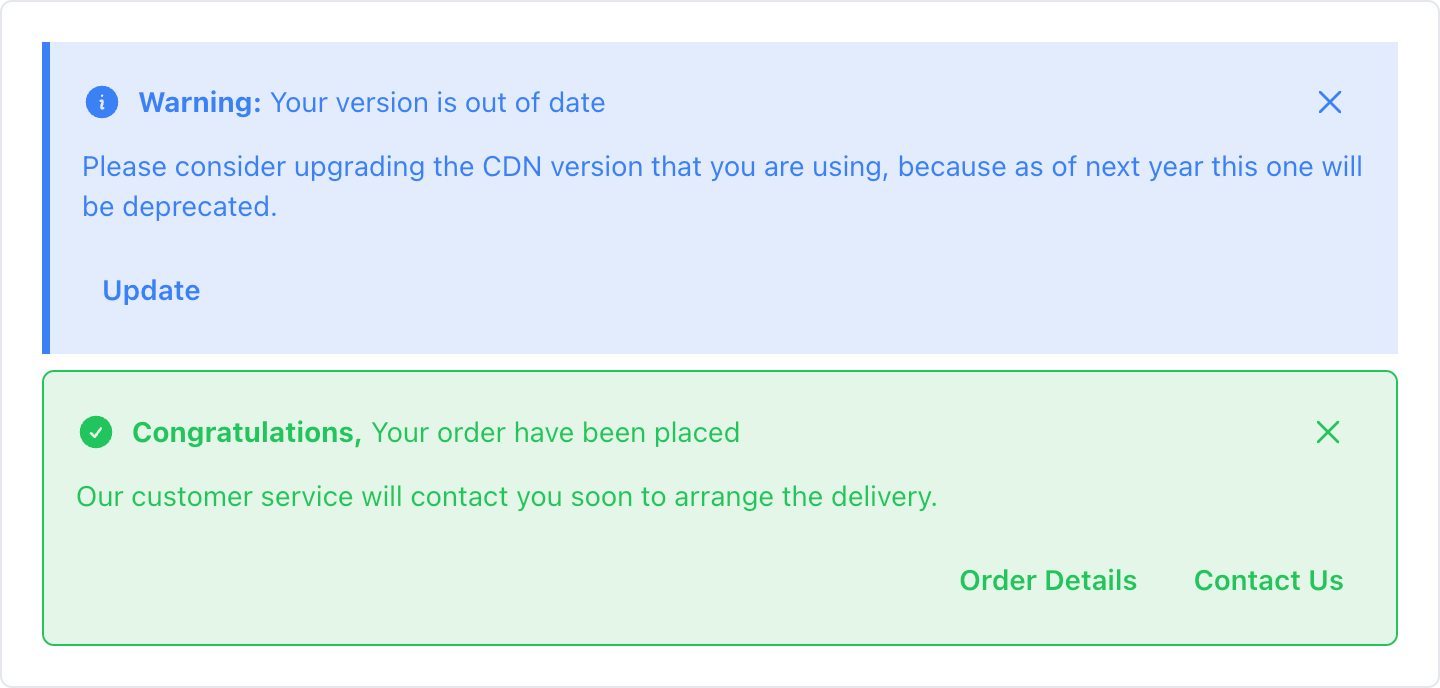
As you can see, taking this with traditional approach would be near impossible as the border is included with pixel perfect precision.
Conclusion
Knowing what you can do out of the box is always great to have in the back of your mind. I hope you find this helpful and convenient too.
Let me know if you find it useful 🙌
Subscribe to my newsletter
Read articles from Nader Ikladious directly inside your inbox. Subscribe to the newsletter, and don't miss out.
Written by
