Day 59 : Ansible Project 🔥
 Prathmesh Vibhute
Welcome back to our exploration of Ansible! In our previous discussions, we delved into the power of Ansible playbooks and how they streamline configuration management tasks. Today, we're diving into a hands-on project that showcases Ansible's capabilities in deploying a simple web application.
Task-01
Create 3 EC2 instances. make sure all three are created with same key pair.
To create 3 EC2 instances, navigate to the EC2 service and launch them.
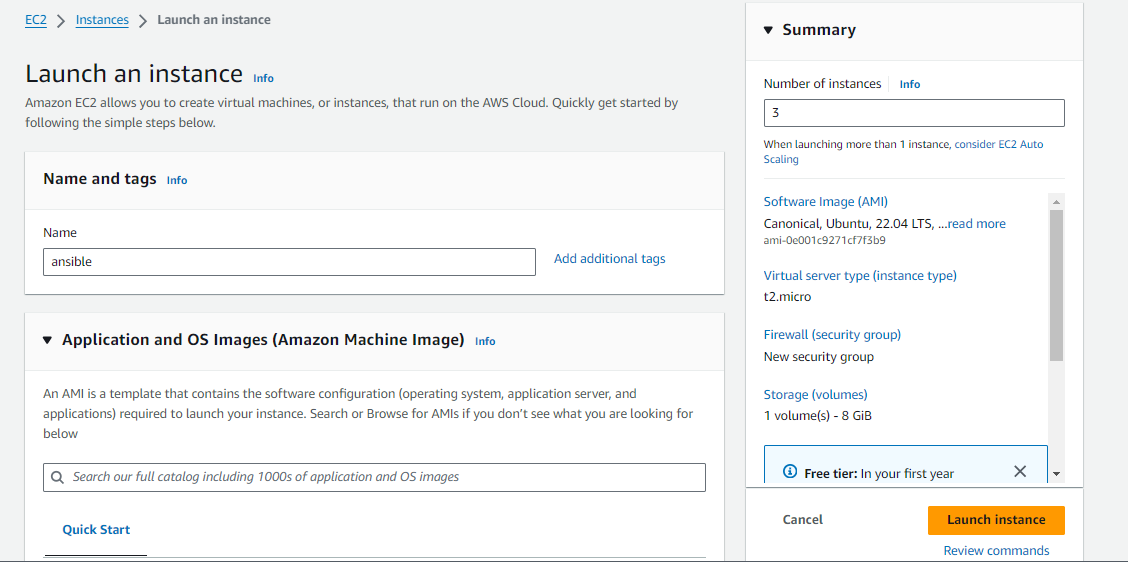
After creating the three EC2 instances, designate one instance as the Ansible control node (ansible_master), and the other two instances as managed nodes (ansible_server).

Install Ansible in master server
Connect to your EC2 instance using SSH.
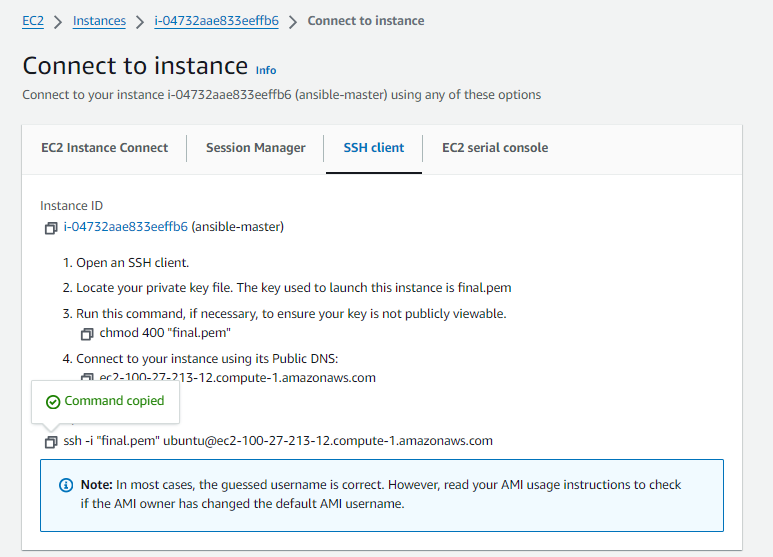
Add the Ansible PPA repository using the following command:
sudo apt-add-repository ppa:ansible/ansible
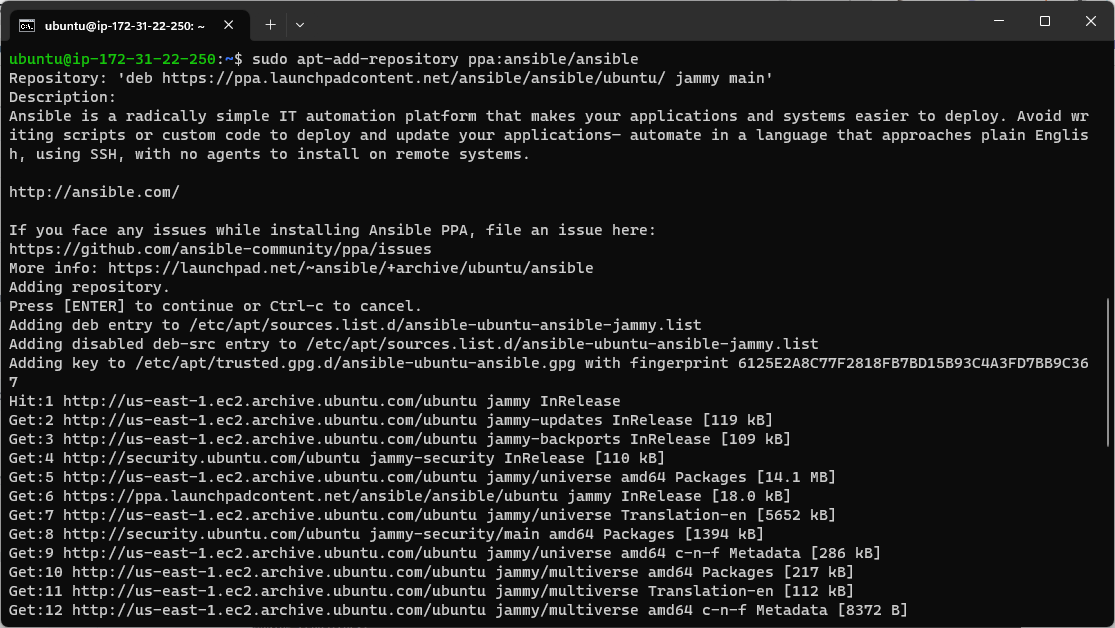
Update the package using following commands
sudo apt update

Install Ansible using the following command:
sudo apt install ansible
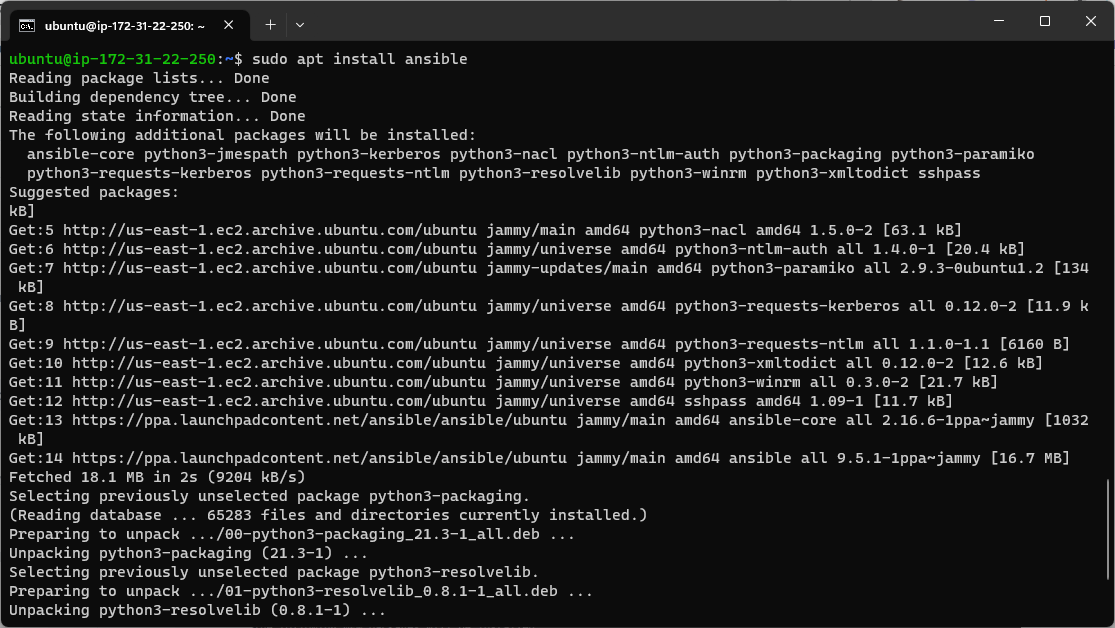
Once the installation is complete, you can check the version of Ansible using the following command:
ansible --version

Copy the private key from local to Host server (ansible_master) at (/home/ubuntu/.ssh)
Copy private key from your local.
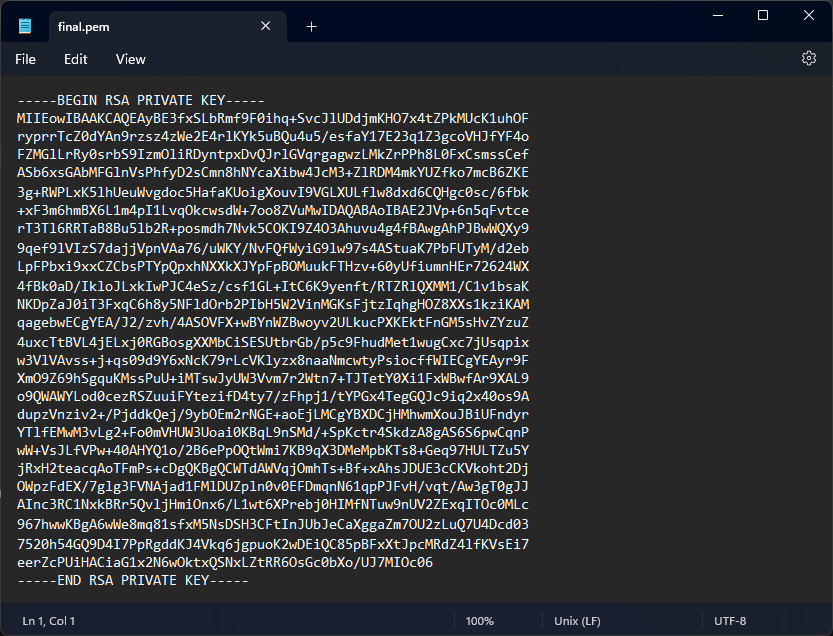
To proceed with the setup, copy the private key to the Ansible control node (ansible_master) by creating a new file at /home/ubuntu/.ssh and pasting the private key in that file.
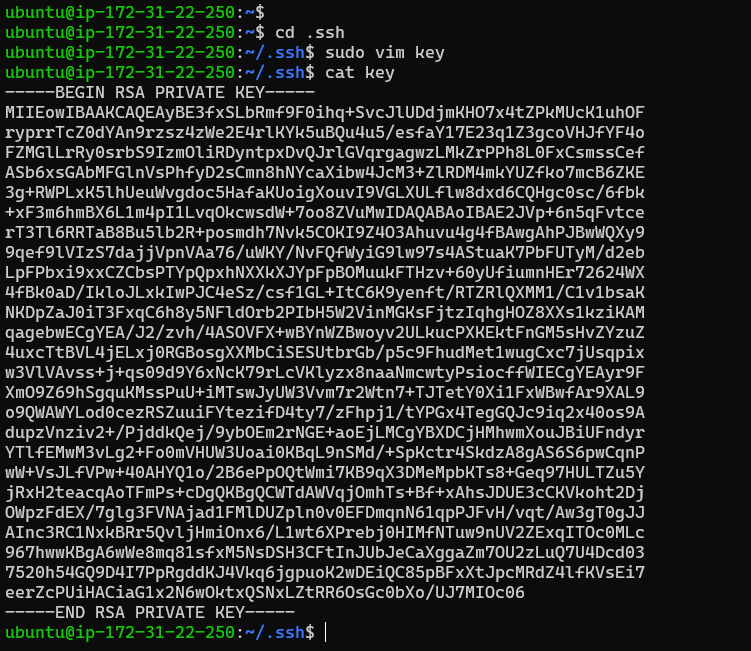
Give permissions to the private key file using chmod command.
sudo chmod 600 key

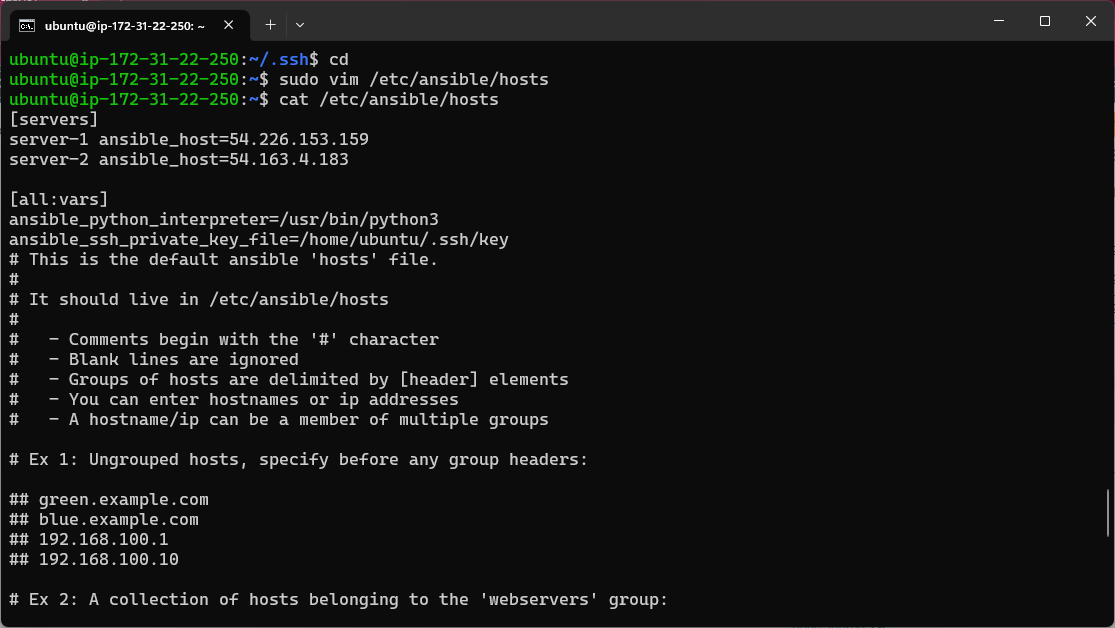
Access the inventory file using sudo nano /etc/ansible/hosts
Create inventory file at location /etc/ansible/hosts which is by default location of file. Ansible hosts file is a configuration file that contains a list of hosts or servers. Add the IP addresses of the servers also add private key file location to use for authentication.
Create a playbook to install Nginx
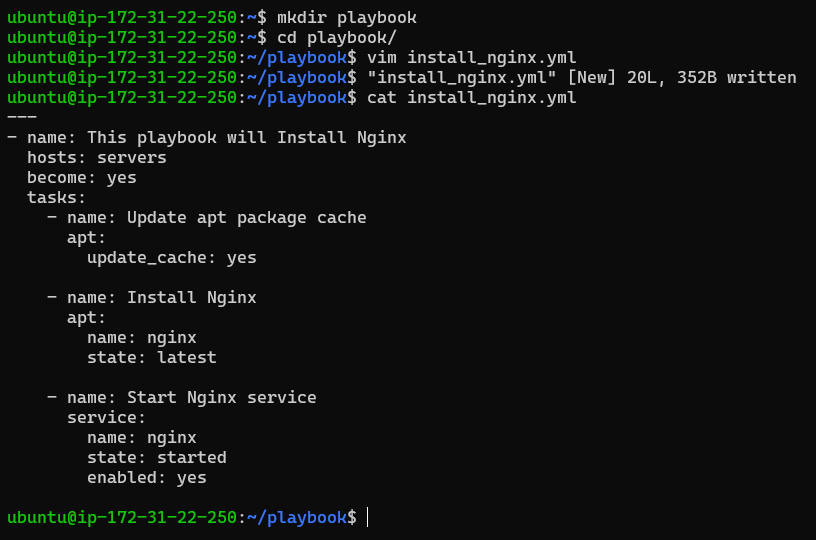
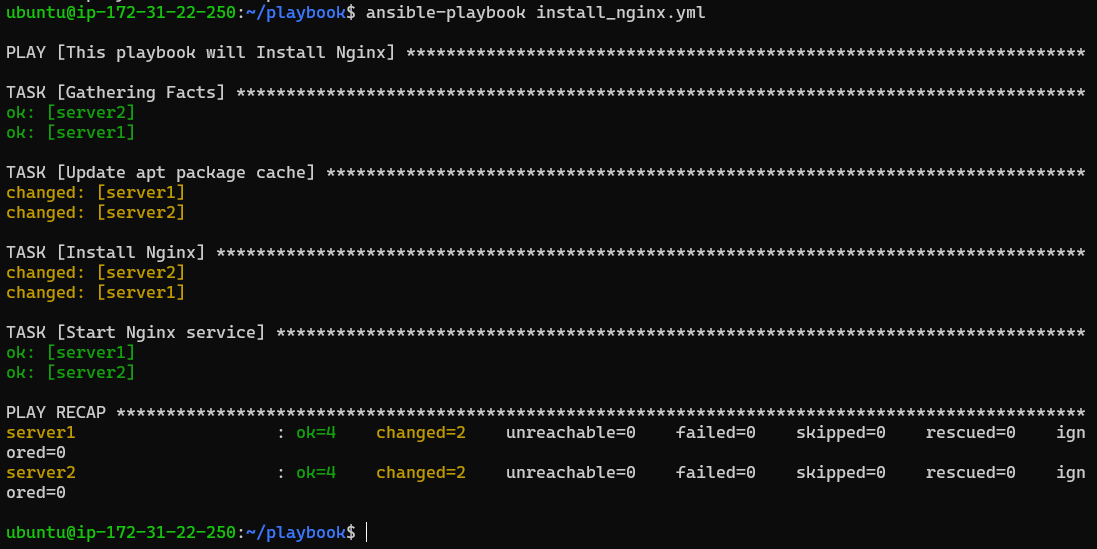
In this playbook, we first specify the name of the playbook (Install nginx) and the hosts we want to target (servers). We also set become: yes to run the tasks with root privileges.
The first task updates the apt cache on the managed nodes using the apt module. The second task installs the latest version of Nginx using the same module. The third task uses the service module to start the Nginx service by specifying the service name (nginx) and setting the state parameter to started.
Run playbook using the ansible-playbook command
ansible-playbook file-name.yml
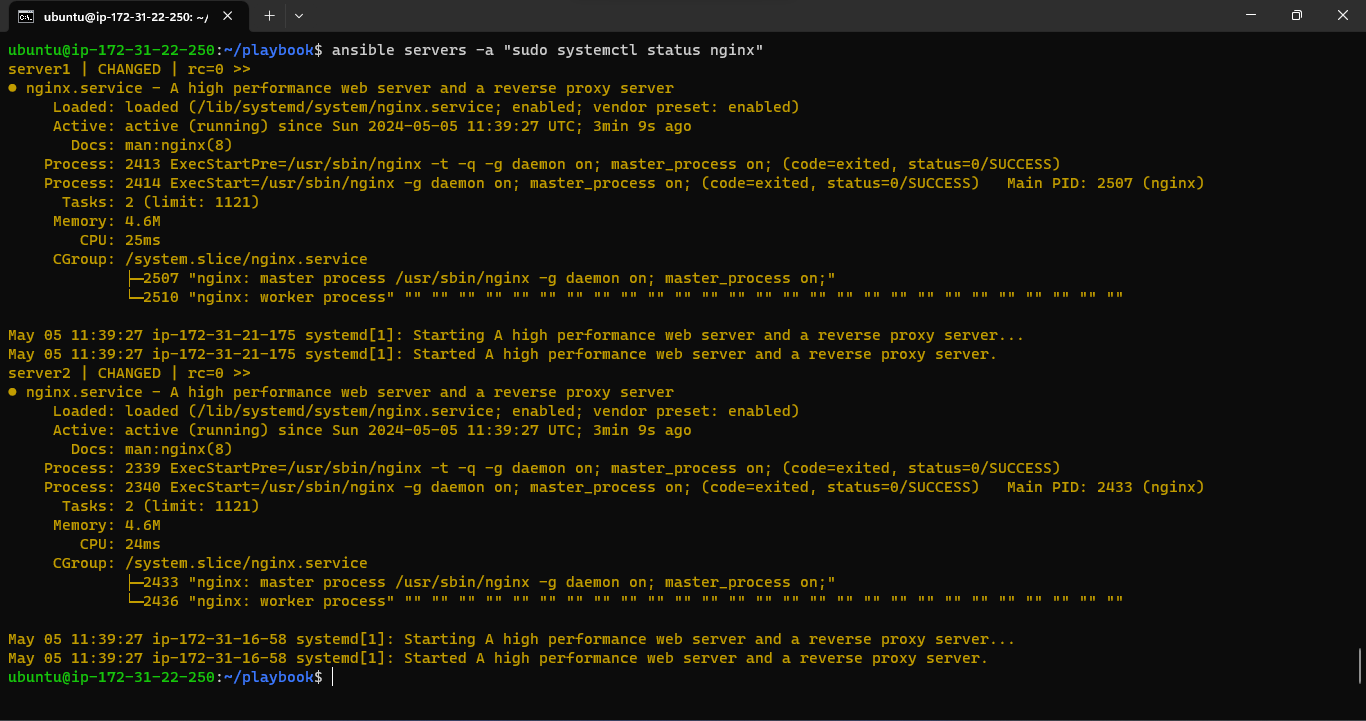
Check the status of Nginx on the two EC2 instances,
ansible servers -a "sudo systemctl status nginx"
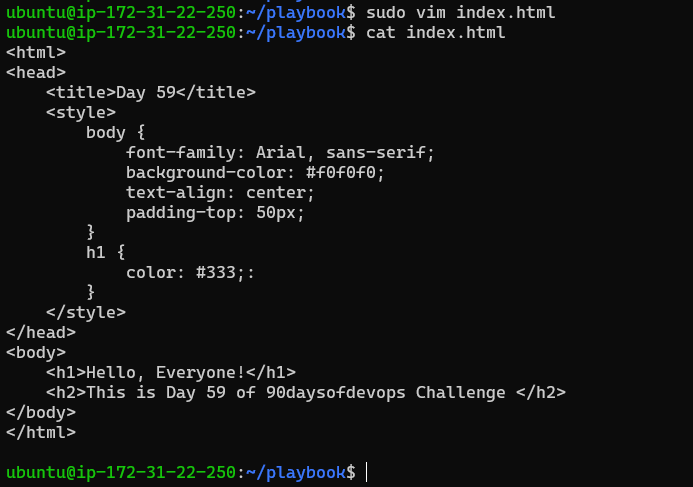
Deploy a sample webpage using the ansible playbook
Create a new file index.html in the playbook directory, and add some sample content
Update a ansible playbook file, install_nginx.yml, in the playbook directory:
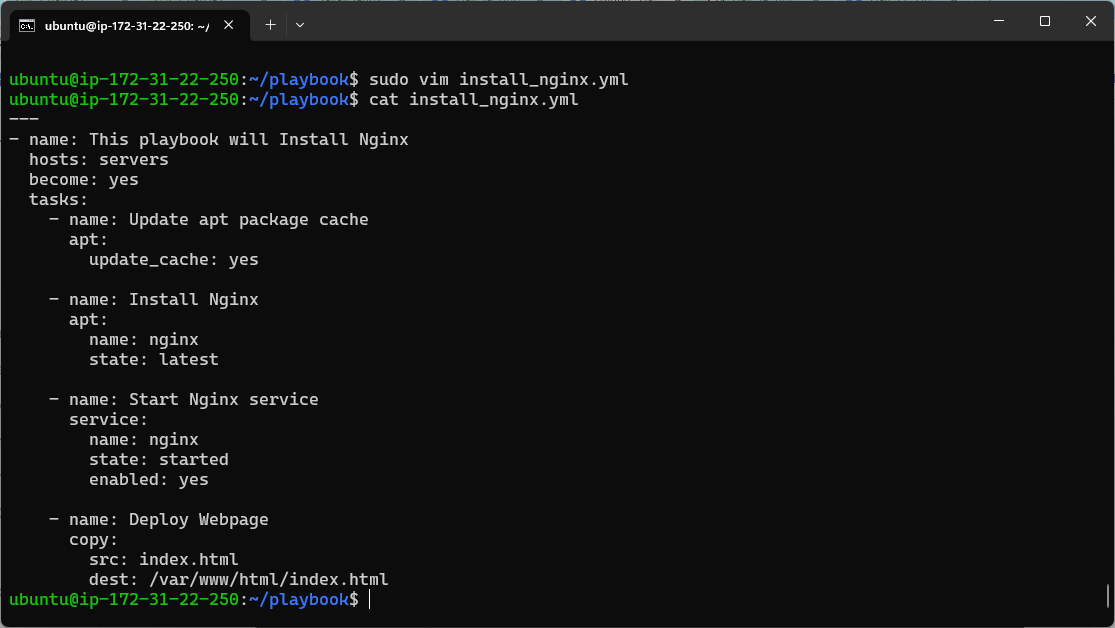
This playbook will copy the index.html file to the default Nginx web server document root directory at /var/www/html/.
Run the playbook
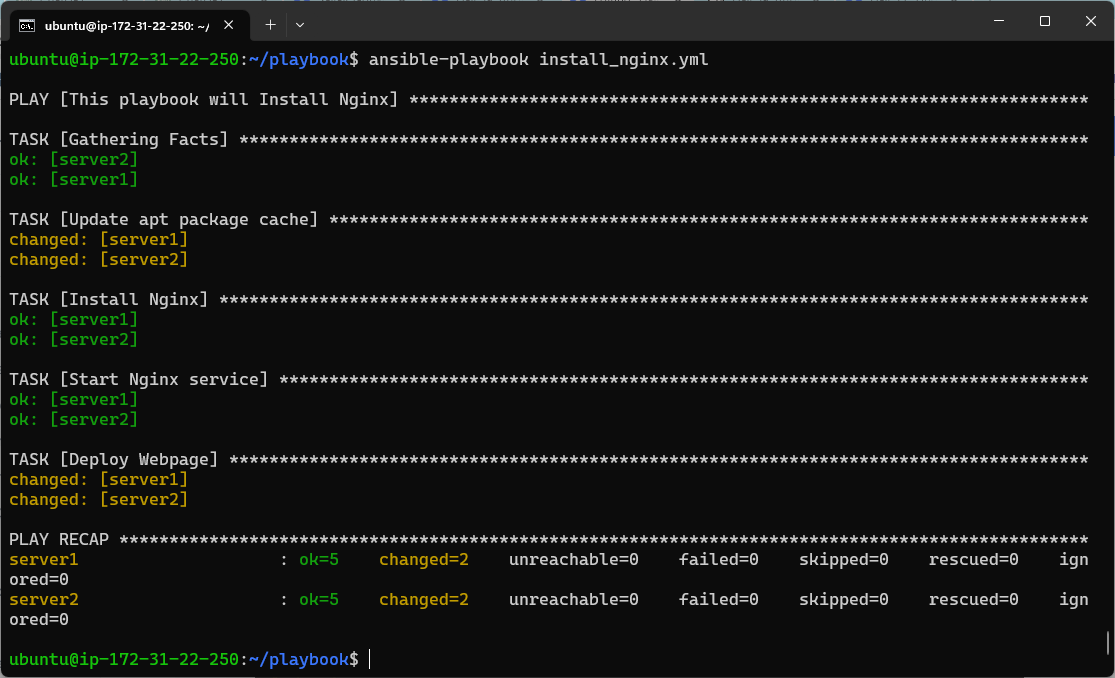
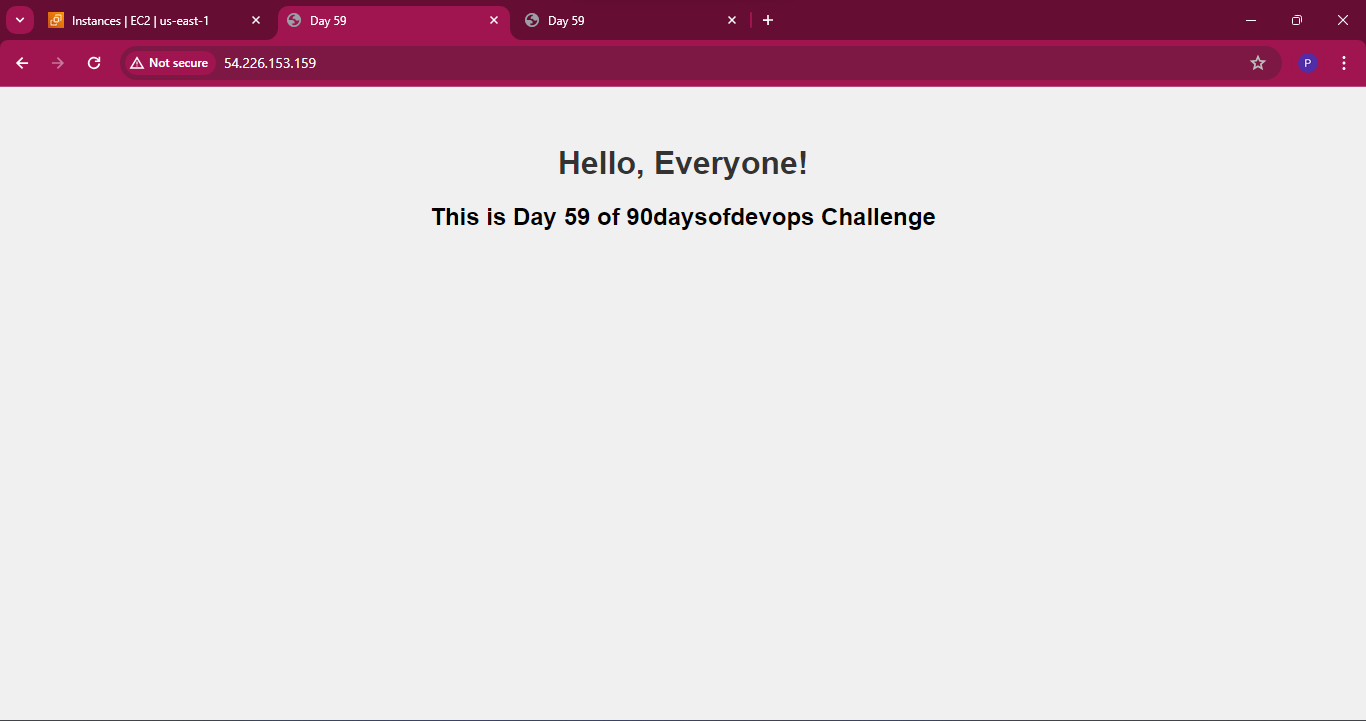
Once the playbook finishes executing, open a web browser and enter the public IP address of one of the EC2 instances running Nginx
server1:
server2:
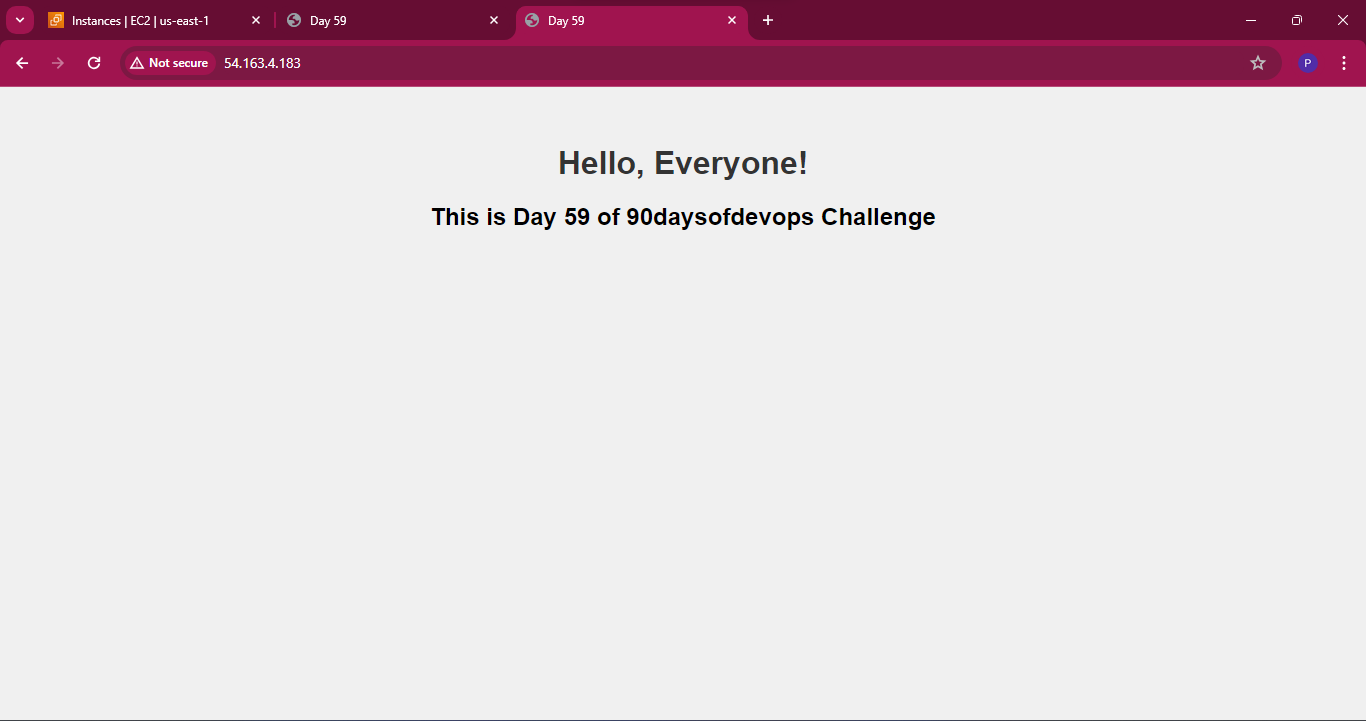
Congratulations! You've successfully deployed a simple web application using Ansible playbooks. This project highlights the automation capabilities of Ansible, making complex tasks like server configuration and application deployment more manageable and efficient. Experiment further with Ansible's modules and features to enhance your automation workflows. Happy automating! 🔥
I'm confident that this article will prove to be valuable, helping you discover new insights and learn something enriching .
thank you : )
Subscribe to my newsletter
Read articles from Prathmesh Vibhute directly inside your inbox. Subscribe to the newsletter, and don't miss out.
Written by
