Hosting portfolio on Azure App Services using GitHub Actions
 Tauqeer Ahmad
Introduction
Azure App Services is a managed platform for hosting web applications, APIs, and mobile backends. It abstracts away infrastructure management, allowing developers to focus on code. 🎯
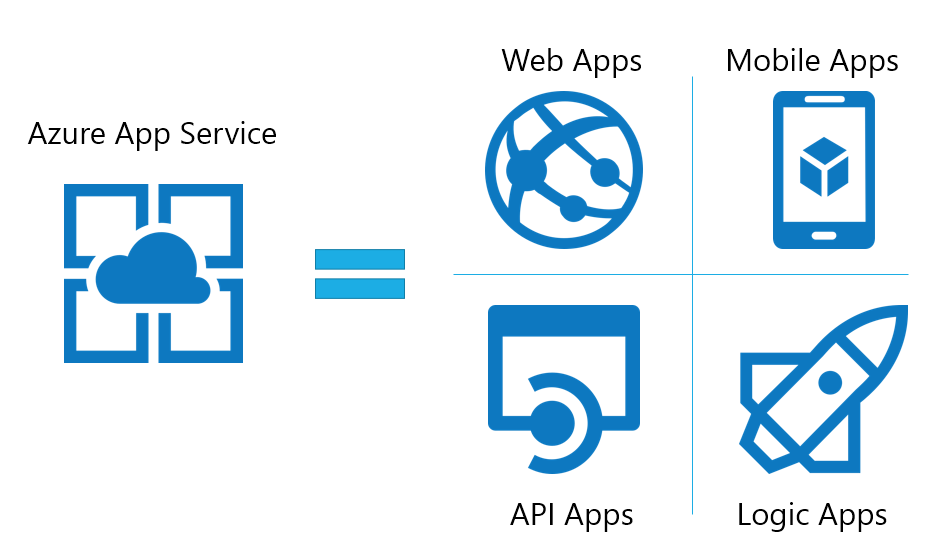
Supported Languages and Frameworks?
You can build applications in various languages, including .NET, .NET Core, Java, Node.js, PHP, and Python. PowerShell scripts can also run as background services.
Some spotlights on the management of the environment:
Azure handles OS patching, framework updates, and scaling. Developers don’t need to worry about server maintenance.
Now some words on GitHub Actions:
GitHub Actions are automated workflows that run when specific events occur in your GitHub repository. GitHub Actions provide a powerful CI/CD (Continuous Integration/Continuous Deployment) platform.

They allow you to define custom workflows for automating tasks related to code quality, testing, and deployment directly within your repository.
You can learn more about GitHub Actions through this blog. The blog explains the CI/CD process through GitHub Actions with a certain great example. 🙌
Let's move ahead to build our CI/CD pipeline and deploy it over Azure App Service
Ok! Great, you all must be excited to build your first pipeline; however, prior to that, we need to have an application, primarily based on Node.js (considering this blog). That application will be deployed over the Azure App Service.
Step 1: Take your time and space, build your application, and push it over to GitHub.
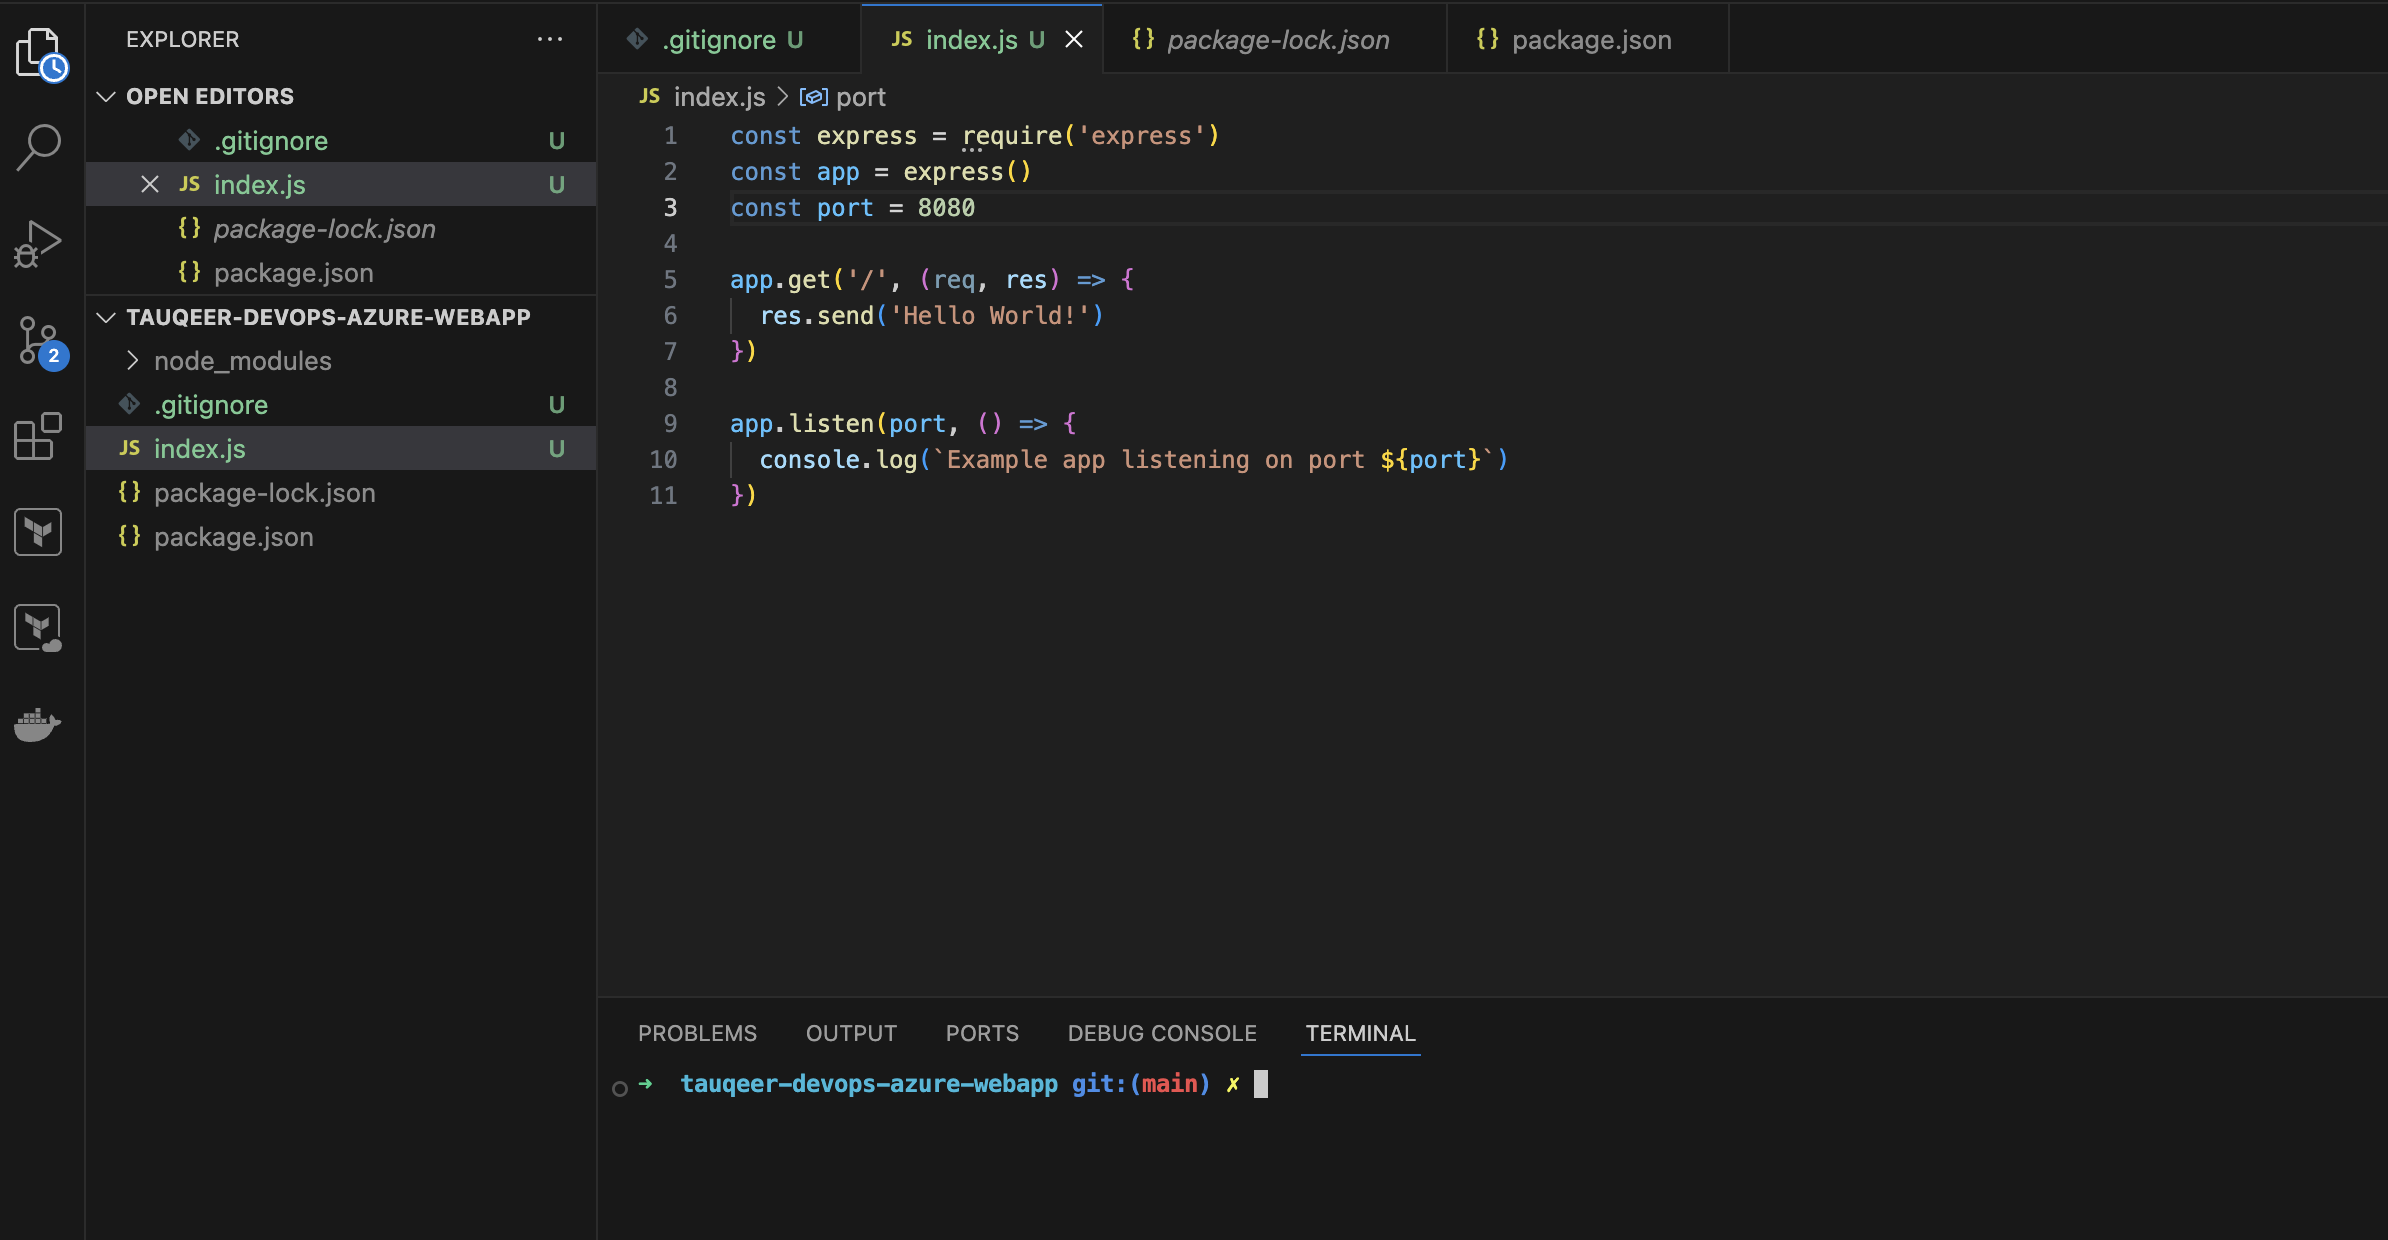
Note: If you're building around the Node.js application, kindly keep the port as 8080 to work, as Azure App Service exposes the port 8080.
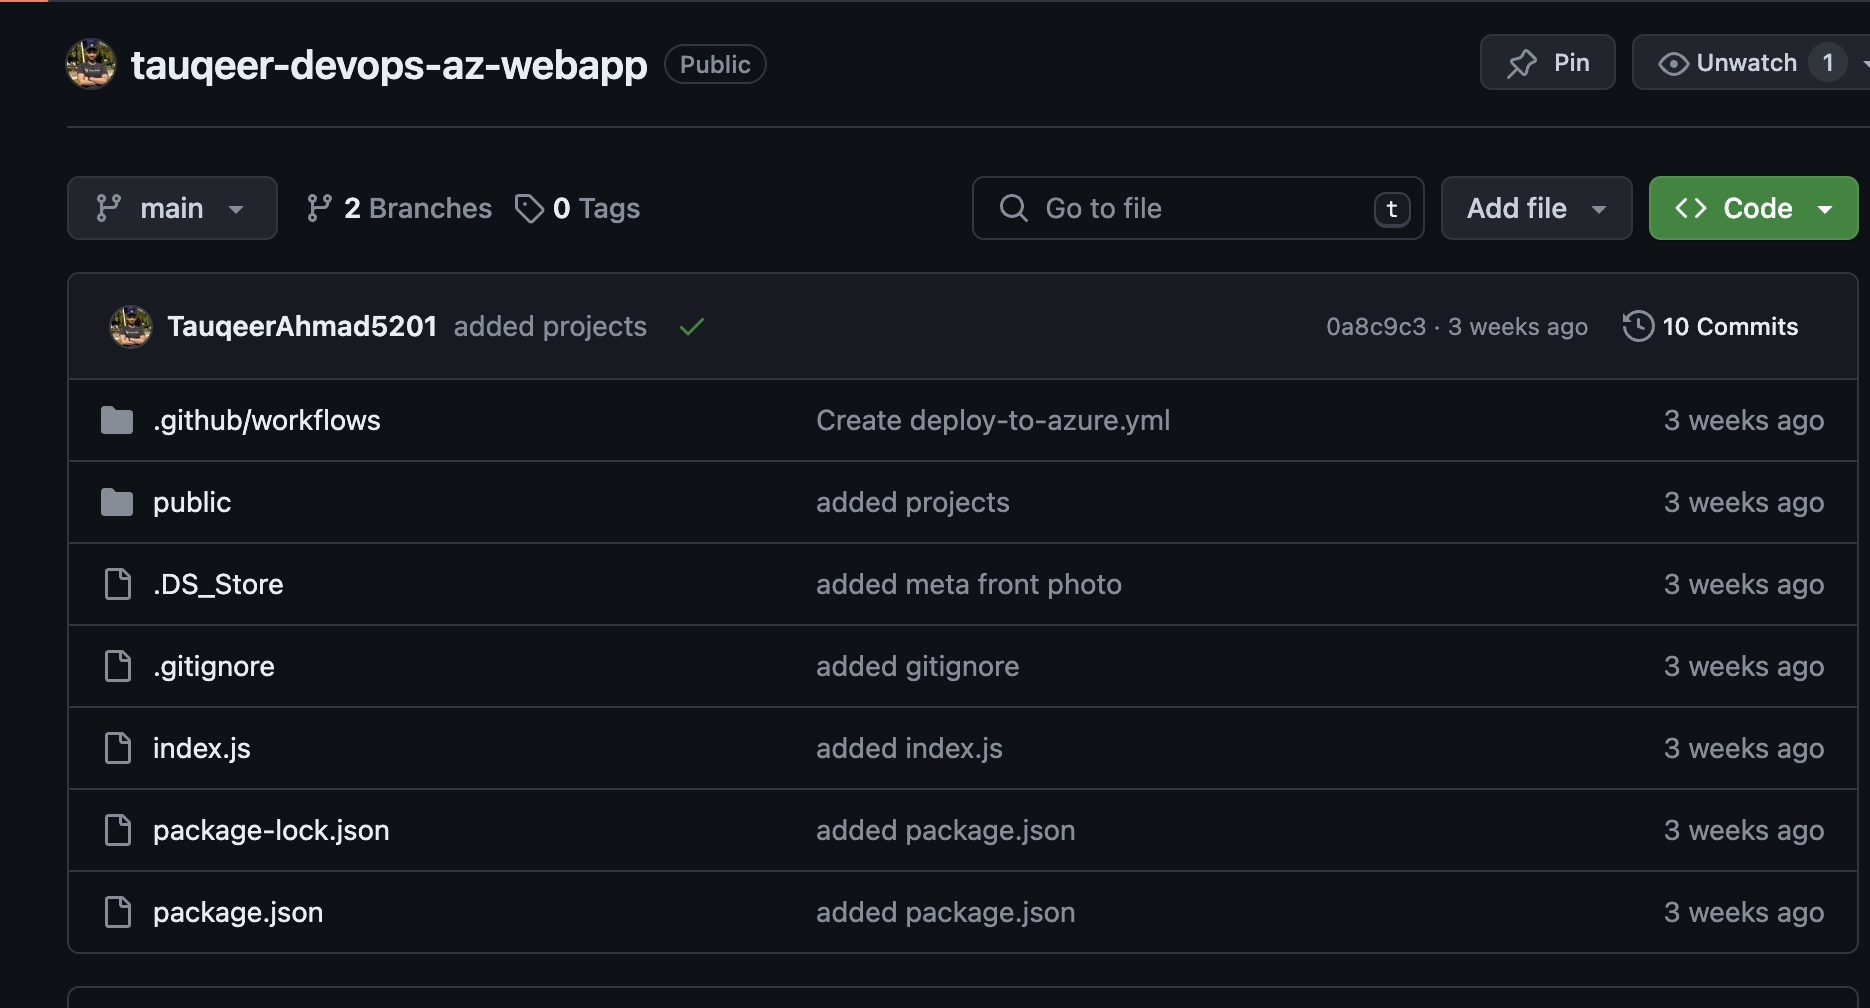
Considering the ideal conditions, you can get a glimpse of what your application and its code on GitHub will look like.
Step 2: Now step on to your Microsoft Azure Portal and try creating an Azure App Service.

Step 3: Go ahead and try creating a Web App through the Create slide down button. Kindly review and create it when you're sure about the app's metadata.
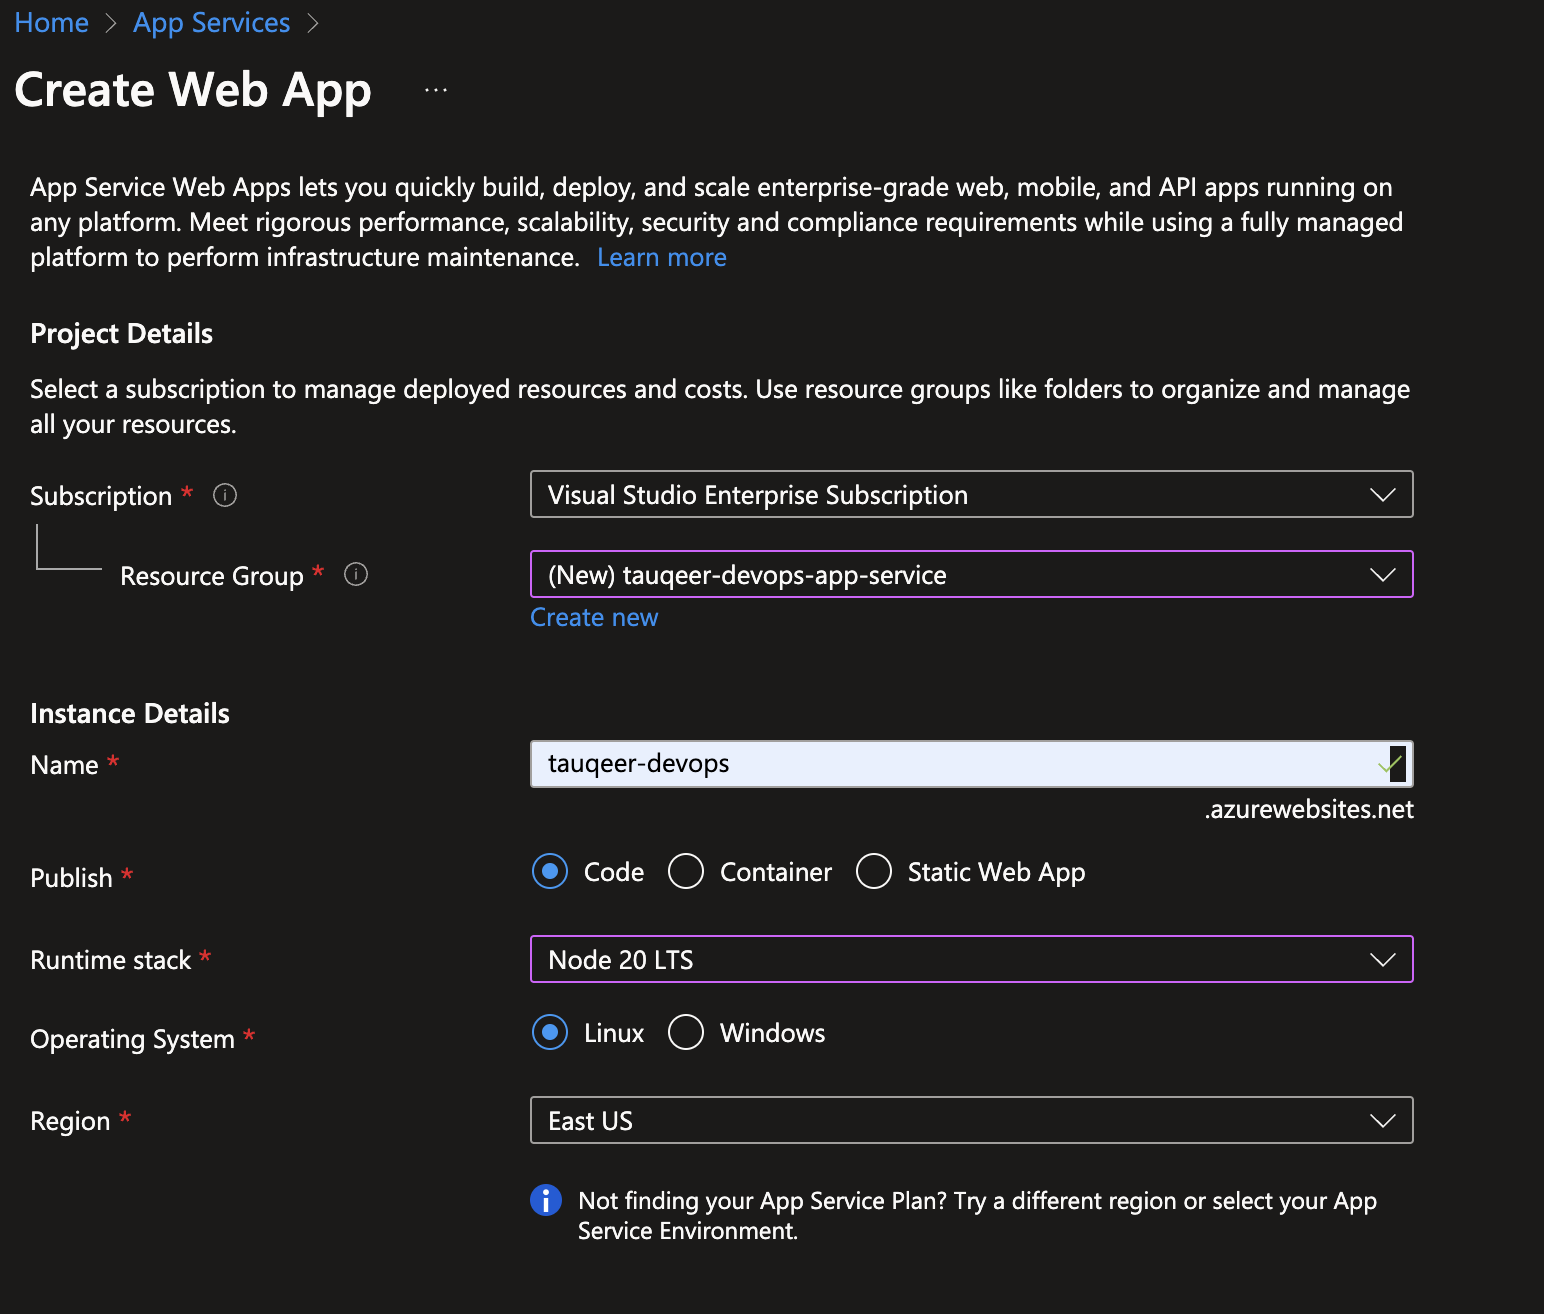
Note: Kindly select the Runtime stack as Node LTS since our application is based on Node.js.
Step 4: When you're done creating your application, kindly change the publishing profile SCM auth setting.
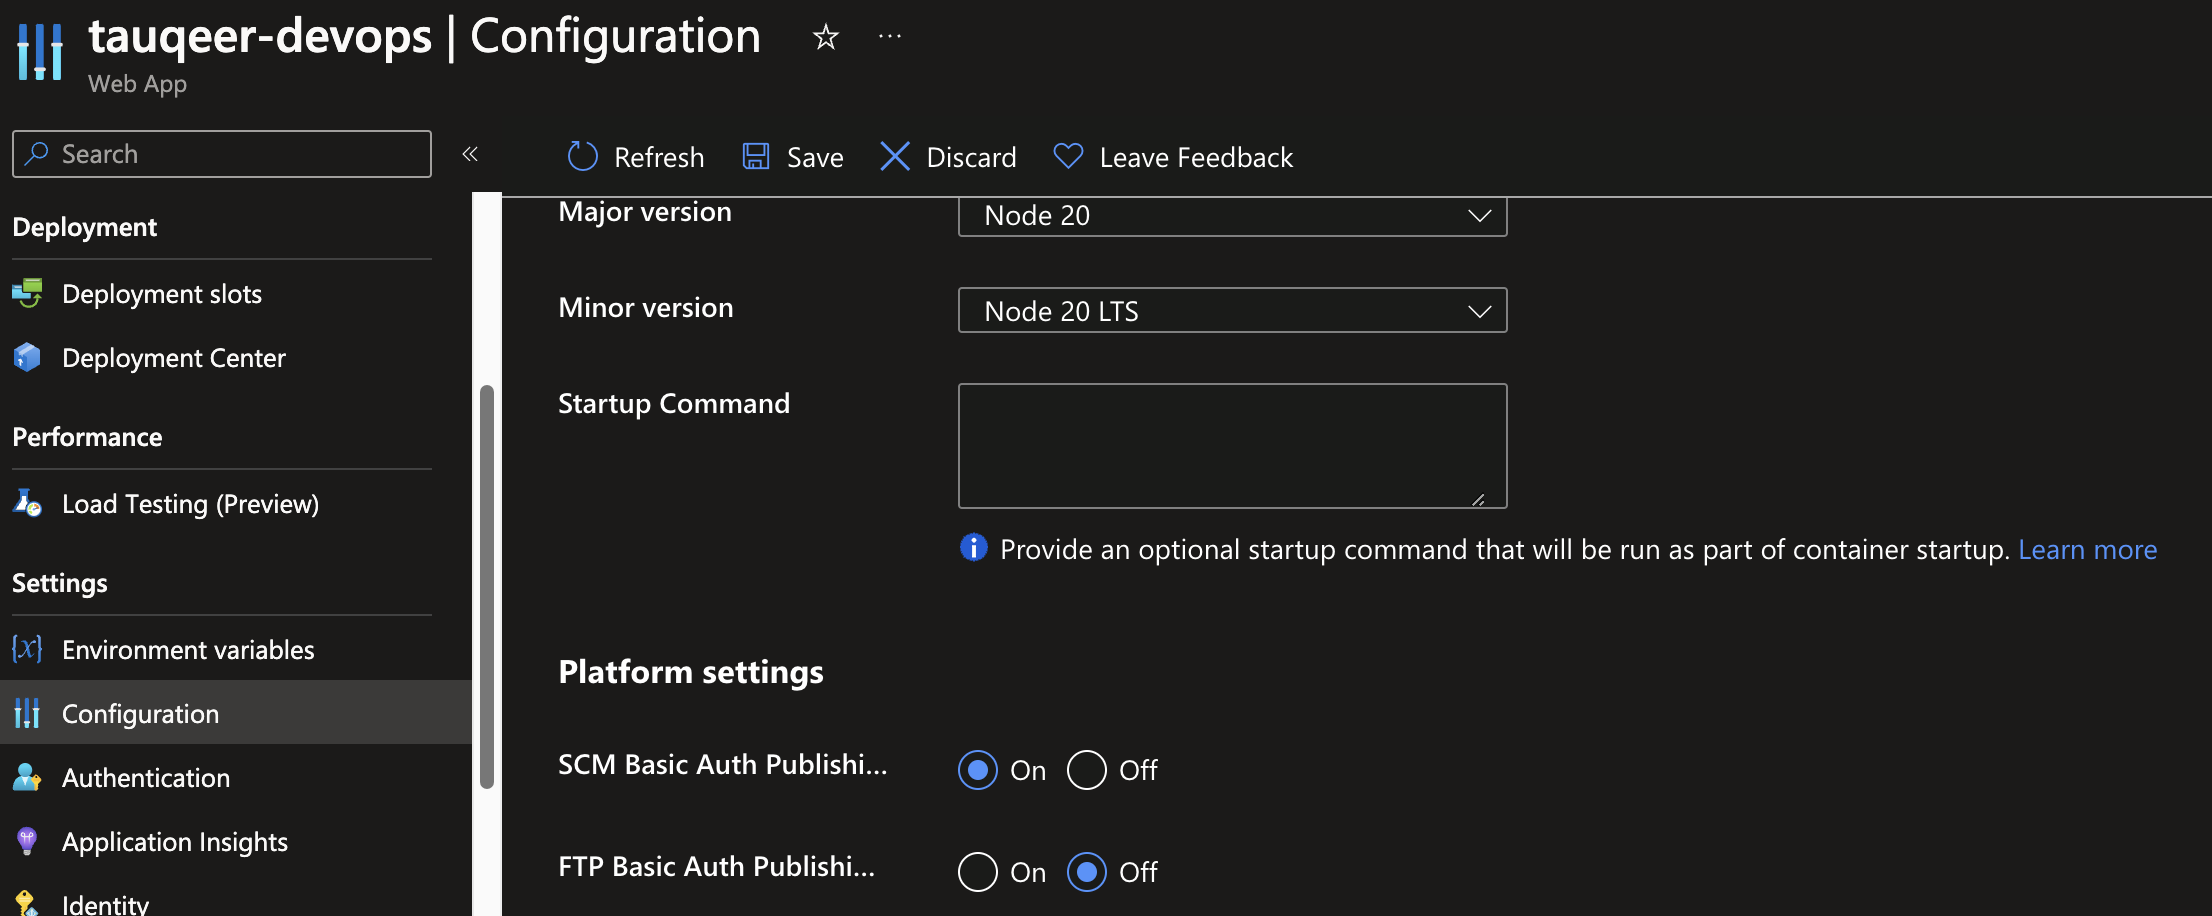
Here, you've to select the On state on the SCM Basic Auth Publishing Profile Setting.
Step 5: Kindly download your Publish Profile which is available in Overview section of your application.

Note: Please save your Publishing Profile key as it will be used in your GitHub Actions process.
Step 6: Now setup a GitHub Actions workflow to trigger the build and deployment process of the app over Azure App Service.
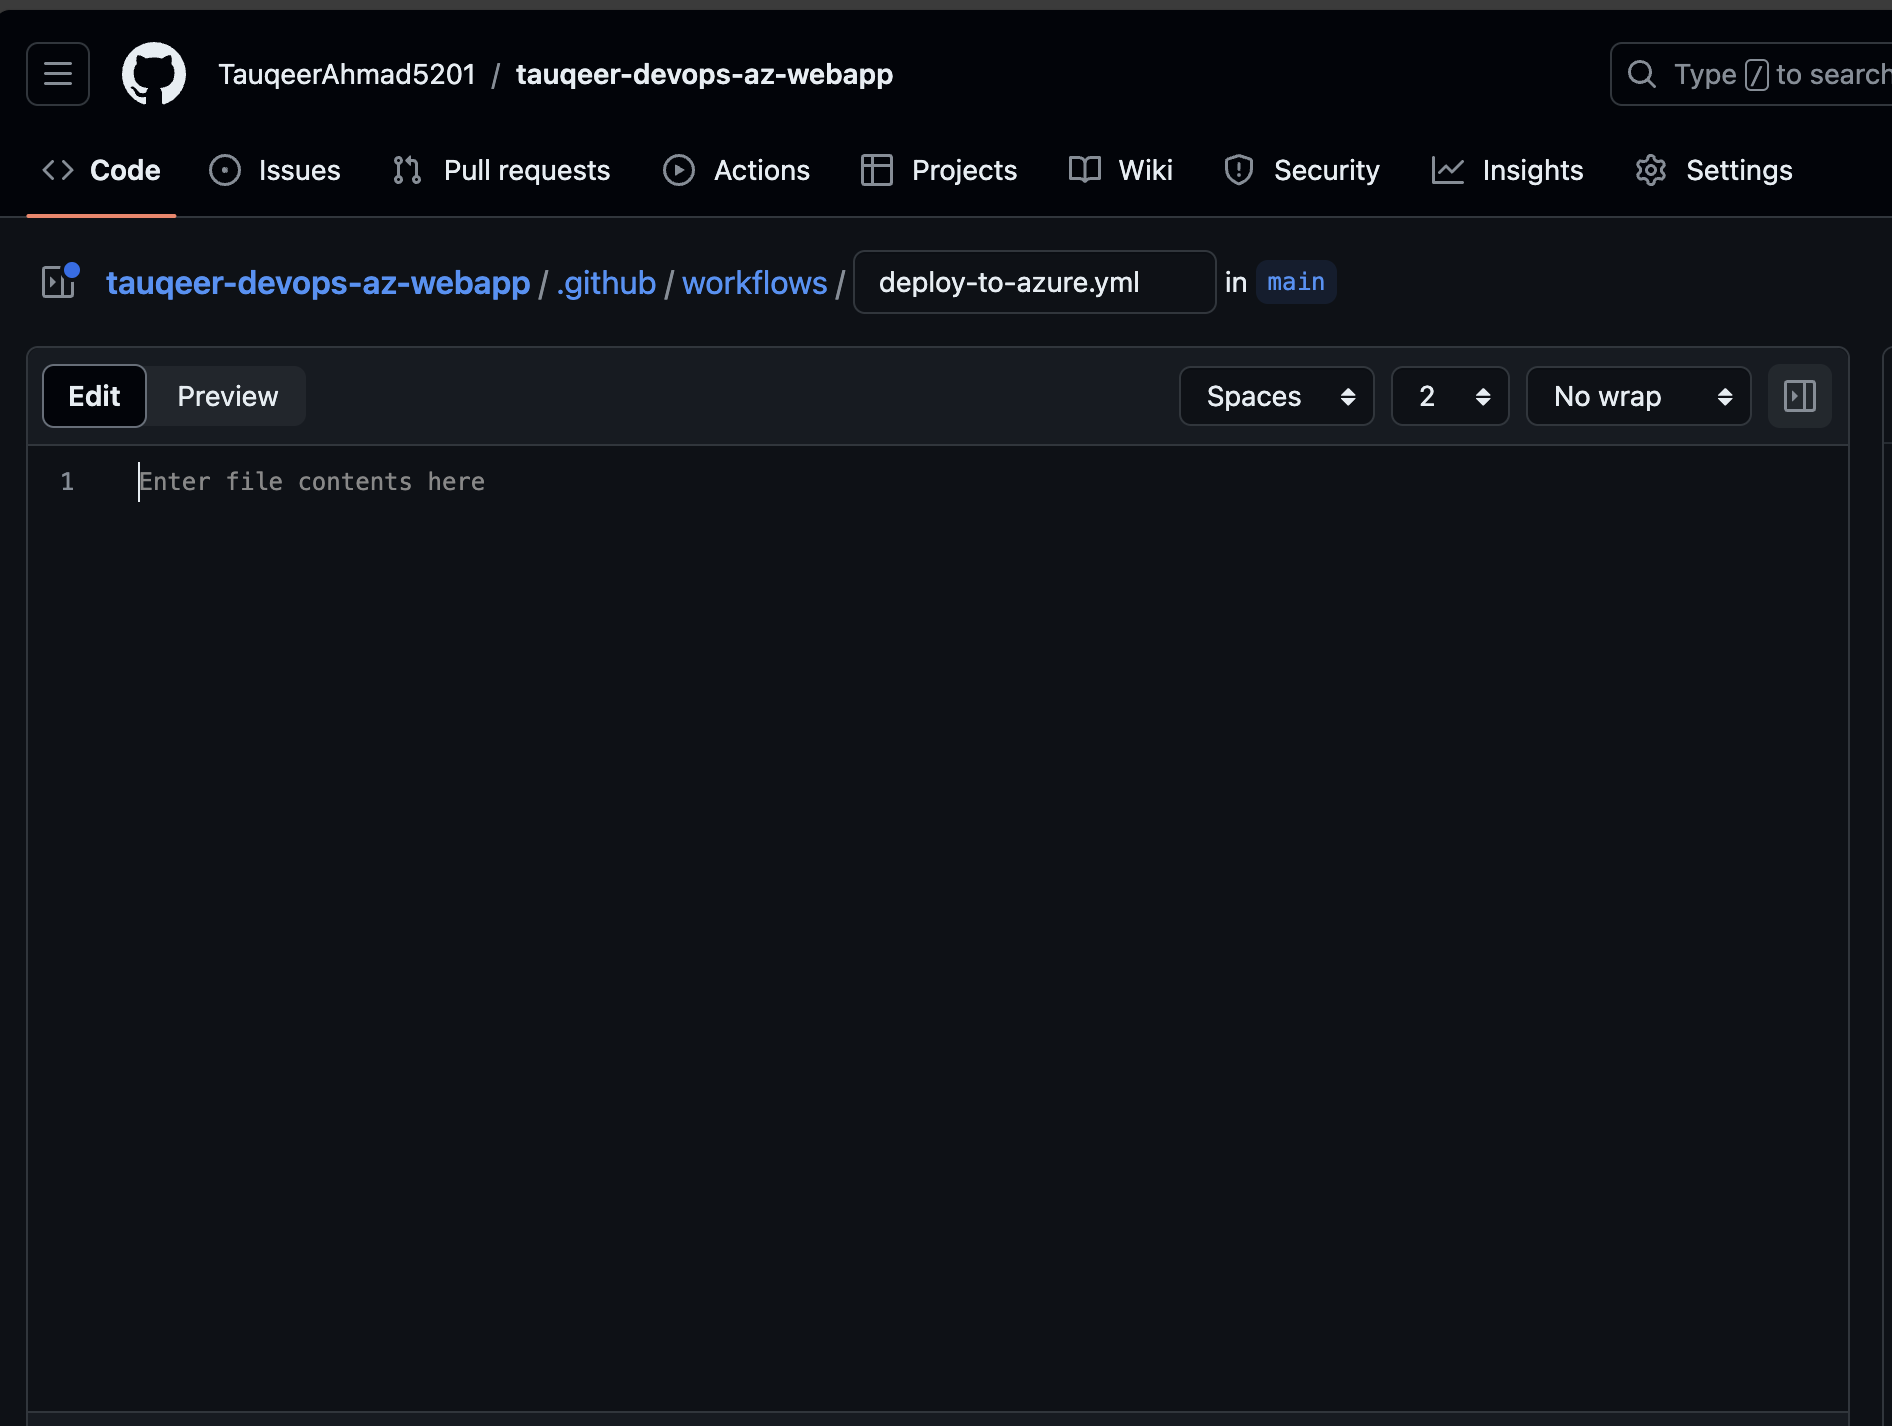
Point to catch: While setting up GitHub Actions, you need to take care of directory structure as well as folder/file name. For setting up a successful workflow, you need to have a .github folder and under which workflows is carried on and then your workflow name with .yml as extension.
<Repository name>/.github/workflows/<workflow name>.yml
This is the ideal path to your workflow file, which, on a successful trigger, will lead to a successful deployment.
Step 7: Let's build the CI/CD pipeline code in the .yml file.
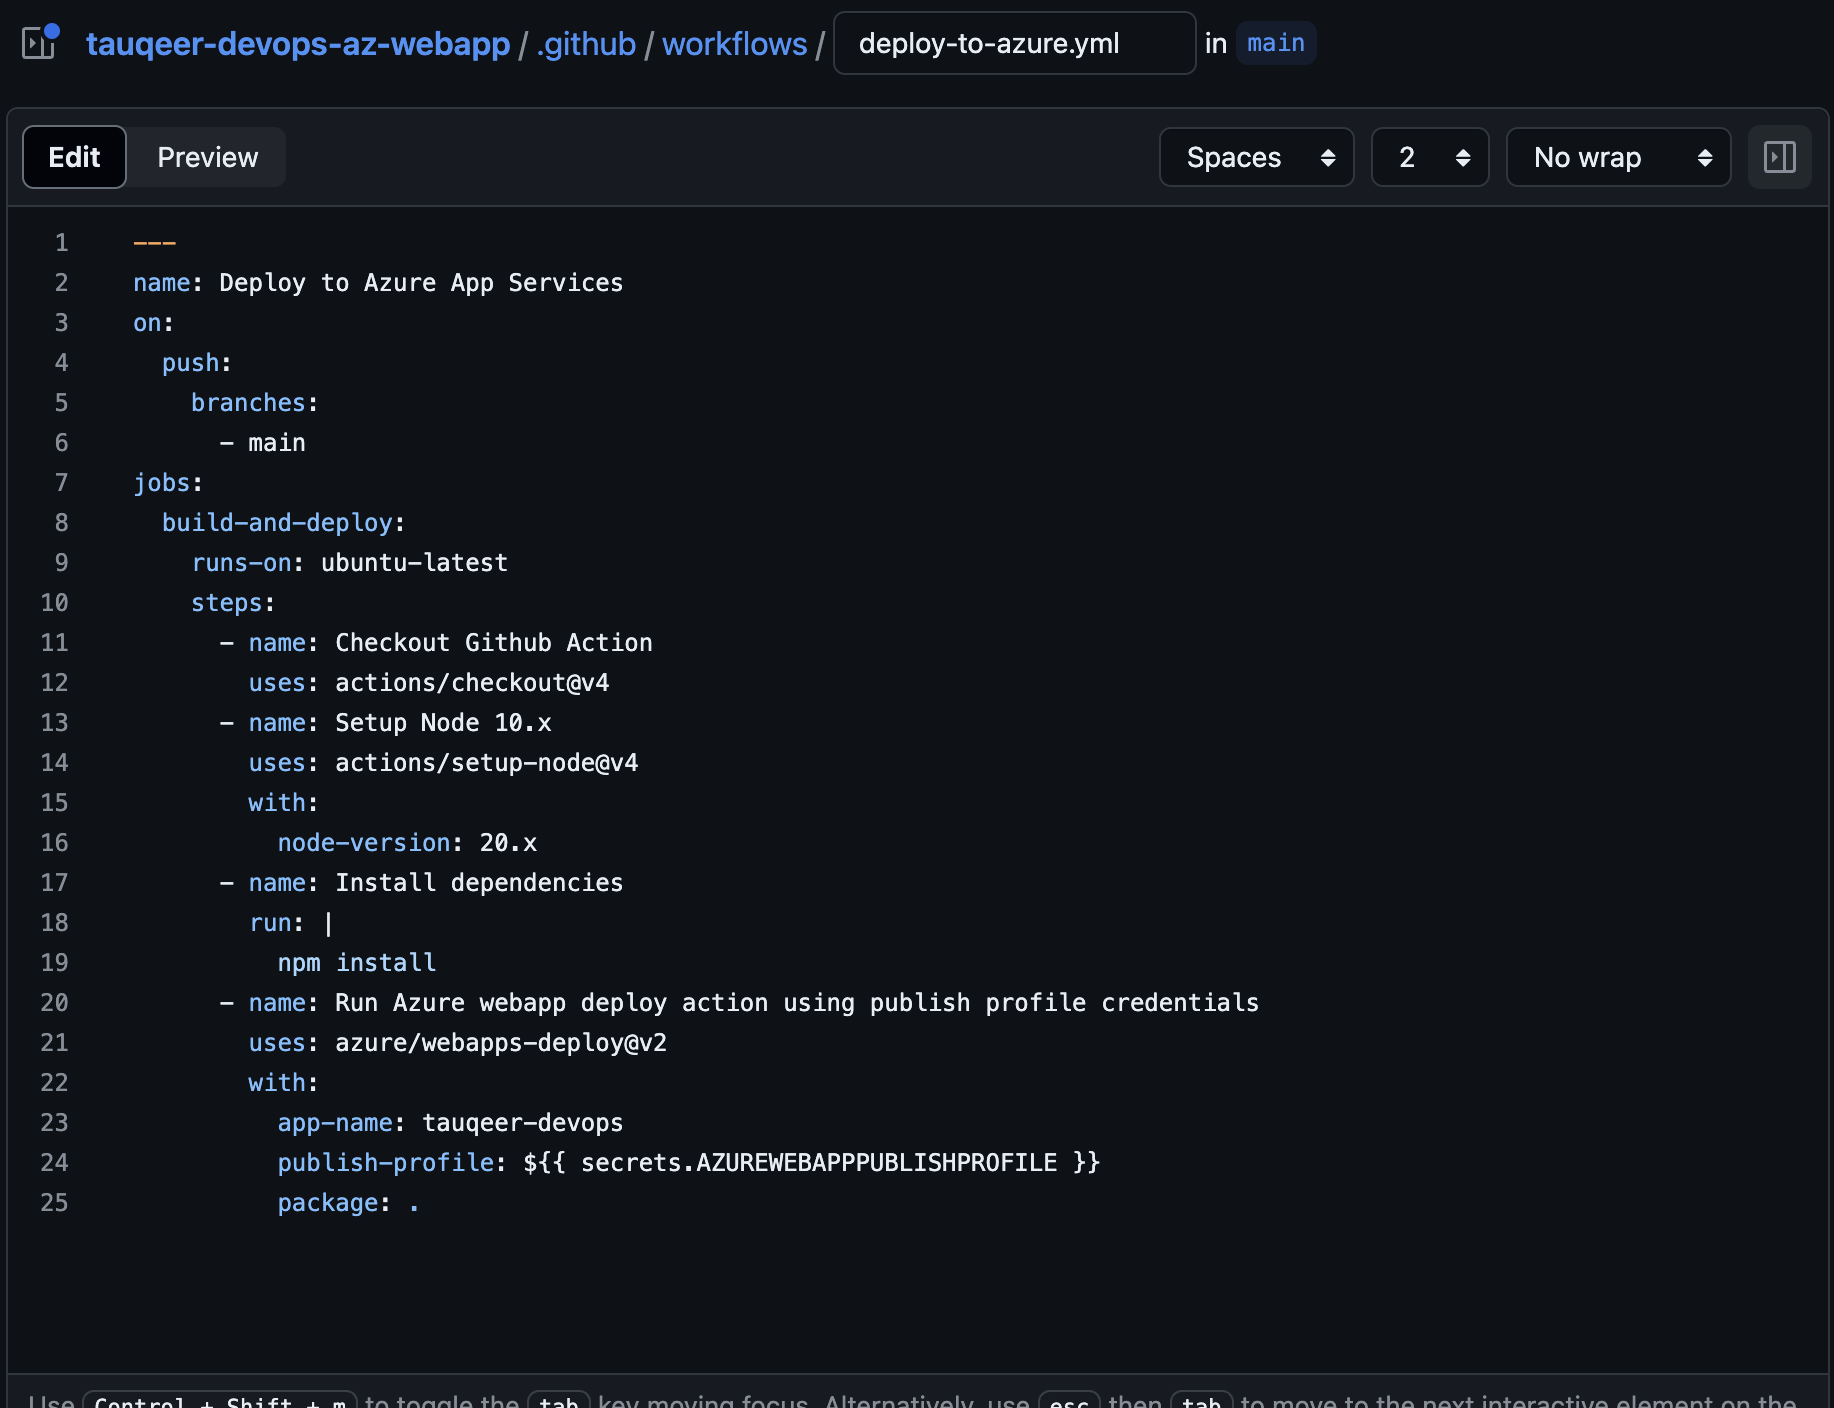
---
name: Deploy to Azure App Services
on:
  push:
    branches:
      - main
jobs:
  build-and-deploy:
    runs-on: ubuntu-latest
    steps:
      - name: Checkout Github Action
        uses: actions/checkout@v4
      - name: Setup Node 10.x
        uses: actions/setup-node@v4
        with:
          node-version: 20.x
      - name: Install dependencies
        run: |
          npm install
      - name: Run Azure webapp deploy action using publish profile credentials
        uses: azure/webapps-deploy@v2
        with:
          app-name: tauqeer-devops (Change according to your app)
          publish-profile: ${{ secrets.AZUREWEBAPPPUBLISHPROFILE }}
          package: .
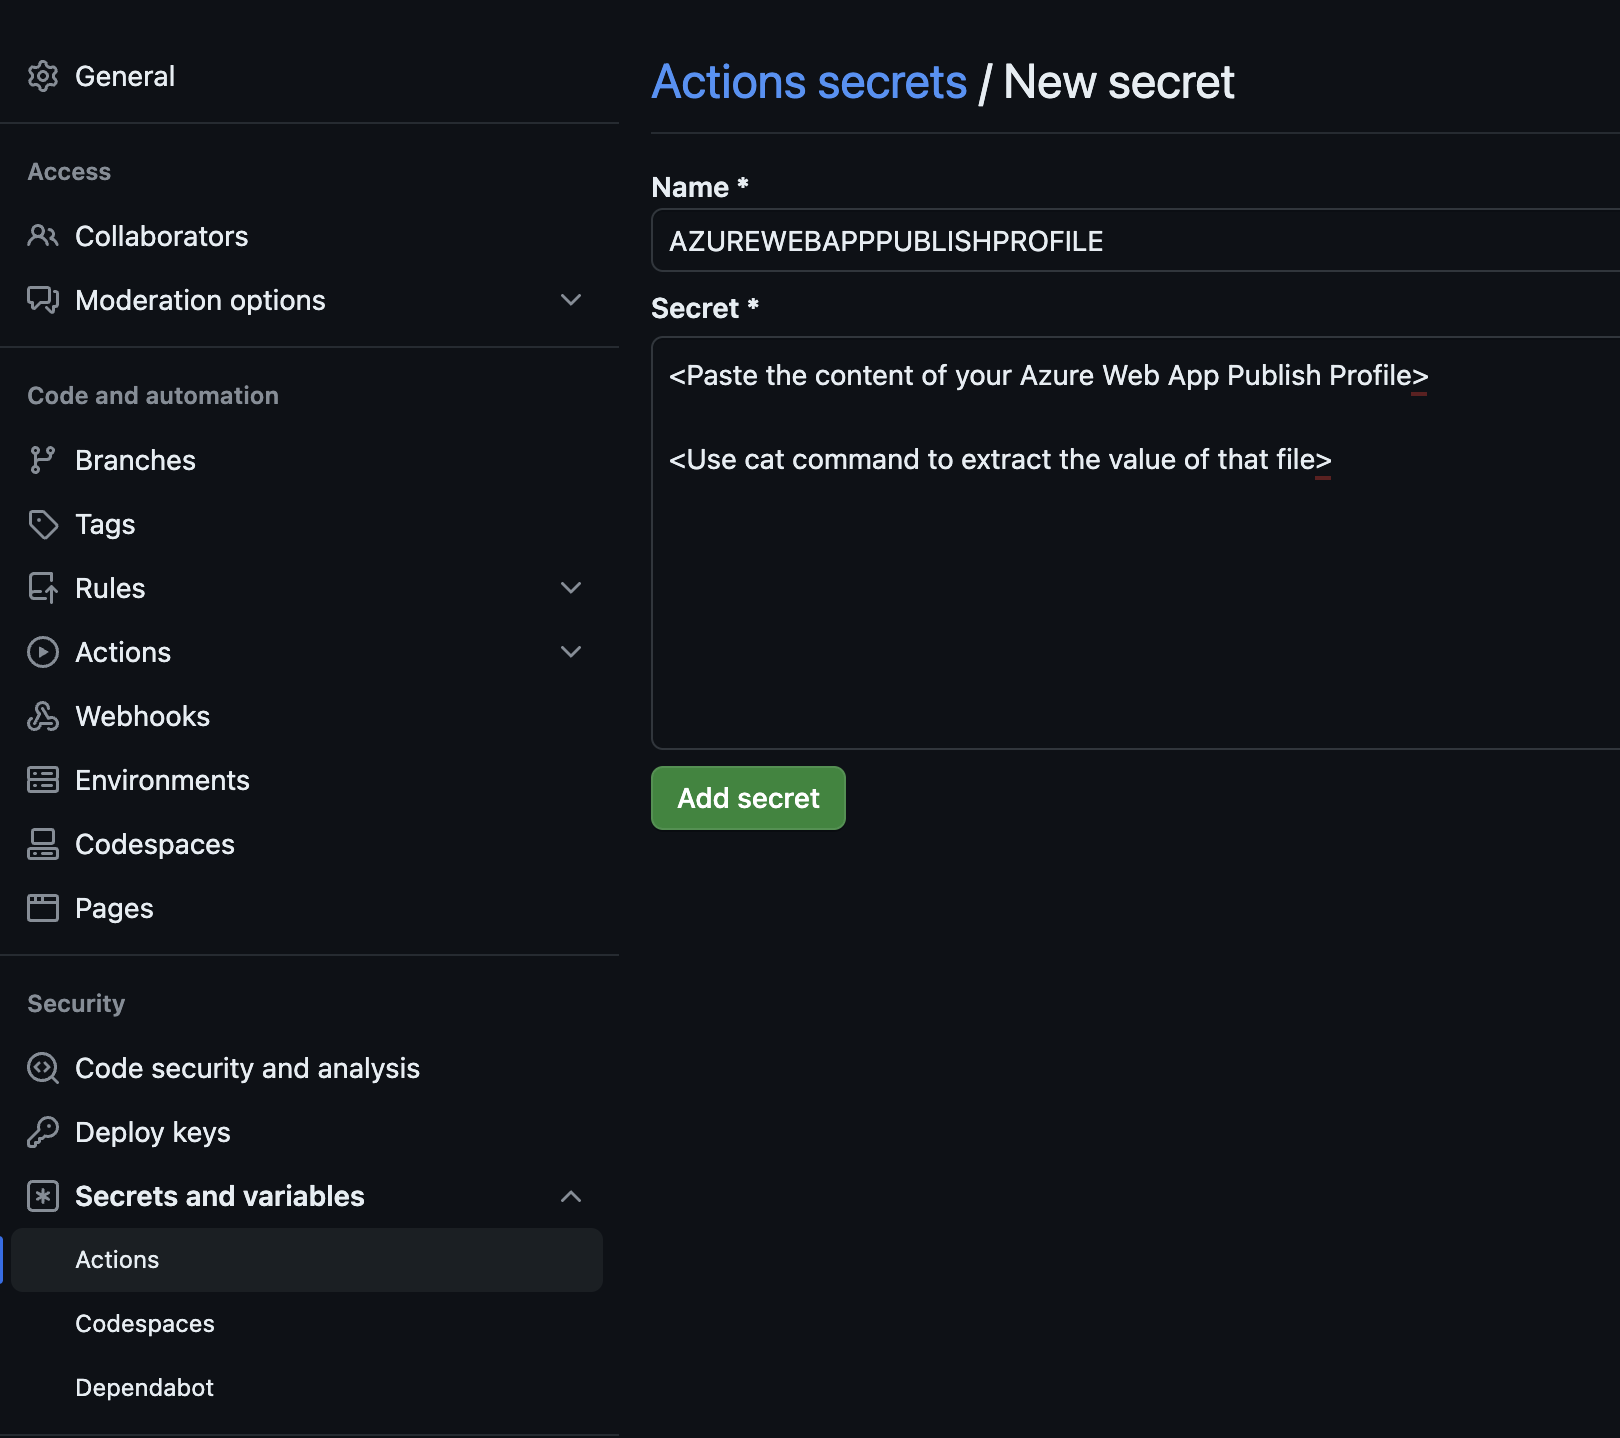
Step 8: Also add the content of AZUREWEBAPUBLISHPROFILE key (Ref to Step 5) into the secrets and variables tabs under the setting of the current repository.
Step 9: Just click on commit on main (Ref to Step 7) and wohoo, you're building and deploying your Node.js code to Azure App Services. The process may look like this:
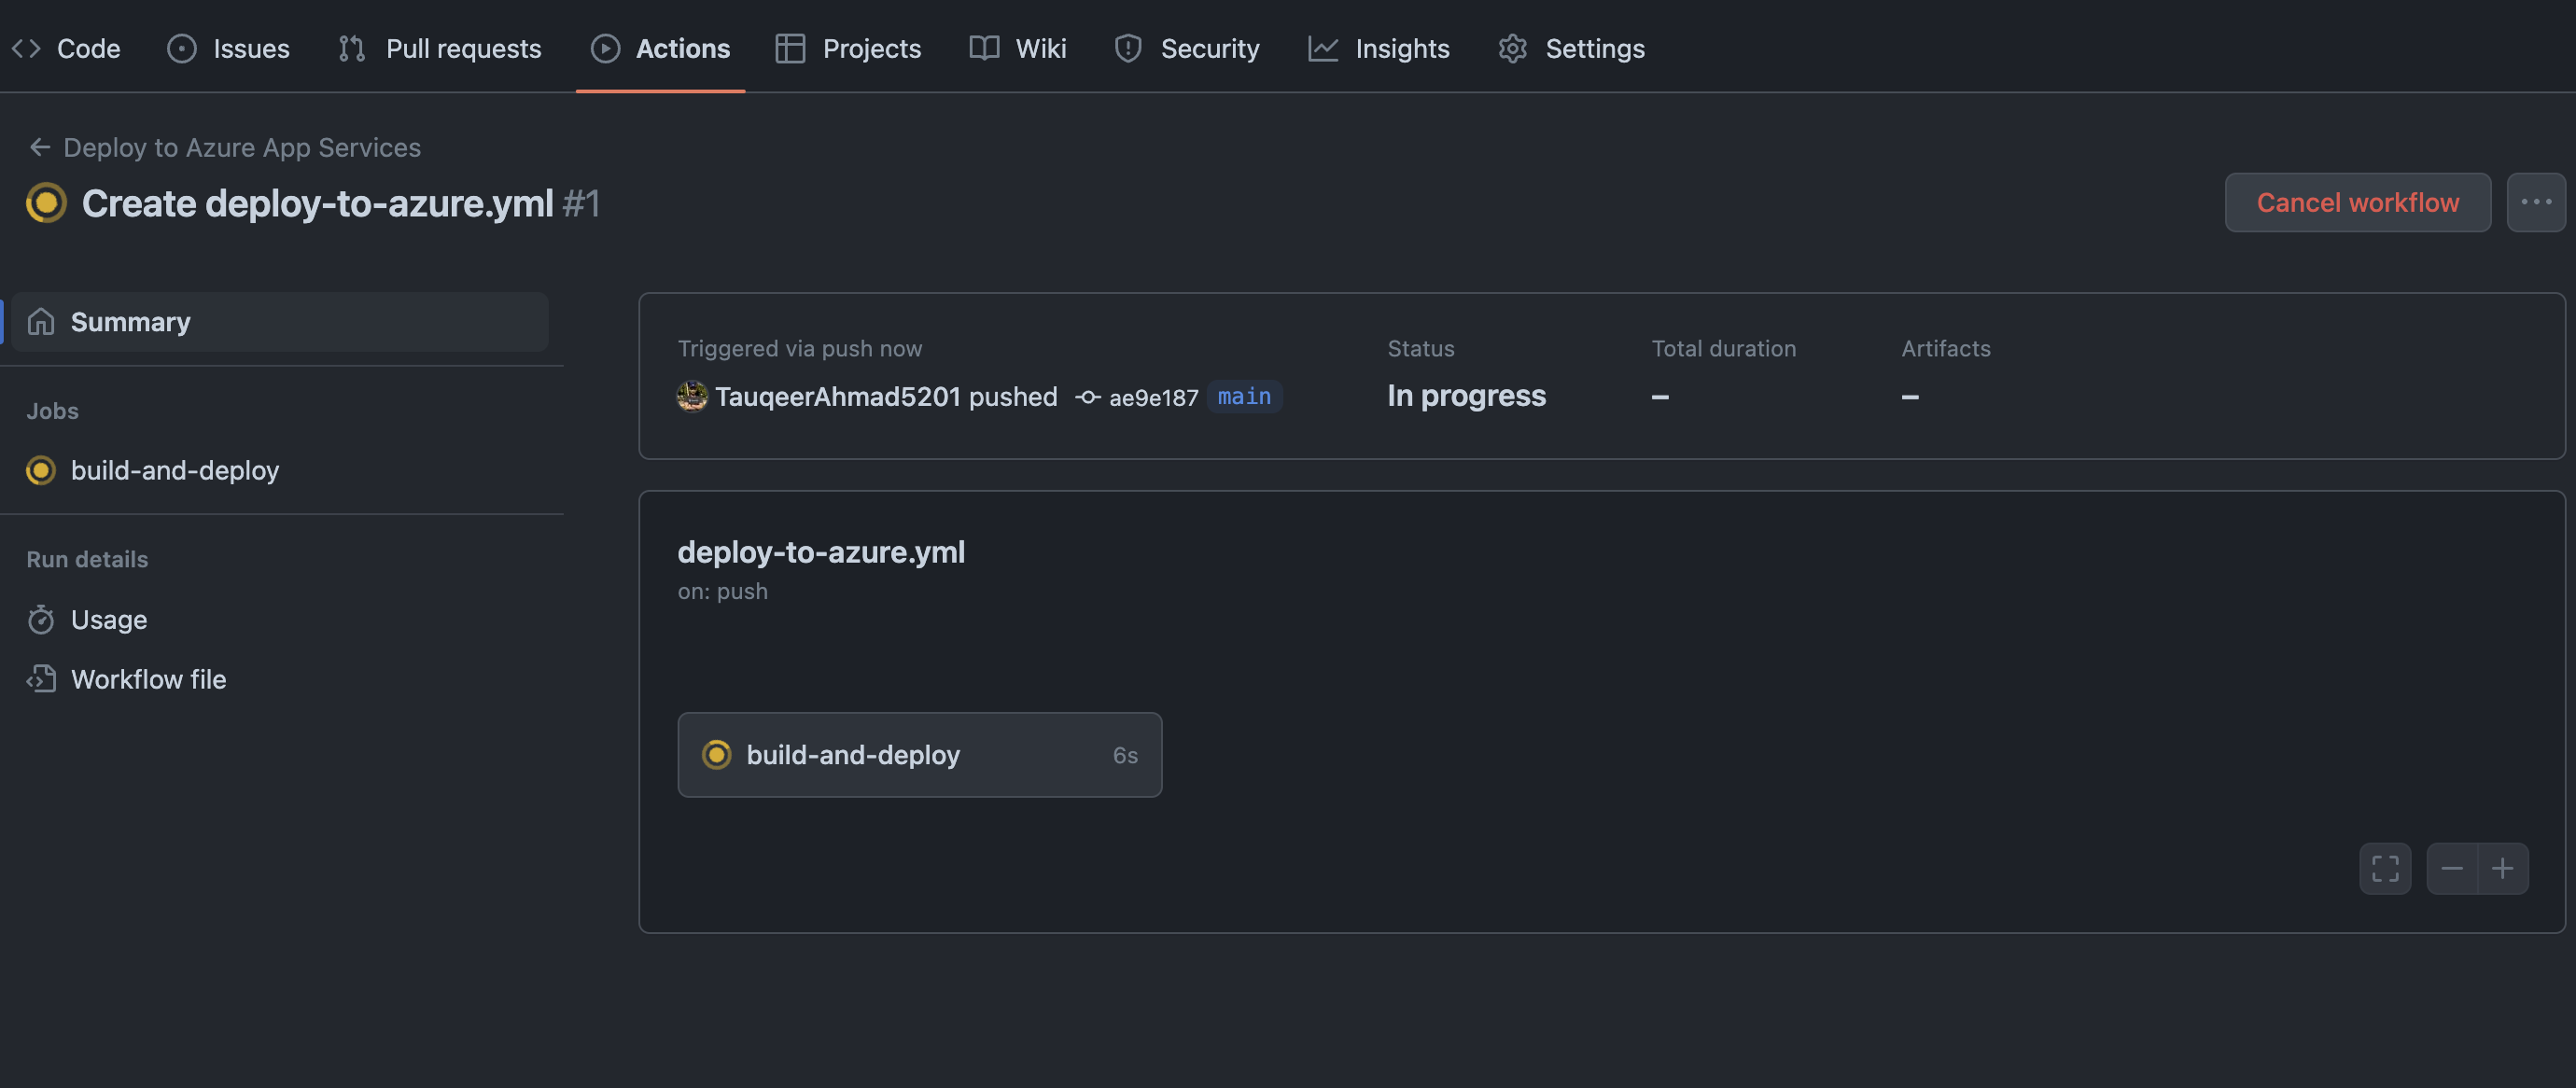
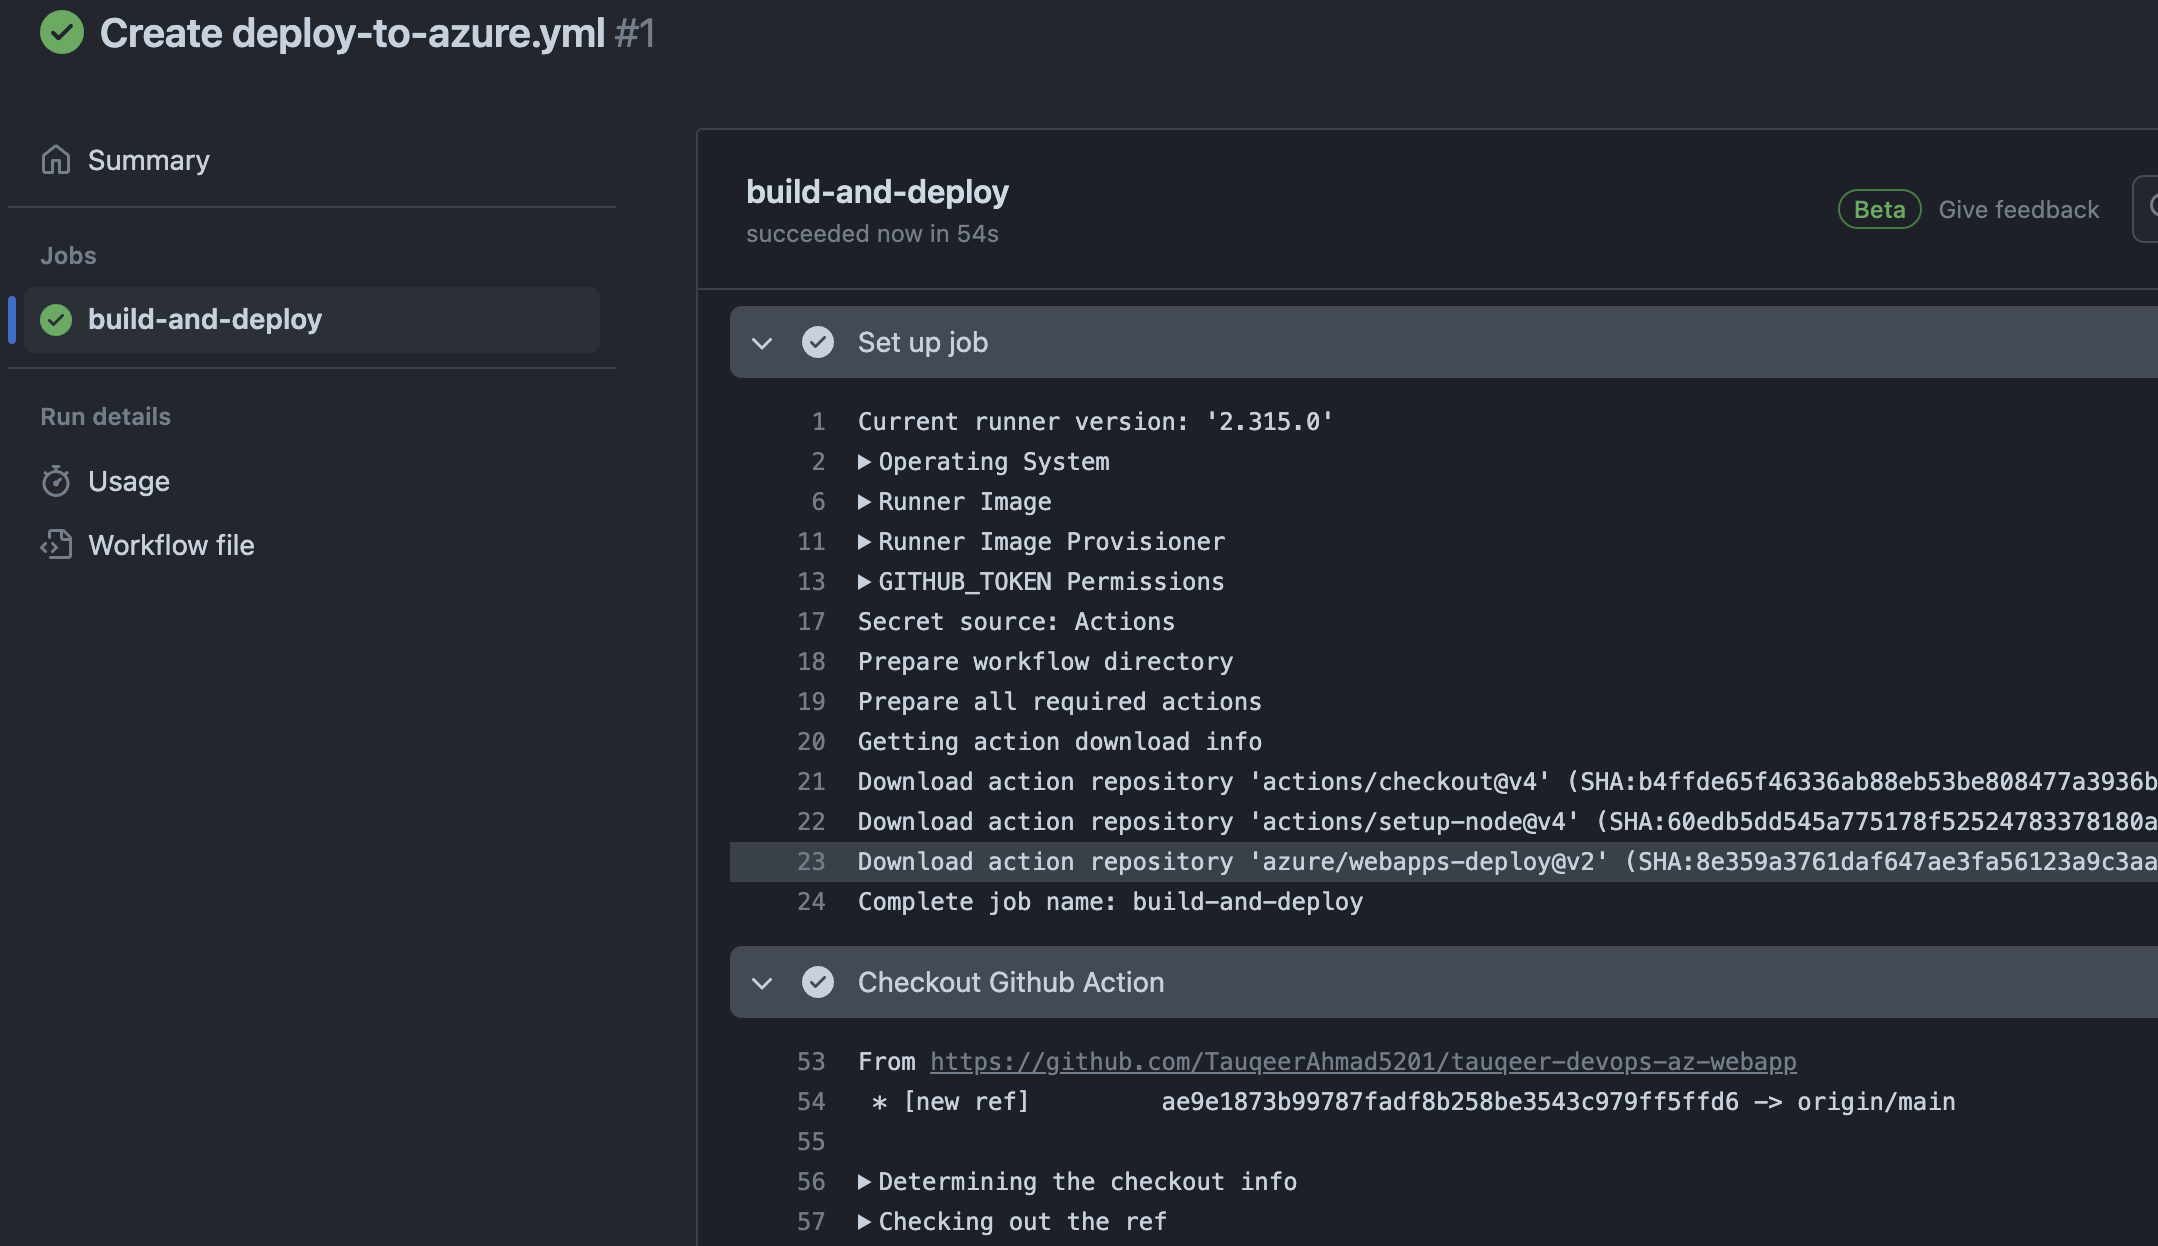
Step 10: Way back to the settings of your web app and check the deployment status and the domain.

Hurrayy! You've successfully deployed your portfolio project over Azure App services using GitHub Actions. 🥳
Also, if you commit any changes on the main branch, the changes will be reflected over the hosted domain. 🙌
Useful resources:
Learn more about Azure App Services: https://learn.microsoft.com/en-us/azure/app-service/overview
Get Azure Credits through free account: https://azure.microsoft.com/en-us/free/
Get Visual Studio Enterprise subscription for Azure Credits: https://visualstudio.microsoft.com/subscriptions/
Go for Microsoft for Startups that can help you gain AZ Credits: https://www.microsoft.com/en-in/startups
Azure for students: https://azure.microsoft.com/en-in/free/students/
Subscribe to my newsletter
Read articles from Tauqeer Ahmad directly inside your inbox. Subscribe to the newsletter, and don't miss out.
Written by

Tauqeer Ahmad
Tauqeer Ahmad
I am student developer much focusing upon community learning and enabling community as well. Write to me at: hellotauqeer@gmail.com