Connecting to a PostgreSQL DB on CloudSQL via Python server running on Cloud Run
 Vishnu Dileesh
Once we have our PostgreSQL database running on CloudSQL, with the flag cloudsql.iam_authentication set to on. We can now have a look at how we could create a Python FastAPI backend that connects to the database.
Let's start by creating a project folder and python environment.
mkdir cloudsql-pg-connector
cd cloudsql-pg-connector
python3 -m venv env
source env/bin/activate
We now have our project ready for installation of packages and coding.
Start by installing the needed packages.
pip install fastapi "cloud-sql-python-connector[pg8000]" SQLAlchemy gunicorn
Now that our packages are installed, let's do a pip freeze and write the packages to requirements.txt.
pip freeze > requirements.txt
We can now start our coding, create a file named main.py.
from typing import Union
from fastapi import FastAPI
from google.cloud.sql.connector import Connector
from sqlalchemy import create_engine, Table, MetaData
Let's import all the needed packages first. We can see the sqlalchemy, google.cloud.sql.connector and fastapi.
We will now initialise connector and do our database setup.
connector = Connector()

def getconn():
    conn = connector.connect(
        "my-project-name:region:instance-name",
        "pg8000",
        user="db-user",
        password="my-password",
        db="db-name"
    )
    return conn


engine = create_engine(
    "postgresql+pg8000://",
    creator=getconn,
)
Inside the connector, we pass in the needed parameters. First is our instance connection string, which is our gcp project name + region of the running instance and instance name. Then we have to define our database user, and the user's password along with the name we gave for database.
Moving on let's say in our database we have a table called products. We will define that table using SQLAlchemy.
metadata = MetaData()

try:
    products_table = Table('products', metadata, autoload_with=engine)
except Exception as e:
    print("Error defining table:", e)
We had earlier imported MetaData and Table from SQLAlchemy. We define the table products, it is the name we have given for our table in the database.
Now we are done with most of the database setup, let's now work on creating a simple FastAPI server.
app = FastAPI()

@app.get("/products")
def read_root() -> Union[str, dict]:
    with engine.connect() as db_conn:
        results = db_conn.execute(products_table.select()).fetchall()

    data = [{"id": row[1], "name": row[2], "price": row[3], "description": row[4]} for row in results]
    return {"data": data}
We are first initialising FastAPI and then defining our get products route. Inside that we are connecting to our database instance and then fetching for all the data in our products table. Then returns the results in our response.
That's with our coding. We are good to go.
So now let's create our Dockerfile.
ARG PYTHON_VERSION=3.11.6
FROM python:${PYTHON_VERSION}-slim as base

ENV PYTHONDONTWRITEBYTECODE=1

ENV PYTHONUNBUFFERED=1

WORKDIR /app

COPY requirements.txt .

RUN python -m pip install -r requirements.txt

COPY . .

EXPOSE 8000

CMD ["uvicorn", "main:app", "--host", "0.0.0.0", "--port", "8000"]
We have the working directory defined and requirements.txt copied and packages installed. Also we are exposing port 8000 and have the uvicorn command to start our server.
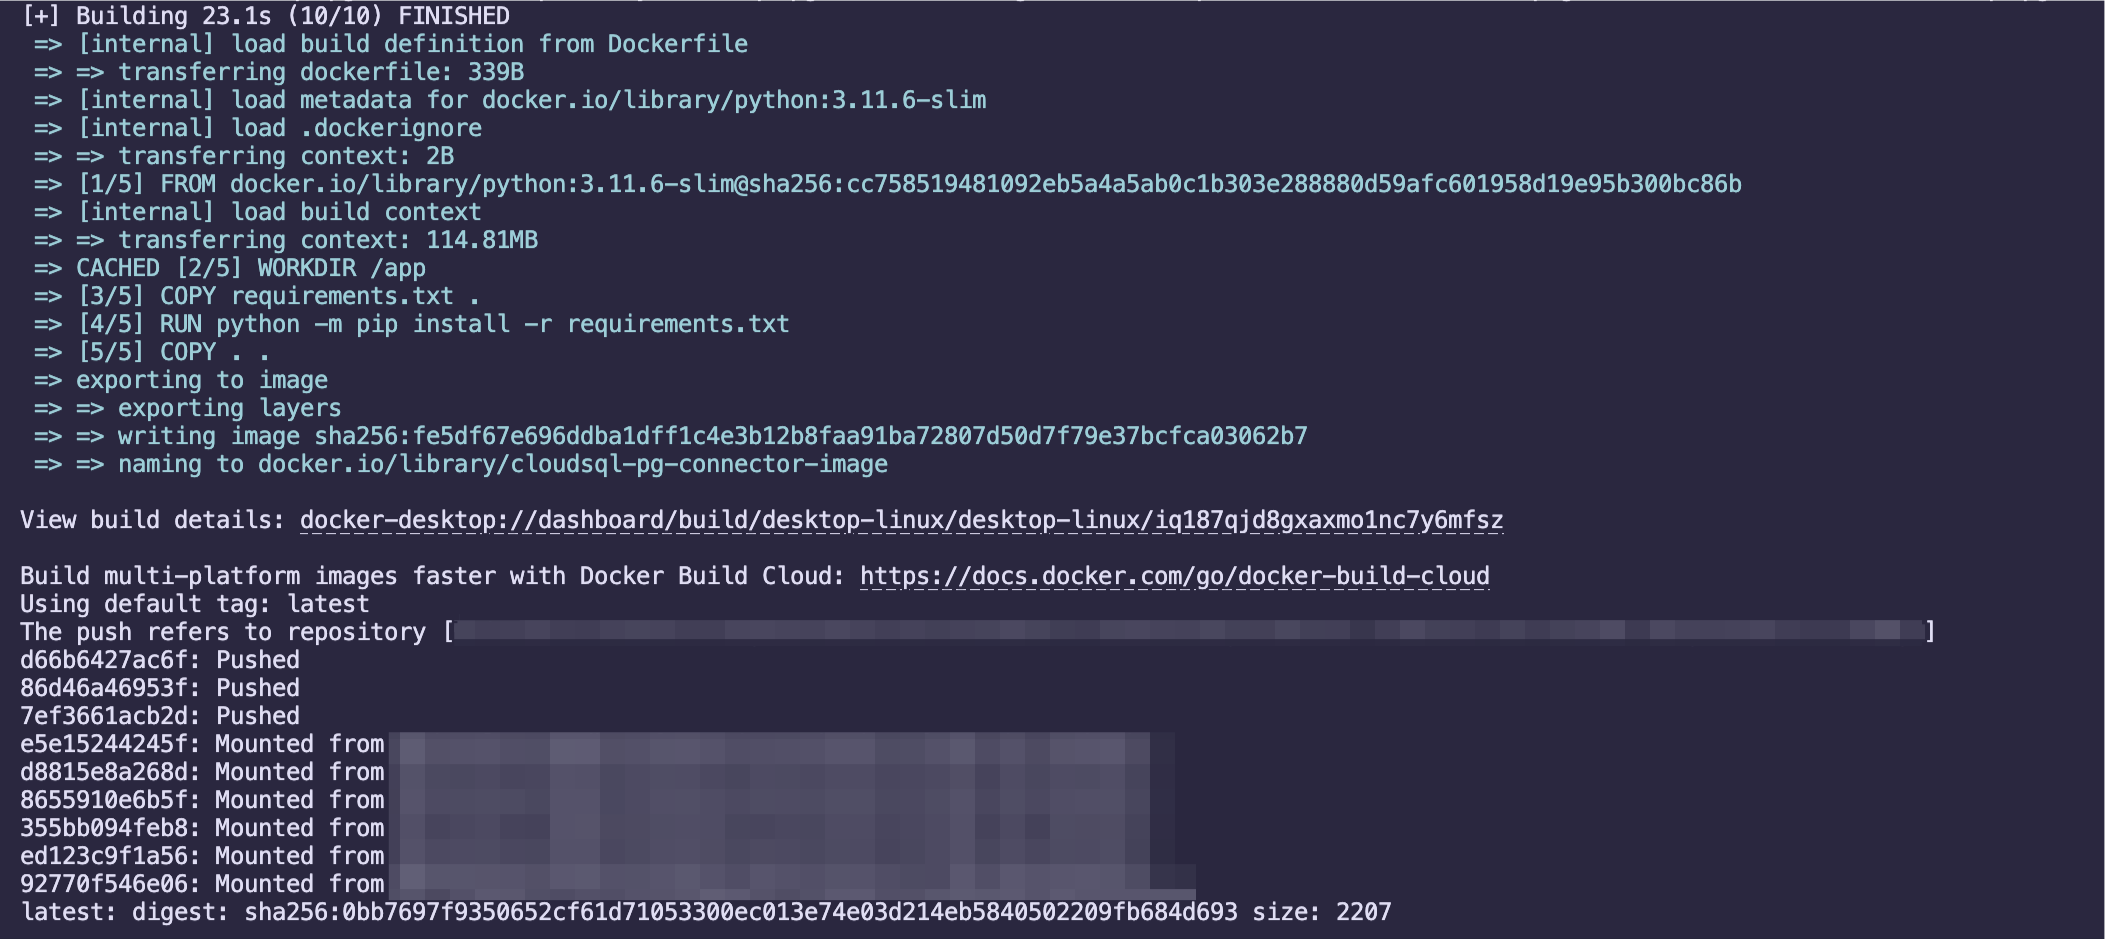
Let's build our docker image. First run the Docker demon and then on the terminal run
docker build -t cloudsql-pg-connector-image .
#(if you are on mac m1 chip, run the below build command)
docker buildx build --platform linux/amd64 -t cloudsql-pg-connector-image .
In GCP create a new repository inside Artifact Registry. And copy it's path.
Checkout the following article to follow the steps required: Dockerizing an express app and uploading to gcp artifact registry
Now back in our terminal let's tag our image.
docker tag cloudsql-pg-connector-image region.pkg.dev/project-name/repository-name/cloudsql-pg-connector-image
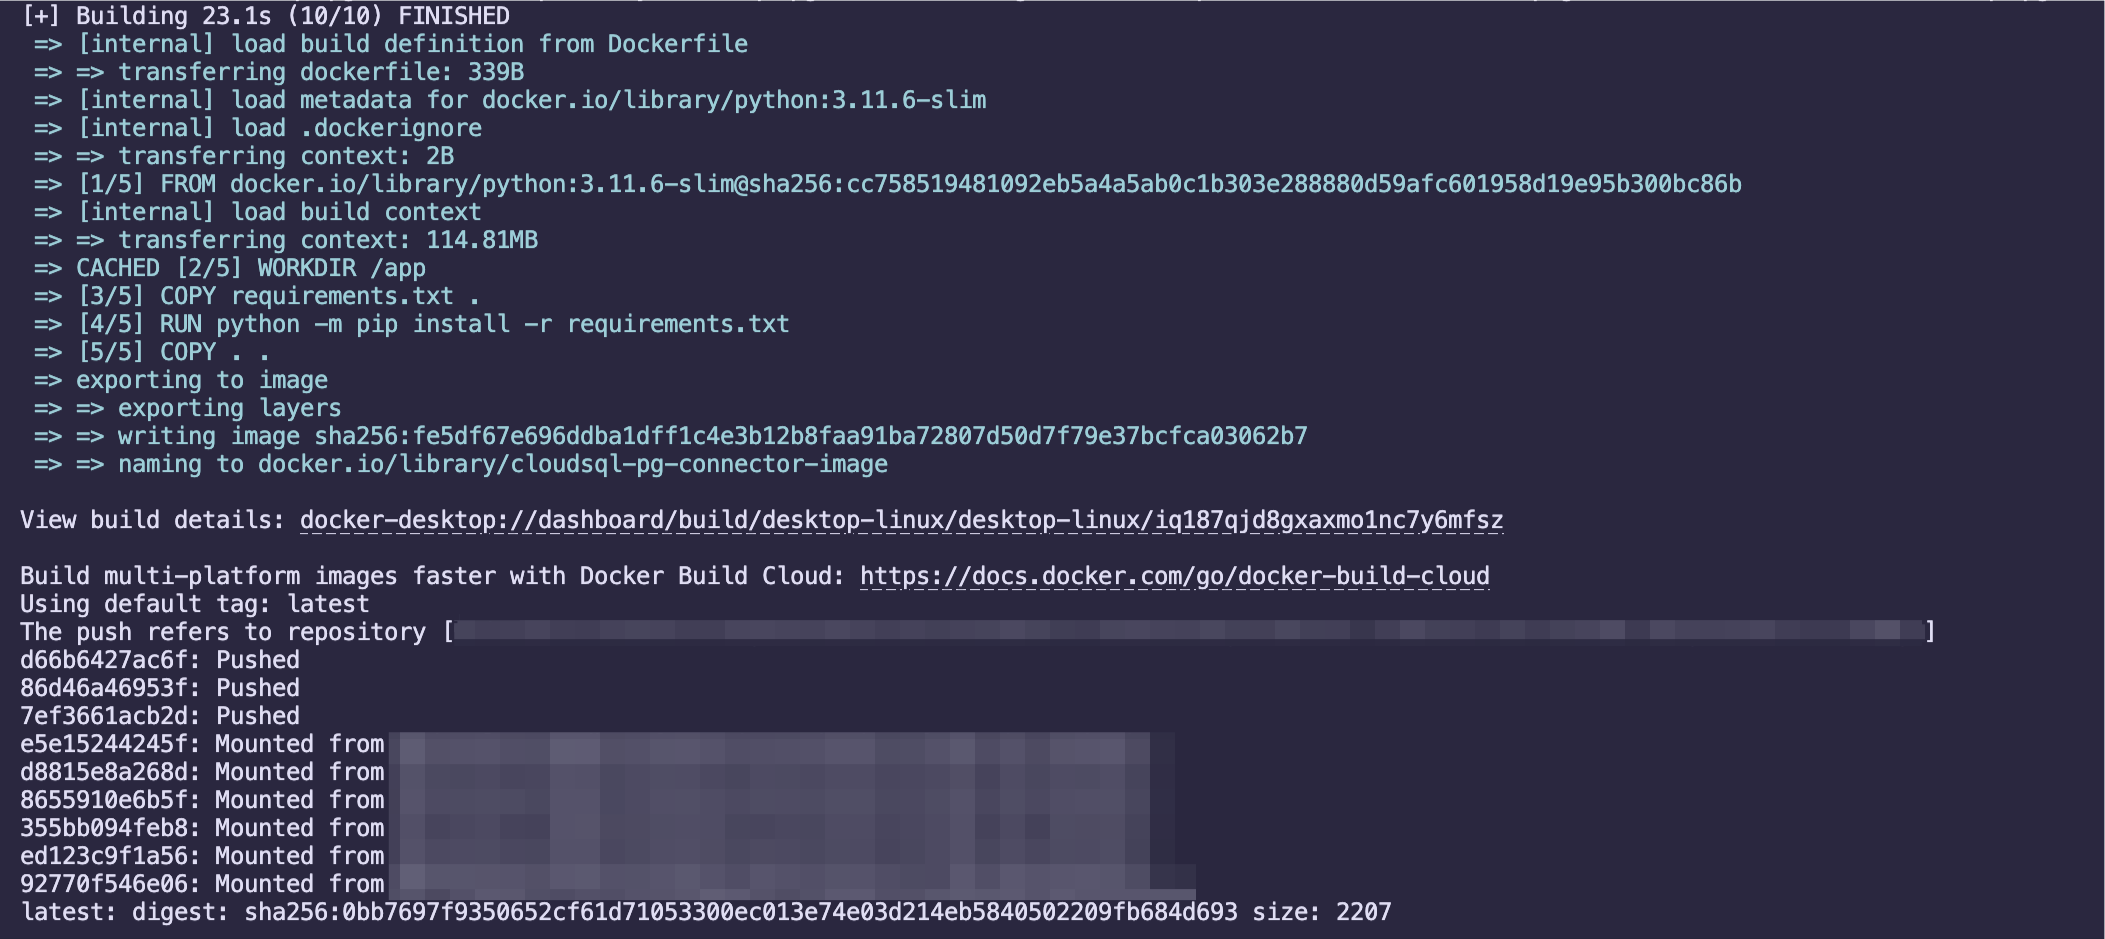
Lastly, we will push our docker image to the Artifact registry.
docker push region.pkg.dev/project-name/repository-name/cloudsql-pg-connector-image
We now have our docker image built and pushed to GCP Artifact registry.

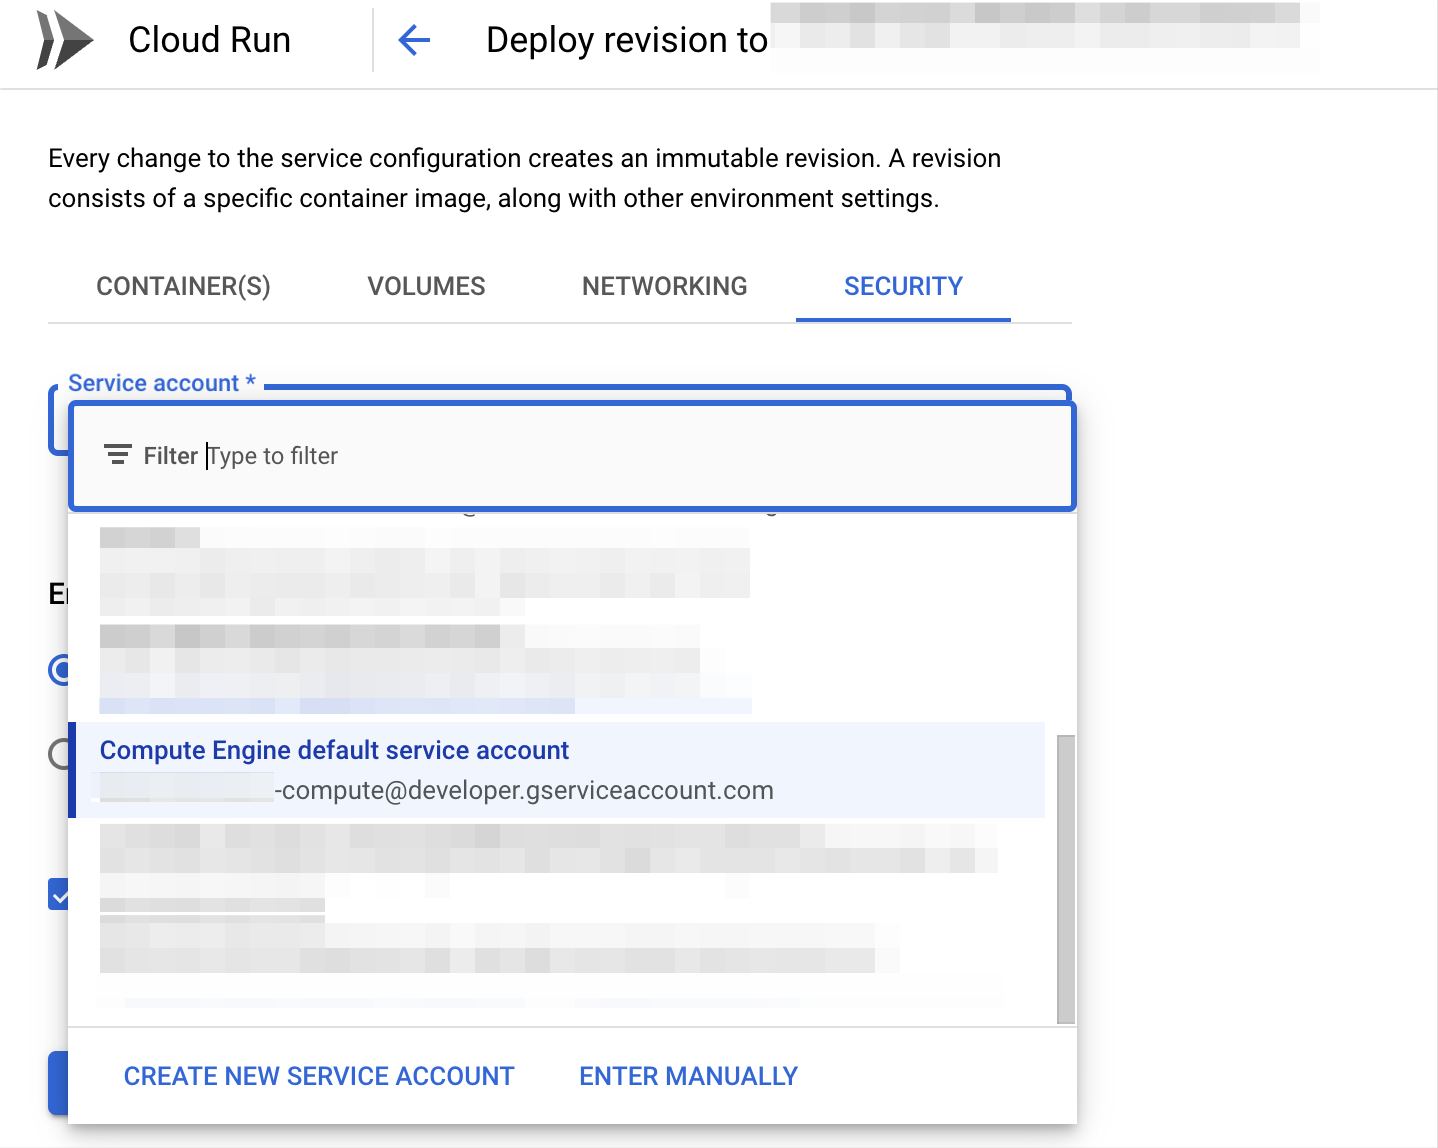
Now inside GCP, visit IAM & Admin page and for the service account with the description of Compute Engine default service account provide the roles of:
Cloud SQL Client
Cloud SQL Instance User
To ensure if it is the right service account, you can view the settings of your Cloud Run instance under Security.

We will now create a new Cloud Run instance and deploy our Python server from the Artifact Registry.
Visit the Cloud Run page and click on Create Service.
Choose the option of Artifact Registry and select your deployed docker image for the Container Image URL. Then provide your service a name. And pick the region for the instance to run from. For Authentication select Allow unauthenticated invocations. Enter your minimum number of instances.
Under Containers, let's change the Container port to 8000.
Now click Create and we will have our server running. Click on the provided url and append our route of /products. We can see our results returned as json.
Subscribe to my newsletter
Read articles from Vishnu Dileesh directly inside your inbox. Subscribe to the newsletter, and don't miss out.
Written by

Vishnu Dileesh
Vishnu Dileesh
An intellectual adventurer, propelled by “the passion to learn.”