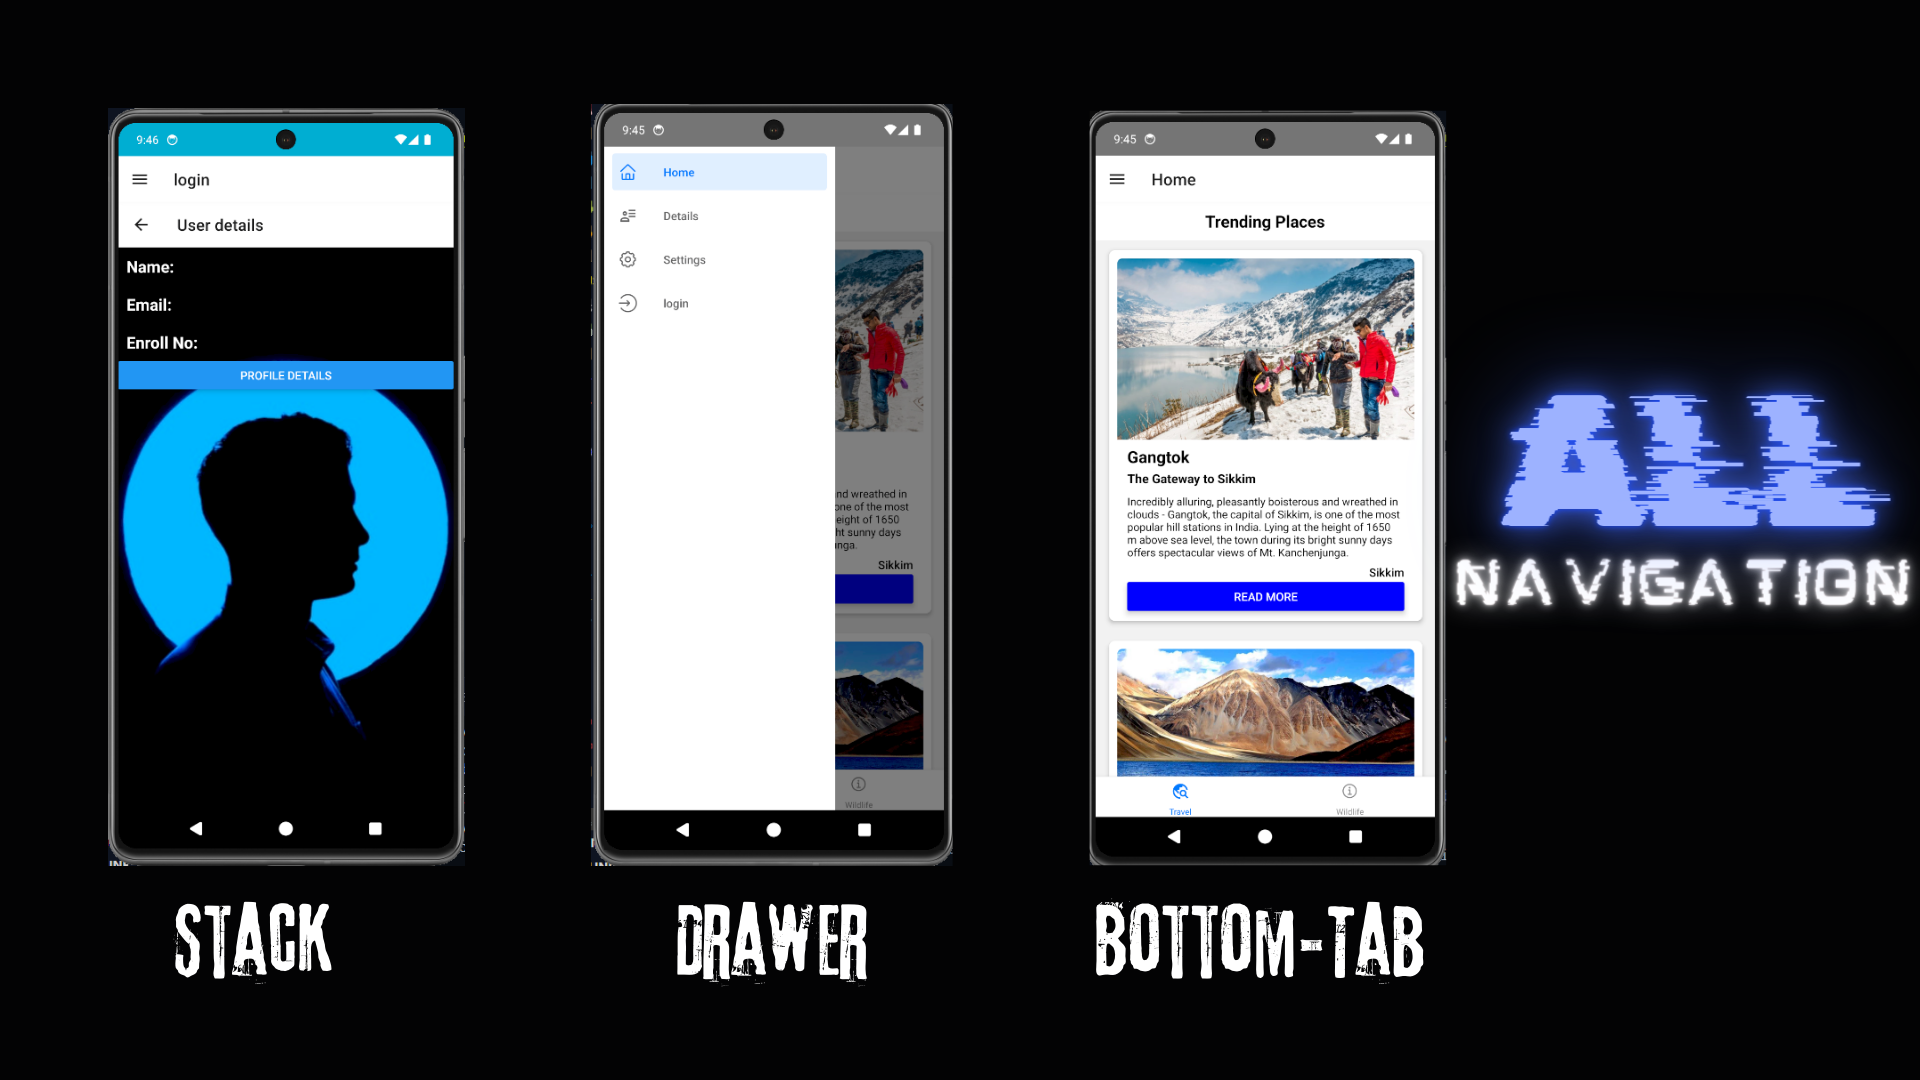
Integration of all main three navigations
 Kisan Majumdar
AppAllStack.tsx
import React from 'react';
import {NavigationContainer} from '@react-navigation/native';
import {createDrawerNavigator} from '@react-navigation/drawer';
import {createStackNavigator} from '@react-navigation/stack';
import {createBottomTabNavigator} from '@react-navigation/bottom-tabs';
import HomeScreen from './Screens/HomeScreen';
import DetailsScreen from './Screens/DetailsScreen';
import SettingsScreen from './Screens/SettingsScreen';
import {AboutStack} from './AppStack';
import PlacesScreen from './Screens/PlacesScreen';
import AnimalScreen from './Screens/AnimalScreen';
import MaterialIcons from 'react-native-vector-icons/MaterialIcons';
import Ionicons from 'react-native-vector-icons/Ionicons';
import AntDesign from 'react-native-vector-icons/AntDesign';
import MaterialCommunityIcons from 'react-native-vector-icons/MaterialCommunityIcons';

const Drawer = createDrawerNavigator();
const Stack = createStackNavigator();
const Tab = createBottomTabNavigator();

function HomeStack() {
  return (
    <Stack.Navigator>
      <Stack.Screen
        name="Home1"
        component={PlacesScreen}
        options={{headerShown: false}}
      />
      <Stack.Screen name="Details" component={DetailsScreen} />
    </Stack.Navigator>
  );
}

function SettingsStack() {
  return (
    <Stack.Navigator>
      <Stack.Screen
        name="Setting"
        component={SettingsScreen}
        options={{headerShown: false}}
      />
    </Stack.Navigator>
  );
}

function Tabs() {
  return (
    <Tab.Navigator>
      <Tab.Screen
        name="Travel"
        component={HomeStack}
        options={{
          headerShown: false,
          tabBarIcon: ({color}) => (
            <MaterialIcons name="travel-explore" color={color} size={22} />
          ),
        }}
      />
      <Tab.Screen
        name="Wildlife"
        component={AnimalScreen}
        options={{
          headerShown: false,
          tabBarIcon: ({color}) => (
            <Ionicons
              name="information-circle-outline"
              color={color}
              size={22}
            />
          ),
        }}
      />
    </Tab.Navigator>
  );
}

function App() {
  return (
    <NavigationContainer>
      <Drawer.Navigator initialRouteName="Tabs">
        <Drawer.Screen
          name="Home"
          component={Tabs}
          options={{
            drawerIcon: ({color}) => (
              <AntDesign name="home" color={color} size={22} />
            ),
          }}
        />
        <Drawer.Screen
          name="Details"
          component={DetailsScreen}
          options={{
            drawerIcon: ({color}) => (
              <MaterialCommunityIcons
                name="account-details-outline"
                color={color}
                size={22}
              />
            ),
          }}
        />
        <Drawer.Screen
          name="Settings"
          component={SettingsStack}
          options={{
            drawerIcon: ({color}) => (
              <AntDesign name="setting" color={color} size={22} />
            ),
          }}
        />
        <Drawer.Screen
          name="login"
          component={AboutStack}
          options={{
            drawerIcon: ({color}) => (
              <AntDesign name="login" color={color} size={22} />
            ),
          }}
        />
      </Drawer.Navigator>
    </NavigationContainer>
  );
}

export default App;
This React Native application uses several navigation components from the @react-navigation library to organize its screen structure. Here's a simplified breakdown of its components:
Navigation Types:
Drawer Navigation: Provides a slide-in menu to navigate between different stacks and screens.
Stack Navigation: Allows navigation between screens where one screen slides over another.
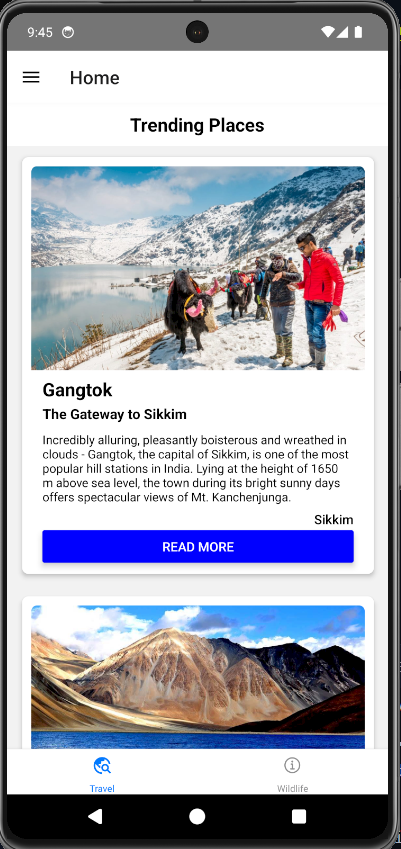
Tab Navigation: Displays tabs at the bottom of the app for quick switching between different views or functionalities.
Main Components:
HomeStack: Contains a stack navigator for the home screen flow. It starts with a
PlacesScreenand can navigate to aDetailsScreen.SettingsStack: Contains a stack navigator for the settings, starting with
SettingsScreen.Tabs: Uses bottom tab navigation to switch between the
HomeStackand anAnimalScreen.
Drawer Setup:
Tabs: A tab navigator as a drawer screen that switches between travel-related content and wildlife information.
DetailsScreen: Directly accessible from the drawer for more detailed content.
SettingsStack: Accessible from the drawer for app settings.
AboutStack: Another stack (presumably for about or login information) accessible from the drawer.
Icons:
- Uses different icons (Material, Ionicons, AntDesign, and MaterialCommunityIcons) to enhance visual representation of navigation options and tabs.
App Component:
- The main app component sets up the
NavigationContainerwhich houses theDrawer.Navigator. This navigator defines the navigation drawer and includes tabs, details, settings, and login options as its primary navigable areas.
- The main app component sets up the
This structure enables the app to have a comprehensive and user-friendly navigation system combining different types of navigation methods (drawer, stack, and tab) suited for different user flows and actions.

Stack

Drawer

BottomTabBar
Subscribe to my newsletter
Read articles from Kisan Majumdar directly inside your inbox. Subscribe to the newsletter, and don't miss out.
Written by

Kisan Majumdar
Kisan Majumdar
I am student pursuing btech computer engineering.Getting knowledge in web and app for building great projects and practice to improve my skills and consistency for creating some tech enthusiam blogs to.