How to Install MySQL on a CentOS 7 Server?
 Ruchi Lamichhane
There are three steps to install mysql on a centos7 server:
Download the MySQL repository
Install it
Configure it
Download the MySQL repository
- Update our system
sudo yum update
- Add MySQL repositories
sudo wget https://dev.mysql.com/get/mysql80-community-release-el7-3.noarch.rpm
At the end of the download, you should see a confirmation message that .rpm file was saved.
Prepare the repository so we could later install MySQL packages from it.
sudo rpm -Uvh mysql80-community-release-el7-3.noarch.rpm
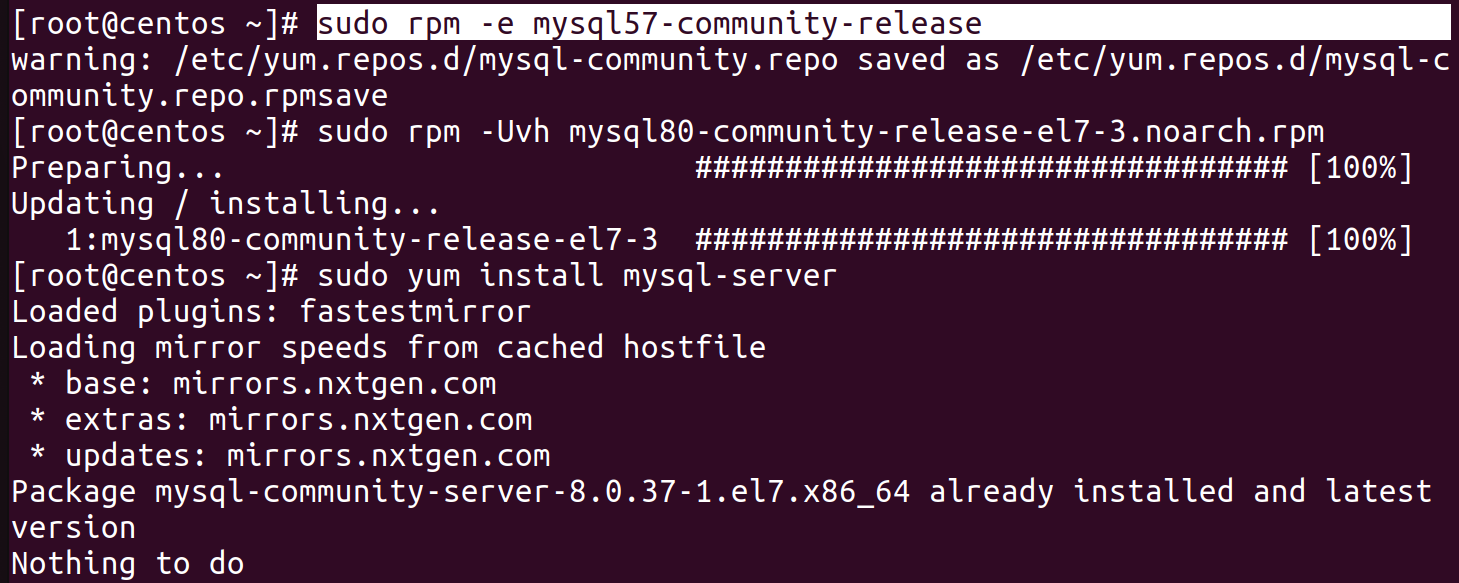
Error of failed dependencies may arise if the machine is not fresh and past installation of mysql is done.

To resolve the issue ,remove/erase the past version of mysql
sudo rpm -e mysql57-community-release

Install Mysql:
- Using yum install command to install MySQL :
sudo yum install mysql-server -y

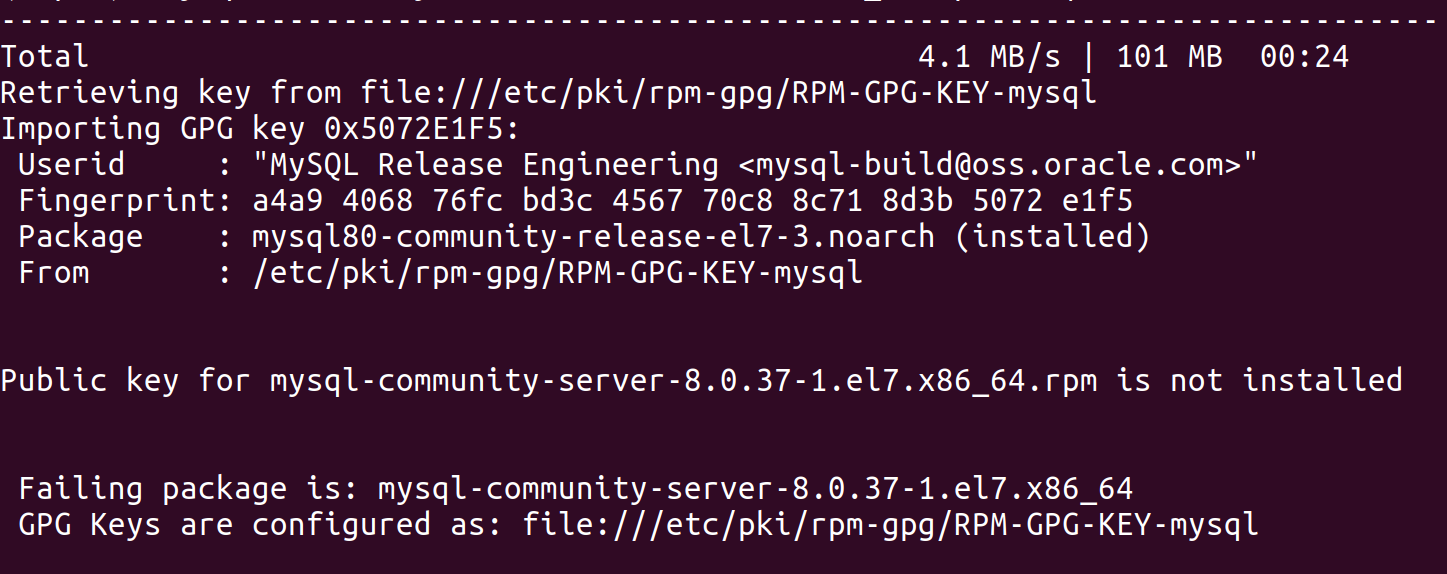
To fix this we need
rpm --import https://repo.mysql.com/RPM-GPG-KEY-mysql-2023
Configure MySQL:
- After installation we need to start it manually through the following command:
sudo systemctl start mysqld
When installing MySQL on CentOS 7, a temporary root password is generated. Below is the command to see it:
sudo grep 'password' /var/log/mysqld.logRun the MySQL secure installation script to set up security options:
This script will prompt to configure the following:
Set the root password
Remove anonymous users
Disallow root login remotely
Remove test database and access to it
Reload privilege tables
sudo mysql_secure_installation
To ensure MySQL starts automatically upon server boot, enable the service:
sudo systemctl enable mysqldWe will get no response once MySQL starts so to check if it is working properly, use the command below:
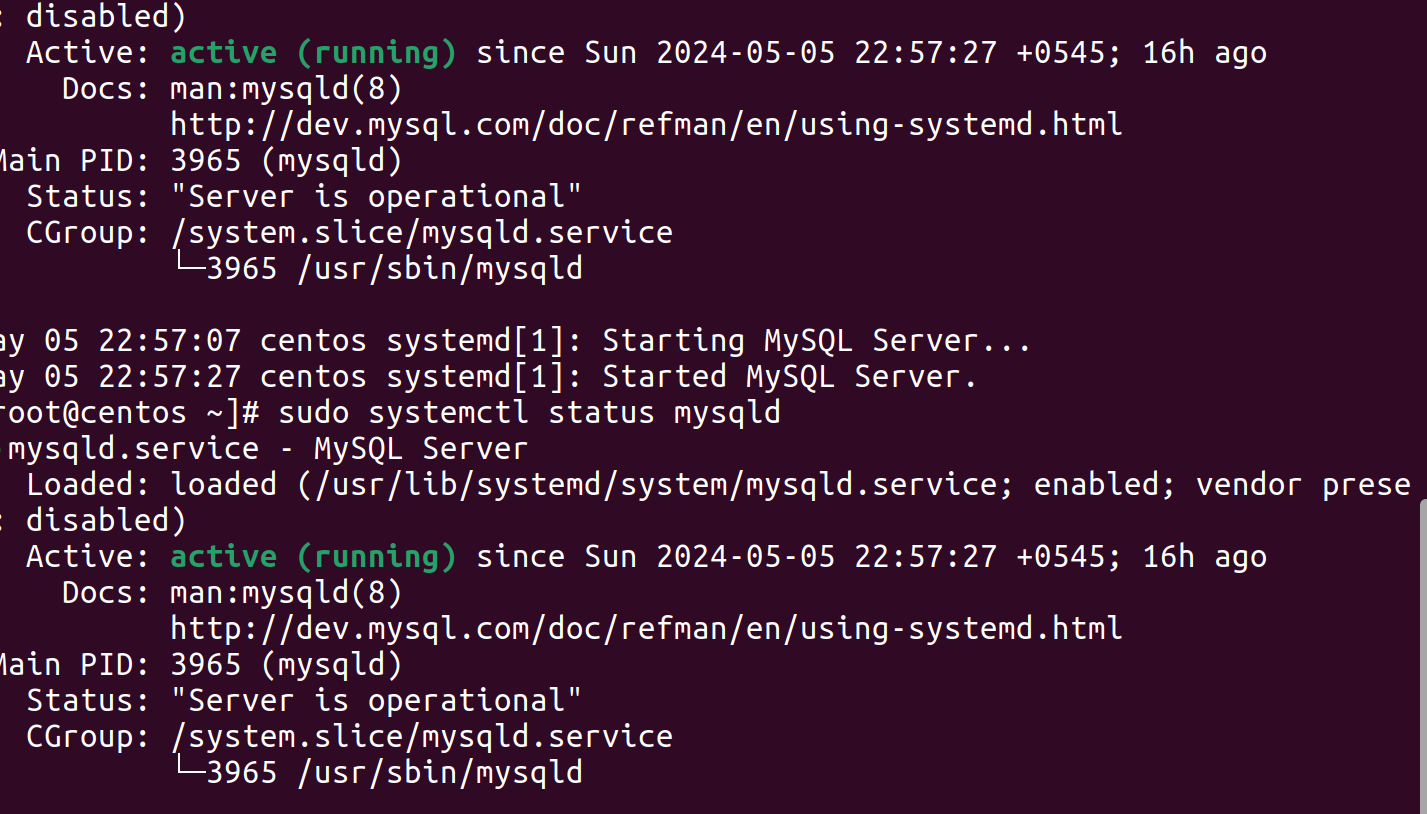
sudo systemctl status mysqld
Output may look something like this:

Access MySQL shell using the root account:
mysql -u root -pAfter finishing your MySQL tasks, exit the MySQL shell:
exit;Restart MySQL
sudo systemctl restart mysqld
Subscribe to my newsletter
Read articles from Ruchi Lamichhane directly inside your inbox. Subscribe to the newsletter, and don't miss out.
Written by

Ruchi Lamichhane
Ruchi Lamichhane
I am a tech ethusiast with passion for technology, embracing the world of continuous integration, automation, and collaboration to make a meaningful impact in the dynamic realm of DevOps.