A Comprehensive Guide to Creating and Deploying a Web App on Azure App Service Using Azure CLI
 AKEH EUNICE
Introduction
Azure App Service is a managed Platform as a Service (PaaS) and is an HTTP - based service for hosting web applications. In this step-by-step guide, we'll walk through the process of creating a web app and deploying it to Azure App Service using Azure CLI, a powerful command-line tool for managing Azure resources.
Prerequisites
Azure Account with a Subscription
Azure CLI Installed on your Local Machine
Github Account to house your File In a Repository
Follow Guide :
Step 1: Create An Index.html File For Your Web App And Push To Your Repository On GitHub. Follow the link below from my last blogpost as a guide
https://hashnode.com/post/clvyhbbbp00010aii7nf4bhmh
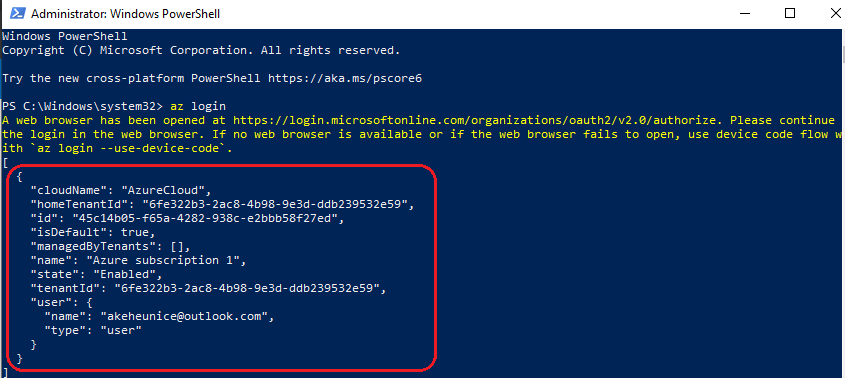
Step 2: Login Into Azure Using PowerShell Terminal - Run command az login

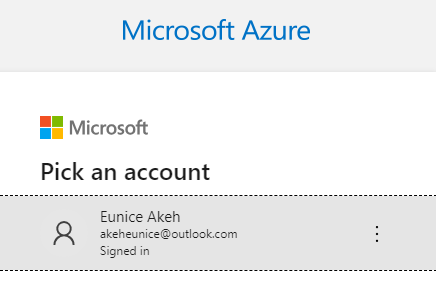
Step 2a: You will be prompted to a web Browser ,"Select Azure Account"
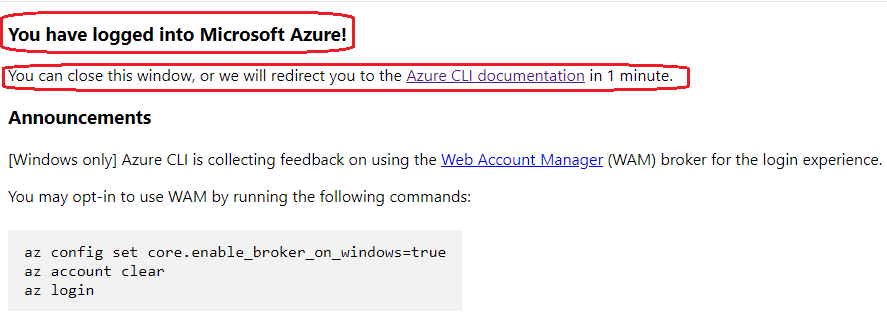
Step 2b: You Have Successfully Logged Into Microsoft Azure - Close window
Step 2c: Azure Subscription has been enabled On your Power Shell Terminal
Step 3 : Create A Resource Group - Run command highlighted below to create a resource group specifying a name and location for the group

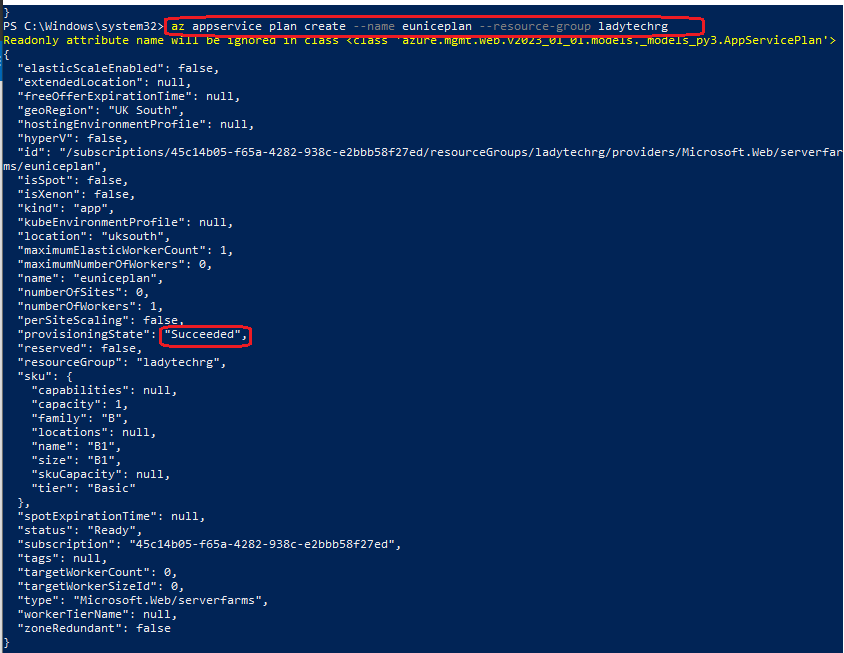
Step 4 : Create An App Service Plan: App Service Plan defines a set of compute resources for a web App to run e.g Region, Operating system, Pricing tier etc. Use the command "az appservice plan create --name <nameyourplan> --resource-group <resourcegroupname> to create a service plan within our resource group
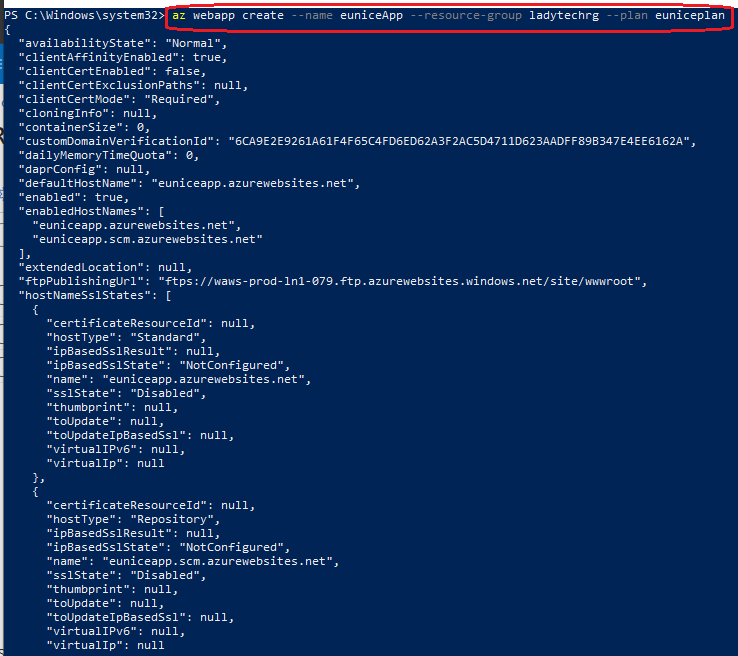
Step 5: Create A Web App - We can now develop the web application because we have our resource group and App Service plan set up. Run command below in red highlight specify a unique name for your App and resource group and App service plan to associate with it.
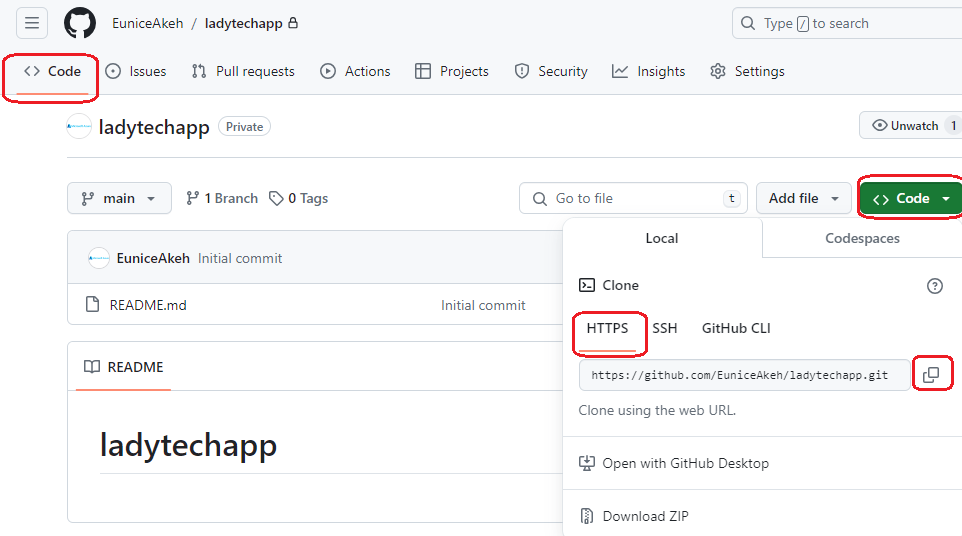
Step 6: Copy The Http URL For your Repository In GitHub - Go into your GitHub account - Navigate and click on your repo you created in step 1 - Click on code button and copy the URL as shown in the picture below
Step 7: Deploy & Configure The Source Of Your Web App - Run Command az webapp deployment source config --name <name of your webapp> --resource-group <resource group name> --repo-url <Repo HTTP URL copied from github > --branch master --manual-integration
Deployment successful as seen below

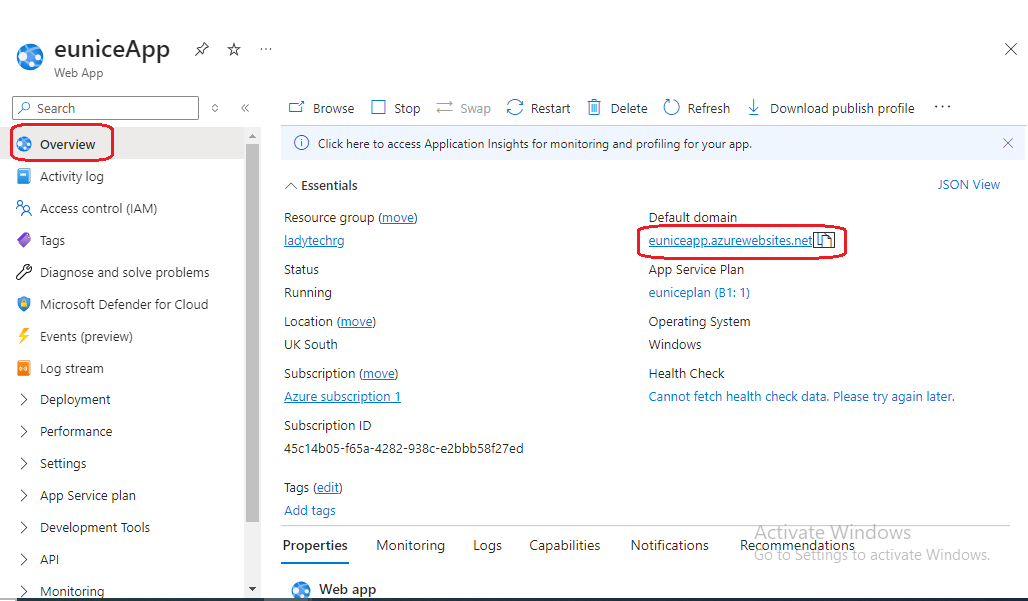
Step 7a: View Web App Deployed In Azure Portal - On the homepage search for App services ,you be prompted to this page . - "Click On" your webApp "euniceApp" to see the overview

Step 7b: "Click On" "Default Domain" To view
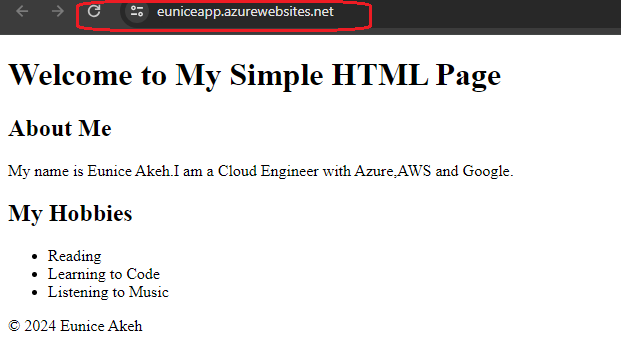
Step 7c: View what's In Your URL
Step 7d: Under Deployment "Click On" "Deployment Center" - This shows your repo you deployed
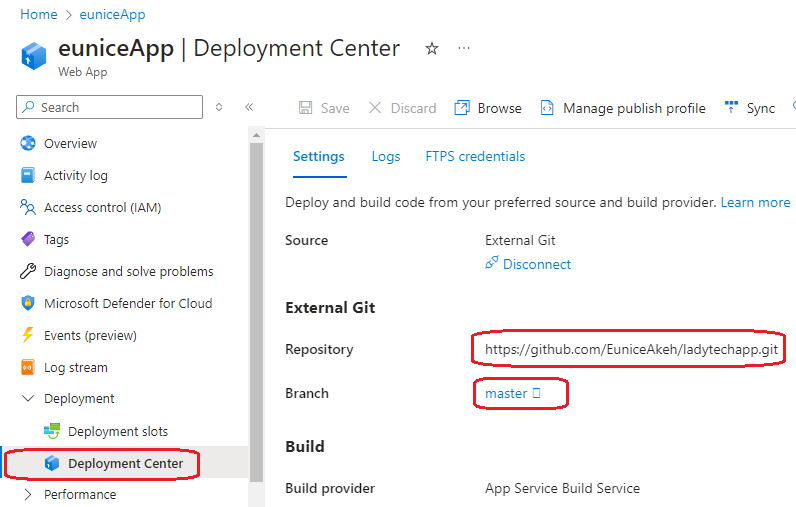
Step 7e: Under Logs View Your Commit Message

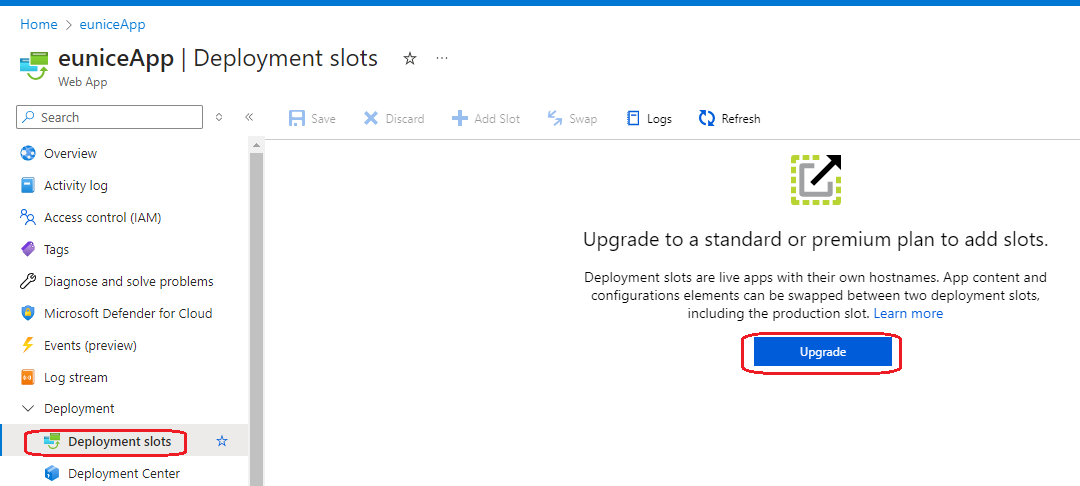
Step 8: How To Upgrade Your App Service Plan -"Click On" your "Web App" - "Click On" "Deployment" and then "Click On" Deployment Slots" you will be prompted to the page open on the right "Click On" "Upgrade"
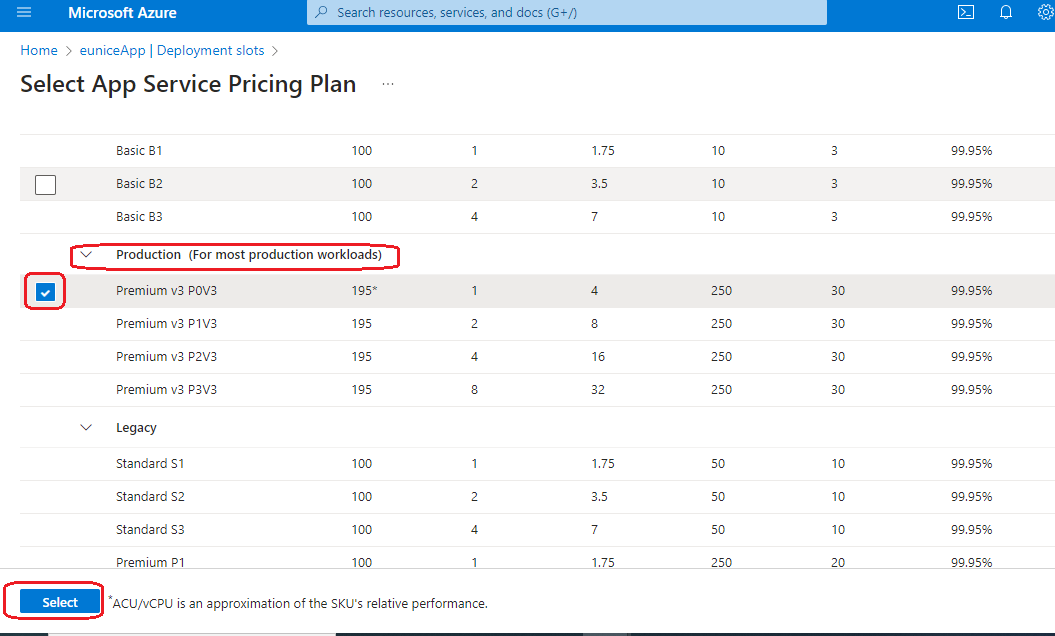
Step 8a: Select Plan From Production To Suit Your Workloads - "Click On" "Select"
Step 8b: Successfully Upgraded Our Plan

Step 9: Create A Deployment Slots - Deployment slots allows you to deploy different versions of your web app to separate environments such as staging or testing without it affecting the production environment directly. You may carry out smooth testing, validation, and the progressive rollout of updates or new features with the help of this capability. Here's how to set up Azure deployment slots: - Access Deployment Slots: In the left-hand menu, under the "Settings" section, select "Deployment slots"
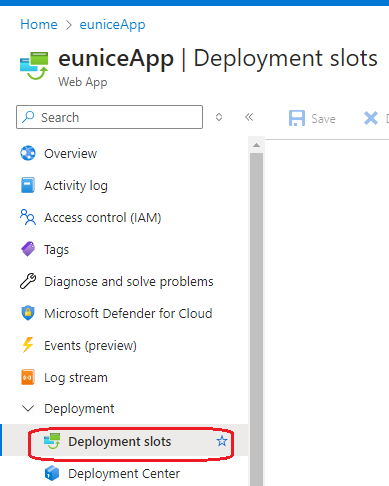
Step 9a: Add Deployment Slot - "Click On" "+ Add Slot" - NOTE : The production is running and traffic is a 100%

Step 9b: Give Your Slot a Name and "Click On" "Add Button"

Step 9c: Our Testing Slot Has Been Created And Has 0% Traffic - To use our testing slot we will allocate 30% traffic from the production environment -Traffic is the volume of data transmitted between client's (such as user's devices) and the server hosting the application or service

Step 9d: Allocate 30% Traffic From Your Production Environment To Your Testing Environment And "Click On" 'Save" - you can conduct thorough testing, update and validation to ensure that it functions correctly and meets performance requirements in this environment & this is designed to avoid downtime

Step 9e: Overview of your Added Testing Slot Which Is Running And Has It's Own Default Domain - Testing and Validation: Once the new version is deployed to the target slot, you can conduct thorough testing and validation to ensure that it functions correctly and meets performance requirements. This step helps identify and fix any issues before making the new version available to users
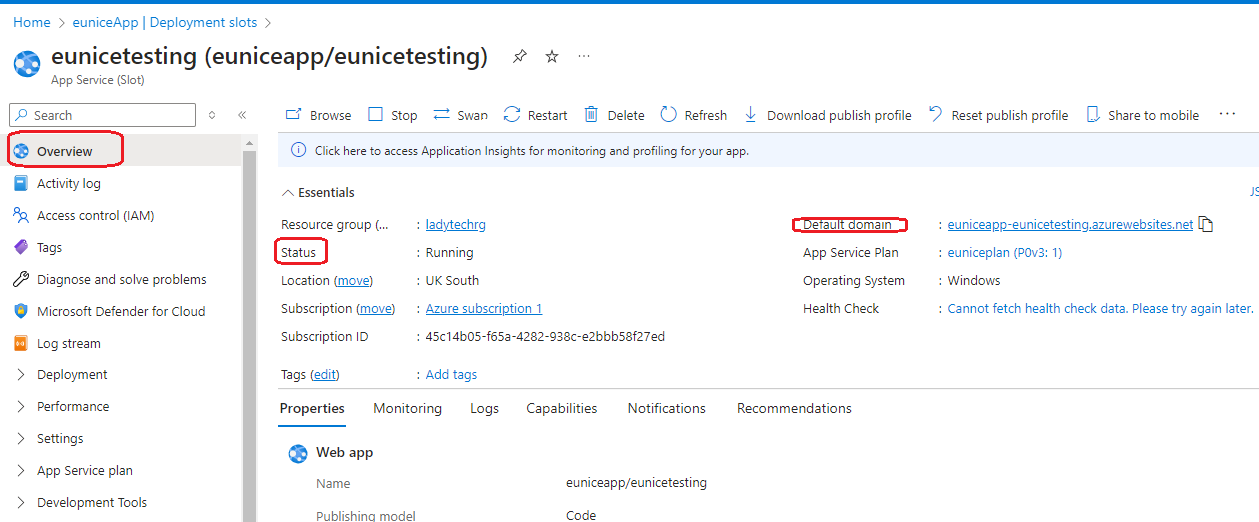
Step 9f: Initiate Swap Operation : When you are done testing/updating you "Click On" "Swap" to make available the production traffic a 100% back to it's user's - SWAP switches the URLs of the original and target slots, effectively directing incoming traffic from the original (production) slot to the target (testing) slot

Step 9g: "Click On" "Swap"
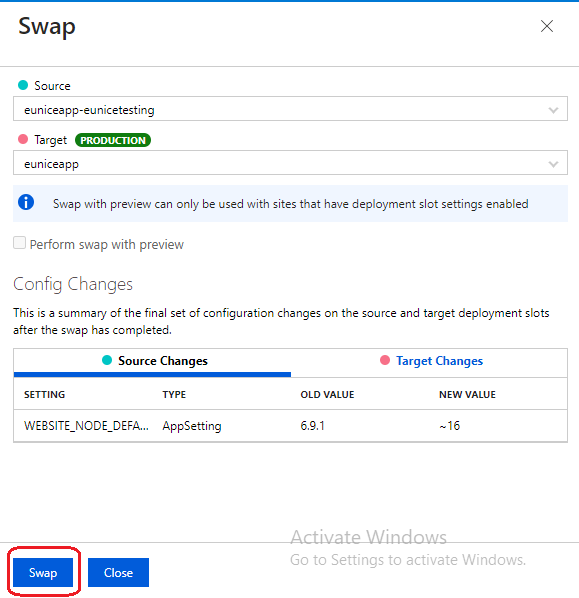

Step 9h: Our Web App Production Slot Traffic Is Back To A 100%

Conclusion
In this guide, we've covered the essential steps to create and deploy a web app on Azure App Service using Azure CLI. By following these steps, you can quickly get your application up and running in the cloud, leveraging the scalability and reliability of Azure's platform.
Subscribe to my newsletter
Read articles from AKEH EUNICE directly inside your inbox. Subscribe to the newsletter, and don't miss out.
Written by
