Building Multilingual apps in Next 14 using next-intl
 Gautham R Vanjre
This is the seventh blog in the "Next.js 14 learning path" series, if you follow and learn Next.js 14 from scratch, please click here. So what we are going to see in this blog, we will be using
Introduction
Internationalization is a critical aspect of modern web development, enabling applications to reach a global audience. By designing applications with internationalization in mind, developers can ensure that their software is accessible and usable across different languages, cultures, and regions. In this blog post, we will explore the steps required to internationalize a web application, using next-intl package in NextJs app router application. Let's dive into it.
Pre-requisites
You should have node installed on your system. If you do not have, you can install it here
You should know how to create a next app with app router. You can refer to this blog on how to create a Next application
Let's get started
Getting started
We will be making translations in three languages namely: English, Hindi and Kannada .The skeleton structure of our application that we will have at the end of the blog will look like this:
├── messages (1)
│   ├── en.json
│   └── ...
├── next.config.mjs (2)
└── src
    ├── i18n.ts (3)
    ├── middleware.ts (4)
    └── app
        └── [locale]
            ├── layout.tsx (5)
            └── page.tsx (6)
Installing dependency
npm install next-intlOne very important thing to keep in mind is to remember that next-intl makes English that is ("en") as default language for our application.
In the main folder, not in the "app" folder create
messagesfolder.messages/en.json { "Home": { "title": "Hello world!" } }messages/hi.json { "Home": { "title": "हैलो वर्ल्ड" } }messages/kn.json { "Home": { "title": "ಹಲೋ ವರ್ಲ್ಡ್" } }next.config.mjs- Now, set up the plugin which creates an alias to provide your i18n configuration (specified in the next step) to Server Components.import createNextIntlPlugin from 'next-intl/plugin'; const withNextIntl = createNextIntlPlugin(); /** @type {import('next').NextConfig} */ const nextConfig = {}; export default withNextIntl(nextConfig);i18n.ts- create this file in main folder, again make sure not to create inside app folder (faced errors later here :) ). Our application supports English, Hindi and Kannada so the below code will work fine. If you are translating into any other language make sure to add those languages code into locales array. In my case, it is en for English, hi for Hindi, kn for Kannada.import {notFound} from 'next/navigation'; import {getRequestConfig} from 'next-intl/server'; // Can be imported from a shared config const locales = ['en', 'hi','kn']; export default getRequestConfig(async ({locale}) => { // Validate that the incoming `locale` parameter is valid if (!locales.includes(locale as any)) notFound(); return { messages: (await import(`../messages/${locale}.json`)).default }; });middleware.ts- The middleware matches a locale for the request and handles redirects and rewrites accordingly.import createMiddleware from "next-intl/middleware"; export default createMiddleware({ // A list of all locales that are supported locales: ["en", "hi", "kn"], // Used when no locale matches defaultLocale: "en", }); export const config = { // Match only internationalized pathnames matcher: ["/", "/(hi|kn|en)/:path*"], };app/[locale]/layout.tsx- Thelocalethat was matched by the middleware is available via thelocaleparam and can be used to configure the document language. Additionally, we can use this place to pass configuration fromi18n.tsto Client Components viaNextIntlClientProvider.app/[locale]/layout.tsx import {NextIntlClientProvider} from 'next-intl'; import {getMessages} from 'next-intl/server'; export default async function LocaleLayout({ children, params: {locale} }: { children: React.ReactNode; params: {locale: string}; }) { // Providing all messages to the client // side is the easiest way to get started const messages = await getMessages(); return ( <html lang={locale}> <body> <NextIntlClientProvider messages={messages}> {children} </NextIntlClientProvider> </body> </html> ); }Note that
NextIntlClientProviderautomatically inherits most configuration fromi18n.tshere.
app/[locale]/page.tsx - Use translations in your page components or anywhere else
import {useTranslations} from 'next-intl';

export default function Index() {
  const t = useTranslations('Home');
  return <h1>{t('title')}</h1>;
}
That's all it takes!
Results
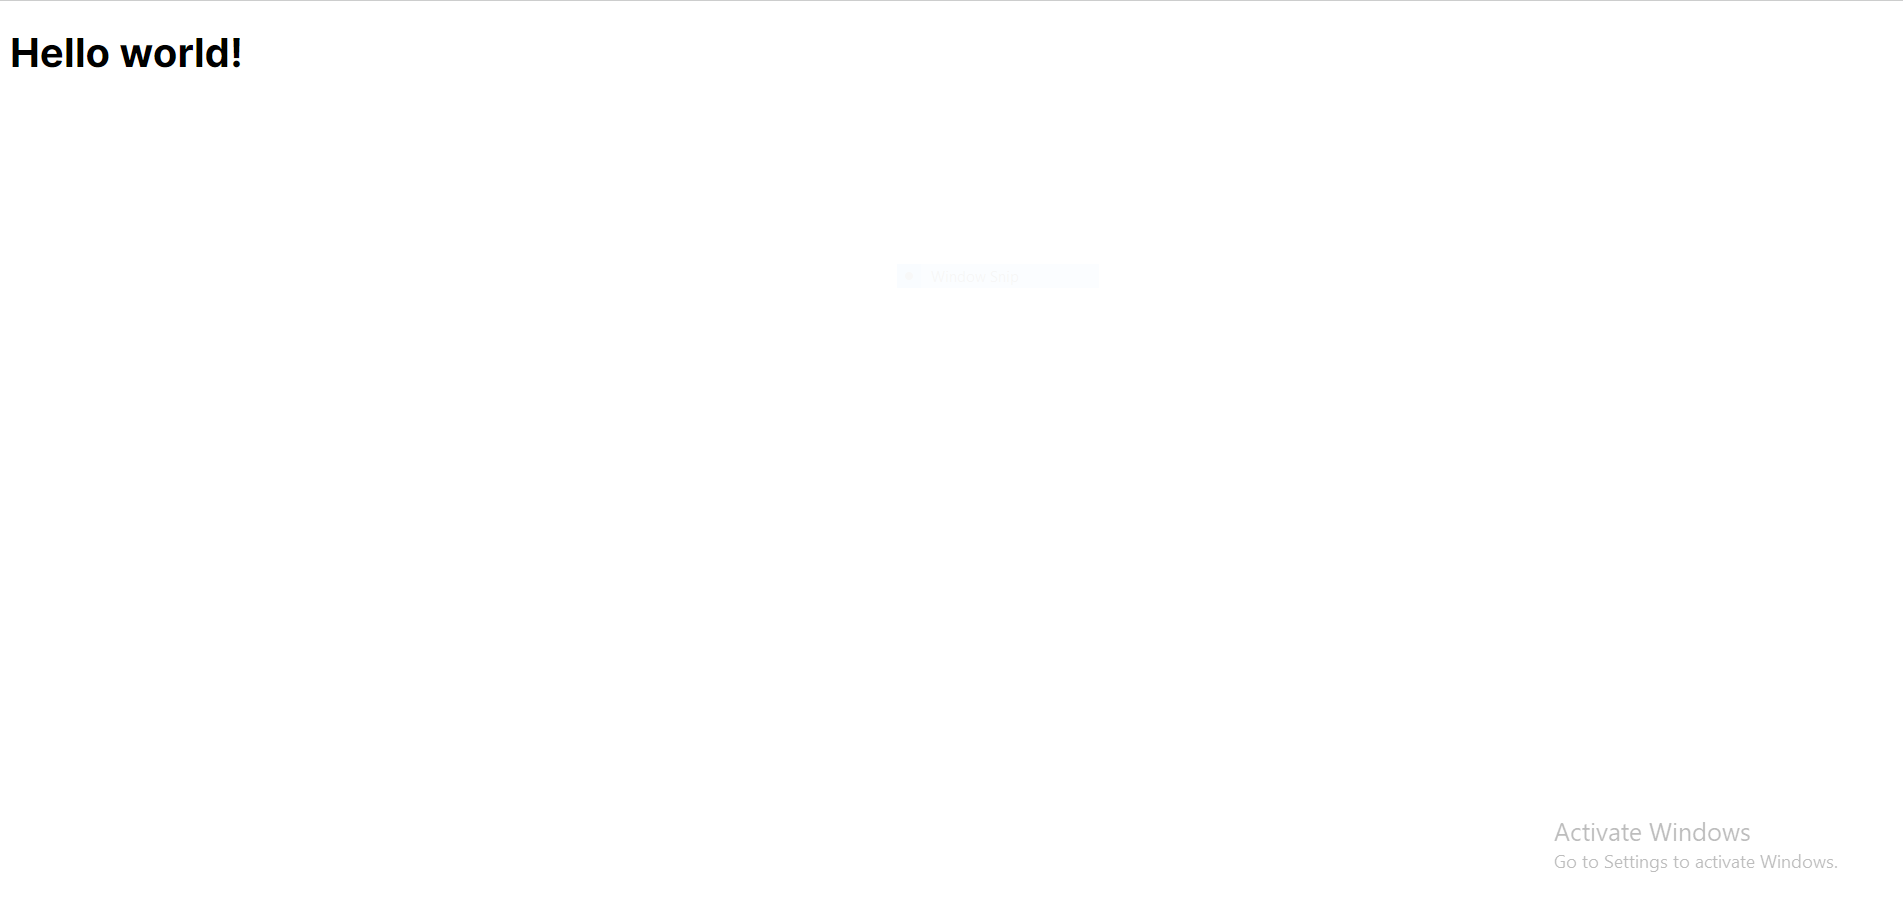
Lets check out our output:

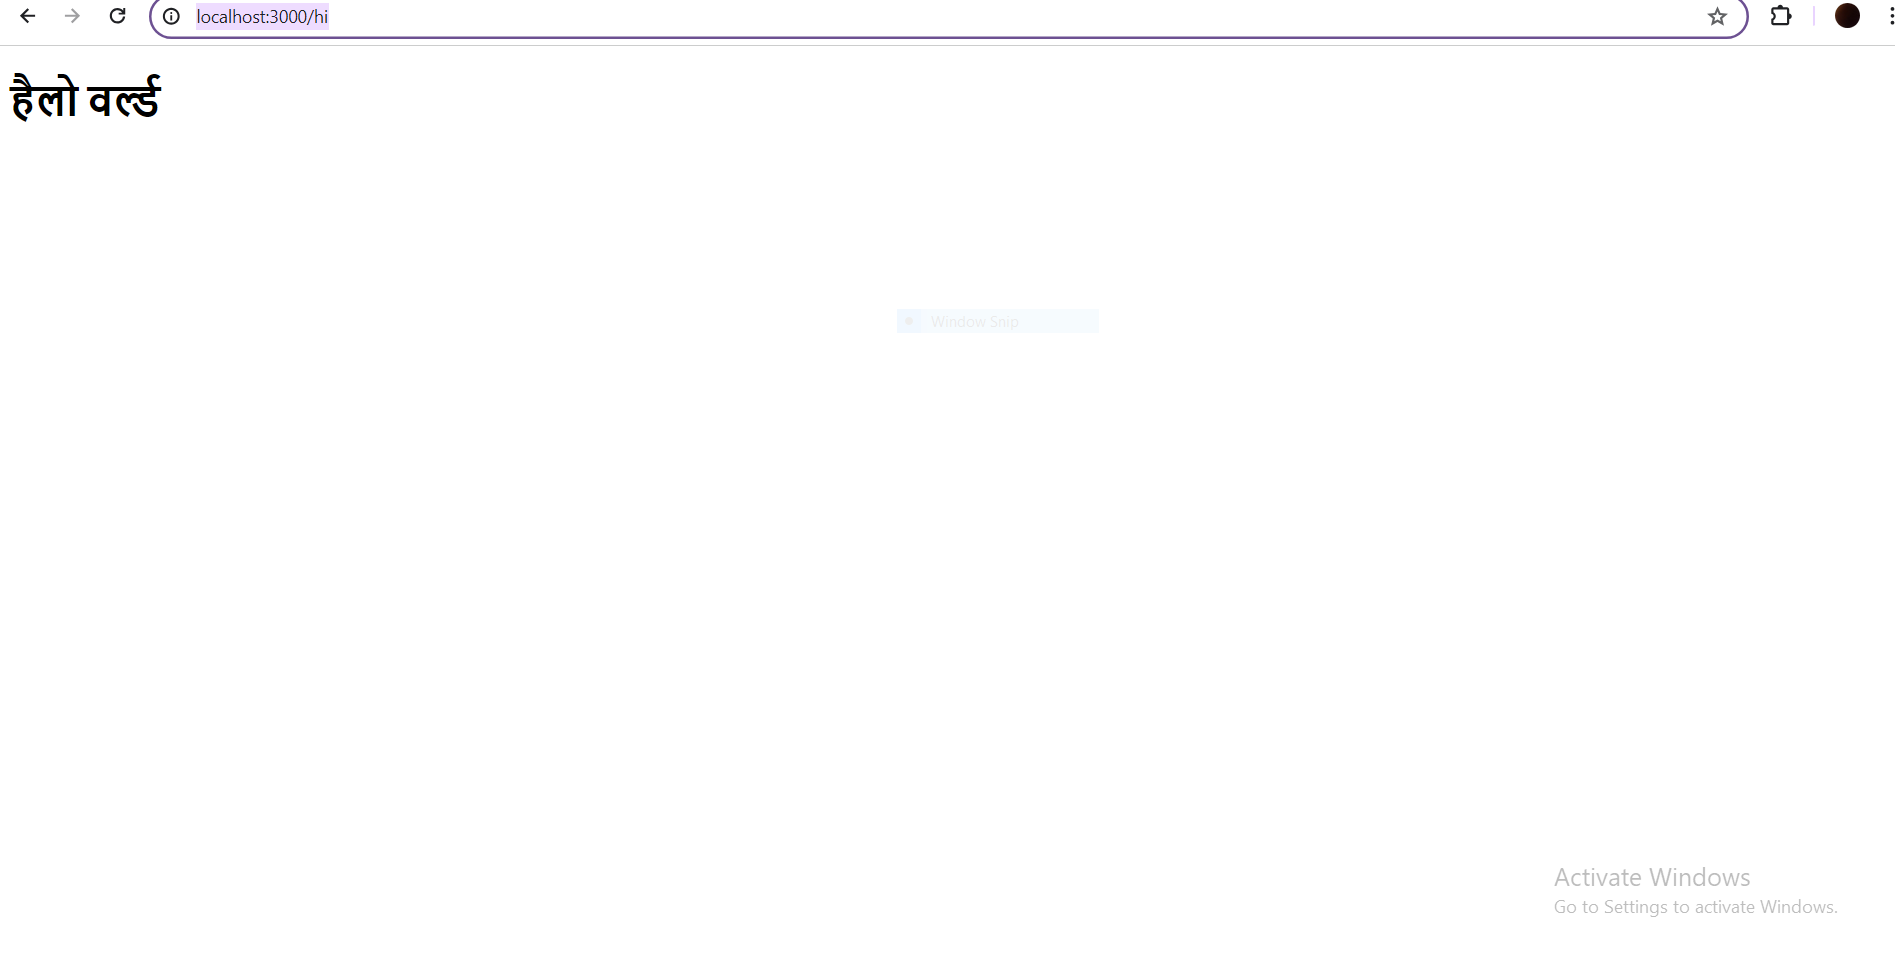
The URL by default will be http://localhost:3000/en. Now, lets see hindi translation for that we need to navigate to http://localhost:3000/hi and it will look something like this:

But, we have one problem with our application. The user who comes to our application cannot go to different locales, so lets provide a navbar component to help user to navigate to different locales
Inserting a Navbar to improve User Experience
In app folder, create a new folder called components and create Navbar.tsx
app/components/Navbar.tsx

import { useTranslations } from "next-intl";
import Link from "next/link";
import React from "react";

const Navbar = () => {
  const t = useTranslations("Navbar");

  return (
    <nav
      style={{
        backgroundColor: "rebeccapurple",
        padding: "10px",
        margin: "-10px",
      }}
    >
      <ul
        style={{
          display: "flex",
          flexDirection: "row",
          color: "white",
          listStyle: "none",
          paddingRight: "10px",
        }}
      >
        <li>
          <Link
            style={{
              color: "white",
              textDecoration: "none",
              paddingRight: "20px",
            }}
            href={"/en"}
          >
            {t("english")}
          </Link>
        </li>
        <li>
          <Link
            style={{
              color: "white",
              textDecoration: "none",
              paddingRight: "20px",
            }}
            href={"/hi"}
          >
            {t("hindi")}
          </Link>
        </li>
        <li>
          <Link style={{ color: "white", textDecoration: "none" }} href={"/kn"}>
            {t("kannada")}
          </Link>
        </li>
      </ul>
    </nav>
  );
};

export default Navbar;
Secondly, update our translations file to accomdate this changes
messages/en.json

{
  "Home": {
    "title": "Hello world!"
  },
  "Navbar": {
    "english": "English",
    "hindi": "Hindi",
    "kannada": "Kannada"
  }
}
messages/hi.json

{
  "Home": {
    "title": "हैलो वर्ल्ड"
  },
  "Navbar": {
    "english": "अंग्रेज़ी",
    "hindi": "हिंदी",
    "kannada": "कन्नडा"
  }
}
messages/kn.json

{
  "Home": {
    "title": "ಹಲೋ ವರ್ಲ್ಡ್"
  },
  "Navbar": {
    "english": "ಆಂಗ್ಲ",
    "hindi": "ಹಿಂದಿ",
    "kannada": "ಕನ್ನಡ"
  }
}
So now, the errors that you were getting will be vanished. One final change will be in our app/[locale]/layout.tsx file:
import { NextIntlClientProvider } from "next-intl";
import { getMessages } from "next-intl/server";
import Navbar from "../components/navbar";

export default async function LocaleLayout({
  children,
  params: { locale },
}: {
  children: React.ReactNode;
  params: { locale: string };
}) {
  // Providing all messages to the client
  // side is the easiest way to get started
  const messages = await getMessages();

  return (
    <html lang={locale}>
      <body>
        <NextIntlClientProvider messages={messages}>
          <Navbar />
          {children}
        </NextIntlClientProvider>
      </body>
    </html>
  );
}
Final Results
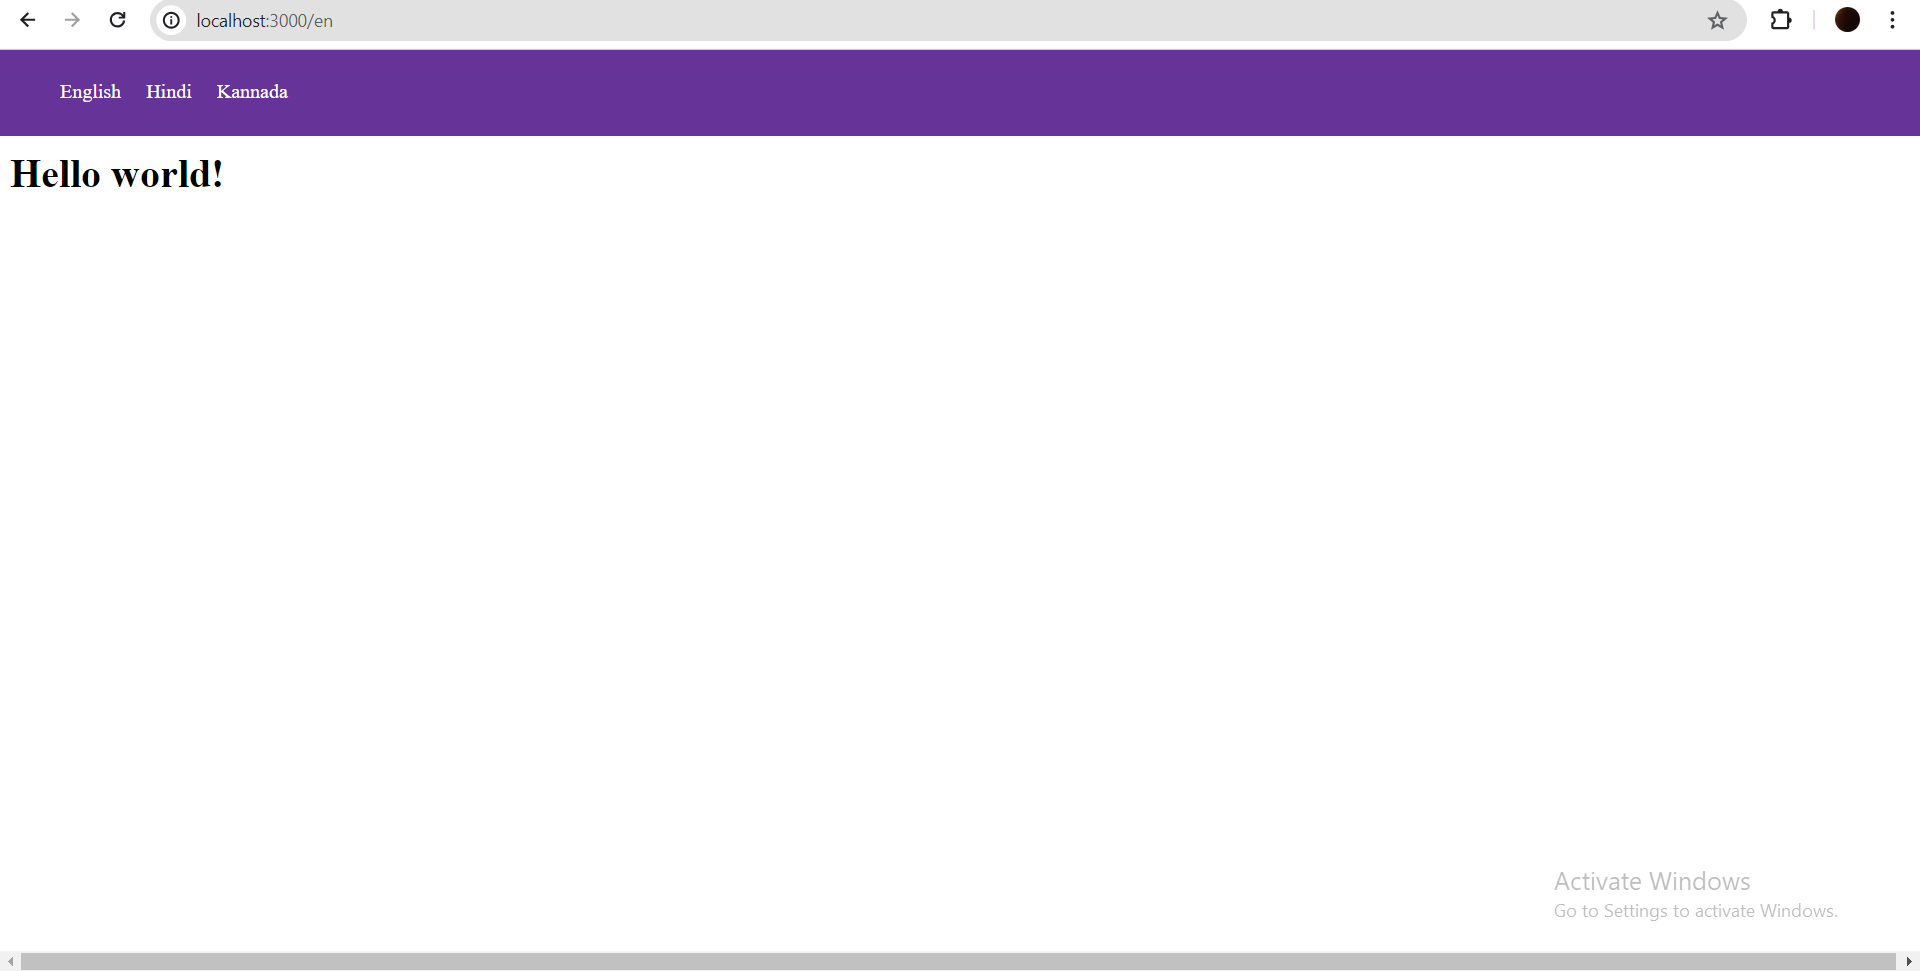
Lets see how our app looks like:

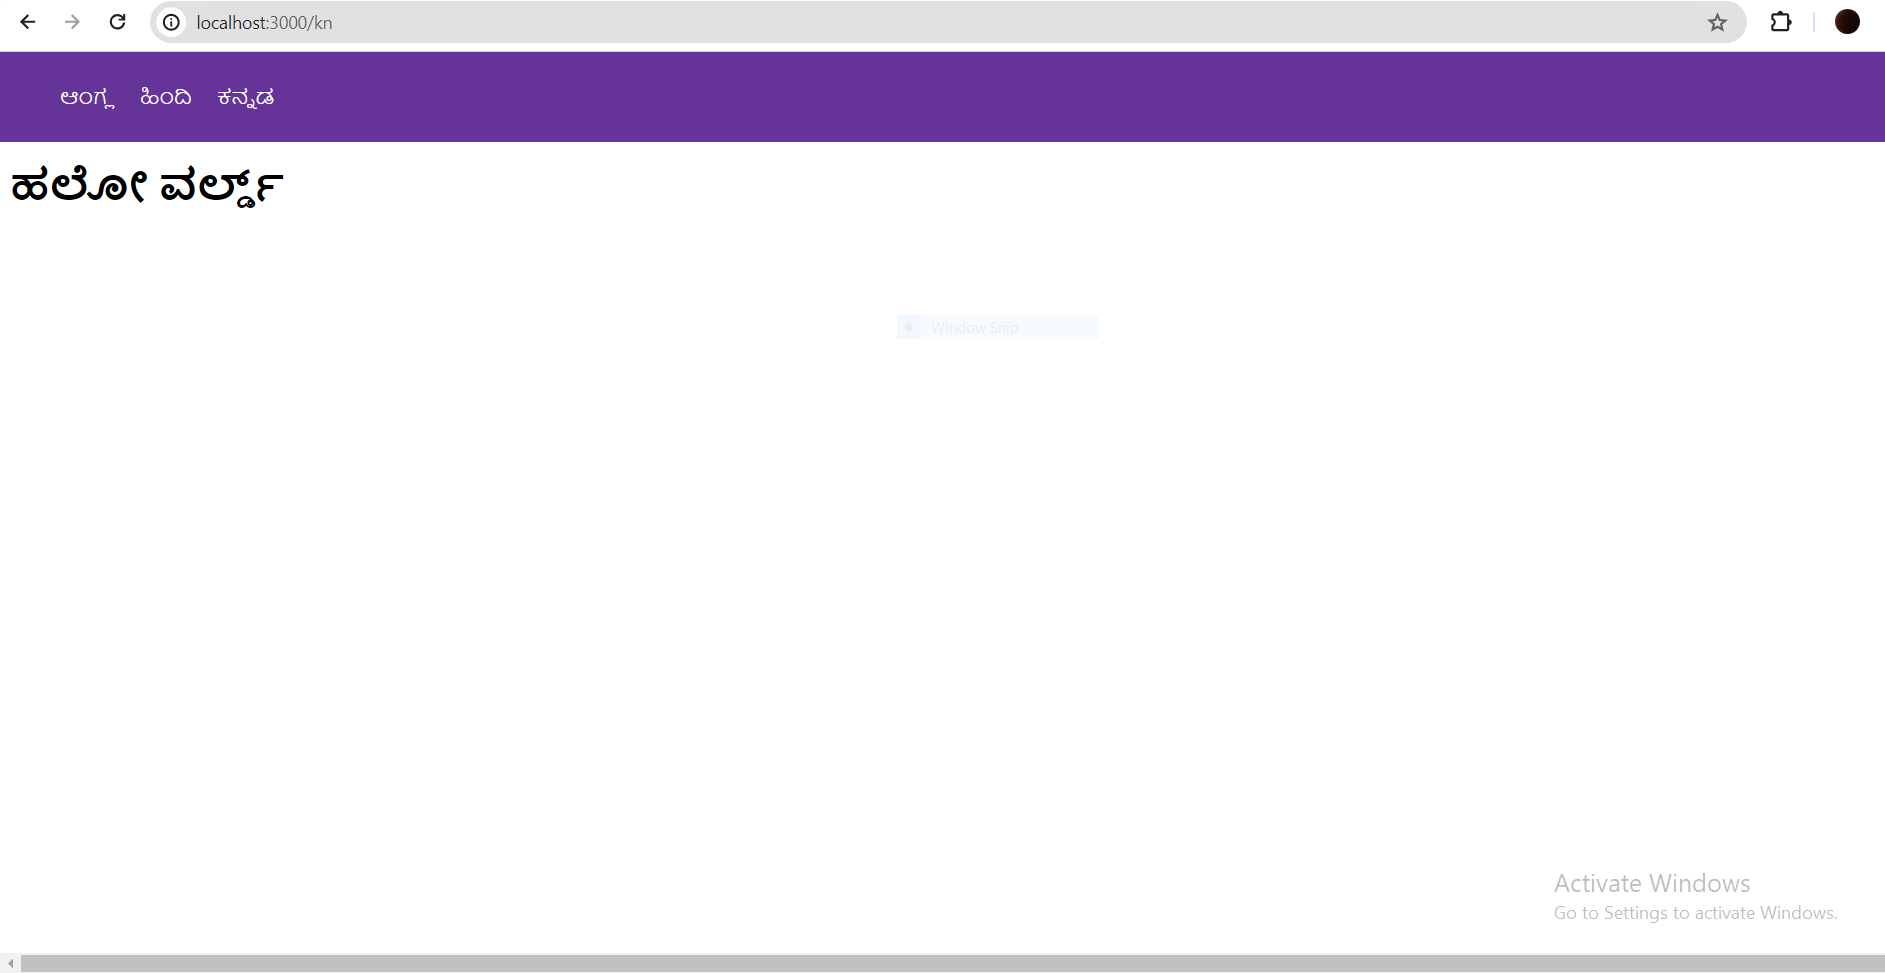
As you can see, there is an navbar which will help users to go to different pages in different locales. Let's try out our Kannada Page, for that click on Kannada link in our Navbar and the output will look something like this:

Conclusion
So, if you follow this blog you should be able to create multilingual app in English, Hindi and Kannada languages. In this blog, we have used next-intl package but you are free any other package if you are comfortable and interested in that. You can find the code for this operation by clicking here
For any query, you can get in touch with me via LinkedIn and twitter. You can go through the code in this GitHub repository Leave all your comments and suggestions in the comment section. Let's connect and share more ideas.
Happy coding!
Subscribe to my newsletter
Read articles from Gautham R Vanjre directly inside your inbox. Subscribe to the newsletter, and don't miss out.
Written by

Gautham R Vanjre
Gautham R Vanjre
SDE-1 @HashedIn by Deloitte | Passionate about Web and Mobile Development | 🌐 Turning ideas into digital solutions | #JavaScript #React #NodeJS #WebDev #Typescript #MobileDev 🚀