Project Trouble Shooting : Linking "Spring" to "GitHub" (Process of git init~)
 Byung Joo Jeong
Table of contents
- #Foreword
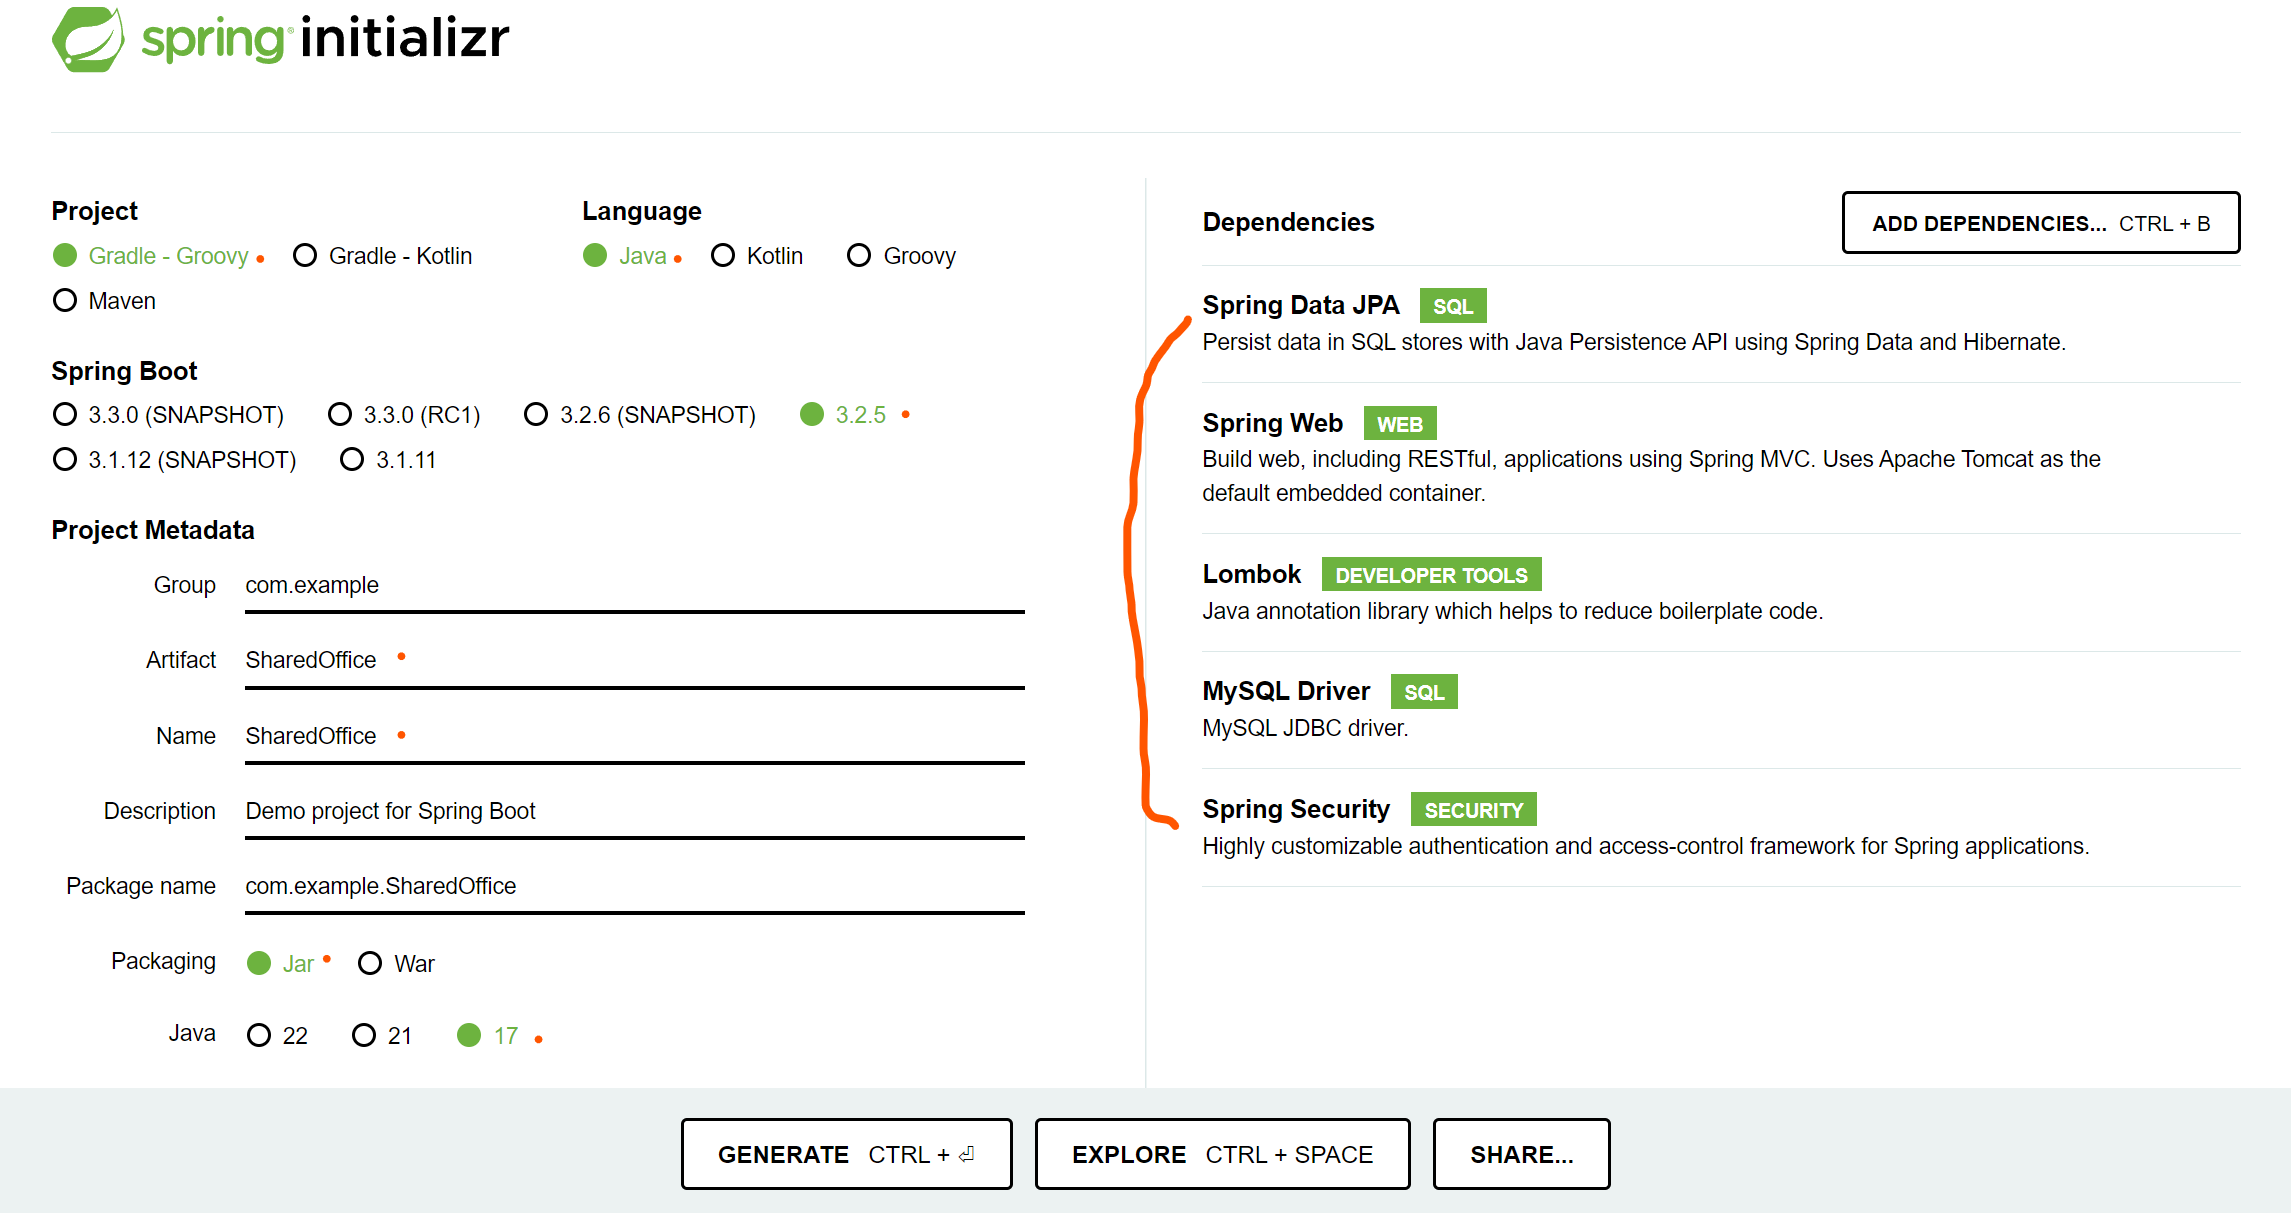
- #Spring Initializr With Dependencies
- #Configuring database connection
- #With Spring Security, I need to sign in whenever I access Web page(localhost:8080)
- #So, I can optionally remove spring security dependencies for convenience
- #git init
- Before git init -> ensure nothing is on Commit
- cf ) + Updated Information , 20240514
- cf)
- oh.. looking back now, the process that I've done is for Spring Project (initializing git repositories), If so, What should be next?
- #Linking Spring Project to remote repositories
- #I linked my Spring project to remote repositories -> Check Current Branch -> Push current working branch
- #I will try to clone remote repositories to ensure whether it's successfully set up with Fork GUI.
- #Additional Check Point, Git Branches
#Foreword
Although I've participated in several team projectcs before, I've never personally set up a Spring project and linked it to Git repositories for team bollaboration. Spring initial setup and linking it to git repositories for team members. Just experiencing things without actually doing them on my own is never better than doing them firsthand(directly), even if they seem easy.
Sometimes, tasks that appear easy become challenging when I try it independently, leading to apprehension and pressure. That's why I'm documenting every step of the process from scratch.
In past team projects, my teammates were more experienced and completed tasks effortlessly before me. While this made me comfortable, I missed out on a great learning opportunities. However, with my new project starting next week and only two members in our team, it won't be easy. But if I seize this opportunity and overcome these challenges, I believe I can become a more confident and capable person.
#Spring Initializr With Dependencies
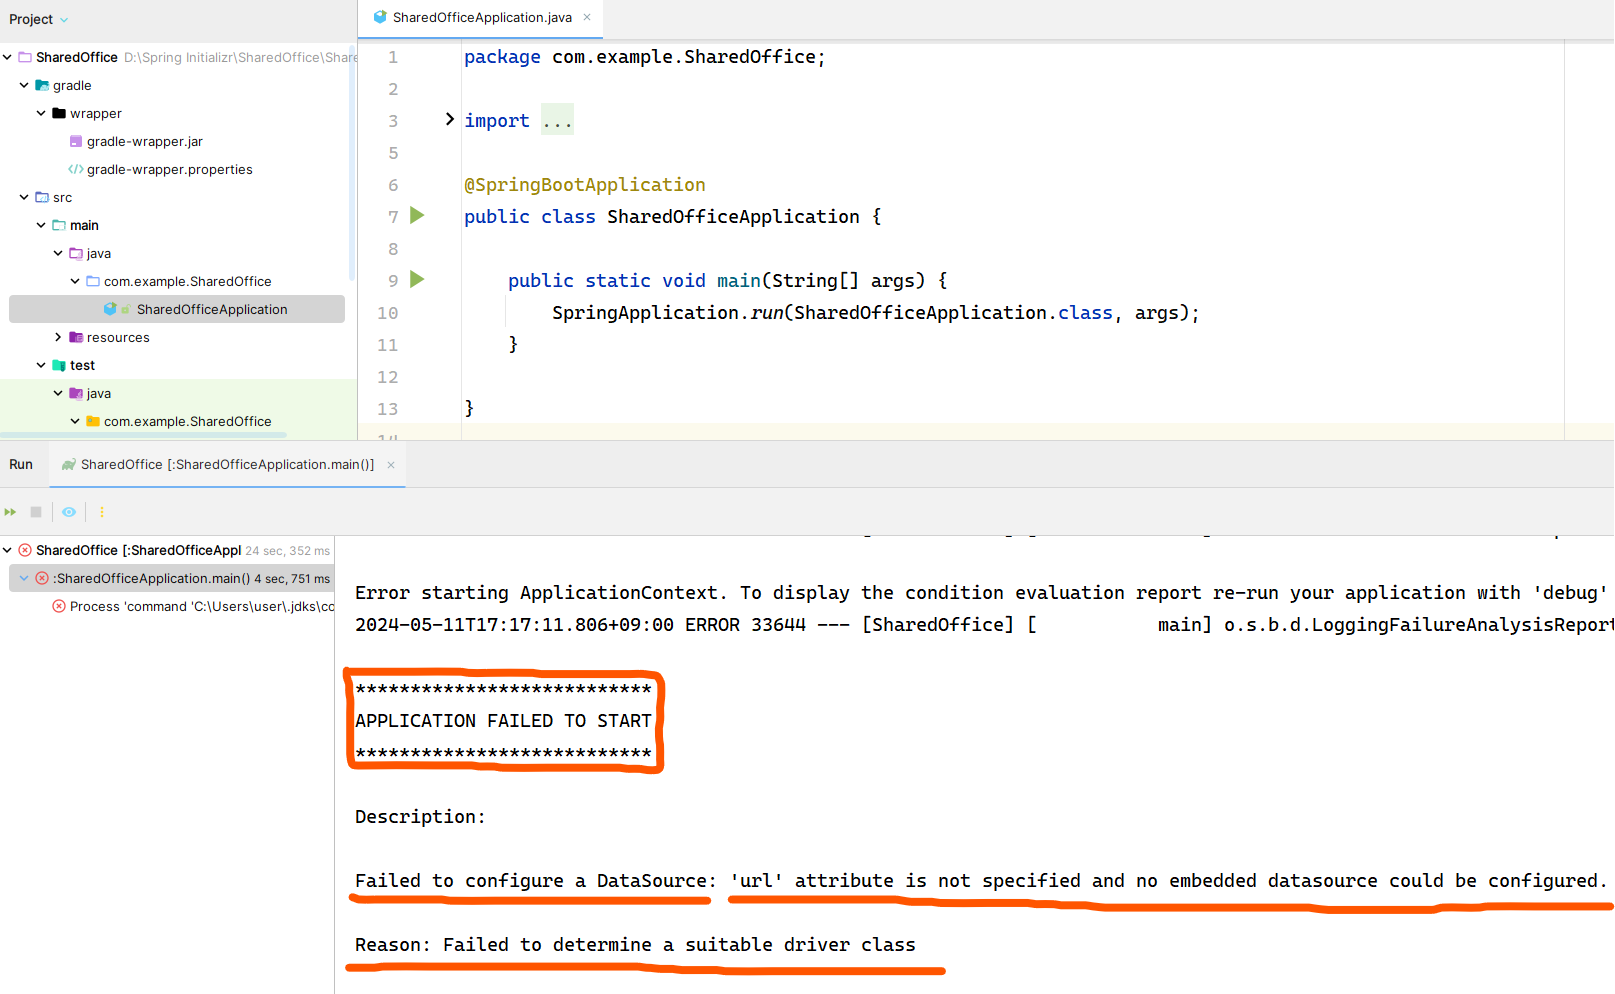
#Run application
APPLICATION FAILED TO START
: Failed to configure a Datasource ~~~
: Reason : Failed to determine a suitable driver class
Deprecated Gradle features were used ~~, making it incompatible with Gradle 9.0

In conclusion,
while resolving these problems, I realized that the 'APPLICATION FAILED TO START' error was caused by misconfiguring the database connection, and the ' Deprecated Gralde~~, making it incompatible with Gradle 9.0 ' error was kind of verbose message that can be hidden by the user. I am ashamed to admit it took me several hours to realize this.....................................That's why firsthand experience is crucial.
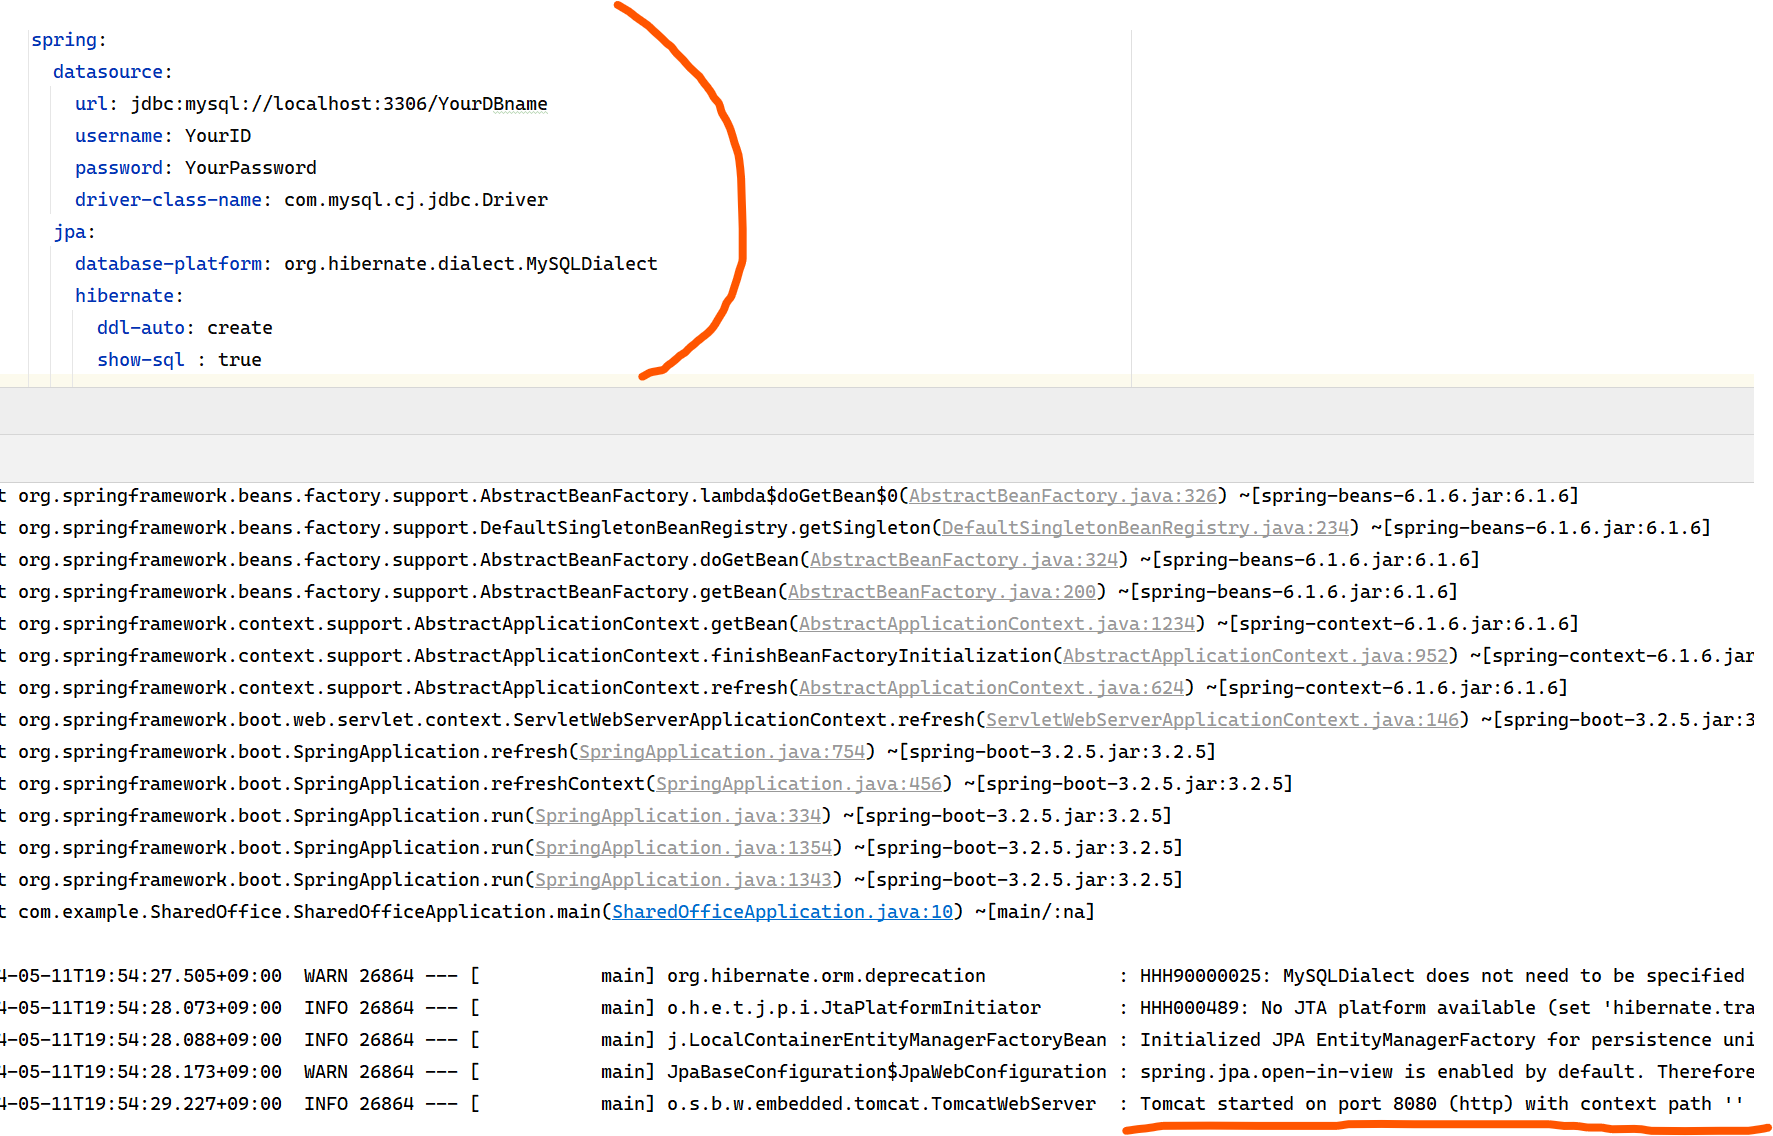
#Configuring database connection
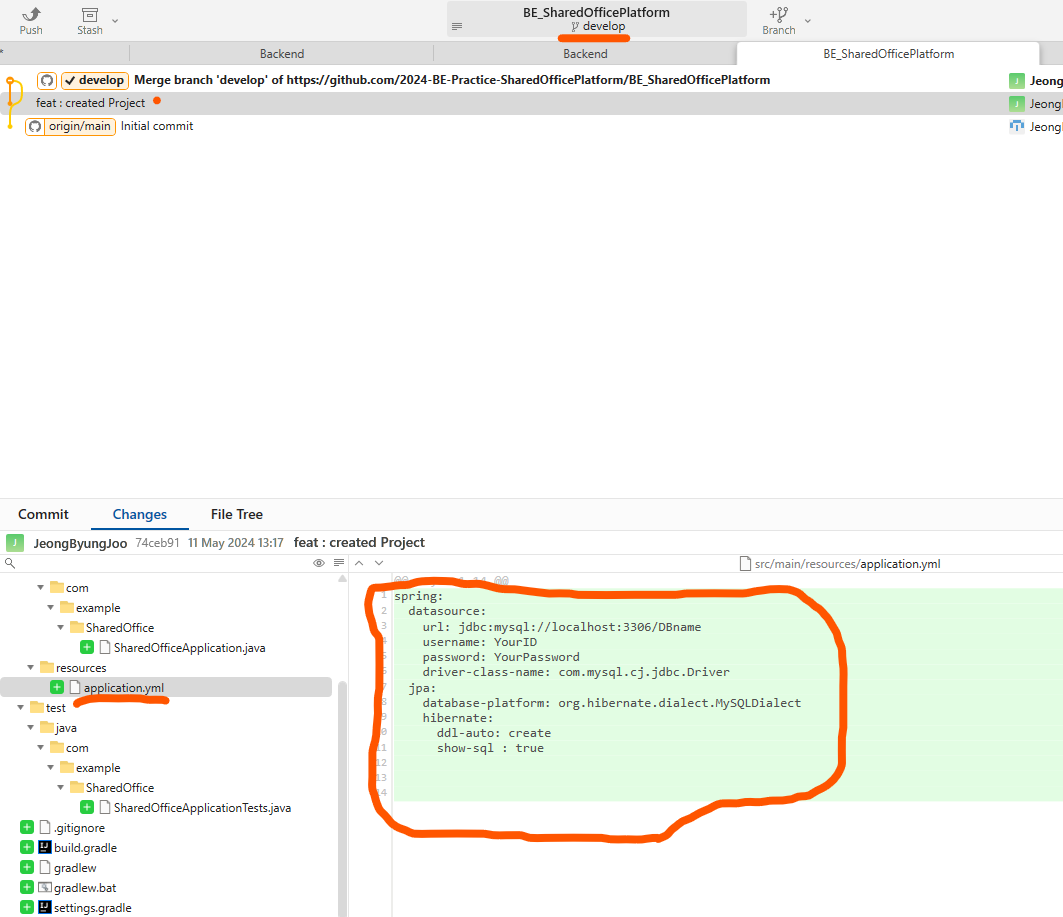
application.yml
<application.yml file>

spring:
  datasource:
    url: jdbc:mysql://localhost:3306/YourDBname
    username: YourID
    password: YourPassword
    driver-class-name: com.mysql.cj.jdbc.Driver
  jpa:
    database-platform: org.hibernate.dialect.MySQLDialect
    hibernate:
      ddl-auto: create
      show-sql : true
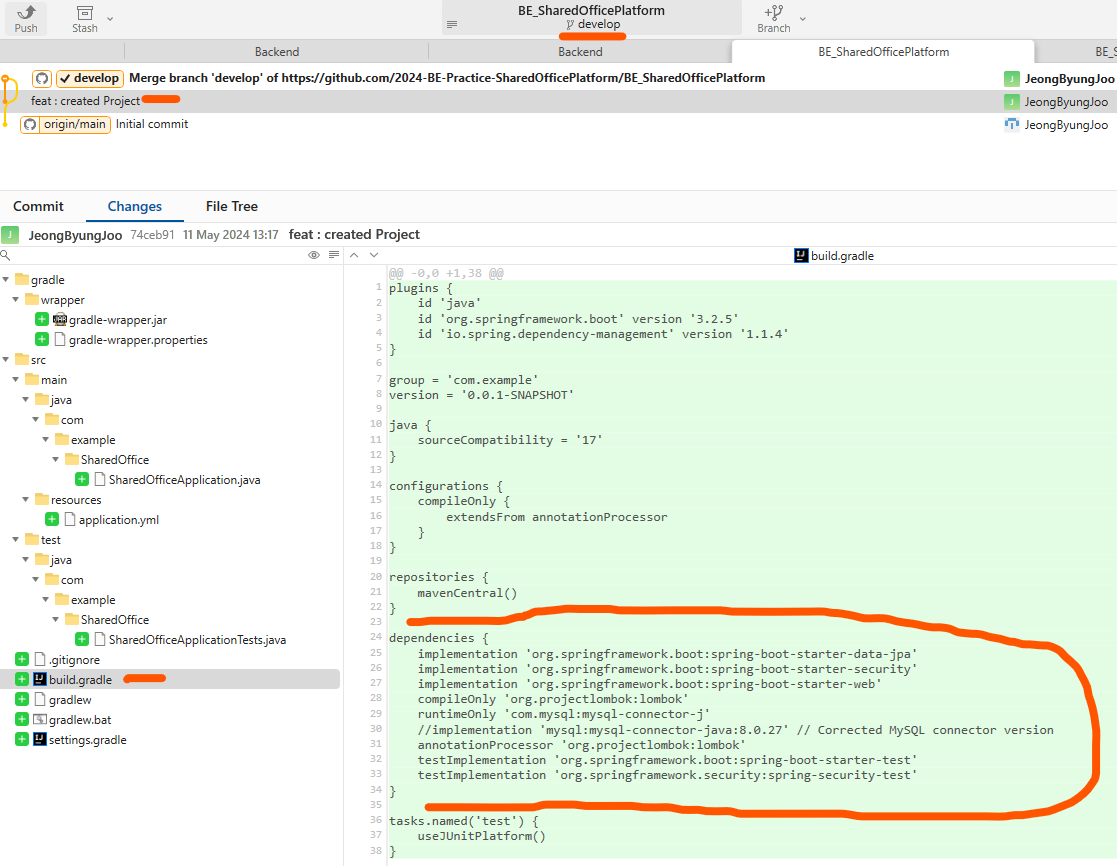
build.gradle - dependencies
<build.gradle>

dependencies {
    implementation 'org.springframework.boot:spring-boot-starter-data-jpa'
    implementation 'org.springframework.boot:spring-boot-starter-security'
    implementation 'org.springframework.boot:spring-boot-starter-web'
    compileOnly 'org.projectlombok:lombok'
    runtimeOnly 'com.mysql:mysql-connector-j'
    //implementation 'mysql:mysql-connector-java:8.0.27' // Corrected MySQL connector version
    annotationProcessor 'org.projectlombok:lombok'
    testImplementation 'org.springframework.boot:spring-boot-starter-test'
    testImplementation 'org.springframework.security:spring-security-test'
}
: Even though I didn't input exact Url, Application started well
#With Spring Security, I need to sign in whenever I access Web page(localhost:8080)
- Run Spring application
-> URL : localhost:8080
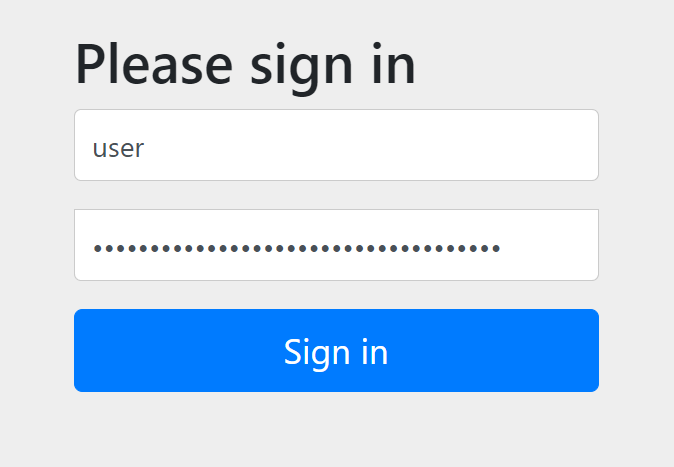
Default Id -> user
Password -> We can see generated security password on the console

- Localhost:8080 without specific URL.
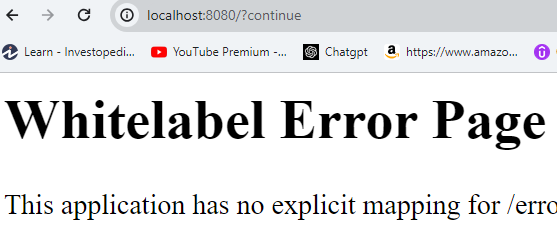
- URL : localhost:8080/hello
package com.example.SharedOffice;

import org.springframework.web.bind.annotation.GetMapping;
import org.springframework.web.bind.annotation.RestController;

@RestController
public class HelloController {

    @GetMapping("/hello")
    public String hello() {
        return "hello";
    }
}
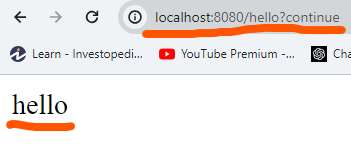
On running applicatino with 8080 port, once we sign in, we can access it, but To acess it, Signing in is necessary.
#So, I can optionally remove spring security dependencies for convenience
->Without Spring Security -> Run without sign-in
URL : localhost:8080
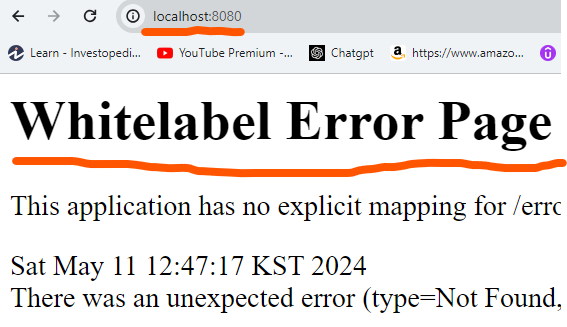
URL : localhost:8080/hello
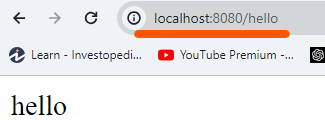
#git init
: Initializing Git repository when application runs well.
Before git init -> ensure nothing is on Commit
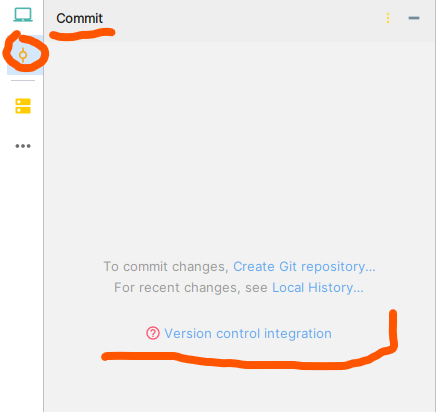
        cmd, On IntelliJ terminal

        On IntelliJ Terminal > git init

initialize doesn't mean 'zero' but 'ready to start'.
Commit tap before initializing git repositories
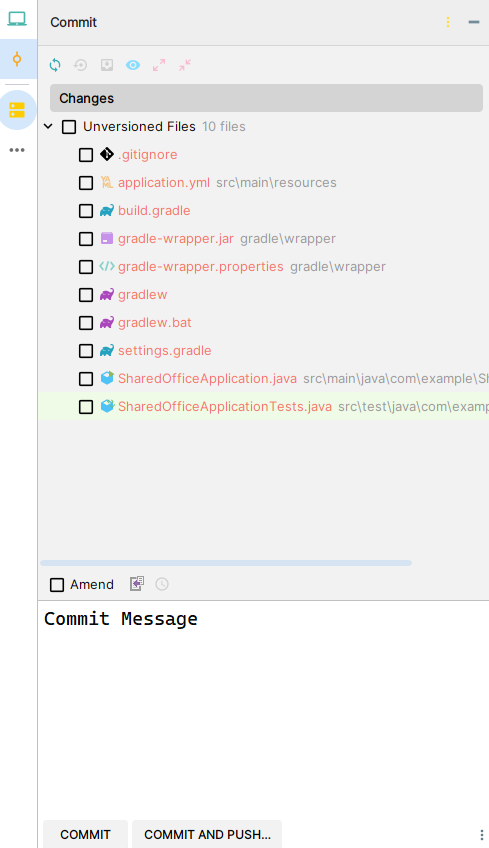
  On IntelliJ Terminal > dir       (Optional)

  -> we can see lists of all files on the current directory.
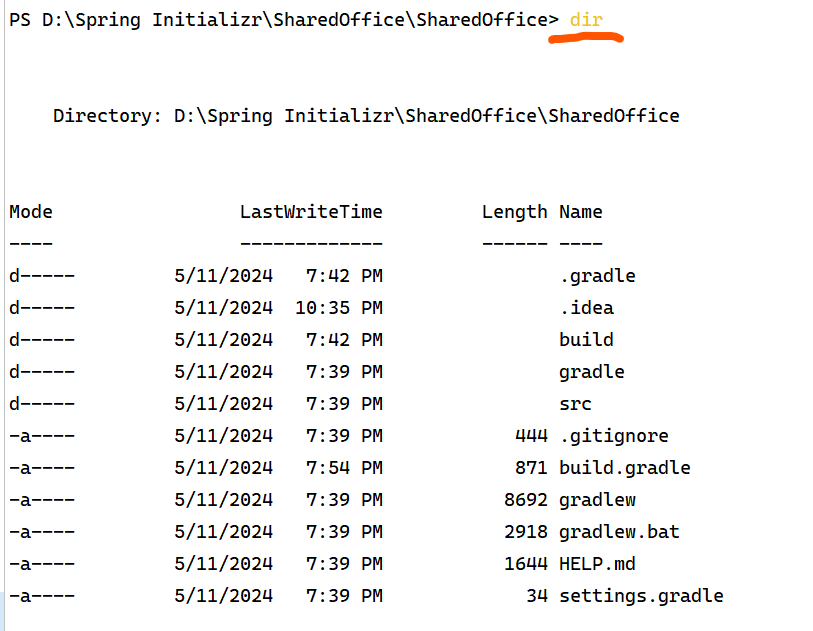
On IntelliJ Terminal
> git add .

-> we can see lists of all files on the current directory.
If nothing returns error messages, you can confirm whether it's successfully added by checking ' git status '.
If it returns error messages like below. (LF / CRLF errors)


- Line Ending Problem -> LF / CRLF
:The issue here arises because Windows and Unix-like systems handle line endings differently.
cf ) + Updated Information , 20240514
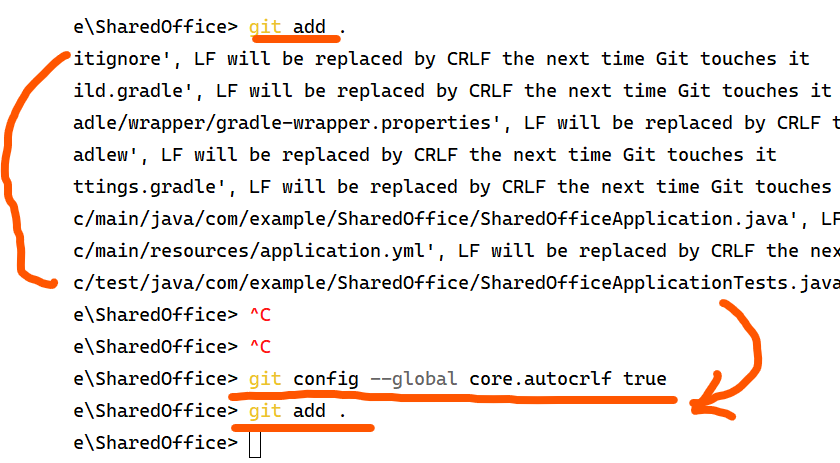
I thought this, LF/CRLF , is crucial error that I have to fix. But it's just warning messages and it's already added, I don't need to use "git add . " again. After changing core.autocrlf, Git may show a warning about line ending changes when you try to commit existing files. Git will ask you to confirm whether you want to proceed with the commit or fix the line endings. This confirmation is because changing line endings can potentially affect the content of the files. You can choose to proceed with the commit without changing line endings if you're confident that the line endings won't cause issues.
(I couldn't snipe that image, I replaced it with other image below.)

    On IntelliJ Terminal
    > git config --global core.autocrlf true
    (When encountering LF / CRLF error)

    On IntelliJ Terminal
    > git add . (after using cmd that i wrote above)
cf)
LF (Line Feed) : It's used by Unix and Unix-like systems (Linux, macOS, etc.).
CRLF (Carriage Return Line Feed) : The first character is a carriage return (CR), which moves the cursor to the beginning of the line, and the second character is a line feed (LF), which moves the cursor down to the next line. It's used by Windows systems.
    On IntelliJ Terminal
    > git status (Optional, to check status)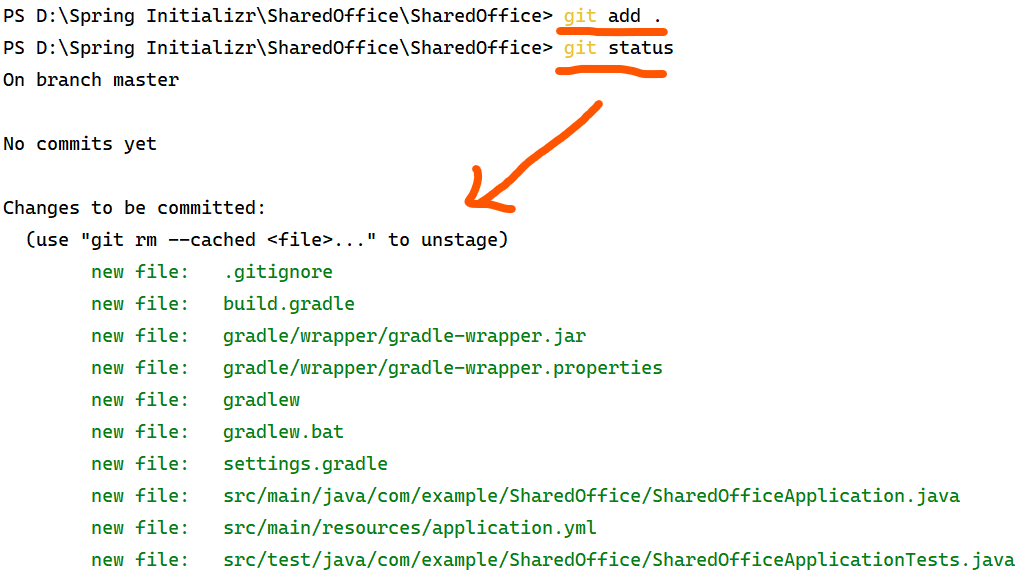
If you encounter this description, it means the files have been successfully added.
- Current ' git status '
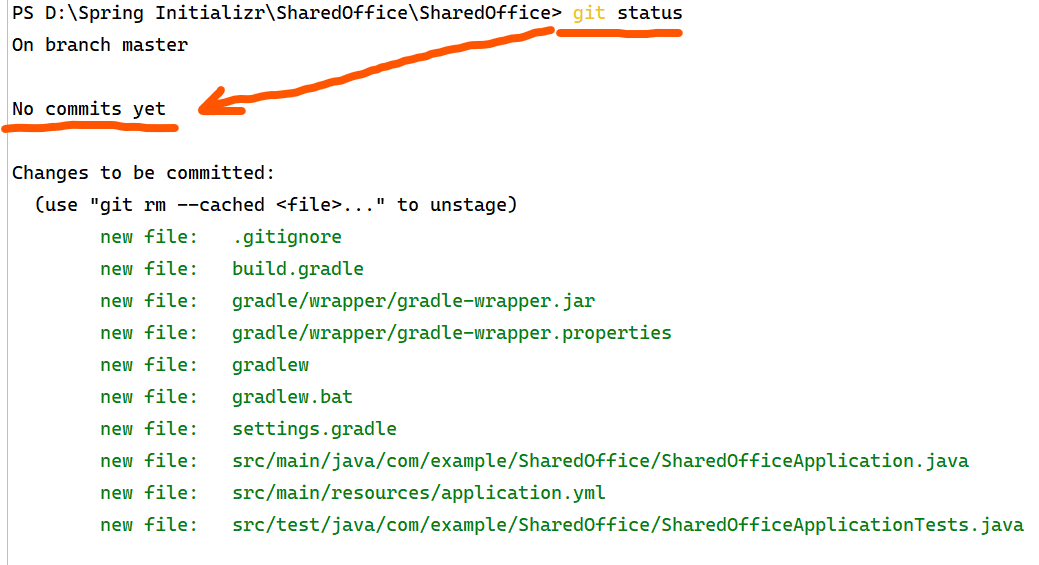
- 10 file changes left
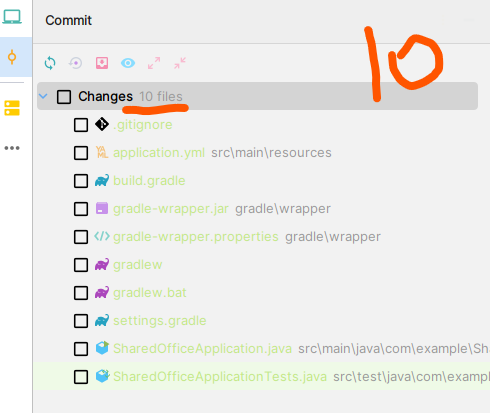
On IntelliJ Terminal
> git commit -m "feat : created Project" (commit meesage)
After leaving commit message, nothing left on commit message tap
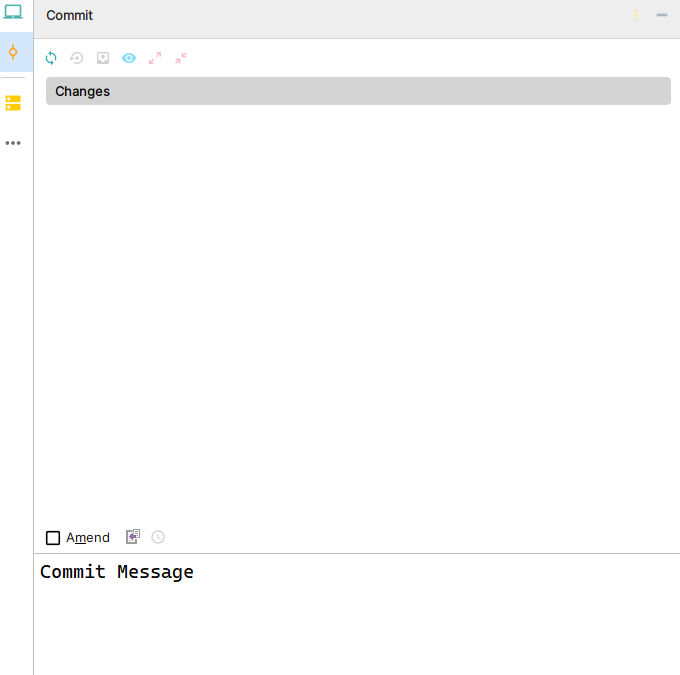
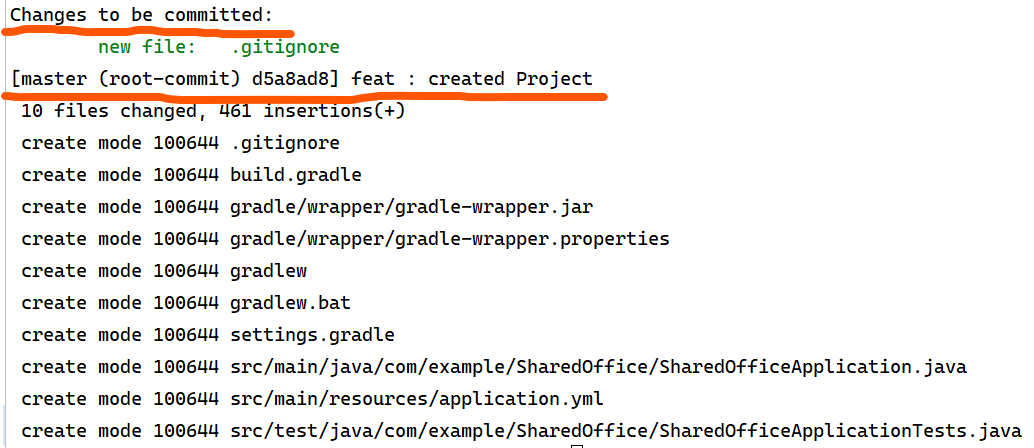
On IntelliJ Terminal > git status (Optional to check)
oh.. looking back now, the process that I've done is for Spring Project (initializing git repositories), If so, What should be next?
#Linking Spring Project to remote repositories
 git remote add origin <repository_URL>
 (linking Spring Project to remote origin repositories)
On IntelliJ Terminal > git remote add origin <repository_URL>
linking spring project to remote repositories I want use.
if you already created remote repositories -> use this command.
If not, go to create remote repositories from GitHub
: If nothing returns error messages, it means your Spring project have successfully linked to remote repository


git status (to check status)description on the Console > On branch master, nothing to commit, working tree clean

#I linked my Spring project to remote repositories -> Check Current Branch -> Push current working branch
At this point, if you want to push your local changes, you can push your local branch.
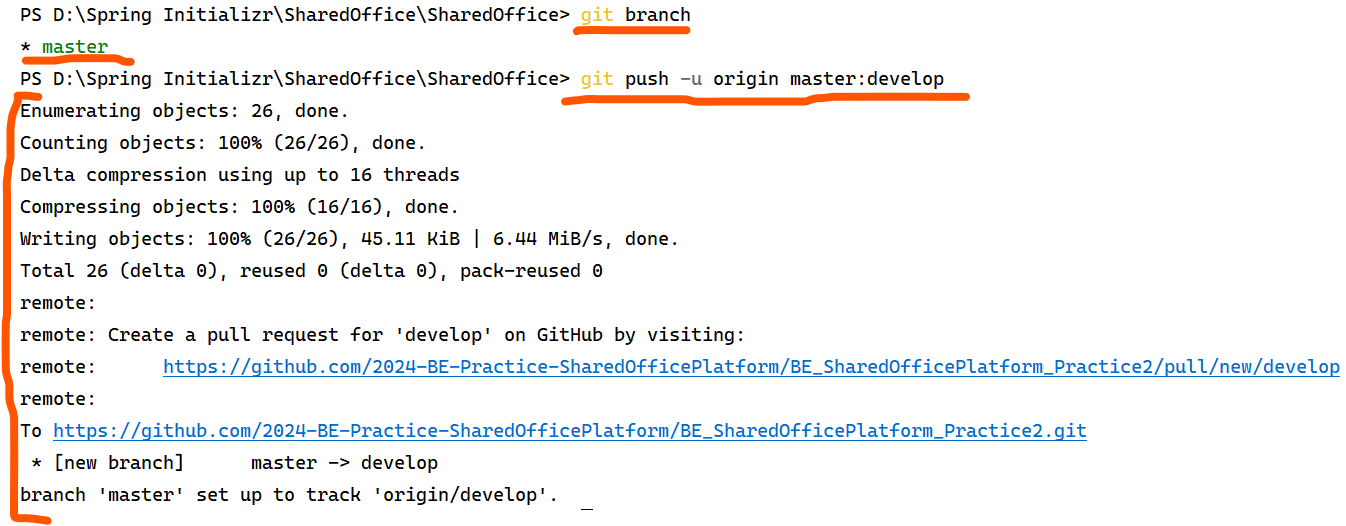
But, before we begin, we need to check lists of 'local branch' first. (of course, we should have only one branch)
git branch (to check current branch)

-> there's only master branch
'*' asterisk means branch where you are at.
I want to push my local master branch into develop branch on remote repositories (I set remote develop branch as default branch)
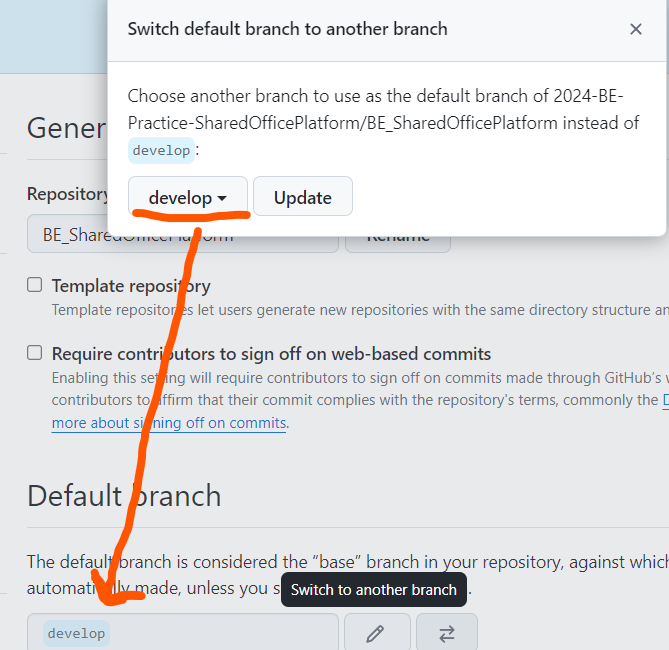
git push -u origin master:develop
or
git push -u origin master

(it depends on situation.)
-uis used to set up tracking between the localmasterbranch and the remotedevelopbranch.originis the name of the remote repository.masteris the local branch I'm pushing.developis the remote branch I'm pushing to.If local master branch is successfully pushed
When Rejected : failed to push.

When "failed to push", I tried to pull remote repositories (origin)'s develop branch into my local master branch. I guess, this was because I created develop branch on remote repositories in the middle of working (When I created remote develop branch after linking local to remote, which means there's something changes on remote repositories, that's why "rejected" happened.)
git pull origin develop ( to push it again. )
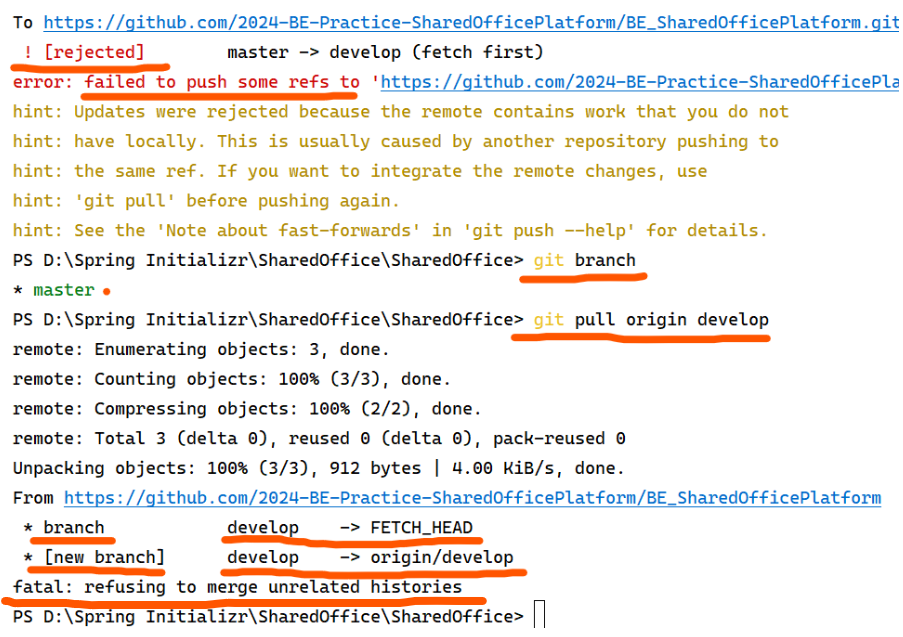
:This error occurs when Git is unable to automatically merge the histories of the two branches because they have diverged and have no common ancestor.
# How to resolve this?
git pull origin develop --allow-unrelated-histories

: After resolving the unrelated histories issue by using git pull origin develop --allow-unrelated-histories, your local master branch has been merged with the develop branch from the remote repository successfully.
git push -u origin master:develop (->retry pushing)
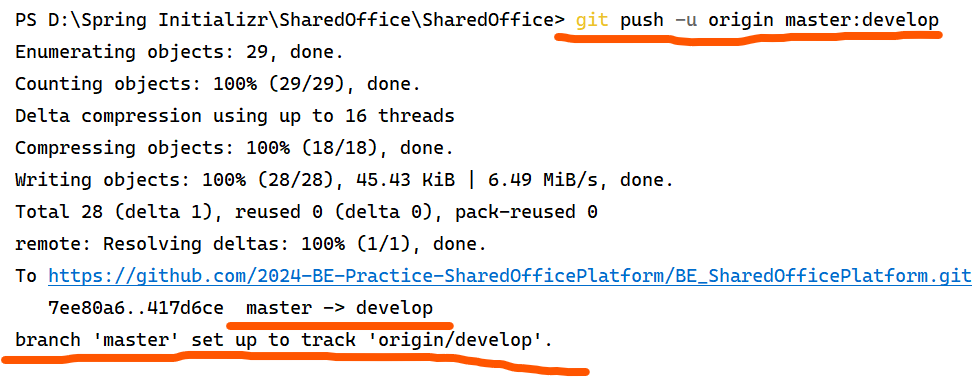
Pushing done.
#I will try to clone remote repositories to ensure whether it's successfully set up with Fork GUI.
: Copy remote repositories URL.
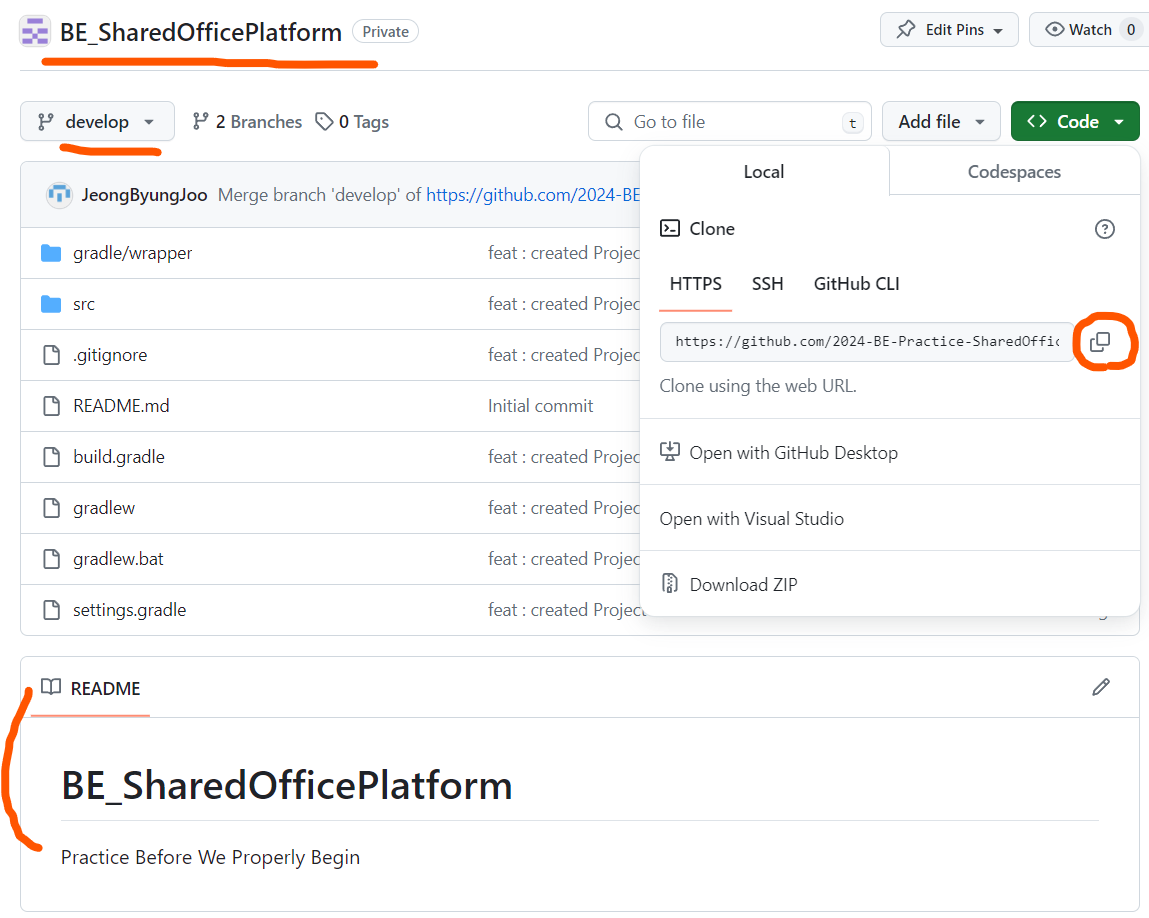
Fork -> File : Clone : input needed value
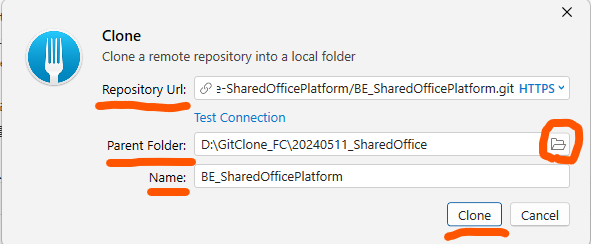
Repository Url : paste copied Url
Parent Folder : Select File location where I want to clone remote repositories
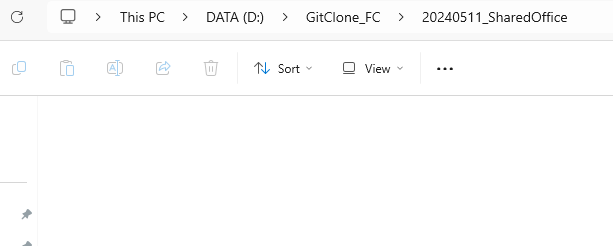
Name : Retmote repositories name.
(After selecting parent file folder location, If I paste copied URL, name is automatically input)
-- Cloned well
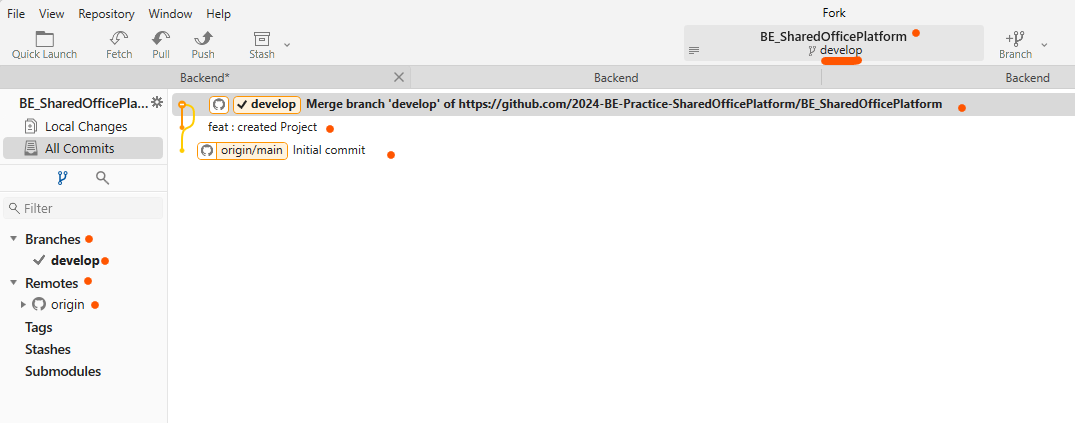
: We can see commit messages that I left, and repositories name, develop branch that I pushed
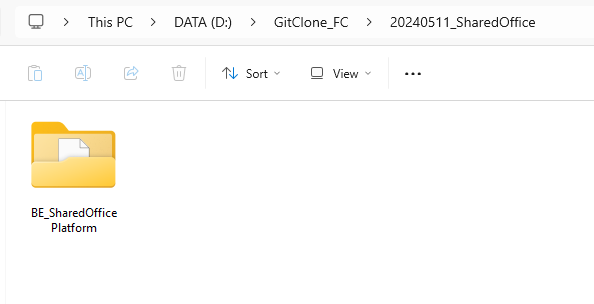
: and I can comfirm whether it's successfully cloned well intuitively on File location.
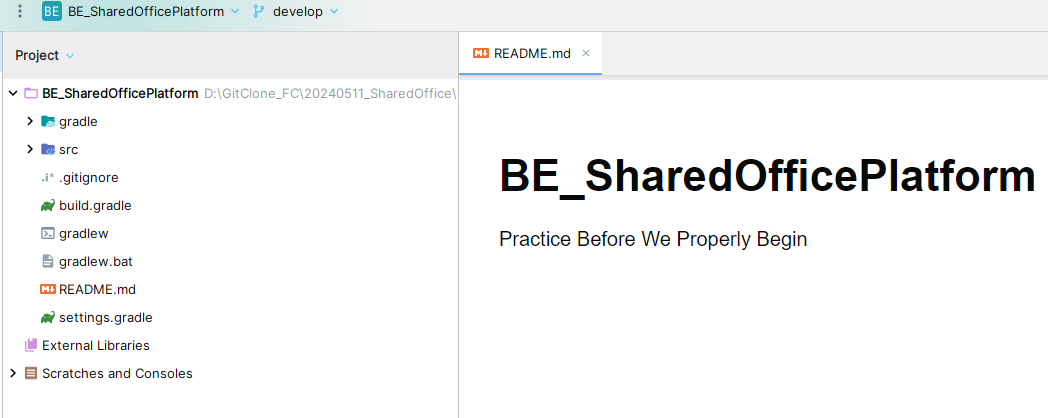
:run build.gradle

: I can see remote repositories name on README.md file. Success!
: To confirm, check other files too.
<application.yml>
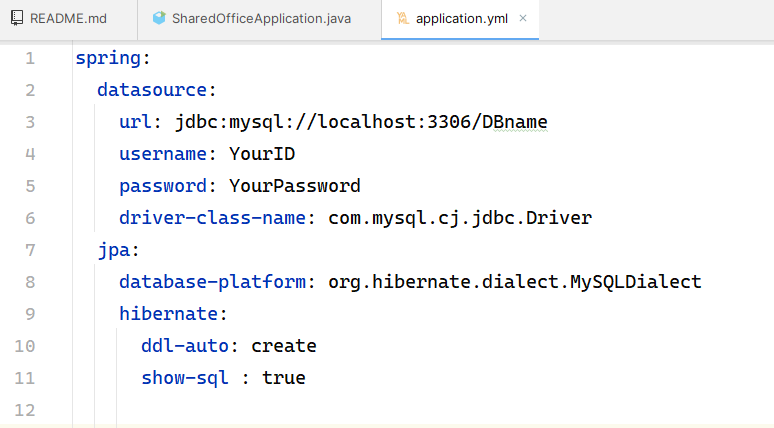
<Tracking Commit on Fork GUI>
<build.gradle dependencies>

<Tracking Commit on Fork GUI\>
#Additional Check Point, Git Branches
- After pushing local setup to remote branch from repositories, should I PR or Merge into main branch...................?
As I think, we never touch main branch at this point. it has to remain untouched until when we finished our team project on develop branch, and The main branch should only be updated with merges from the develop branch after thorough review and testing.
Here's a typical workflow for project:
A. Feature Branches (by git issue number)
: Each new feature or task should be developed in its own feature branch. Once the feature is complete, you push the feature branch to the remote repository.(in this case, remote develop branch)
-> We can use git issue for feature branch's number
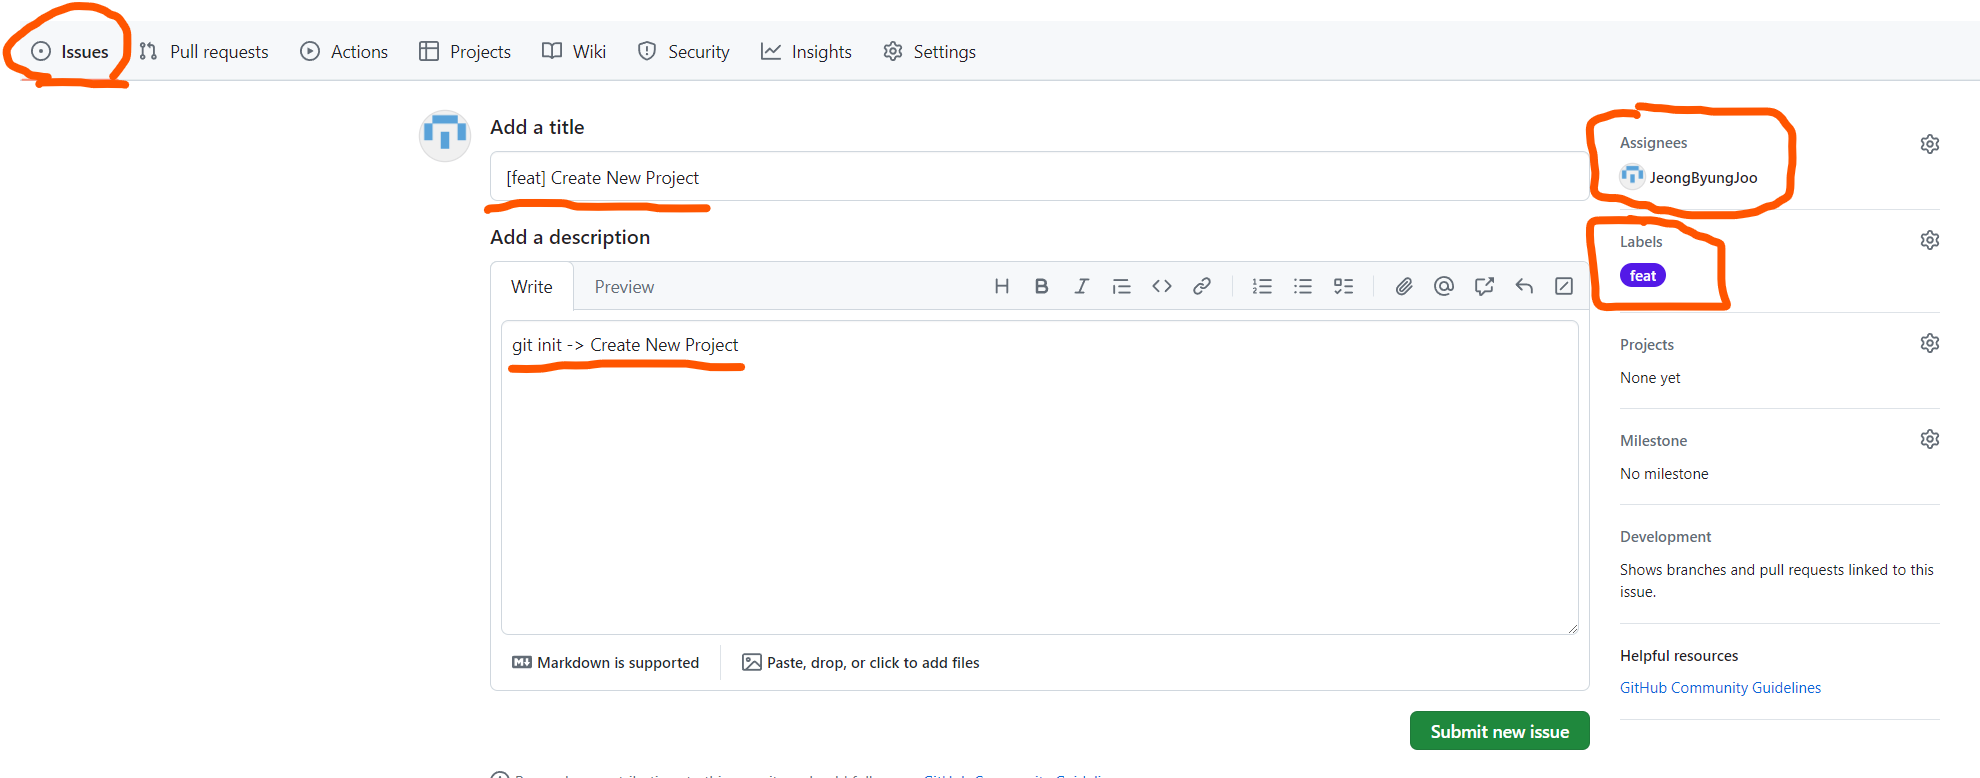
B. Pull Request (PR) (after pushing local branch into remote branch)
: After pushing your feature branch to the remote repository(in this case , develop branch on remote repository), you should create a pull request from your feature branch into the develop branch. This allows your changes to be reviewed and tested by other team members before they are merged into develop branch (the main development branch).

- Below Image is an example. When we pushed feature branch, we can ask new pull request.
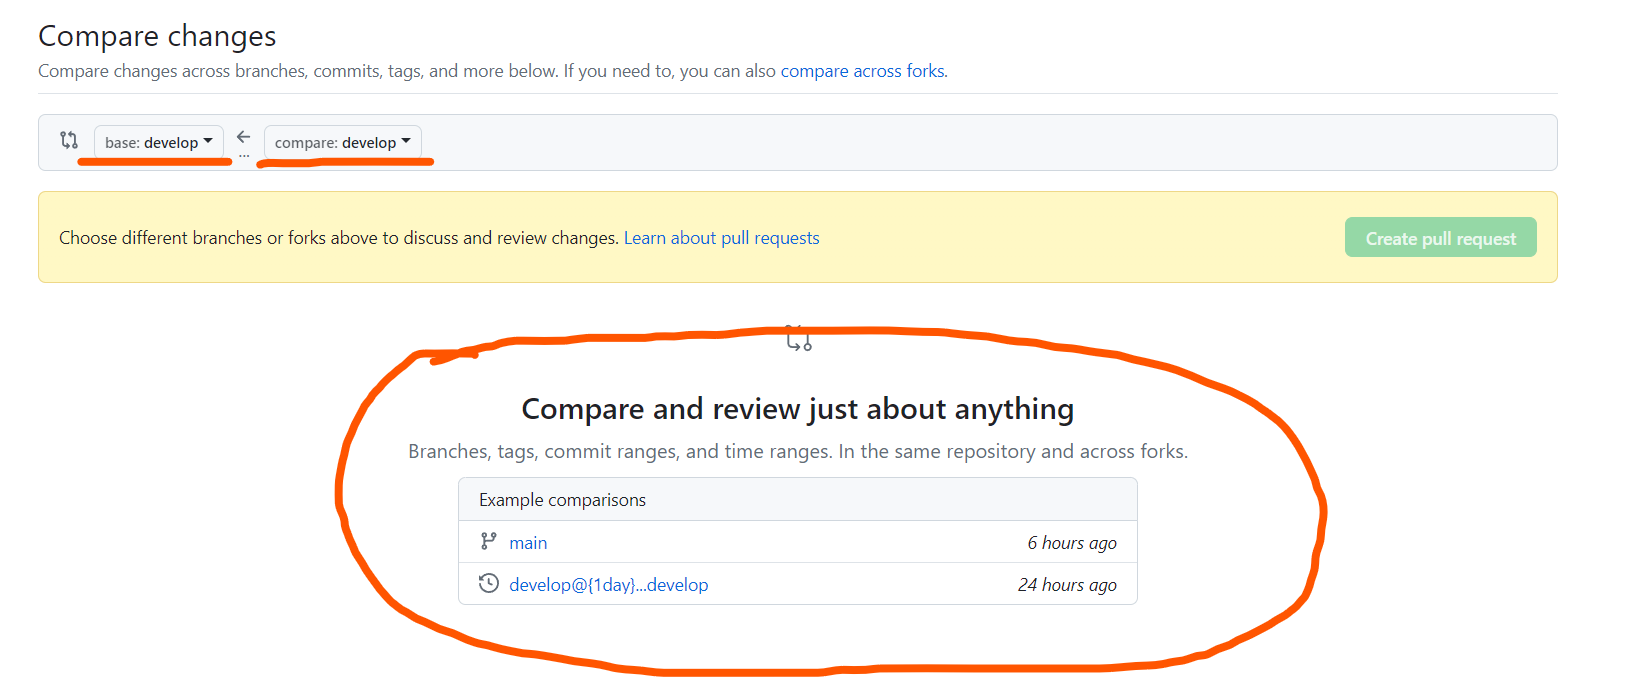
- I clicked develop@{1day}
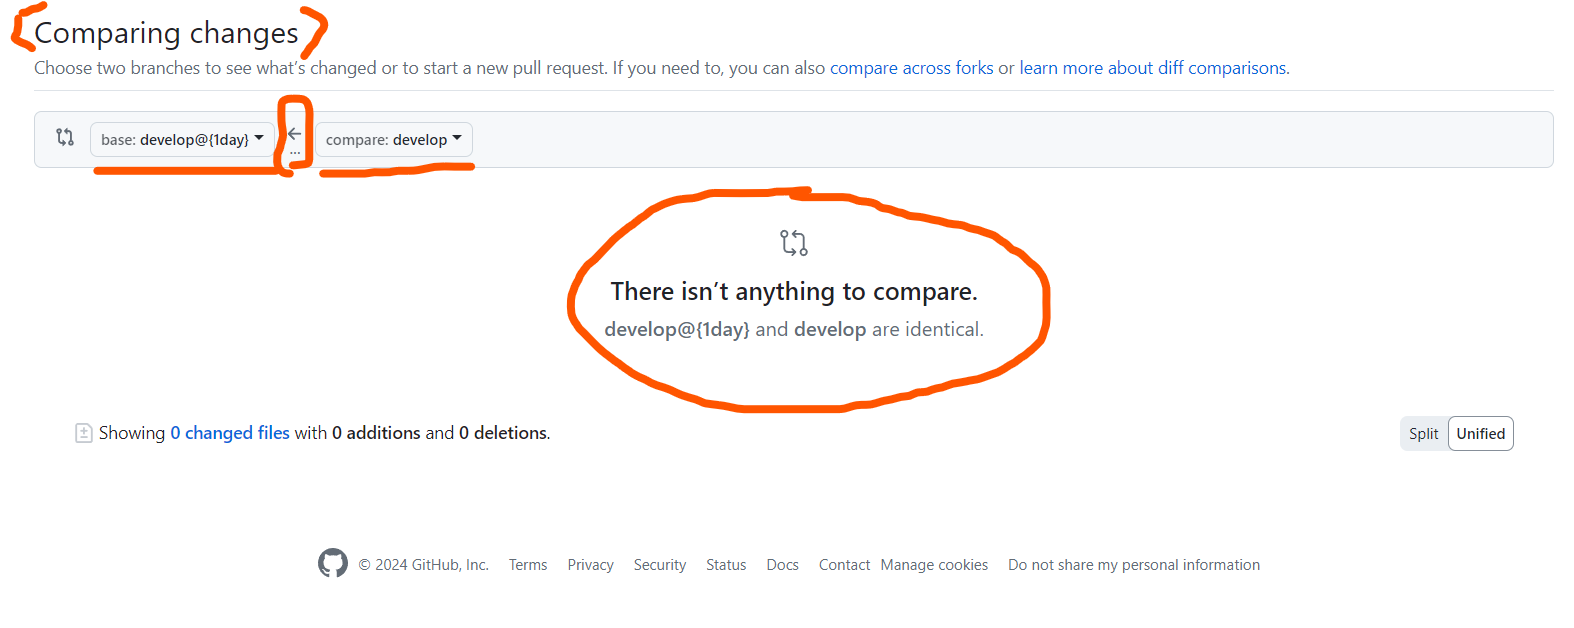
It says, develop@{1day} and develop are identical, There isn't anything to compare. since it's initial setup state, both develop are same. I used
' git push -u origin master:develop '
C. Develop Branch (ongoing development)
: The develop branch serves as the integration branch for ongoing development work. Once your feature branch(pushed branch) is reviewed and approved, it can be merged into the develop branch through the pull request.
D. Release Branches (Optional)
: If your team follows a release-based workflow, you might create release branches from the develop branch to prepare for a release. These branches are used for final testing and bug fixes before merging into the main branch.
E. Main Branch(Only be updated with merges from develop branch)
: The main branch represents the stable version of your product. It should only be updated with thoroughly tested and approved changes. Once the development work is complete and the release is ready, you merge the develop branch into the main branch to deploy your changes to production.
In conclusion
: After pushing your local setup to a remote branch, you should create a pull request from that branch into the develop branch, not directly into the main branch.
Subscribe to my newsletter
Read articles from Byung Joo Jeong directly inside your inbox. Subscribe to the newsletter, and don't miss out.
Written by
