Getting started with LavinMQ & CloudAMPQ
 Aditya Verma
In this blog post, we will dive into a hands-on practical guide to using LavinMQ, an open-source message broker service. Whether you're a seasoned developer looking to explore new messaging solutions or a newcomer to the world of message brokers, this tutorial will provide you with step-by-step instructions to get started.
First, we'll cover the basics of what a message broker is and why it's an essential component in modern distributed systems. Then, we will sign up for CloudAMQP and create a LavinMQ instance.
Once we have our LavinMQ instance set up, we'll dive into writing some code in Node.js to set up a Producer-Consumer architecture.
For those who prefer working with other programming languages, fret not! We'll also provide links to code examples in Python, Java, and Go, so you can implement the same architecture in your language of choice.
By the end of this tutorial, you'll not only have a solid understanding of how to use LavinMQ but also have a working implementation of a message-based architecture that you can extend and adapt to your specific use cases.
So, let's dive in and start exploring the exciting world of LavinMQ together!
What is a message broker service?
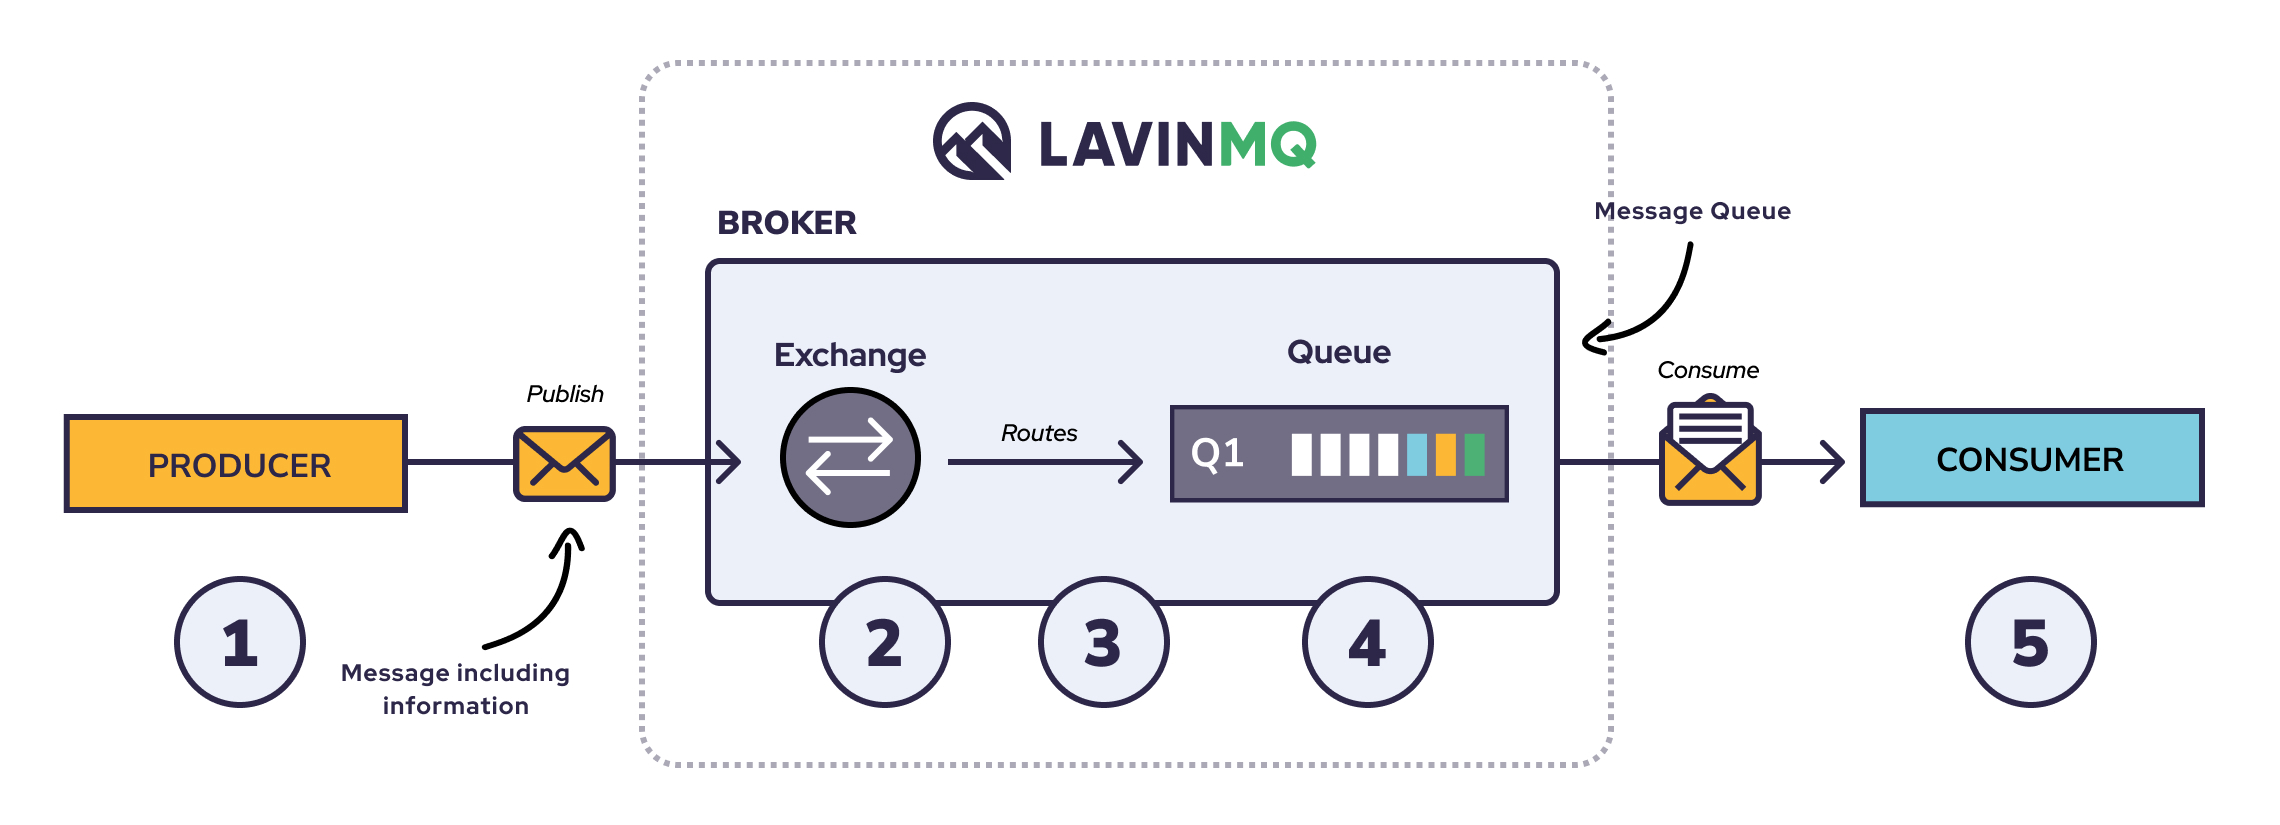
A message broker service is a software that helps applications, services and system to contact each other and exchange information.
LavinMQ being a message queue software also called as message brokers, publishes a message by sending a service called Producer, via the broker, to the consuming server called Consumer.
Sign up for CloudAMQP and create a LavinMQ instance.
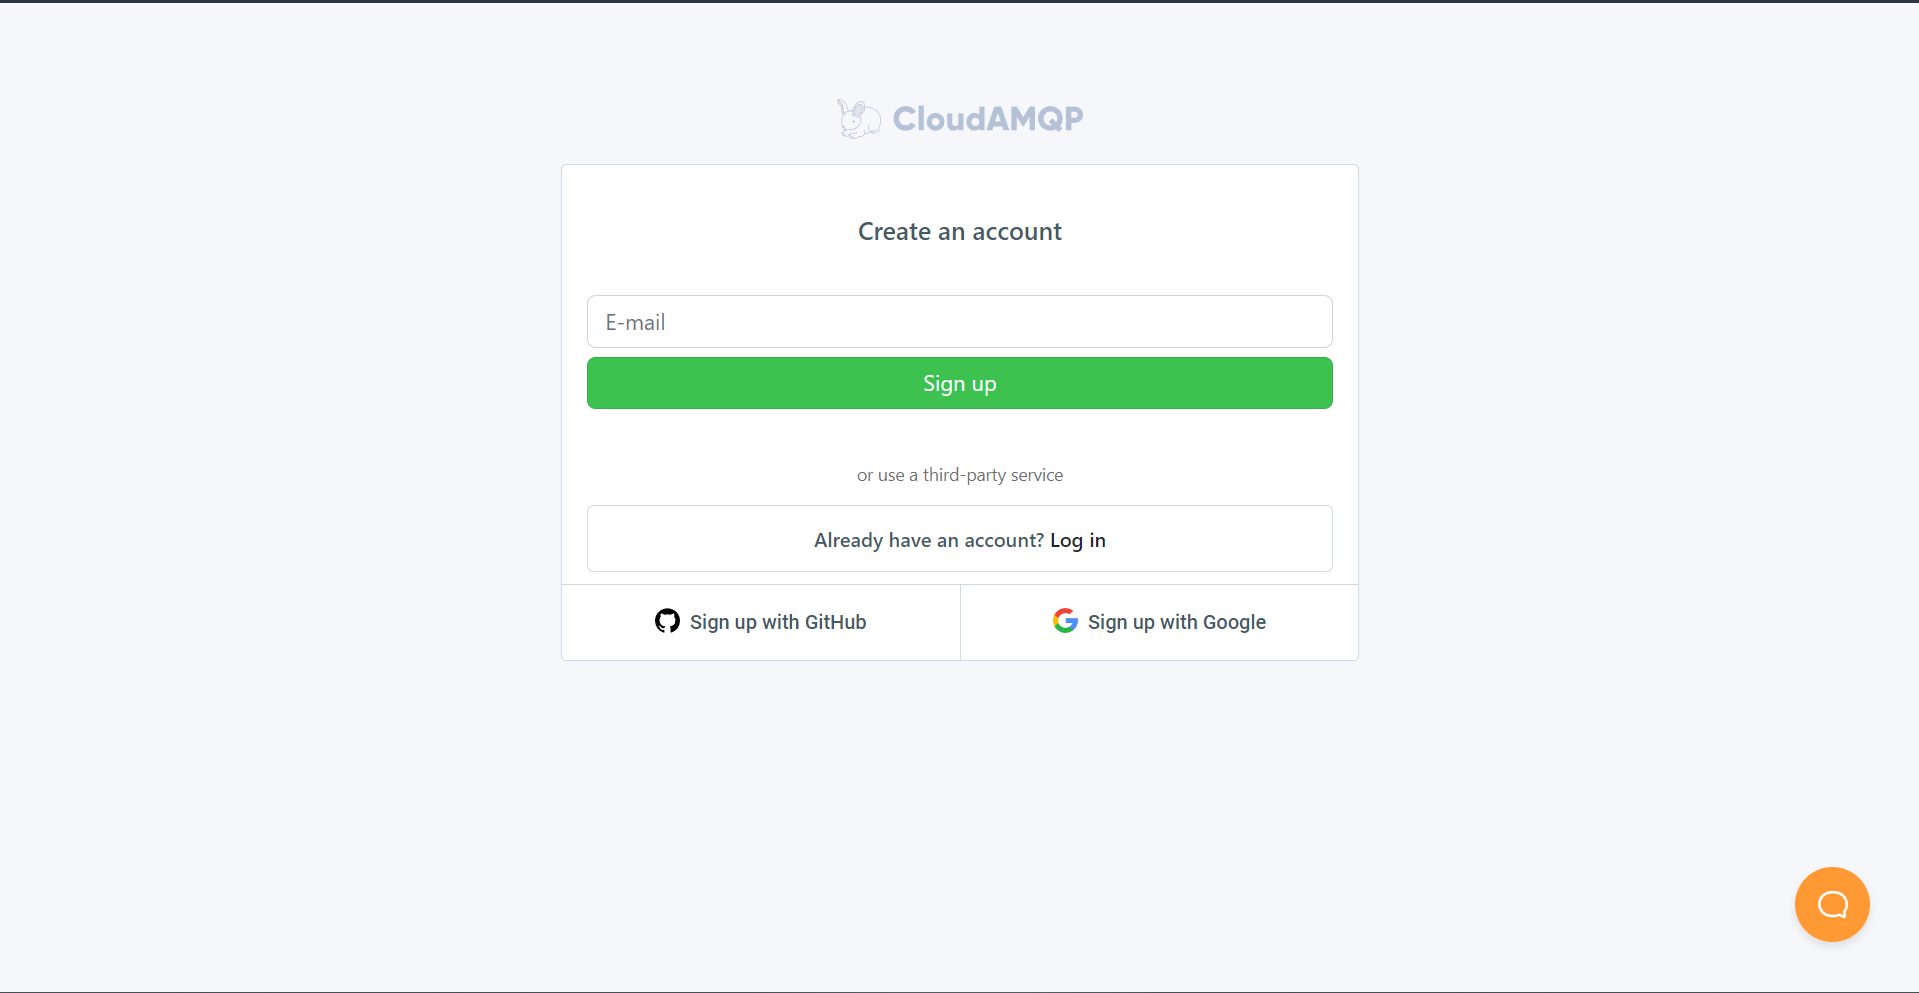
S1. Sign up for CloudAMQP

S2. Create a new instance

Name: <name of your instance>
then click select region
Platform: Azure
Region: East US 2
click on review and then create instance
Coding Part
Installation
Clone the repository:
(you can use the sample node.js code provided by LavimMQ)
git clone https://github.com/AdityaBVerma/LavinMQInstall dependencies for both producer and consumer:
npm installSet up environment variables:
Create a
.envfile with the following content:CLOUDAMQP_URL=<your_cloudamqp_url>Replace
<your_cloudamqp_url>with your CloudAMQP URL.Create Producer.js and Consumer.js
touch Producer.jstouch Consumer.js
Usage
Producer
To run the producer:
Run the producer script:
node Producer.js
The producer will connect to the RabbitMQ server specified in the environment variables, send messages to the queue, and then exit after a specified timeout.
Consumer
Run the consumer script:
node Consumer.js
The consumer will connect to the RabbitMQ server, listen for messages in the queue, process them, and acknowledge them after processing.

References
MHL challenge for message routing in LavinMQ
👋 Hello, I'm Aditya Verma 😁
✌️ If you liked this article, consider sharing it with others.
🥰 Thank You for reading.
Subscribe to my newsletter
Read articles from Aditya Verma directly inside your inbox. Subscribe to the newsletter, and don't miss out.
Written by

Aditya Verma
Aditya Verma
Hey! I'm Aditya Verma, a tech lover who's always excited about checking out new stuff. I'm all about diving into the latest gadgets and software, and I'm eager to grow within the tech community.
