Configuring Nginx as Web server on AWS EC2
 Jasai Hansda
Configuring Nginx as your web server is an achievable feat, even for beginners. This article will walk you through the process step-by-step.
NGINX (pronounced "engine-x") is a versatile web server software known for its efficiency, performance, and scalability Whether you're crafting a personal website or building a high-traffic application, Nginx can be your reliable companion.
Setting up the Server
Create your EC2 resources and launch your EC2 instance:
You can refer to the official docs for detailed EC2 instance creation- https://docs.aws.amazon.com/AWSEC2/latest/UserGuide/EC2_GetStarted.html#ec2-launch-instance
Steps for launching an EC2 instance in the free tier service
Log in to AWS Management Console: Navigate to the EC2 Dashboard.
Launch Instance: Click on the "Launch Instance" button.
Name your server

Choose an Amazon Machine Image (AMI):
Select an Amazon Linux 2023 AMI (Free tier eligible).
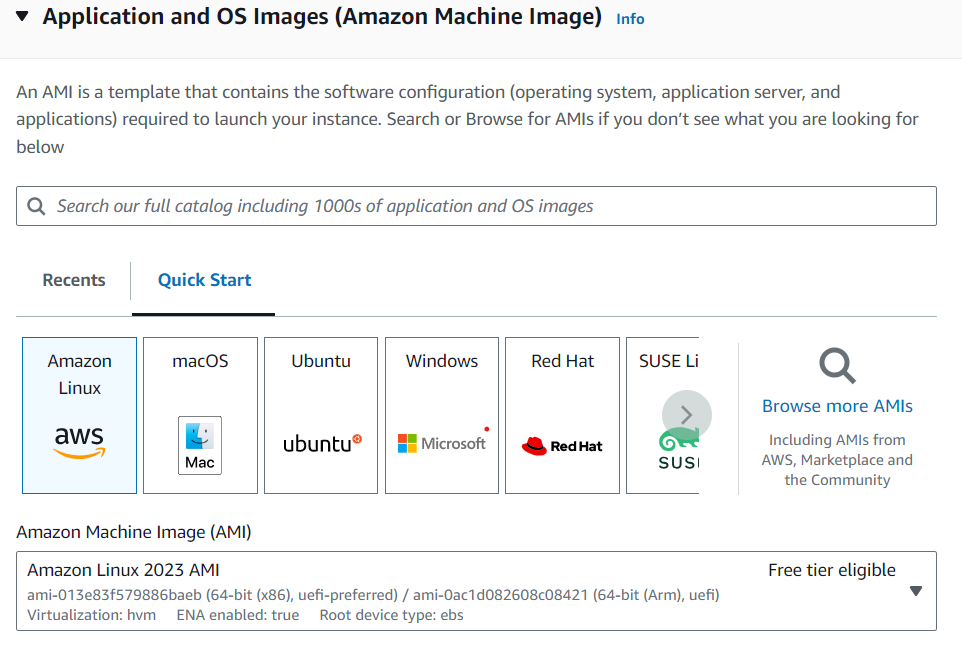
Choose an Instance Type:
Select an instance type (e.g.,
t2.microfor free tier eligibility).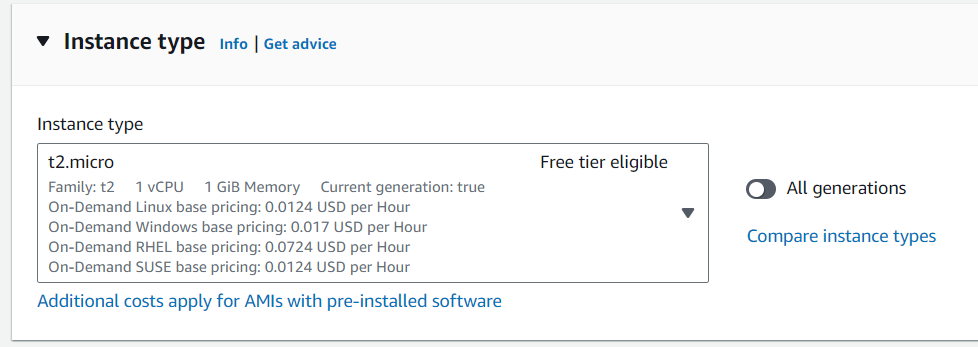
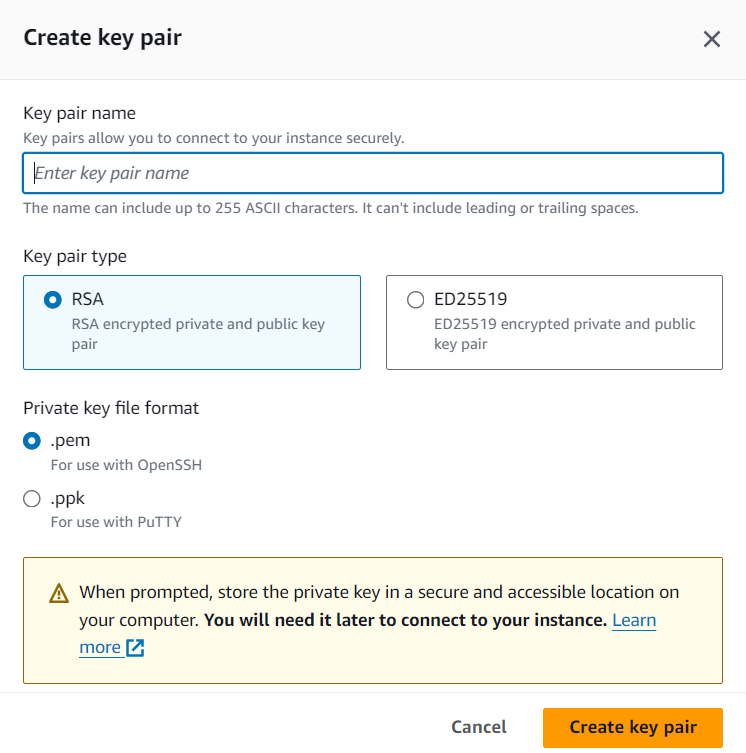
Create key pair:
Create a key pair to connect with the instance securely.

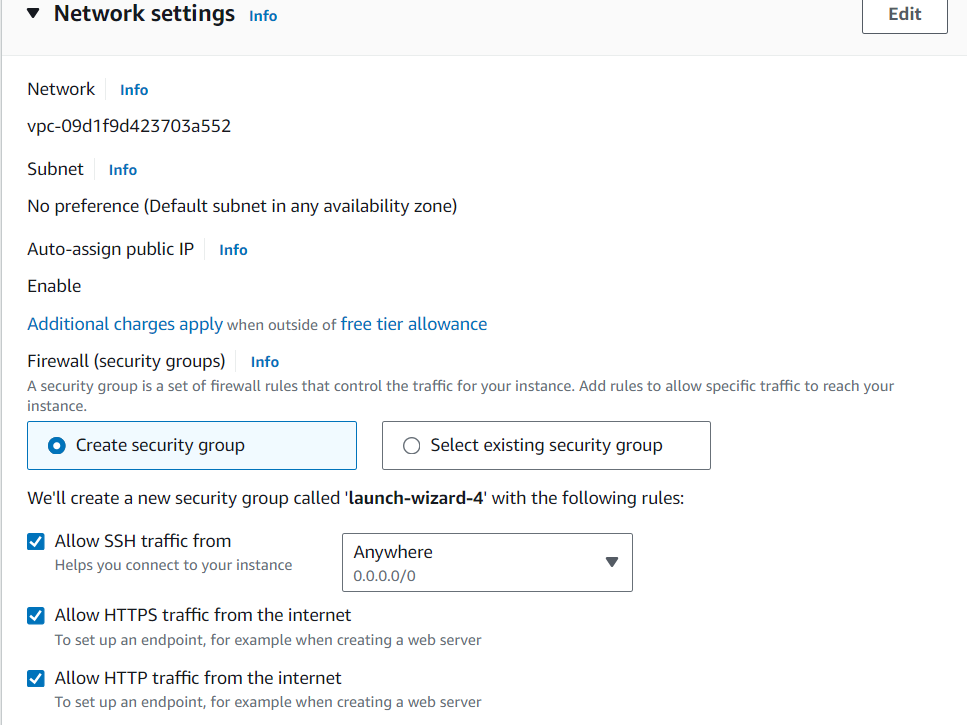
Configure Instance:
Proceed with the default settings, or adjust according to your needs.
Add Storage:
Modify the storage options if necessary.
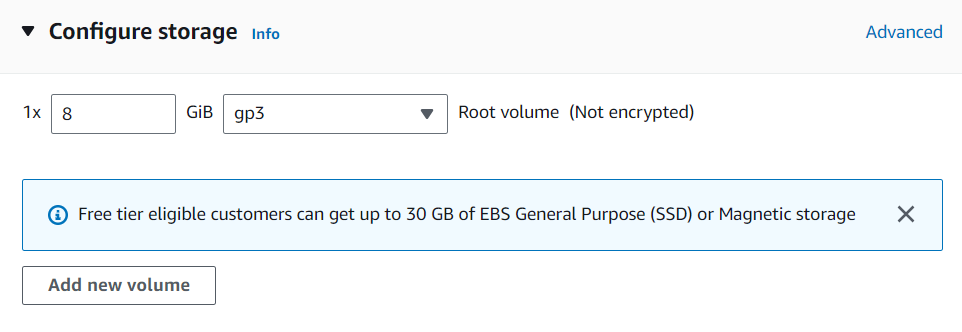
Launch Your instance:

Connecting securely to Amazon EC2 instance
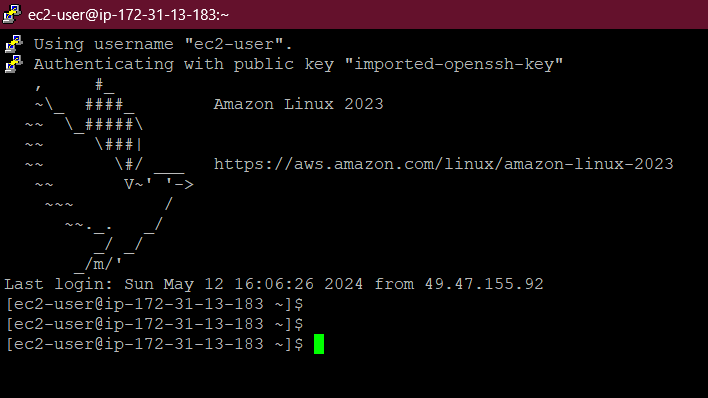
Connect with SSH
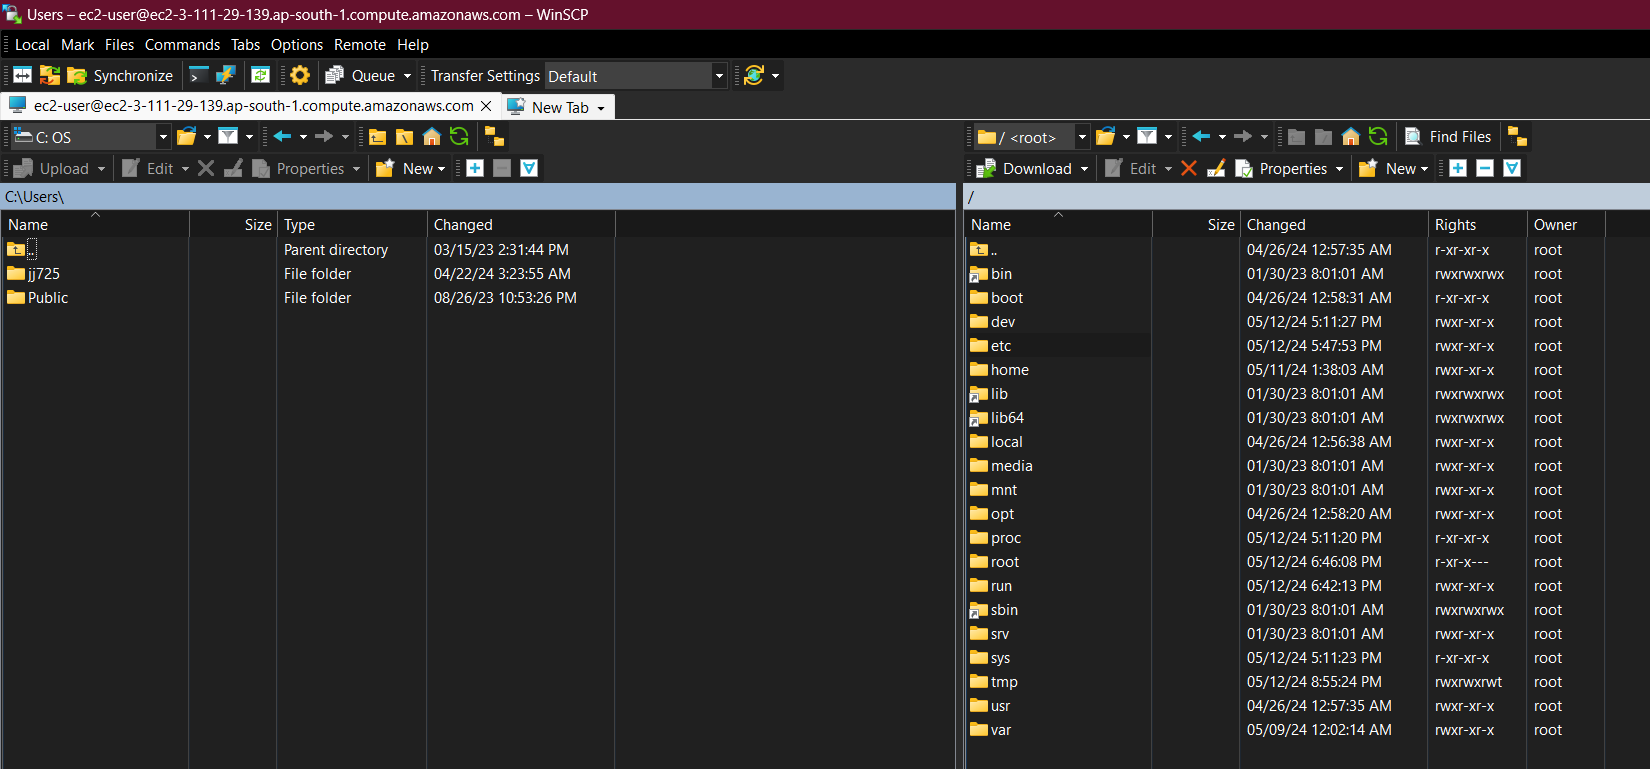
Connect with SFTP
For easy configuration and file transfer from your Windows system, you can use WinSCP. Additionally, you can utilize the Putty terminal for the command line.

Installing and preparing NGINX
The Installation Quest:
The installation process varies slightly depending on your Linux distribution, but here's a general roadmap:
- Ensure your system has the latest software information:
sudo apt update (for Ubuntu/Debian)
sudo yum update (for CentOS/RHEL)
- Use your package manager to install Nginx:
sudo apt install nginx (for Ubuntu/Debian)
sudo yum install nginx (for CentOS/RHEL)
- Enable the nginx service to start automatically when the system boots:
sudo systemctl enable nginx
Optionally, start the nginx service:
If you do not want to use the default configuration, skip this step, and configure NGINX accordingly before you start the service.
sudo systemctl start nginx
Verification steps:
Verify that the nginx service is enabled:
systemctl is-enabled nginx
Use the linux utility to verify that the nginx package is installed:
 dpkg -l nginx (for Ubuntu/Debian)
 yum list installed nginx (for CentOS/RHEL)
To see the status of nginx service:
sudo systemctl status nginx
Configuration: The Heart of the Matter
The core Nginx configuration resides in the file /etc/nginx/nginx.conf. We'll use this file to instruct Nginx on how to handle incoming requests.
Caution! It's wise to back up the original configuration file before making any changes.
Server Blocks: Divide and Conquer
Nginx utilizes server blocks to manage requests for different websites or applications. Think of them as designated sections within your web server, each handling a specific domain or application.
By default, the /etc/nginx/nginx.conf file already contains a catch-all configuration. If you have deleted this part from the configuration, re-add the following server block which will be inside the http block in the /etc/nginx/nginx.conf file:
server {
    listen       80 default_server;
    listen       [::]:80 default_server;
    server_name  _;
    root         /usr/share/nginx/html;
}
listen: This directive specifies the port on which Nginx listens for incoming connections. In this case, NGINX listens on port80on both all IPv4 and IPv6 addresses.The
default_serverparameter indicates that NGINX uses thisserverblock as the default for requests matching the IP addresses and ports.server_name: This directive defines the domain name(s) that this server block should cater to. You can specify multiple domains here.root: This directive points Nginx to the directory containing your website files (HTML, CSS, JavaScript). By Default, NGINX points to/usr/share/nginx/htmlpath. You can define your path anywhere you want where your website files are present.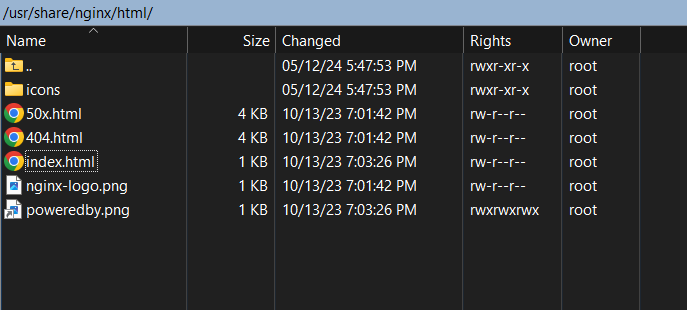
Testing and Verification: Ensure Success
Once you've carefully made your configuration changes, save the file and check the syntax using this command:
sudo systemctl restart nginx
sudo nginx -t
This command checks your configuration for errors. If it grants its approval restart Nginx for the changes to take effect:

Behold Your Creation!
Open a web browser and navigate to your domain name or IP address. If everything aligns, you should see your website files displayed proudly, served by your very own Nginx web server!

Note: Here we have not set the TLS enabled server so the protocol would be http
Beyond the Basics: A Glimpse into the Future
This article has equipped you with the fundamentals of configuring Nginx as your web server. But Nginx's potential extends far beyond this initial step. Here's a sneak peek at what awaits you:
Firewall Rules: Ensure your firewall allows traffic on port 80 (or the port you specified).
Security Measures: For production environments, consider implementing robust security measures like SSL/TLS encryption.
Advanced Configuration: Nginx offers a vast array of configuration options for features like reverse proxying, load balancing, and caching. Explore the official documentation to unlock its full potential!
Remember: This is a simplified overview, and the specifics might differ slightly depending on your system and desired configuration. Always refer to the official Nginx documentation
Subscribe to my newsletter
Read articles from Jasai Hansda directly inside your inbox. Subscribe to the newsletter, and don't miss out.
Written by

Jasai Hansda
Jasai Hansda
Software Engineer (2 years) | In-transition to DevOps. Passionate about building and deploying software efficiently. Eager to leverage my development background in the DevOps and cloud computing world. Open to new opportunities!