Day 51 - Your CI/CD pipeline on AWS - Part 2 🚀 ☁
 Nilkanth Mistry
Welcome back, DevOps enthusiasts! In our journey of building a robust CI/CD pipeline on AWS, we've conquered AWS CodeCommit. Today, let's dive deeper into the world of AWS services with CodeBuild, CodeDeploy, CodePipeline, and S3. Exciting times ahead! 🎉
What is CodeBuild? 🏗️
AWS CodeBuild is like having your own team of builders in the cloud. It automates the process of compiling your source code, running tests, and generating deployment-ready artifacts. Say goodbye to managing build servers - CodeBuild takes care of it all for you! 🛠️
🚀 Task-01: Setting Up CodeCommit and Building with Nginx
Read about Buildspec file for CodeBuild:
Understand the purpose and structure of a Buildspec file. 📚
Learn about YAML syntax. 🧩
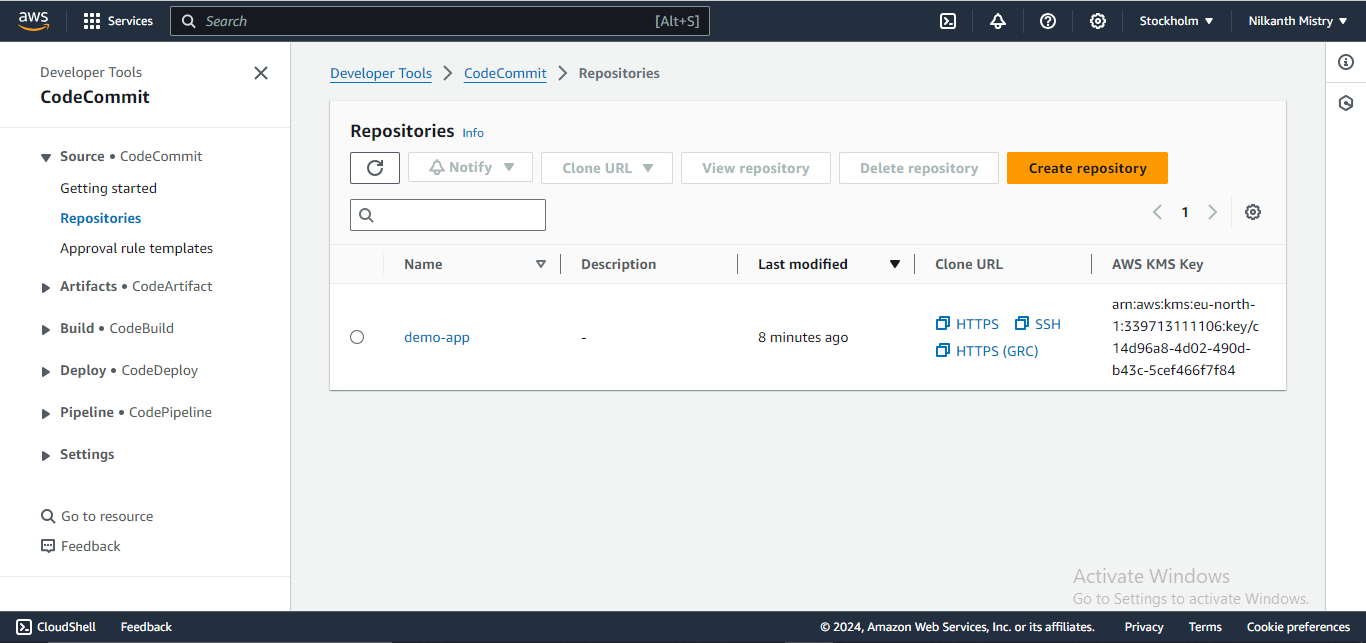
Create a CodeCommit Repository:
Set up a CodeCommit repository to store your code. 🏗️
Clone Repository to Local Machine:
Use Git Bash to clone the repository to your local machine. 💻
Execute commands:
git clone <repository-HTTPS-url>
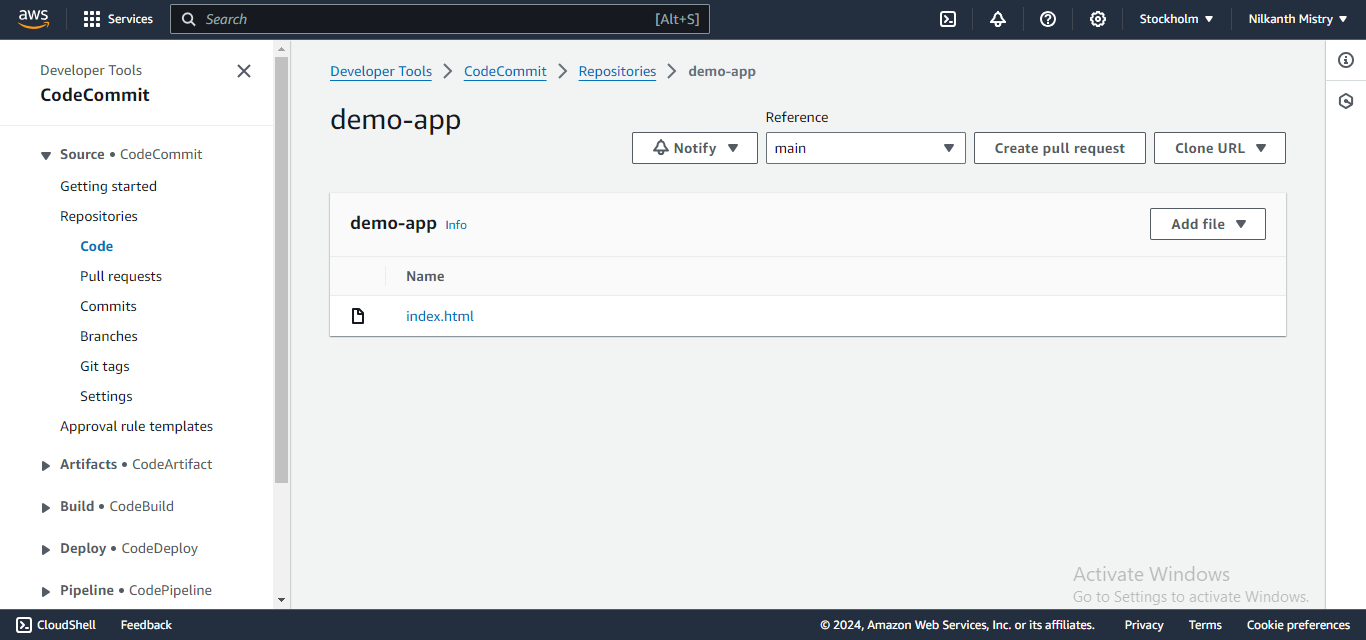
Create and Commit index.html:
Inside the repository, create an
index.htmlfile. 📄

Add and commit the file to the repository:
  git add index.html
  git commit -m "Commit index.html"
  git push origin master


🔨 Task-02: Configuring Build Process with Buildspec
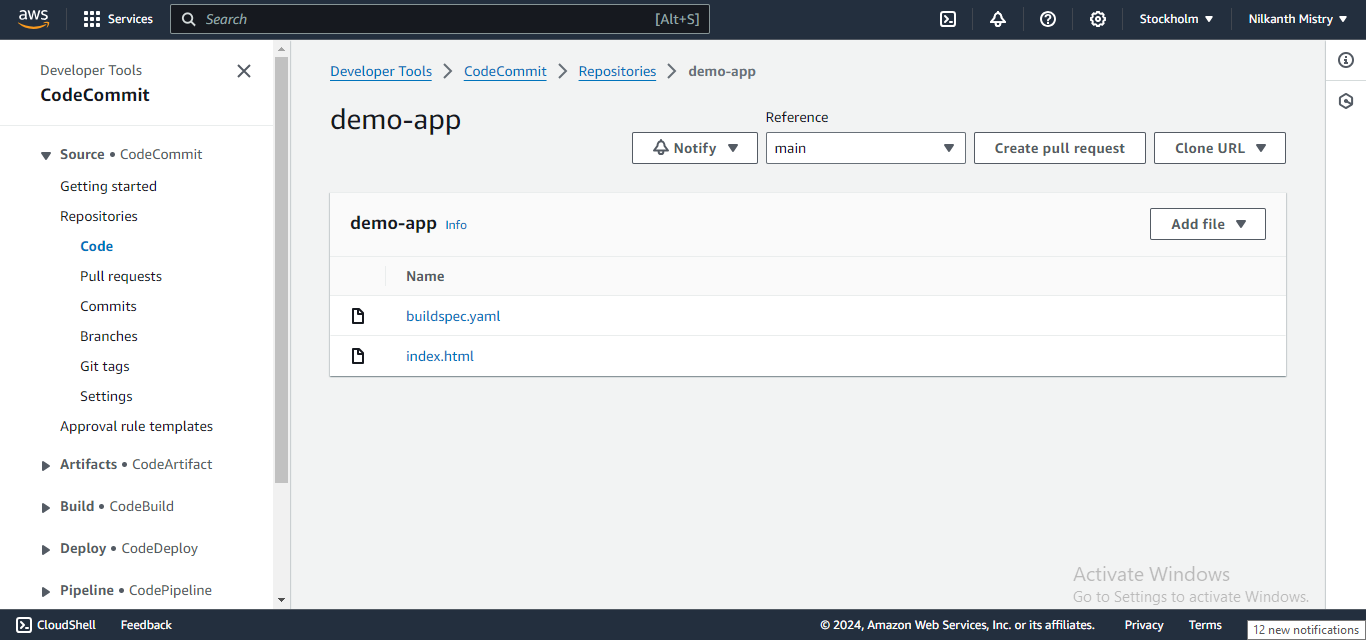
Add buildspec.yaml File:
Create a
buildspec.yamlfile with build instructions. 🛠️Sure, here's a sample
buildspec.yamlfile based on your requirements:version: 0.2 phases: install: runtime-versions: nginx: latest build: commands: - cp index.html /usr/share/nginx/html/ post_build: commands: - service nginx start artifacts: files: - /usr/share/nginx/html/index.htmlInclude commands to install Nginx and configure the build process. ⚙️
Commit Buildspec.yaml:
Add and commit the
buildspec.yamlfile to the repository:git add buildspec.yaml git commit -m "Add buildspec.yaml" git push origin master


Create Build Project in CodeBuild:
Set up a new build project in the CodeBuild service. 🛠️
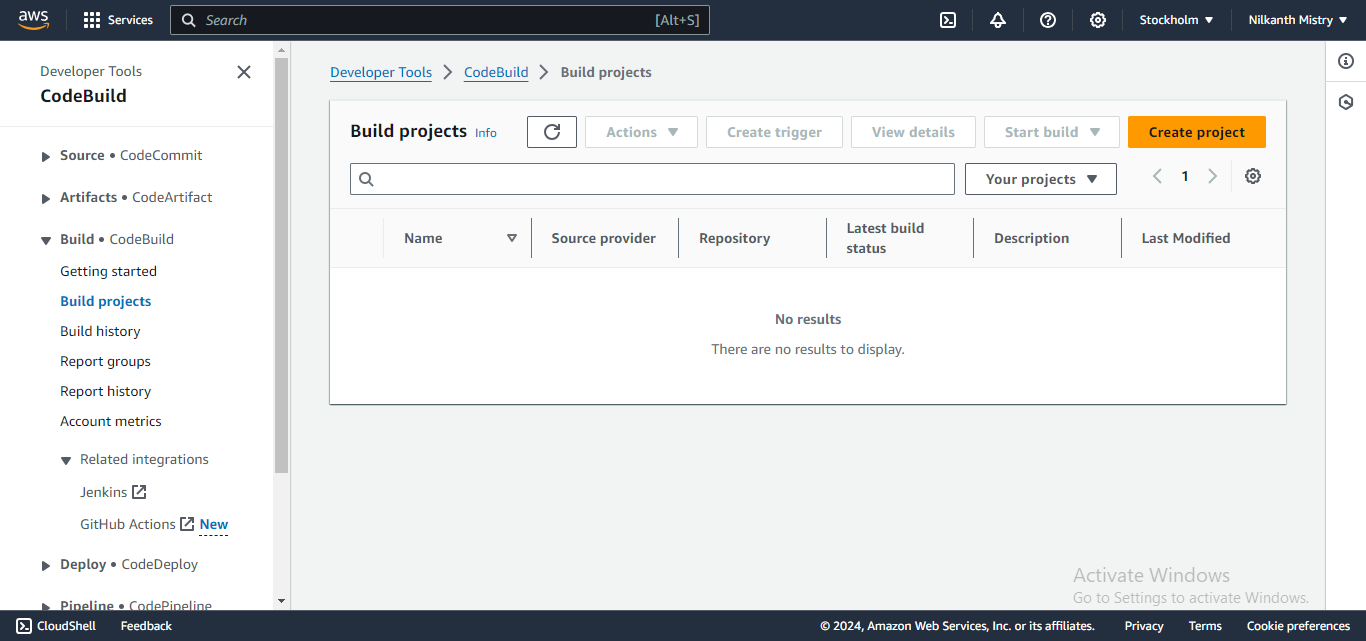
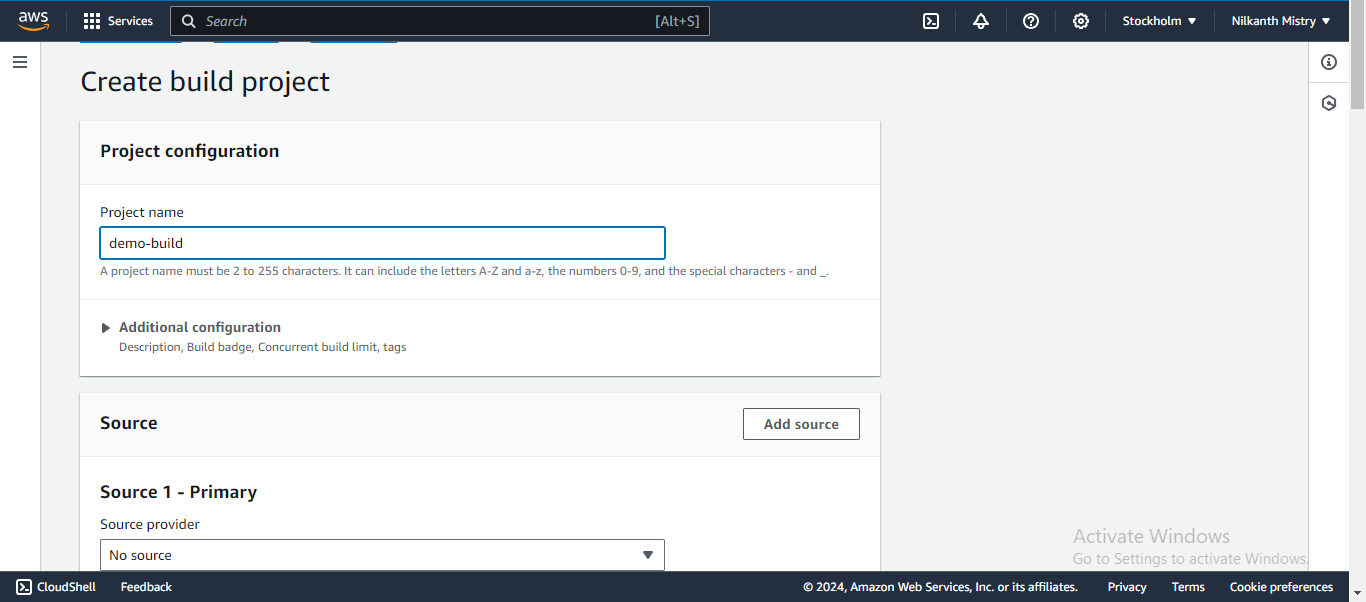
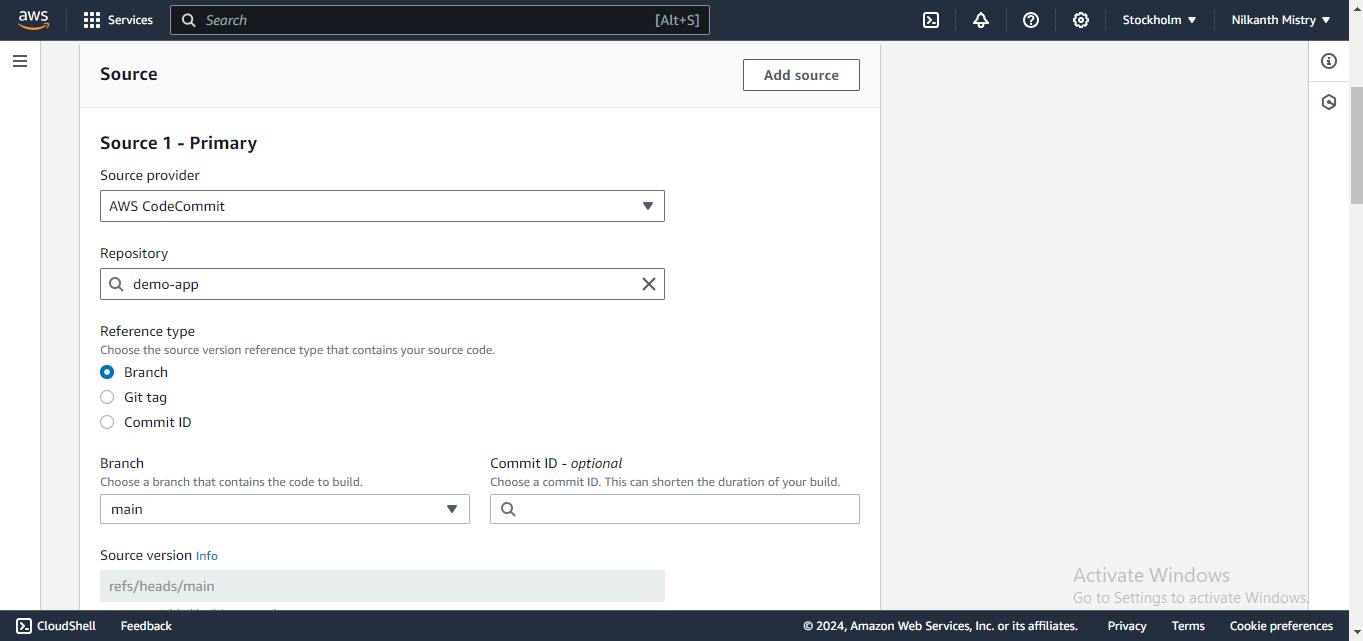
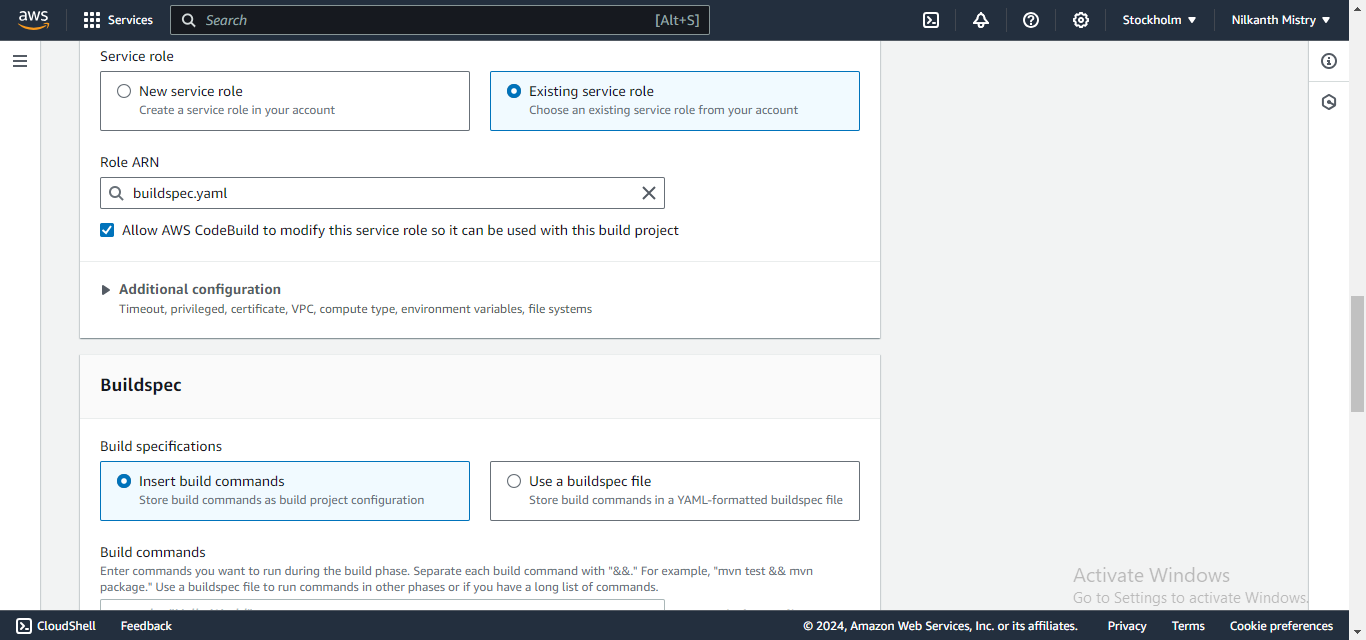
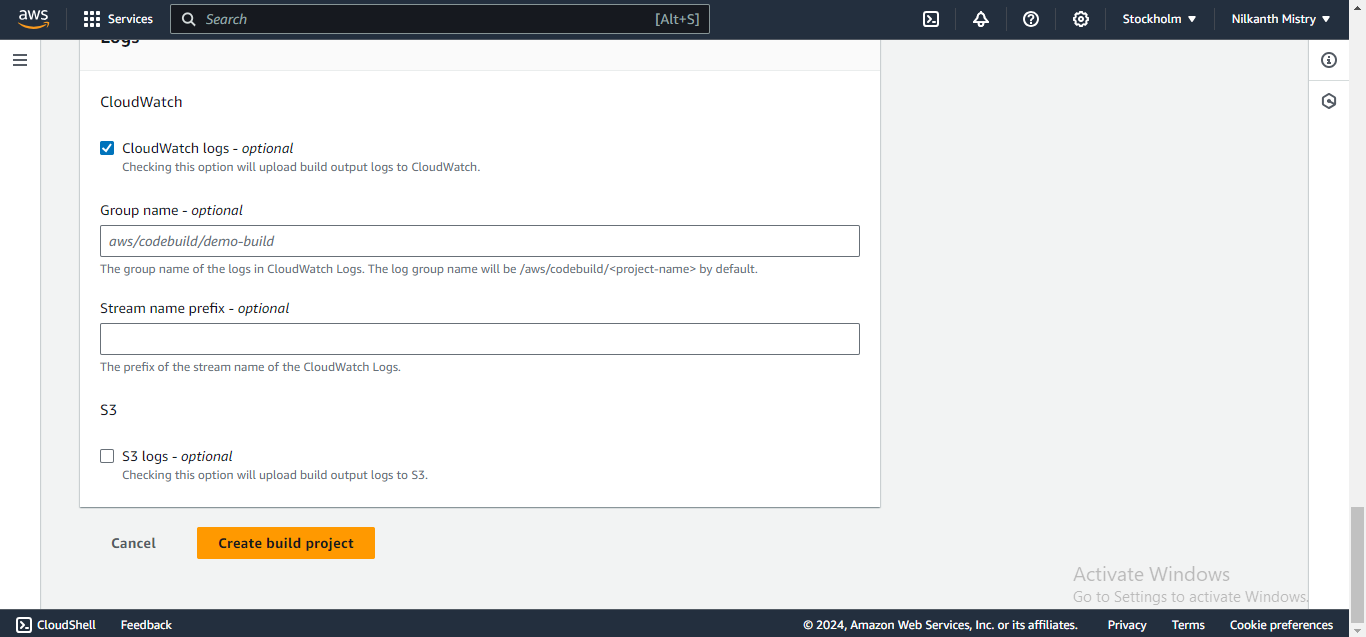

Configure source provider as AWS CodeCommit, select repository and branch. 📦
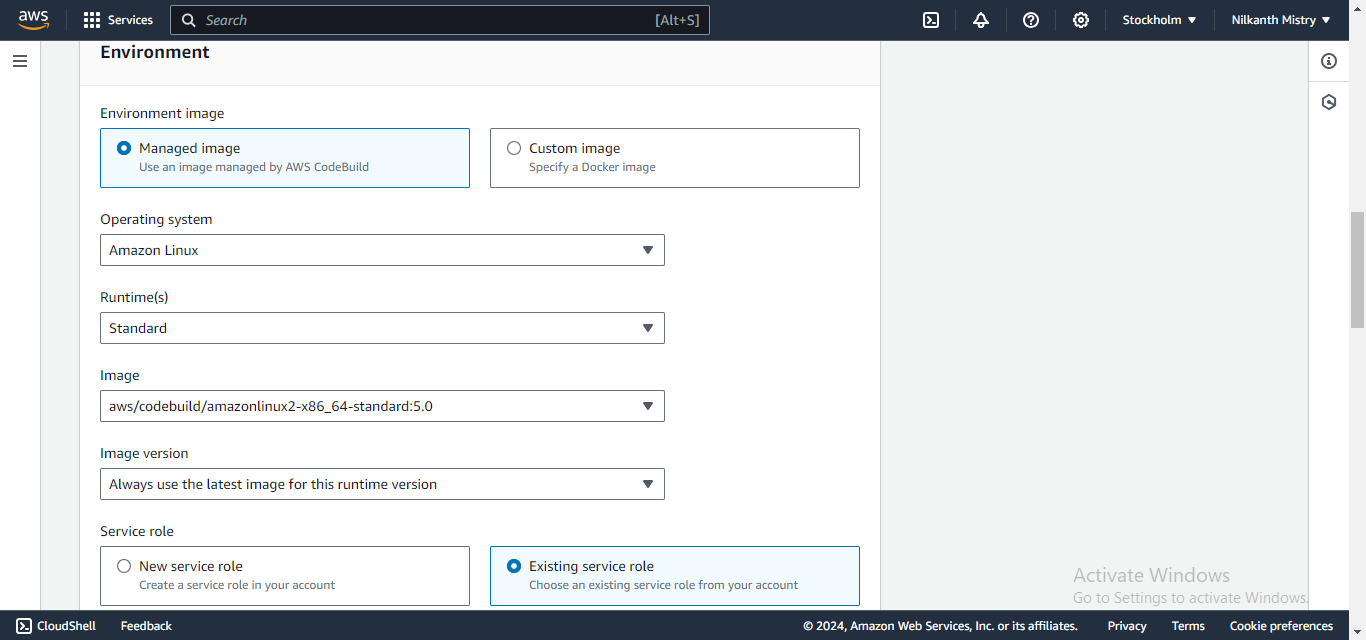
Define Environment and Buildspec:
Choose the operating system, runtime, and image. 🖥️
Select "Use a buildspec file" option and specify the location. 📋
Start Build and Verify:
Initiate a build and monitor the status. 🚀
Ensure all phases succeed. ✅

📦 Adding Artifacts to CodeBuild and Storing in S3
Create S3 Bucket:
Set up an S3 bucket to store artifacts. 🗃️

Configure Artifacts in CodeBuild:
Edit the build project settings to specify S3 as the artifact type. 🛠️
Select the previously created S3 bucket. 🪣

Update Artifacts and Rebuild:
Update the artifacts configuration and start a new build. 🔄
Verify that artifacts are uploaded to the S3 bucket. 📤


Verify Artifacts in S3:
Check the S3 bucket to ensure that the index.html file is stored in the specified location. 🧐
You can see inside /var/www/html there is index.html file.
Click on 'index.html' file, below you can see properties of file.
Click on 'open' on right-hand side.

Happy Learning! 🎉
Subscribe to my newsletter
Read articles from Nilkanth Mistry directly inside your inbox. Subscribe to the newsletter, and don't miss out.
Written by

Nilkanth Mistry
Nilkanth Mistry
Embark on a 90-day DevOps journey with me as we tackle challenges, unravel complexities, and conquer the world of seamless software delivery. Join my Hashnode blog series where we'll explore hands-on DevOps scenarios, troubleshooting real-world issues, and mastering the art of efficient deployment. Let's embrace the challenges and elevate our DevOps expertise together! #DevOpsChallenges #HandsOnLearning #ContinuousImprovement