Add new user in Kubernetes cluster
 utsab sapkota
Adding users to a Kubernetes cluster is crucial for managing access control, enhancing security, and ensuring efficient operations. By incorporating Role-Based Access Control (RBAC), you can define and enforce specific permissions for each user, maintaining a secure environment. This allows for clear audit trails and accountability, helping in compliance and troubleshooting. Proper user management also facilitates resource allocation and namespace isolation, enabling teams to collaborate effectively without resource conflicts. Overall, structured user management is essential for scalability, security, and operational efficiency in a Kubernetes environment.
Using openssl
Generate a private key using openssl. This is important for generating certificates that api server uses to authenticate a user to the cluster.
openssl genrsa -out myuser.key 2048
Request a new CertificateSigningRequest using openssl toolkit.
openssl req -new -key myuser.key -out myuser.csr -subj "/CN=myuser/O=development"
This is what the CSR file looks like.
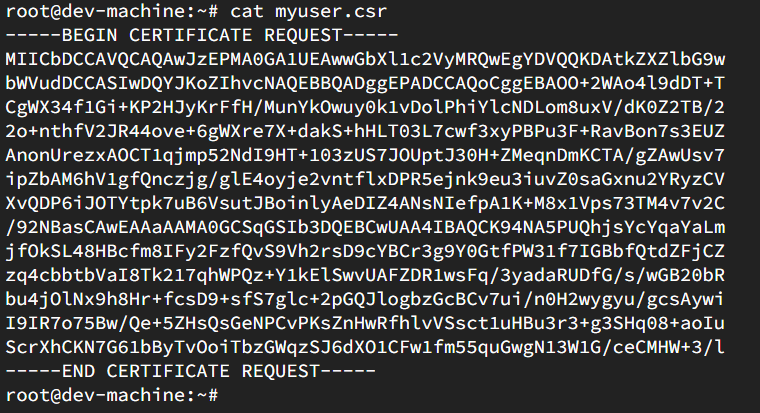
Then create the Kubernetes CertificateSigningRequest
vi csr.yamlCopy paste the below code in the file.
  apiVersion: certificates.k8s.io/v1
  kind: CertificateSigningRequest
  metadata:
    name: myuser
  spec:
    request:
    signerName: kubernetes.io/kube-apiserver-client
    # expirationSeconds: 86400  certificate expires in one day
    usages:
    - client auth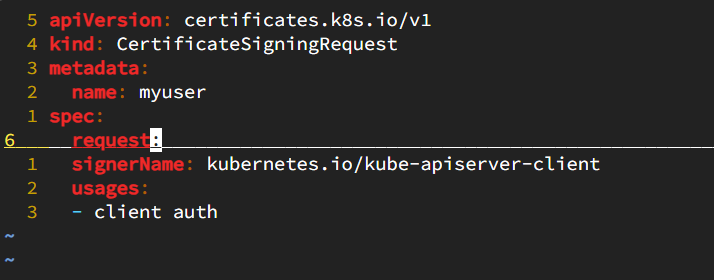
Decode the myuser.csr key and add the generated key in the request section.

The final csr.yaml looks like this:

Apply the kubernetes manifest.

When you look for the certificate , you will see the certificate status is pending and is not in use. To bring it to usage , it should be approved by the admin user.

kubectl certificate approve myuser
Now let's look at the certificate.
kubectl get certificatesigningrequests.certificates.k8s.io myuser -oyaml

You will see the certificate section at the last . This is the certificate we need to authenticate a user with kubernetes cluster.
Since the certificate is encoded, we need to decode it to use it in ~/.kube/config file.

The file myuser.crt looks like this:
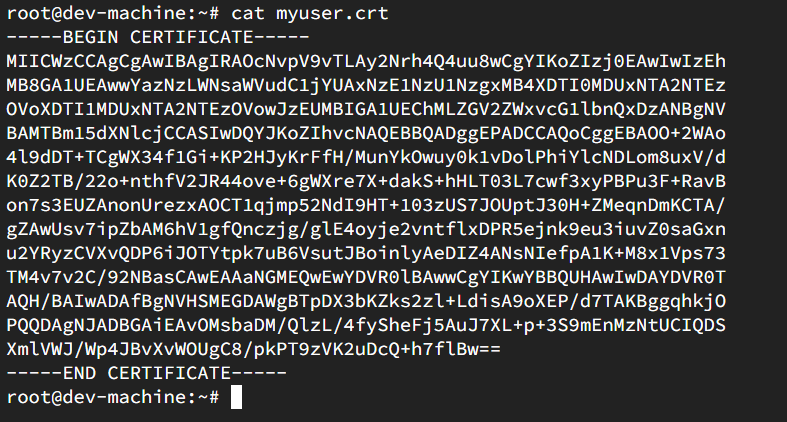
The filesystem we have implemented so far looks like this:

Now we have certificate and key for validating the user.
The next step is to set the credentials in the config file.
kubectl config set-credentials myuser --client-key=myuser.key --client-certificate=myuser.crt --embed-certs=true
You can view the
~/.kube/configfile, where the user<myuser>and certificates should be updated.Now the next part is to set up the context which is used to bind the user with the generated certificate.
For that you need to note down the cluster name present in
~/.kube/configfile.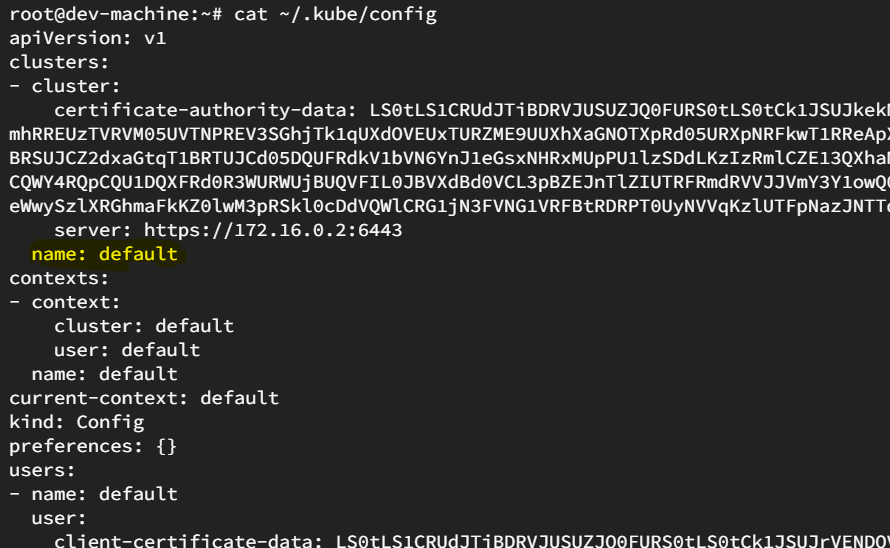
Now according to the cluster name , set the context. Here, the cluster name is default.
kubectl config set-context myuser --cluster=default --user=myuser
Now if you look at the
~/.kube/configfile, you will see updated context field.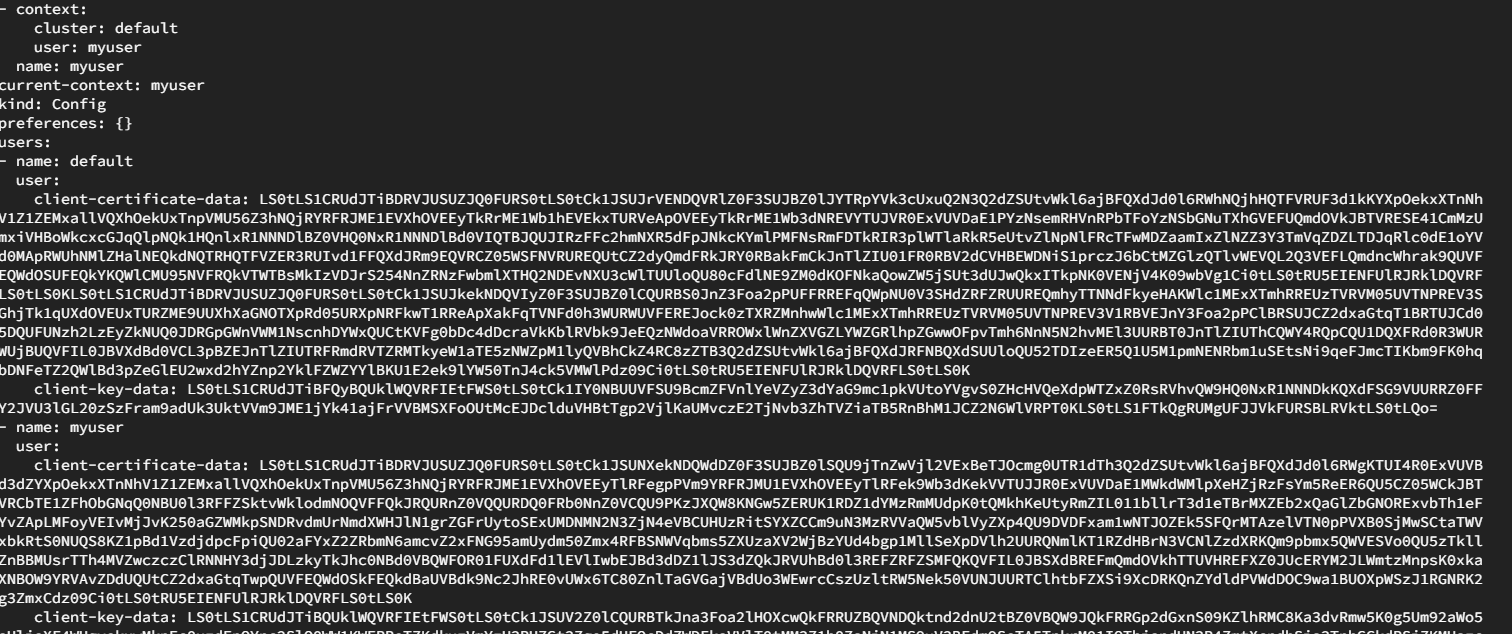
Switch the context to the myuser.
kubectl config use-context myuser
You will get an error as Forbidden. This is due to the lack of permission in the myuser context. No any permissions are set for the myuser user by default.

To provide permissions, we use role and rolebinding concept in kubernetes.
The role and rolebinding can be made imperatively of declaratively.
Here, I will implement imperatively.
First switch back to default context(admin context) and create role and rolebinding for the user <myuser>.
Here, only create, get, list, update and delete permission for pods are provided.
  kubectl create role developer --verb=create --verb=get --verb=list --verb=update --verb=delete --resource=pods
  kubectl create rolebinding developer-binding-myuser --role=developer --user=myuser
Now switch to the myuser context and try to list the pods.

Finally, we have successfully added a user with certificates in the Kubernetes cluster.
This is one way to add users in a Kubernetes cluster, but there are multiple methods to do it.
Subscribe to my newsletter
Read articles from utsab sapkota directly inside your inbox. Subscribe to the newsletter, and don't miss out.
Written by
