Build Your Own Slack App For Notifications
 Joyal A Johney
If you're here, you're probably looking for a guide to create your own app for sending notifications to your channel. Whether it's to send an alert when an order is placed or to notify you about the status of the deployment pipeline, this guide will help you set one up in less than 5 minutes!
Step 1: Create an App 💡
Head over to api.slack.com/apps and choose your organization's workspace. Make sure you're creating the application within this workspace.
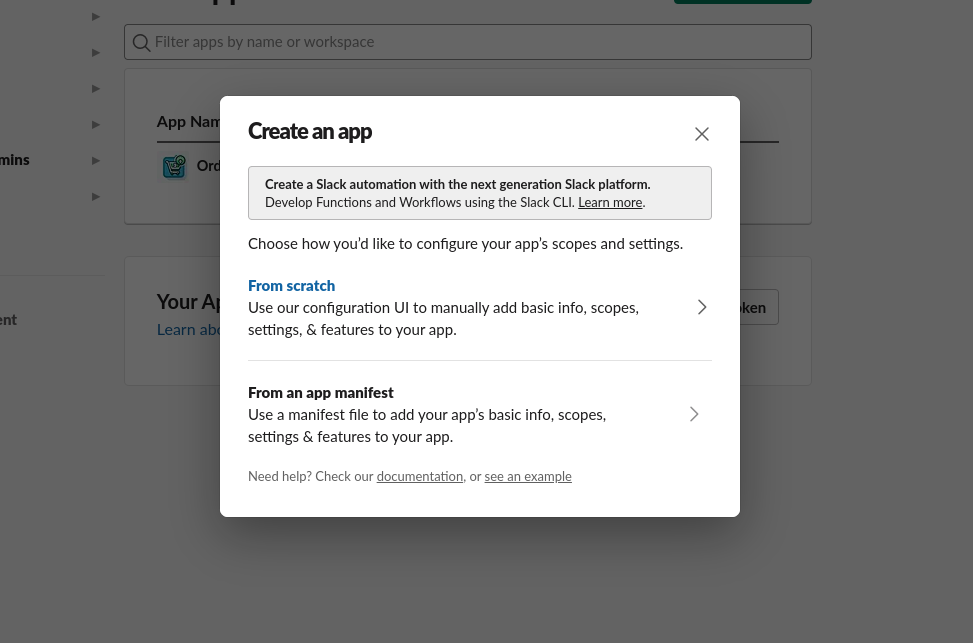
Once there, click Create New App and select From scratch.
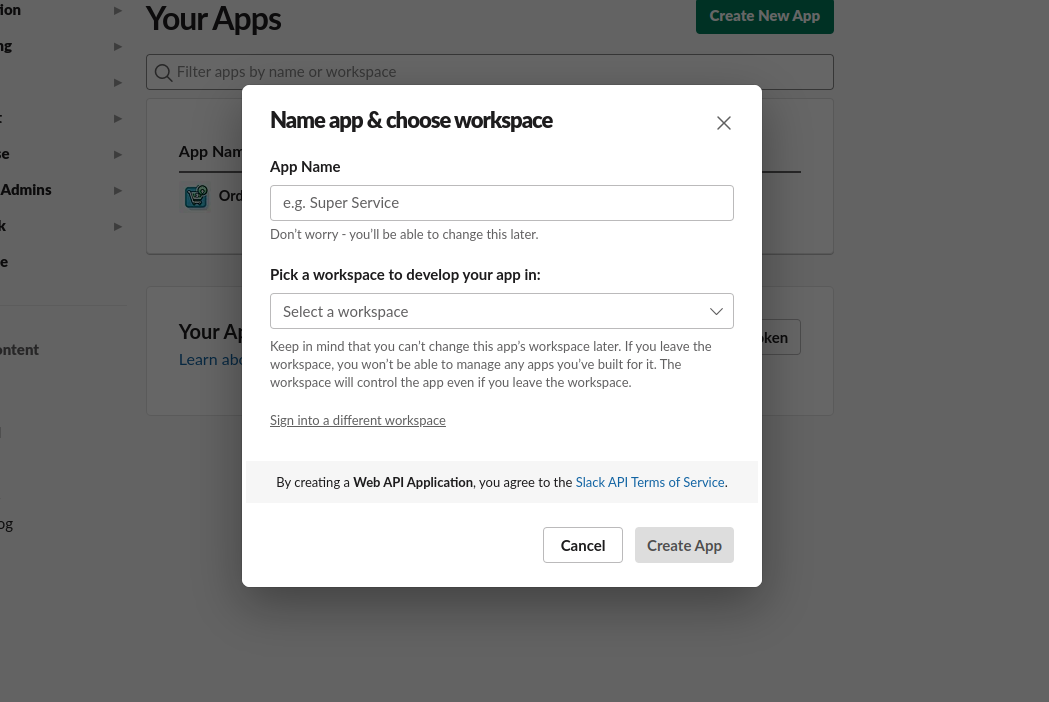
Make sure to give your app a name (don't worry, you can edit it later too). Choose your workspace and click Create App.
Step 2: Set up Permissions and Token ⚡
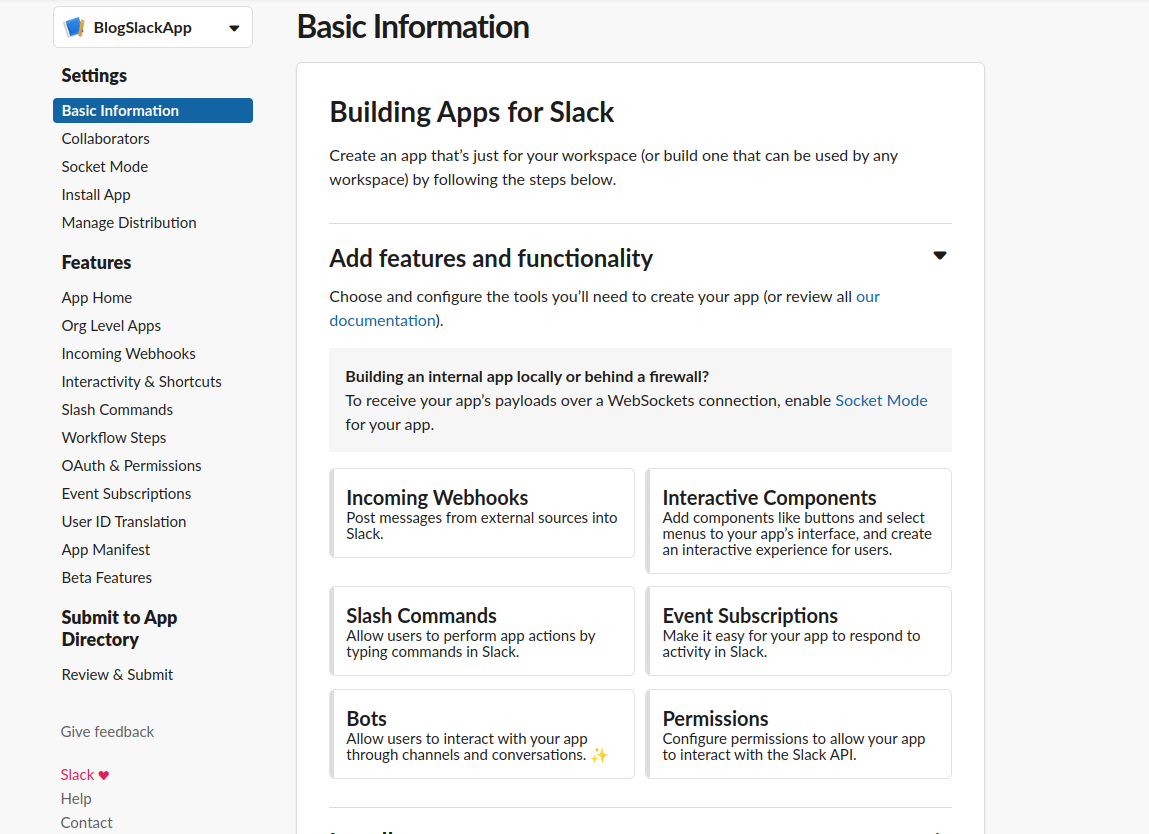
Under Add features and functionality, you can add customizations to your app, such as listening to incoming webhooks or setting up interactive components. Since our goal is to create a simple bot to send notifications channel, we will set up the Permissions first.
Once you're in the OAuth & Permissions section, scroll down to the Scopes section. This is where we will add the Bot Token Scopes. After giving the necessary permissions, we will use this bot token in our API calls.
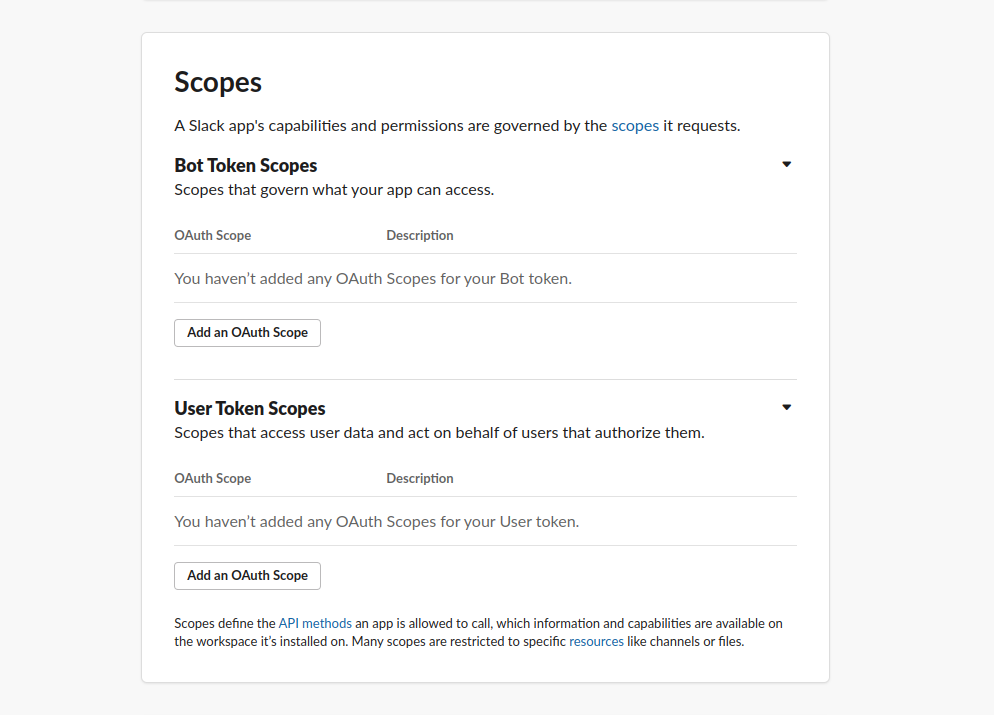
Here, you will see two types of scopes: Bot Token Scopes and User Token Scopes. For our simple bot, we will focus on Bot Token Scopes. Add the chat:write permission using the Add an OAuth Scope button.
Step 3: Install to your Workspace 🌌
If you scroll back to the top of the section, you should see a button - Install to Workspace. If you're an admin, it should be straightforward. If not, you might get a link that you can share with the admin to install the app in your organization's workspace.
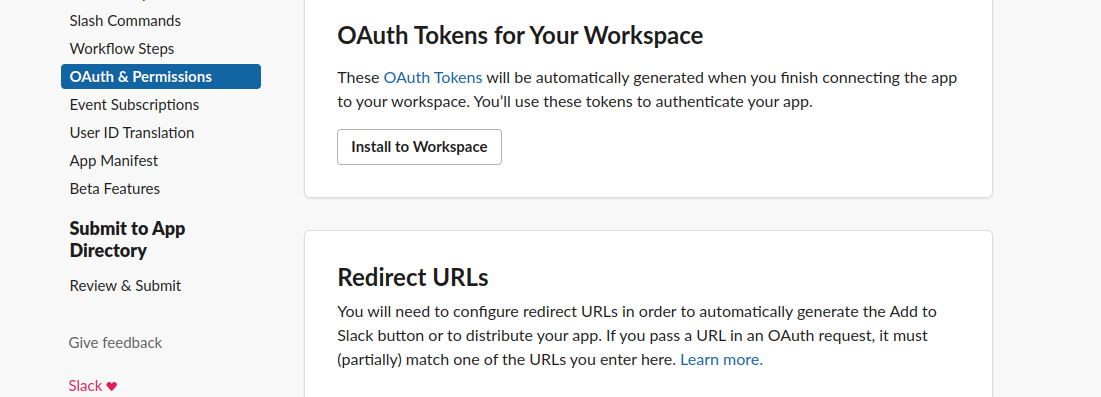
Once you authorize and install the app in your workspace, you should be able to see the Bot token. Keep this safe, as we will use it to invoke our API.

Now return to the Basic Information section (left nav). You'll see that the functionality setup and installation to the workspace are complete.
Step 4: Customize App 🚀
That's it! If you scroll down, you will find a section to customize your app with a thumbnail, description, and more. Personalize your app as you like, and let's start sending some notifications!
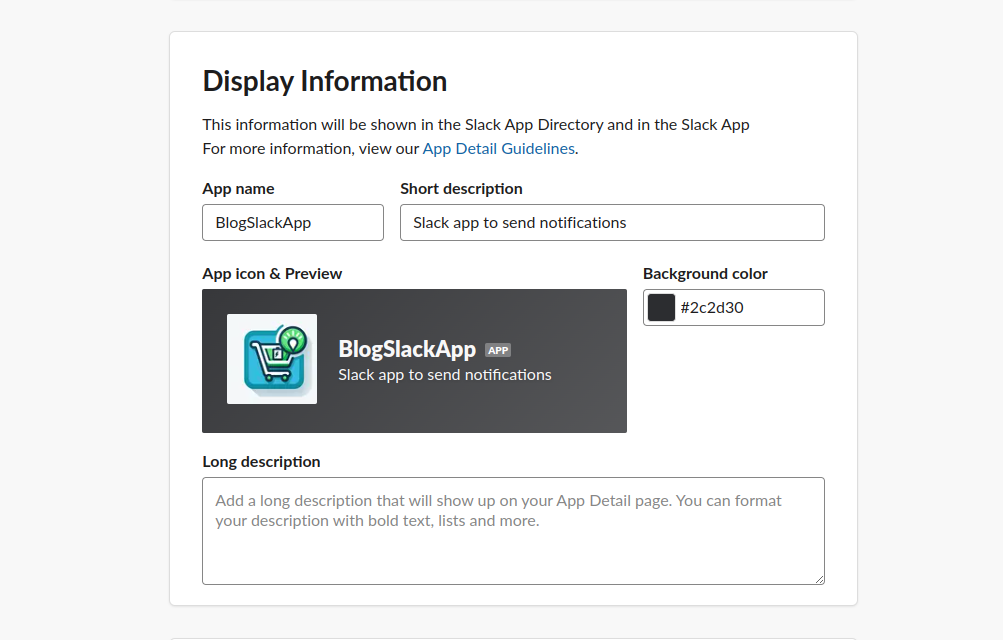
If you want the app available outside the workspace and in a marketplace, configure this under the Manage Distribution section. However, that's outside the scope of this article 🚶
Step 5: Test the Notifications 🫣
Make sure you've added the bot to the specific channel. To test the notification, create a POST request with the endpoint https://slack.com/api/chat.postMessage.
Add the Content-Type as application/json and the Authorization header with your Bearer token. Create a JSON body with your channel_Id and the text message you'd like to send.


Hit send on your POST request and watch for the notification to appear in your Slack application 🎉. If everything is set up correctly, you should see the message you specified in the JSON body show up in the designated channel.
.
.
If this article has been helpful to you, feel free to give it a like ❤️ Your feedback is valuable and helps us improve our content.
Subscribe to my newsletter
Read articles from Joyal A Johney directly inside your inbox. Subscribe to the newsletter, and don't miss out.
Written by
