How to use NGINX as a Reverse Proxy with AWS EC2?
 Vishal Sharma
In today's digital age, ensuring secure and efficient web hosting is crucial for any online presence. Whether you're running a personal blog, an e-commerce platform, or a corporate website, leveraging the power of NGINX as a reverse proxy, combined with the scalability of AWS EC2 and the security of SSL certificates, can provide a robust and reliable solution. In this article, we'll explore the process of configuring NGINX as a reverse proxy on an AWS EC2 instance, securing it with an SSL certificate, and mapping it to a custom domain name, empowering you to deliver a seamless and secure browsing experience for your users.
What are the Prerequisites?
So before we jump into the main stuff, you should have the following prerequisites:
A free AWS account: Sign up for an AWS account if you haven't already, as we'll be utilizing various services from the AWS ecosystem.
A registered domain name: You'll need a domain name that you've purchased from a domain registrar.
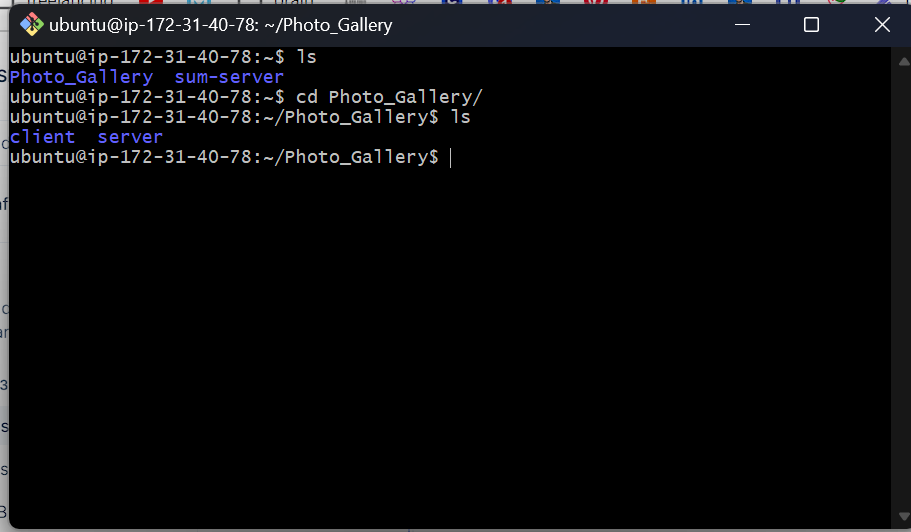
An EC2 key pair: Create or have an existing EC2 key pair ready, as you'll need it to securely connect to your EC2 instance via SSH.Try to read our old blog regarding AWS EC2 where we deployed node.js backend made that thing live.
With these prerequisites in place, we can move on to the main steps involved in setting up NGINX as a reverse proxy on an AWS EC2 instance with an SSL certificate and a custom domain name.
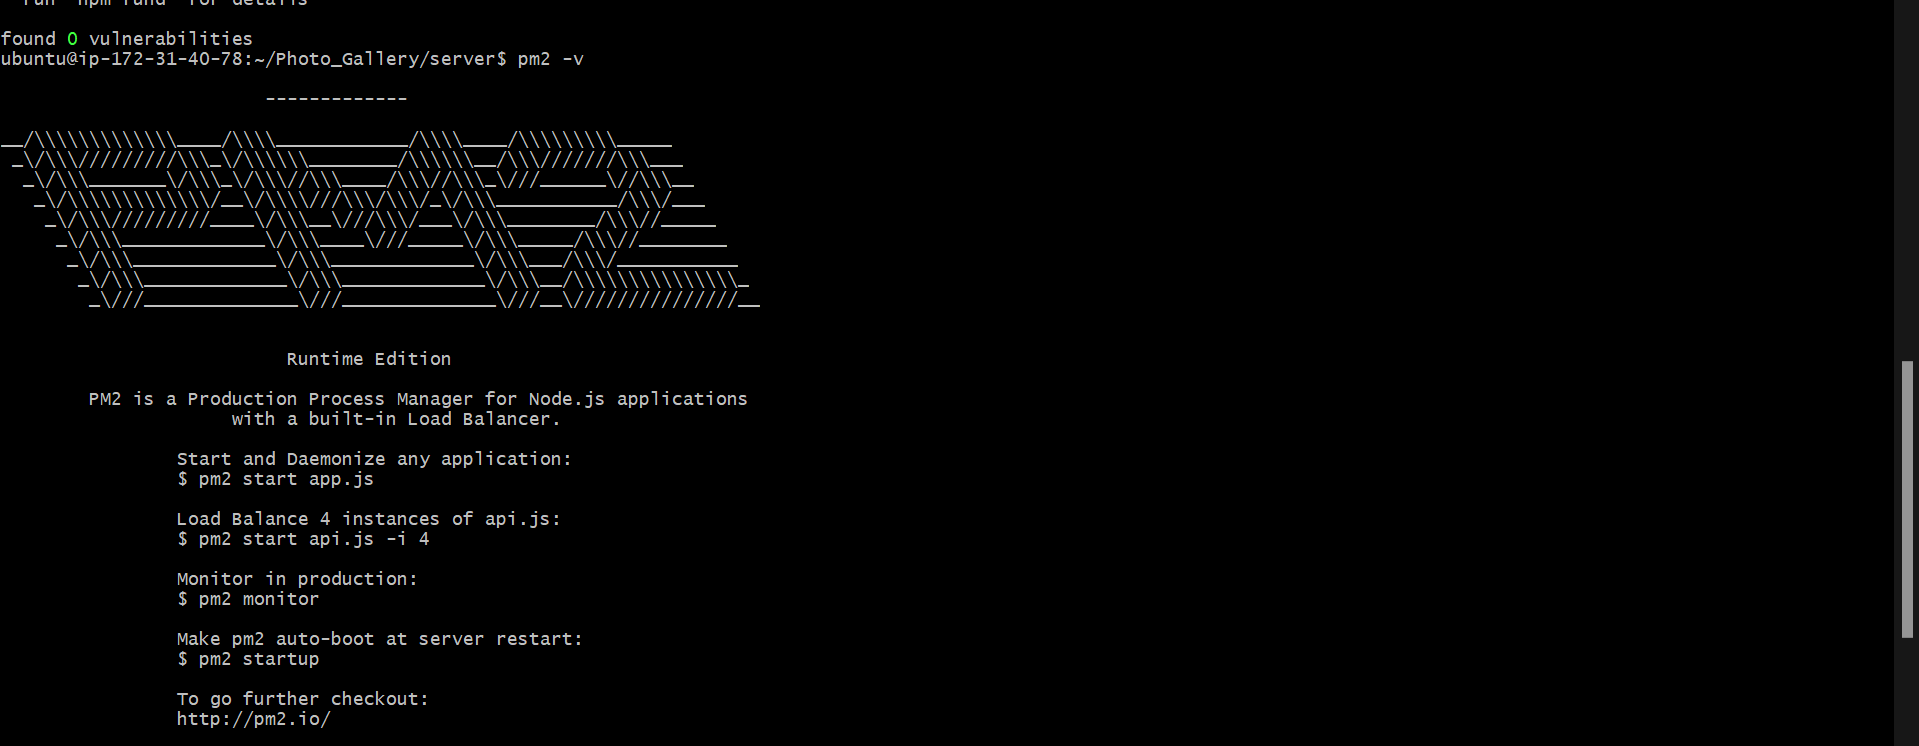
One more thing please use any process manager to keep the server running in the background even though we close the SSH connection and for that we are using the pm2 package.
sudo npm i -g pm2
#To start the server with pm2
pm2 start server.js
#To check the logs regarding process
pm2 logs
Setting up NGINX on EC2?
I hope if you are here means you already mapped your domain name with the Elastic IP of your server.


nslookup {your_domain.com}
This will help you find whether the domain got mapped or not.
Now add the NGINX to your server by running the command
sudo apt-get install nginx
After installing the nginx to your server you have to go to the Nginx configuration file so that our request first goes to the nginx server and that will redirect it to the correct port on that server.
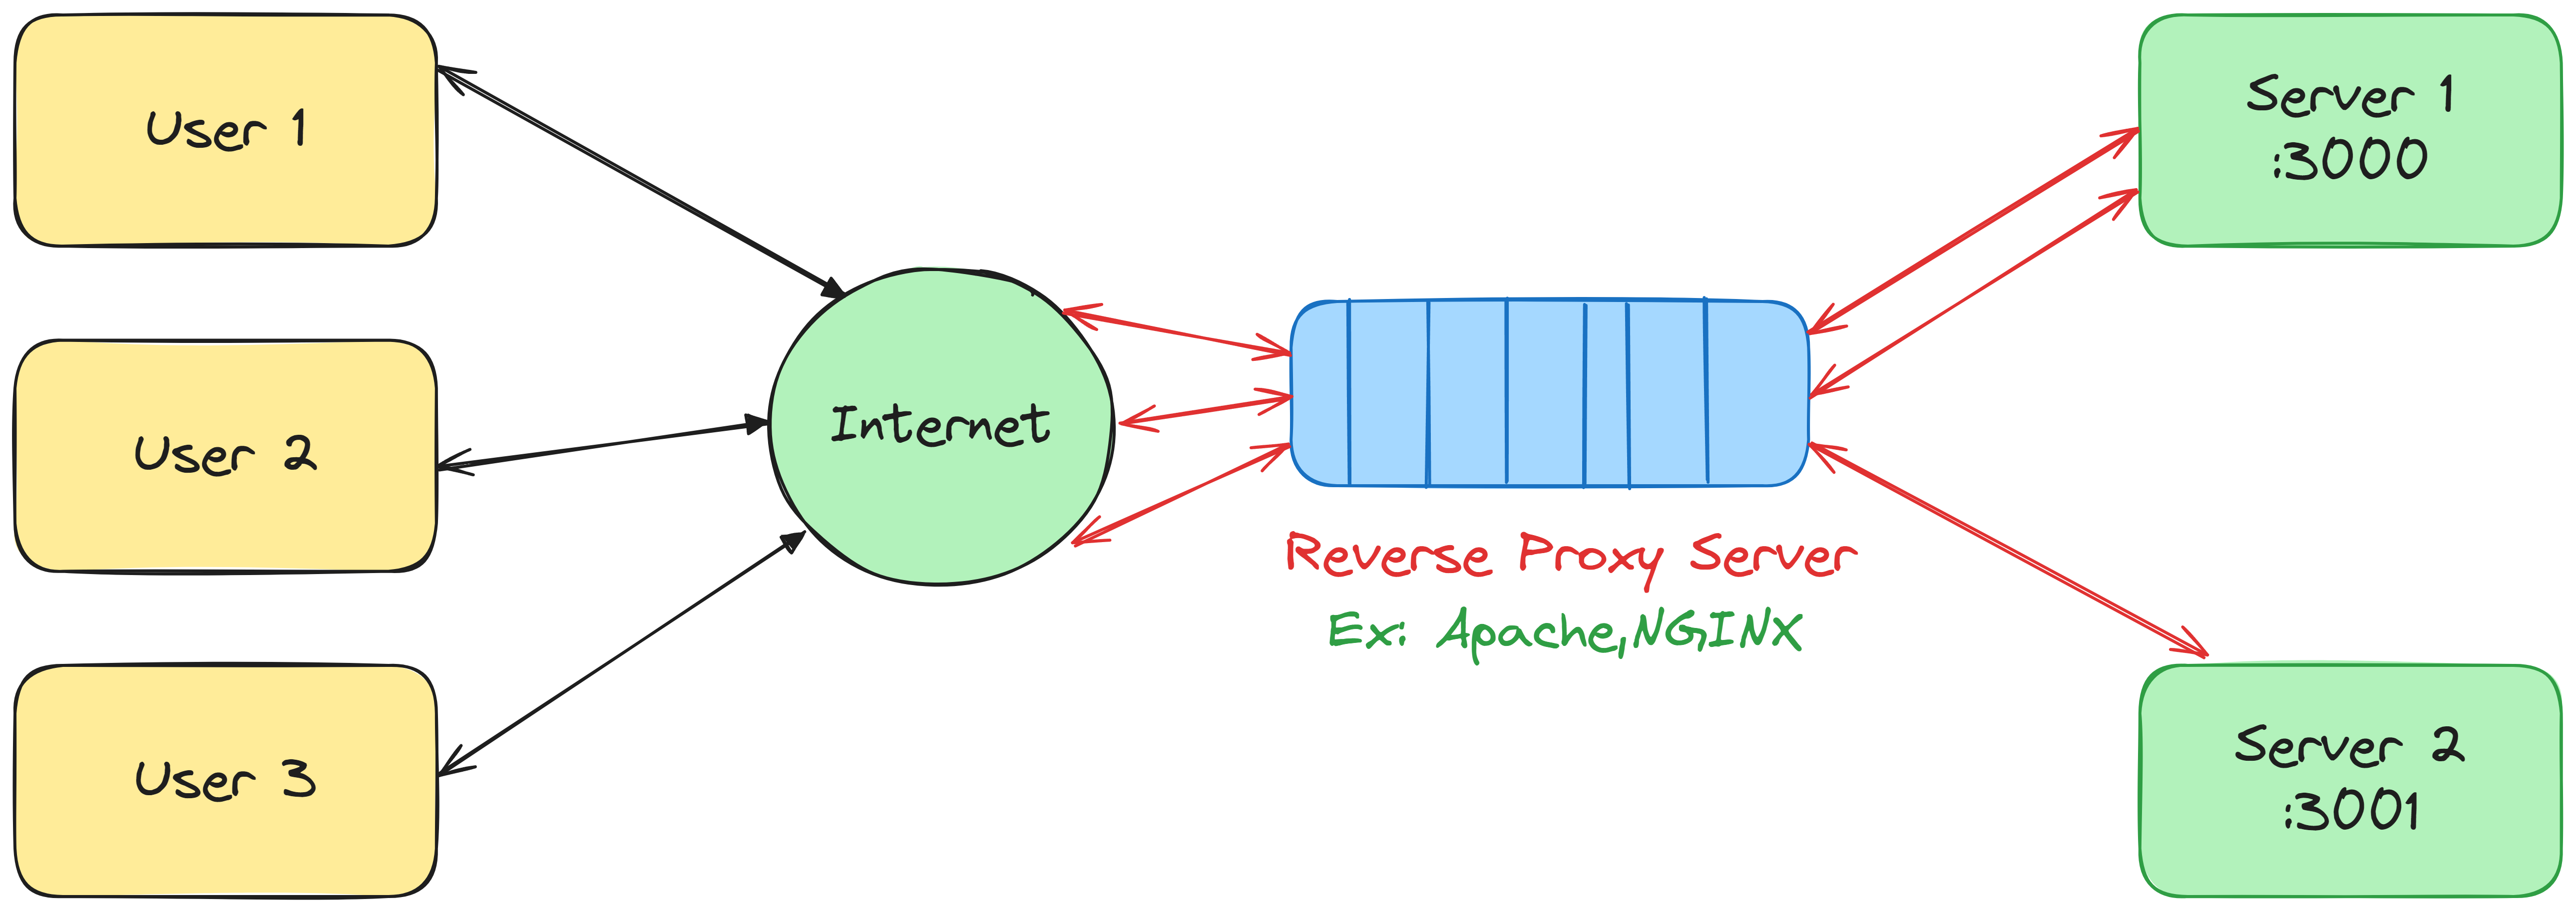
go to the /etc/nginx/sites-available/default file from the root and edit the file using any text-editor. for now, we are using vim.
sudo vim /etc/nginx/sites-available/default
then edit the following thing in the conf file of nginx
  server_name yourdomain.com www.yourdomain.com;

    location / {
        proxy_pass http://localhost:3001; #whatever port your app runs on
        proxy_http_version 1.1;
        proxy_set_header Upgrade $http_upgrade;
        proxy_set_header Connection 'upgrade';
        proxy_set_header Host $host;
        proxy_cache_bypass $http_upgrade;
    }
Now just reload the nginx by running the command below
sudo nginx -t #use to test the conf file is correct or not
sudo nginx -s reload # -s is a signal to the nginx to reload
Now you will find that without giving any port to the domain name we can access the backend
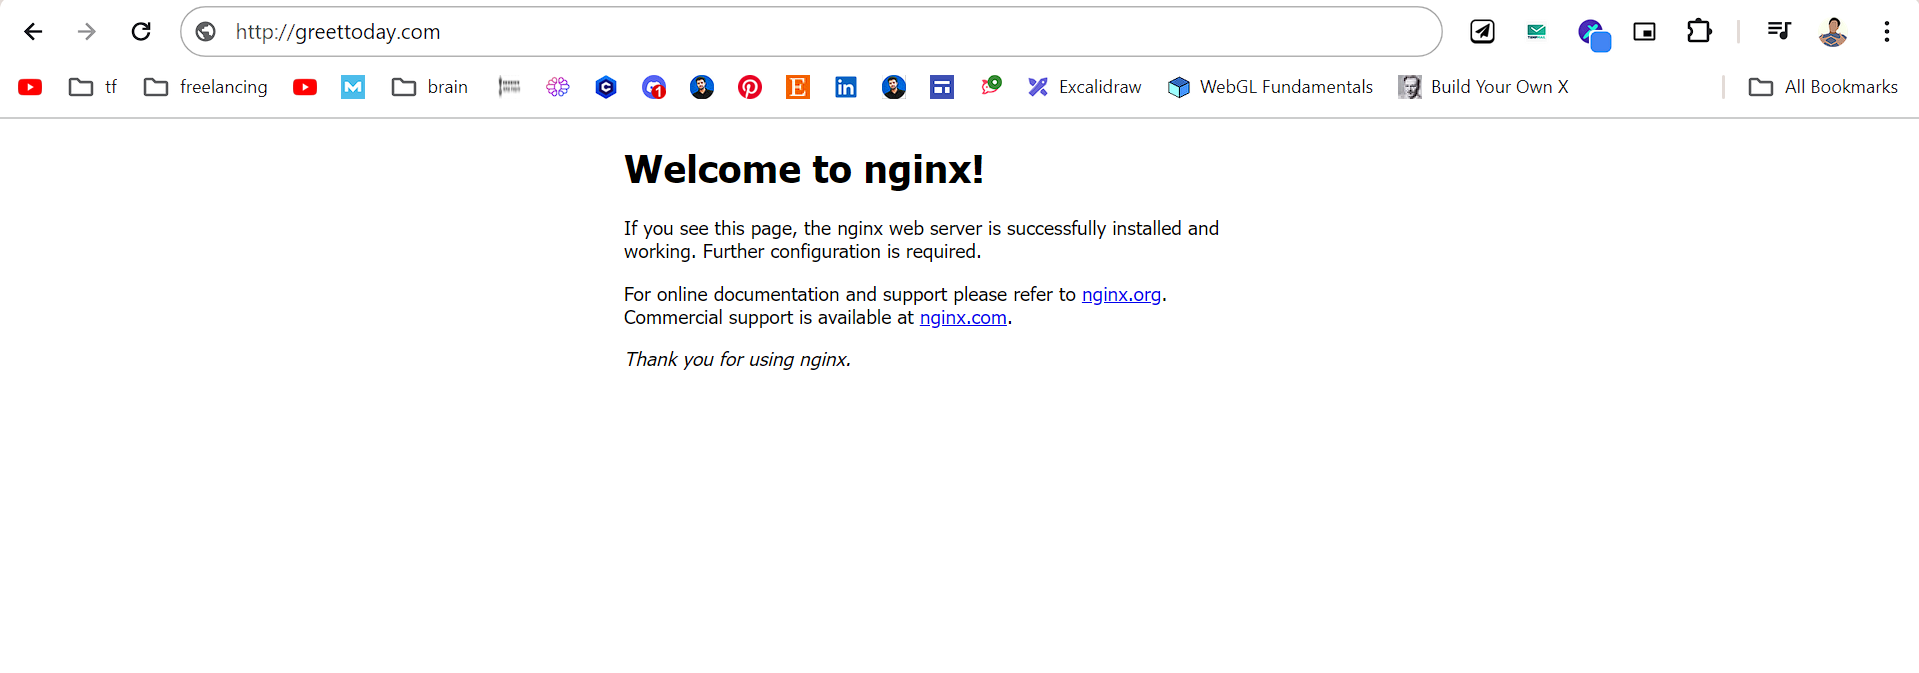
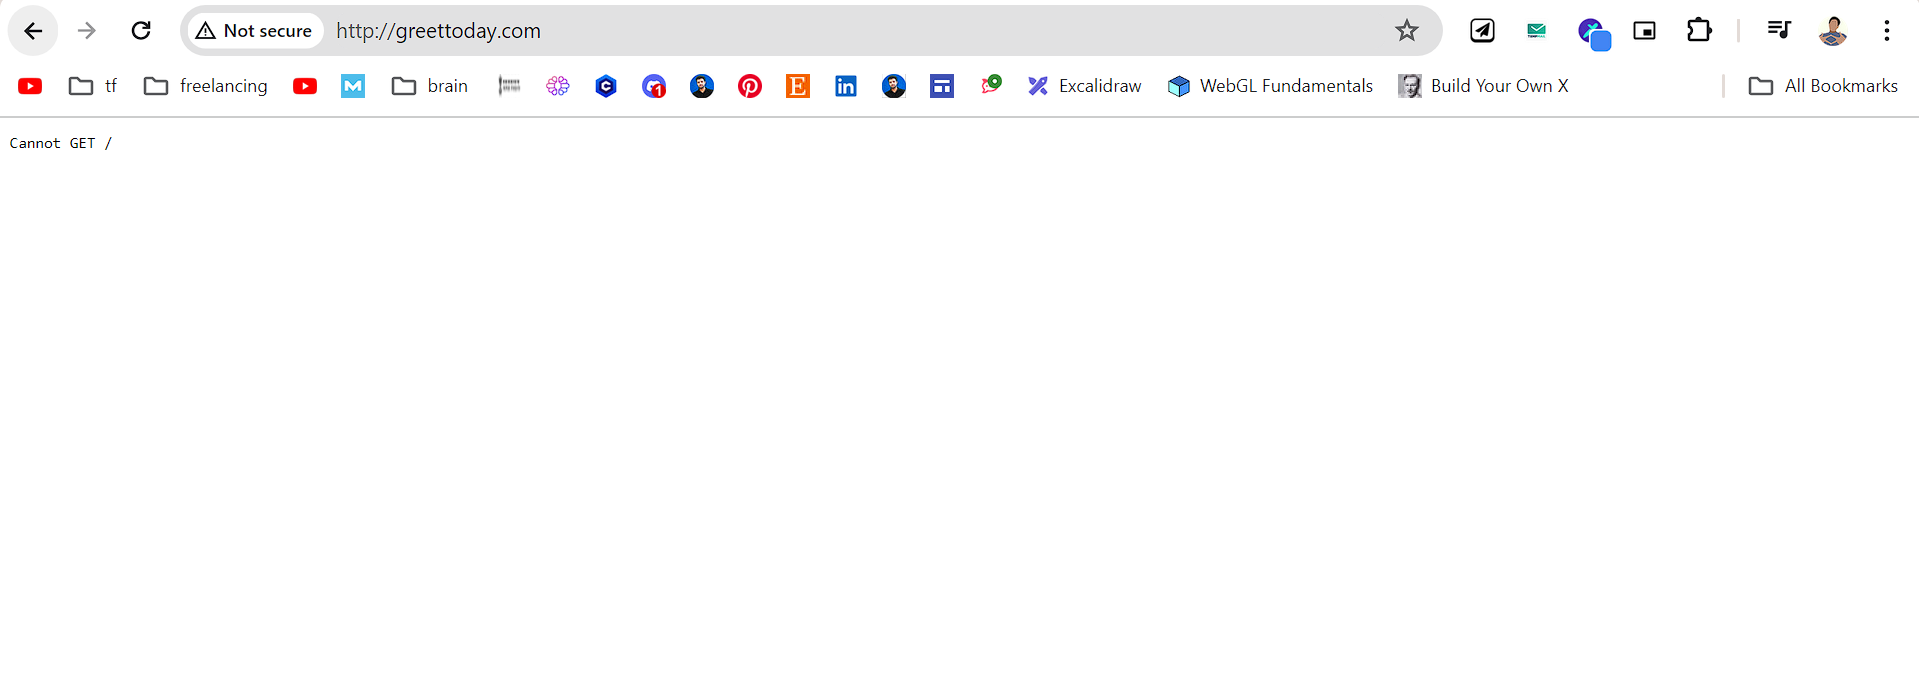
Now the only thing we are left with is the SSL certificate and for this we will use LetsEncrypt's python cert bot.
sudo apt-get install python3-certbot-nginx
sudo certbot --nginx -d yourdomain.com -d www.yourdomain.com
sudo: This command needs to be run with superuser privileges, sosudois used to run it as the root user.certbot: This is the Certbot client, a tool for automatically obtaining and renewing SSL/TLS certificates from Let's Encrypt.--nginx: This flag tells Certbot to use the NGINX plugin, which will automatically configure NGINX to use the obtained SSL certificate.-dyourdomain.com-dwww.yourdomain.com: These are the domains for which you want to obtain SSL certificates. The-dflag specifies the domain names, separated by spaces. In this case, it's obtaining certificates foryourdomain.comandwww.yourdomain.com.
So after running the command and agreeing to the terms and conditions you will get the SSL certificate which will be valid for the next 90 days to renew the certificate just run the below command.
sudo certbot renew --nginx

Congratulations! If you've followed along, you've successfully set up NGINX as a reverse proxy on an AWS EC2 instance, secured it with an SSL certificate from Let's Encrypt, and mapped it to your custom domain name. This powerful combination ensures that your website or web application is not only highly available and scalable but also secure, thanks to the end-to-end encryption provided by the SSL certificate.
I will meet you in the next blog where we will get into more such hands-on tutorials to get the interest in the real technology
Happy Coding! 👨💻👨💻
Subscribe to my newsletter
Read articles from Vishal Sharma directly inside your inbox. Subscribe to the newsletter, and don't miss out.
Written by

Vishal Sharma
Vishal Sharma
I am a developer from Surat who loves to write about DSA,Web Development, and Computer Science stuff.