Day 82 : Project 3 - Static Website using AWS S3
 Prathmesh Vibhute
In the realm of web hosting, simplicity, scalability, and cost-effectiveness are paramount. Amazon S3 (Simple Storage Service) provides an excellent solution for hosting static websites, offering a robust and scalable object storage service with a straightforward web services interface. Our latest initiative, Project-3, focuses on leveraging AWS S3 to host a static website. Here’s a detailed guide to walk you through this exciting project.
Project Overview
Project-3 is all about utilizing Amazon S3 to host a static website. By storing website files in an S3 bucket, we can configure it to function as a static website, making it publicly accessible through a unique domain name. This project aims to demonstrate the ease of setting up and managing a static website using AWS S3, highlighting the benefits of scalability and cost-effectiveness.
Key Components of the Project
AWS S3 Bucket: The primary storage location for all website files.
Website Configuration: Setting up the S3 bucket to function as a static website.
Permissions: Configuring appropriate permissions to ensure the website is publicly accessible.
Domain Name: Associating a unique domain name with the S3 bucket for easy access.
Task-01: Hands-On Project Execution
Let's dive into the hands-on steps to set up your static website on Amazon S3.
Step 1: Create an S3 Bucket
Log in to AWS Management Console:
- Navigate to the S3 service.
Create a New Bucket:
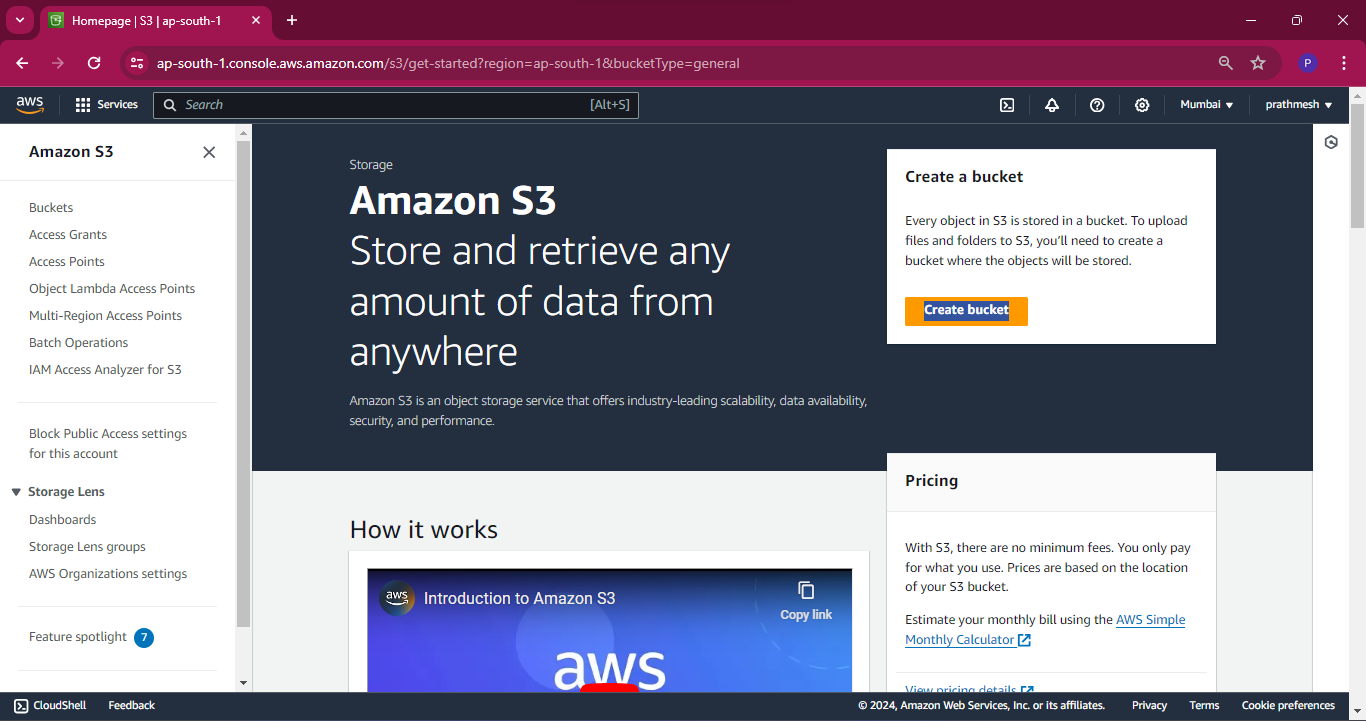
- Click on Create bucket.
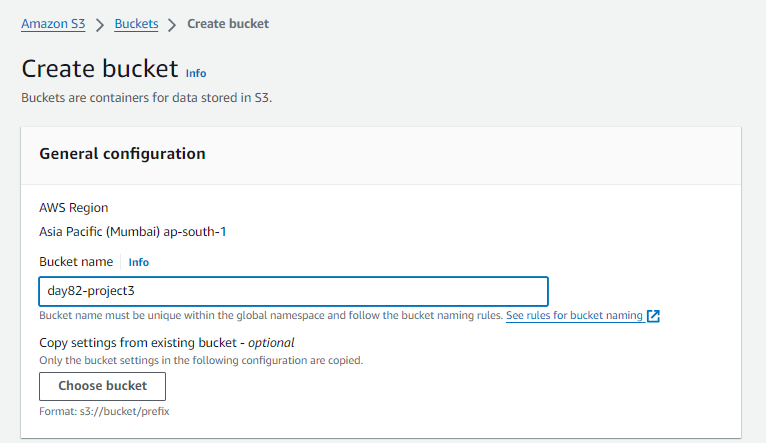
- Enter a unique bucket name (e.g., day82-project3).
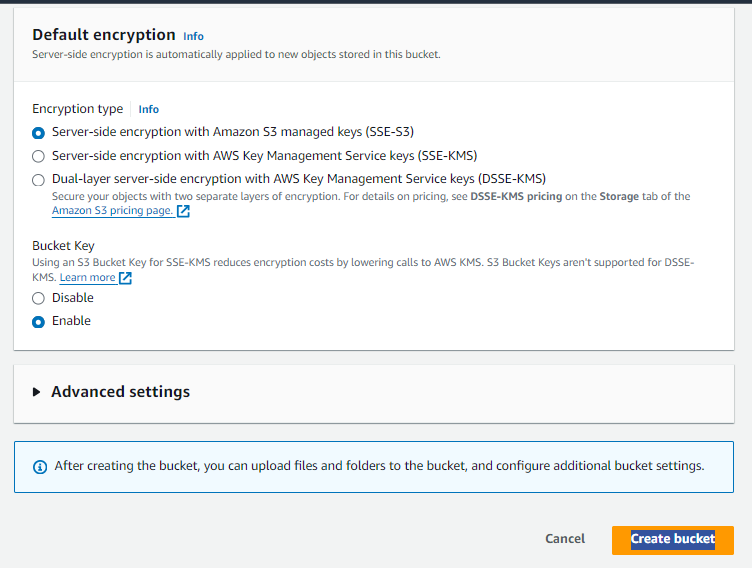
- Leave other settings at their default values and click Create bucket.
Step 2: Upload Website Files
Upload Files:
- Click on the bucket name to open it.
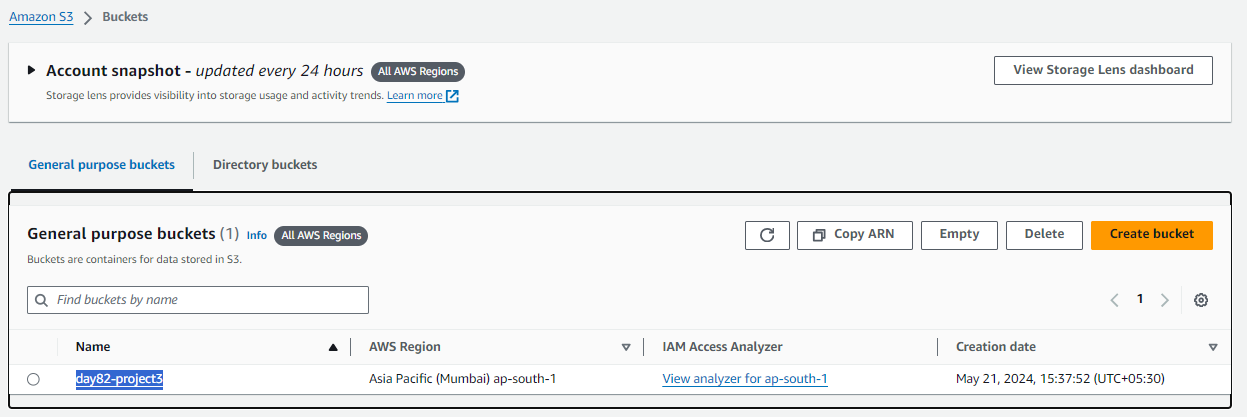
- Click on Upload and then Add files.
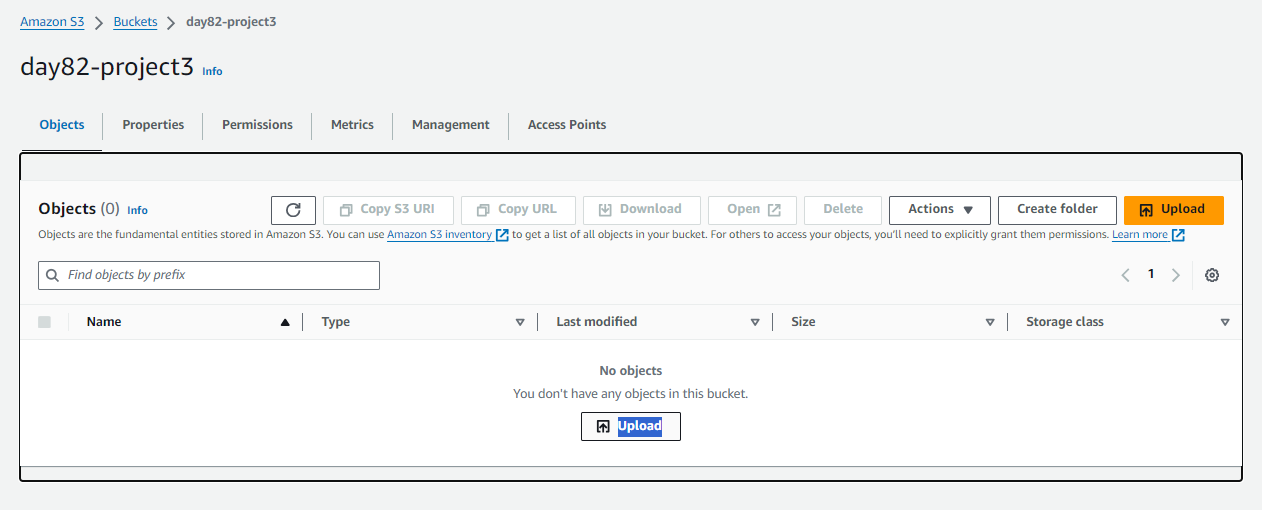
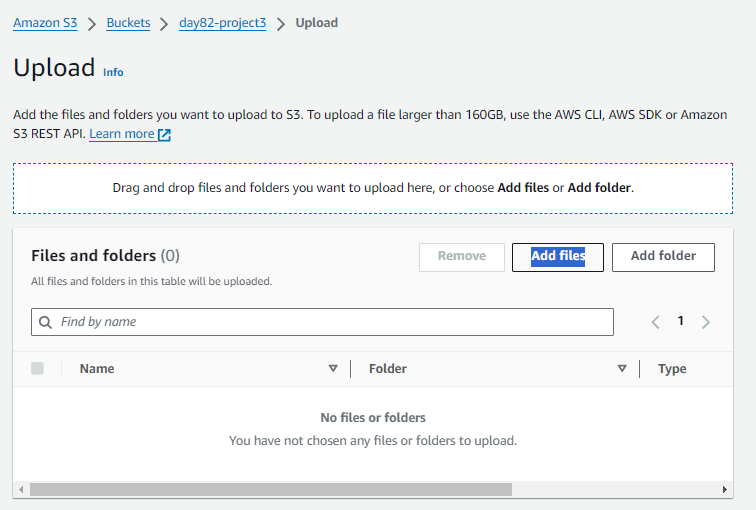
- Select all your website files (HTML, CSS, JavaScript, images, etc.).
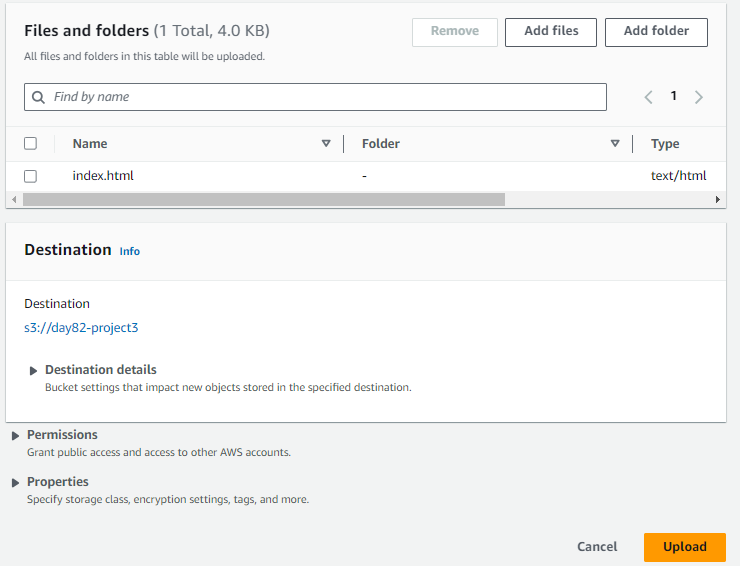
- Click Upload to transfer the files to your S3 bucket.

Step 3: Configure the Bucket as a Static Website
Enable Static Website Hosting:
- In the S3 bucket settings, navigate to the Properties tab.
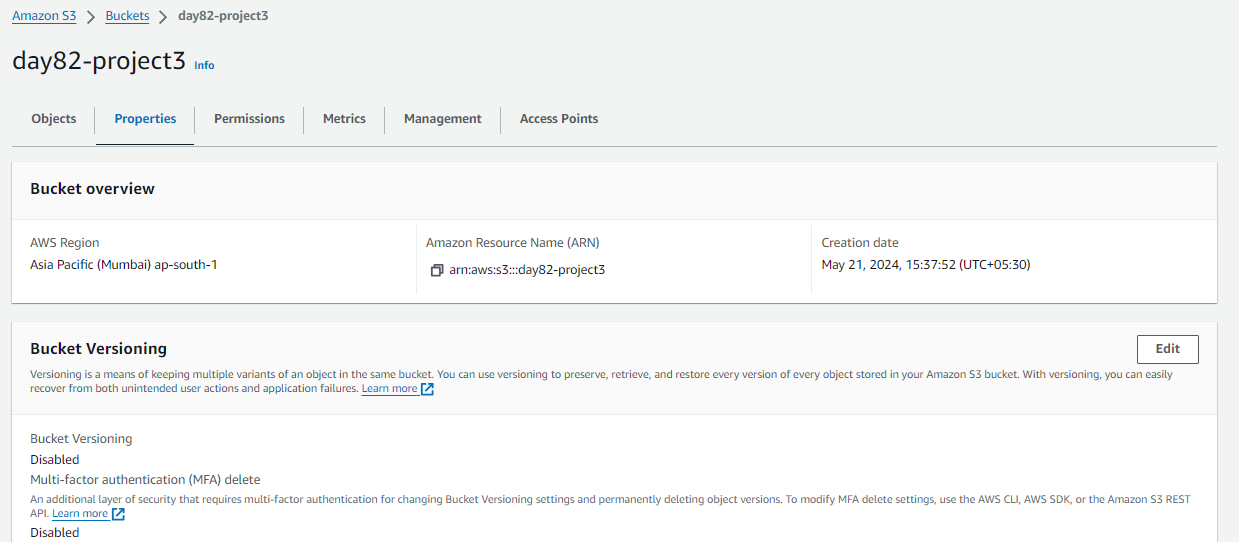
- Scroll down to Static website hosting and click on it.

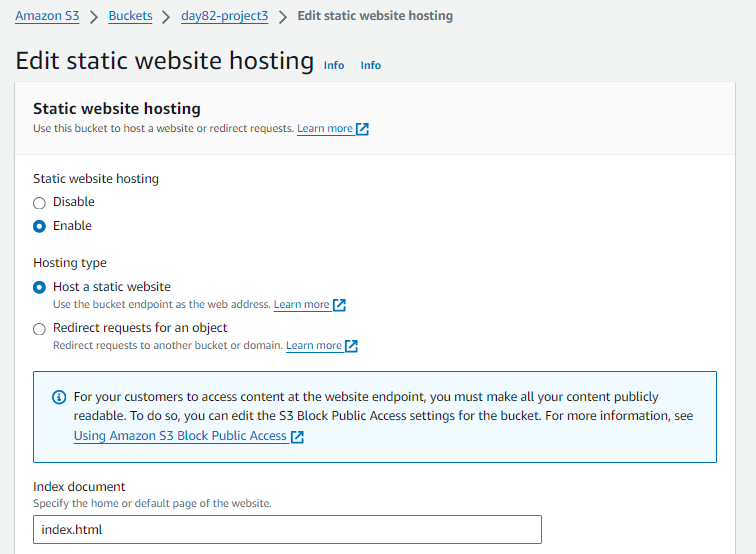
Select Use this bucket to host a website.
Specify the index document (e.g.,
index.html).Optionally, specify an error document (e.g.,
error.html).Click Save.
Bucket Policy for Public Access:
_________________________________________________________________________________Note:
Edit S3 Block Public Access settings and Set Bucket Policy for Public Access
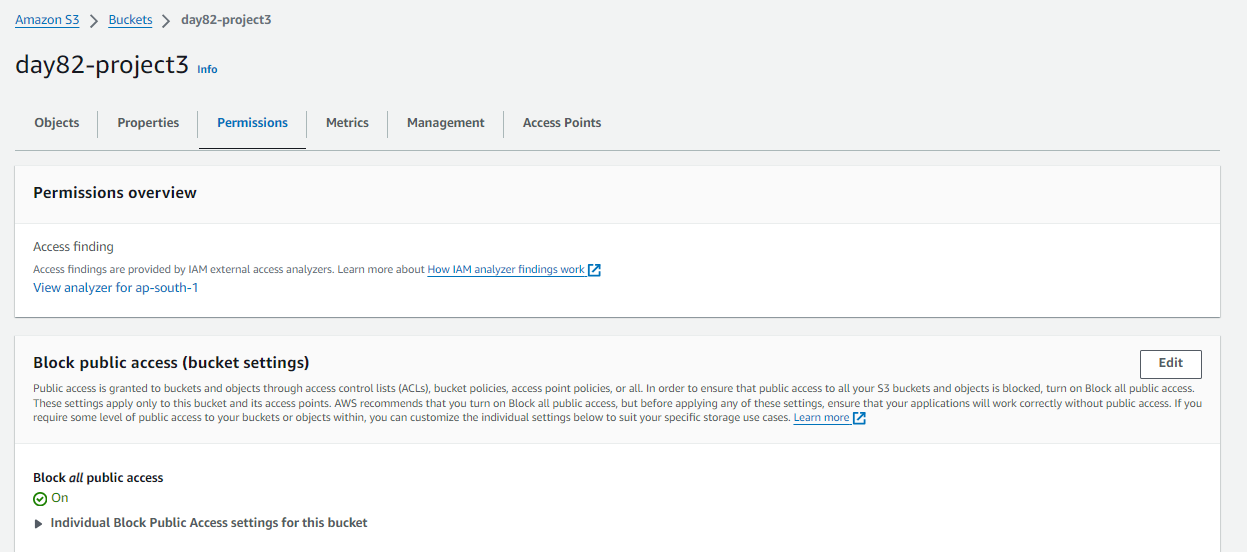
In the bucket properties, navigate to the “Permissions” tab.
Under Block public access (bucket settings), choose Edit.
Clear Block all public access, and choose Save changes.
_________________________________________________________________________________
- Navigate to the Permissions tab.
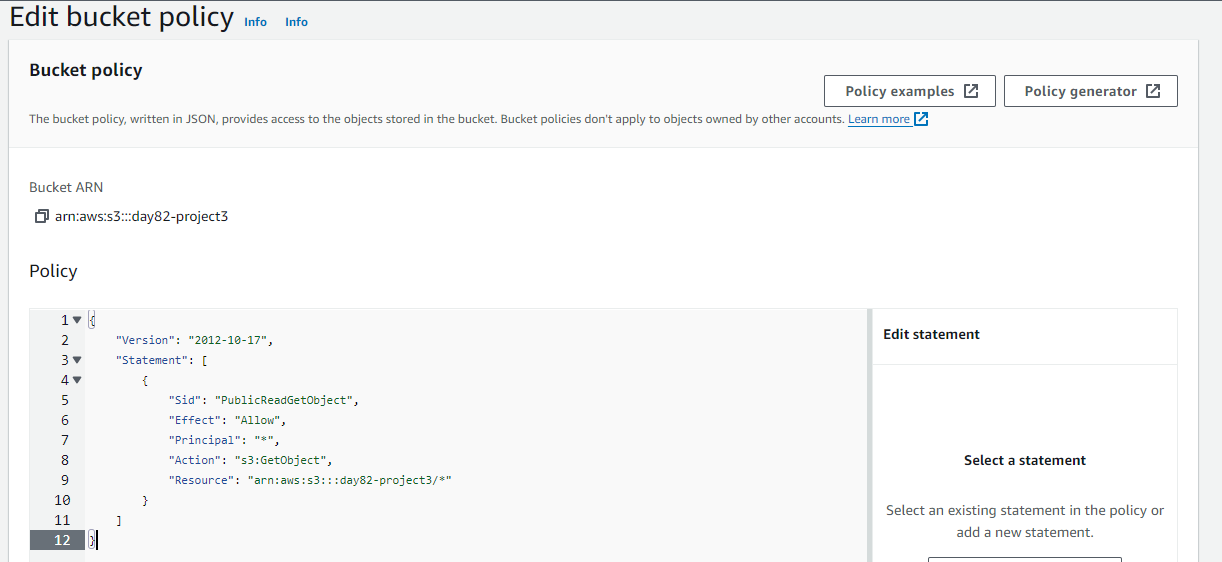
- Under Bucket policy, click Edit and add the following policy to make the bucket publicly accessible:
{
    "Version": "2012-10-17",
    "Statement": [
        {
            "Sid": "PublicReadGetObject",
            "Effect": "Allow",
            "Principal": "*",
            "Action": "s3:GetObject",
            "Resource": "arn:aws:s3:::day82-project3/*"
        }
    ]
}
Replace day82-project3 with your actual bucket name.
Click Save changes.
Step 4: Access Your Website
Website URL:
Go back to the Properties tab and click on Static website hosting.
Note the Endpoint URL provided. This is the URL where your website is now accessible.

Step 5: (Optional) Configure a Custom Domain Name
Domain Setup:
If you have a domain name, you can configure it to point to your S3 website.
Go to your domain registrar and update the DNS settings to create a CNAME record pointing to the S3 bucket's website endpoint.
Route 53 Configuration (if using AWS):
Navigate to Route 53 in the AWS Management Console.
Create a hosted zone for your domain.
Add an alias record pointing to your S3 website endpoint.
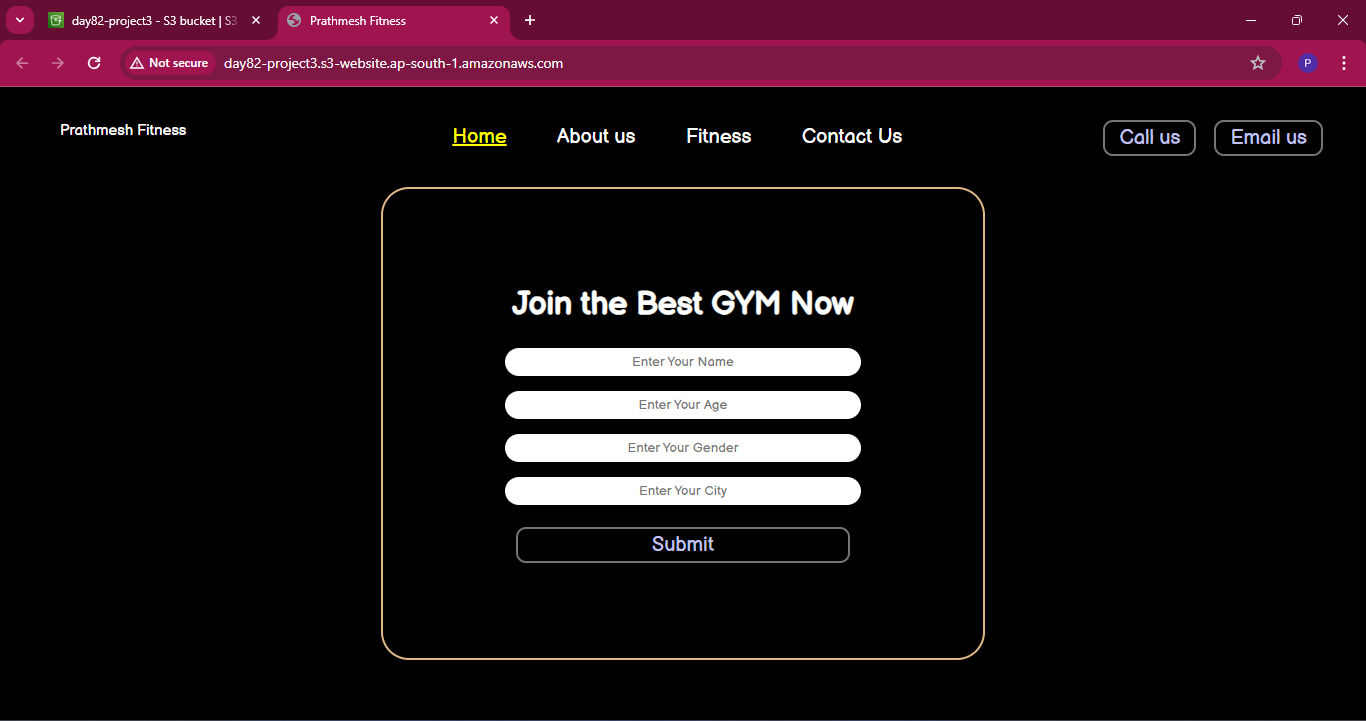
You should be able to see your static website live and accessible to the public.
Conclusion
Project-3 exemplifies the power and simplicity of using Amazon S3 for hosting static websites. By following the steps outlined above, you can easily set up a scalable and cost-effective static website that leverages the robust infrastructure of AWS. This hands-on project not only highlights the technical process but also demonstrates the practical benefits of using S3 for web hosting.
Embrace the efficiency of AWS S3 and elevate your static website hosting capabilities!
I'm confident that this article will prove to be valuable, helping you discover new insights and learn something enriching .
thank you : )
Subscribe to my newsletter
Read articles from Prathmesh Vibhute directly inside your inbox. Subscribe to the newsletter, and don't miss out.
Written by
