WoL (Using HomeAssistant)
 Aniket Sharma

Setting up wake on lan (WoL) on the Raspberry Pi Zero to manage the Proxmox Server. (We'll also be setting it up as a Tailscale VPN node so that we can turn on the system remotely)
Note: With respect to Dell hardware, we need to manually go to the BIOS Settings and enable WakeonLan along with disabling the Deep Sleep mode for it to work.
We'll be flashing the Raspberry Pi OS onto a SD-Card and connect it to our network which can help us to manage nodes that are connected to it.
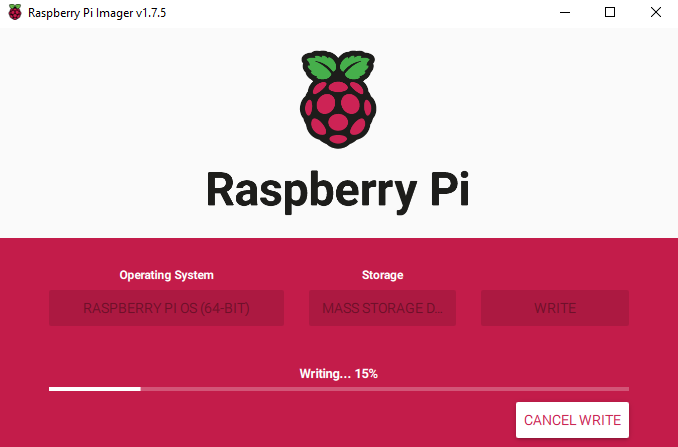
- By the time the OS is being flashed, we can enable wake on lan on the Network interface card (NIC) of the server and laptop. (Requires Sudo Permission)
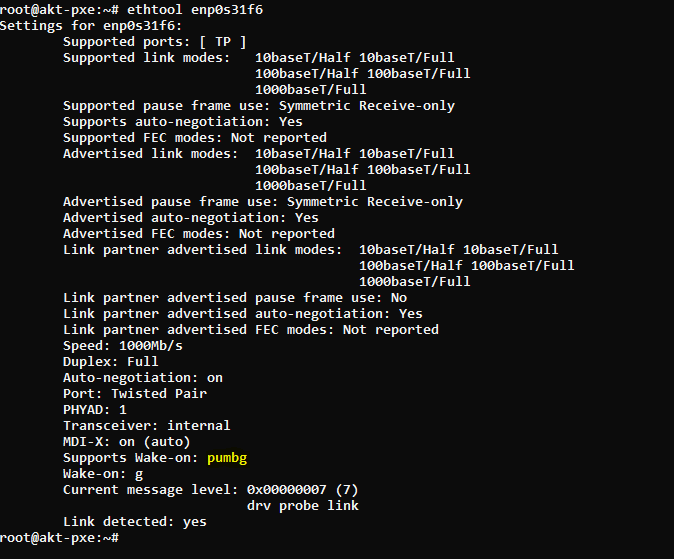
sudo apt-get install ethtool
ethtool enp0s31f6 # The name of the NIC can be different for other systems
In my case, it has already been enabled, If it is not enabled then we must have a 'd' next to the the Wake-On Section.
To enable wake on lan, run:
sudo ethtool -s enp0s31f6 wol g
To make sure the above changes remain the same after the reboot, we need to make some changes in the configuration files.
nano /etc/network/interfaces #Requires root previleges

# add "post-up /usr/sbin/ethtool -s enp0s31f6 wol" into it
SSH into the Raspberry Pi and update it using the given commands:
sudo apt update
sudo apt upgrade
sudo apt-get dist-upgrade
sudo apt-get install wakeonlan
Now we can test it:
sudo wakeonlan <MAC_ADDRESS>
- To install homeassistant on the raspberry pi, we need to install the following packages:
sudo apt-get install docker.io docker-compose

#After installing docker, run the following command
sudo docker run -d \
  --name homeassistant \
  --privileged \
  --restart=unless-stopped \
  -e TZ=Asia/Kolkata \ #CHANGE TIMEZONE
  -v /home/aniket/hac:/config \ #CHANGE CONFIG PATH
  -v /run/dbus:/run/dbus:ro \
  --network=host \
  ghcr.io/home-assistant/home-assistant:stable
- Edit the
configuration.yamlin the configuration folder of home assistant:
switch:
  - platform: wake_on_lan
    mac: **:**:**:**:**:18
    name: akt-pxe

wake_on_lan:

zha:
- Go to the developer's section, and rescan the configuration + restart the homeassistant server.
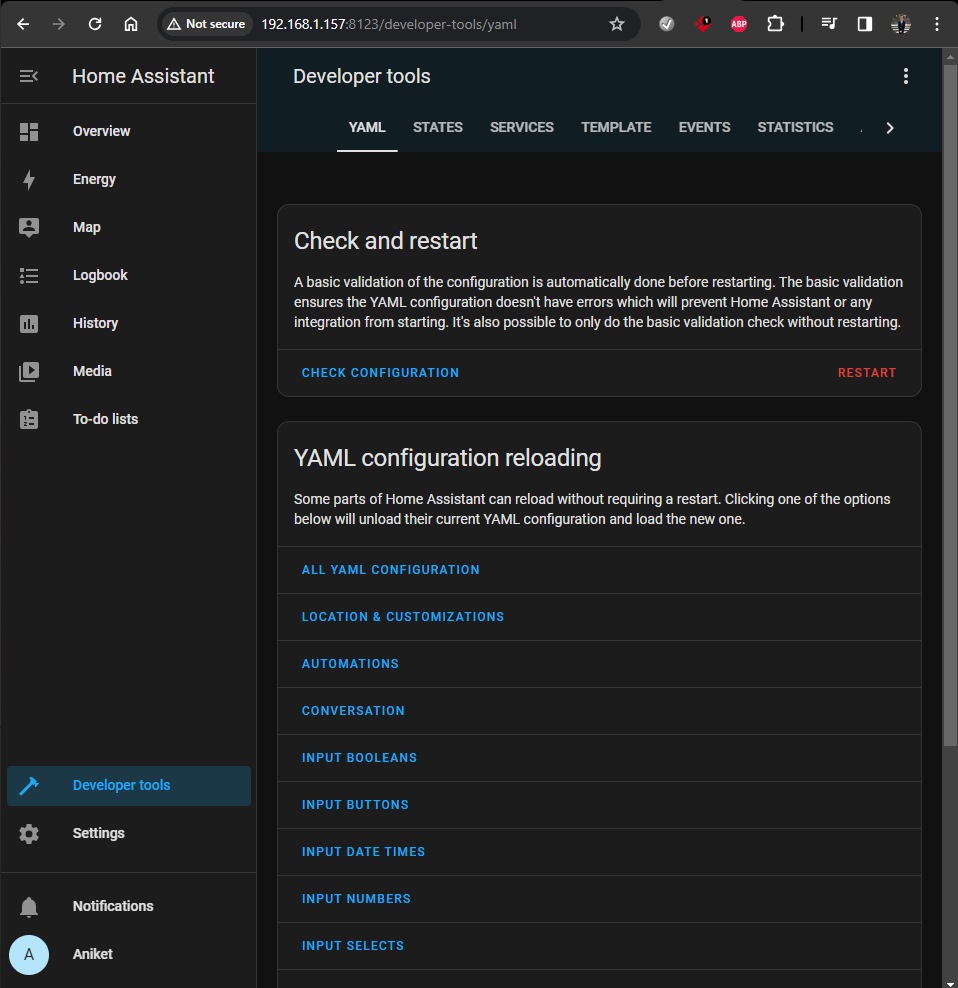
- Now we can see the button to turn the server ON:

Let's make a Tailscale VPN node on the raspberry pi. Download the tailscale software based on the OS being used: https://tailscale.com/download
Uncomment the following lines before starting up the tailscale service:
sudo nano /etc/sysctl.conf

# Uncomment the next line to enable packet forwarding for IPv4
net.ipv4.ip_forward=1

# Uncomment the next line to enable packet forwarding for IPv6
#  Enabling this option disables Stateless Address Autoconfiguration
#  based on Router Advertisements for this host
net.ipv6.conf.all.forwarding=1
- Make sure to advertise routes and in the admin console enable the node to operate as a subnet router, to route the network traffic for remote connection.
sudo tailscale up --advertise-routes=192.168.0.0/24,192.168.1.0/24
#Use the subnet range of your network
Now using the tailscale app, we can now remotely turn on our server :)
The only need is for the Raspberry Pi to stay on and be connected to an internet connection.
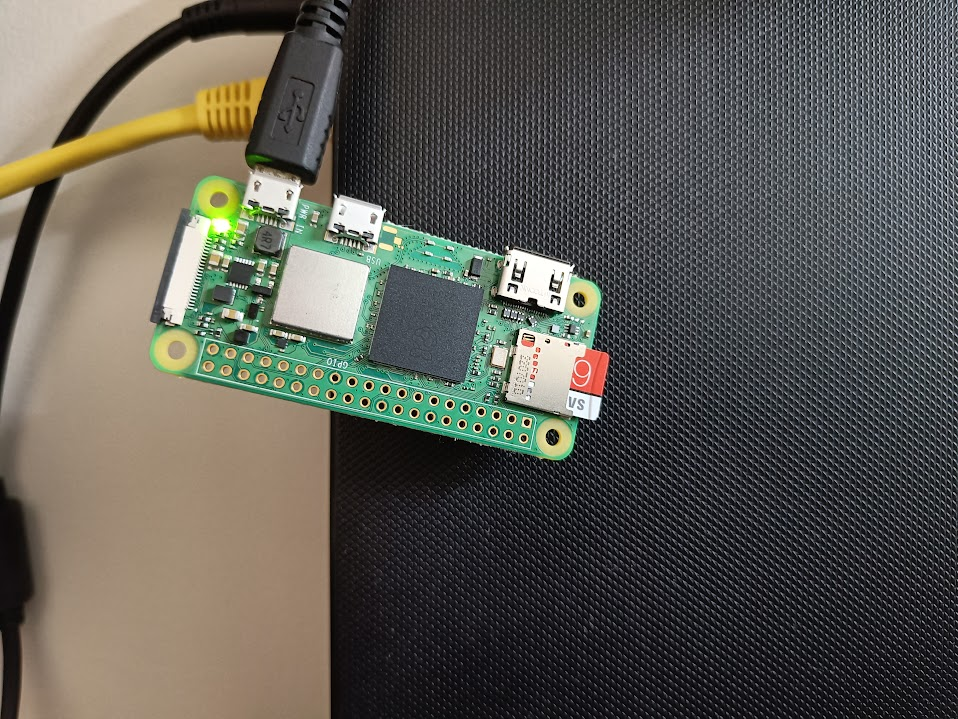
Tailscale + HomeAssistant: Have Android and IOS Support
Subscribe to my newsletter
Read articles from Aniket Sharma directly inside your inbox. Subscribe to the newsletter, and don't miss out.
Written by

Aniket Sharma
Aniket Sharma
I am an Engineering Student, Sharing my various tech experiments through this blog! :)