Simple Steps to Launch a .NET App Locally
 Nitin
Nitin
Prerequisites:
An Azure account (Free is enough)
A working application
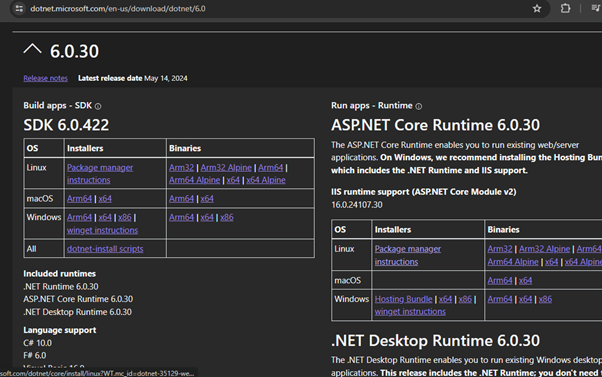
dotnet-sdk-6.0.422-win-x64.exe from https://dotnet.microsoft.com/en-us/download/dotnet/6.0
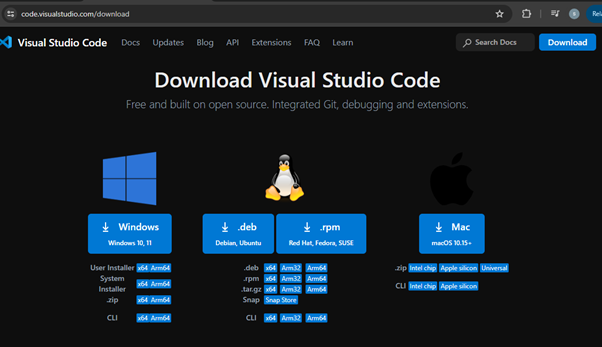
- VS Code from https://code.visualstudio.com/download
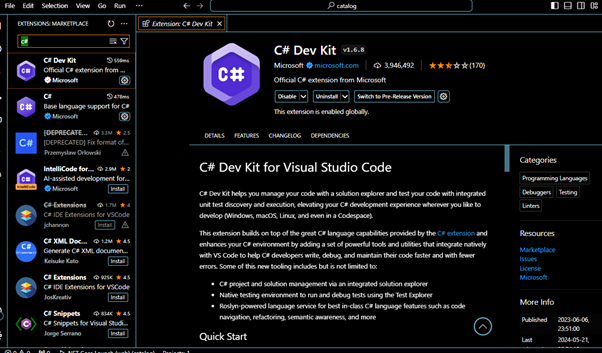
Install VS Code extensions:
- C# dev kit
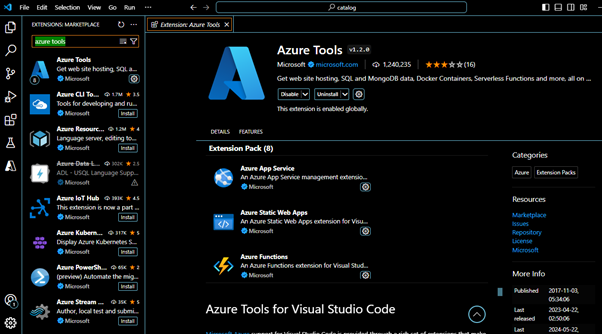
- Azure tools
Open the Project in VS Code
- Navigate to the Catalog folder (as shown in the screenshot below)
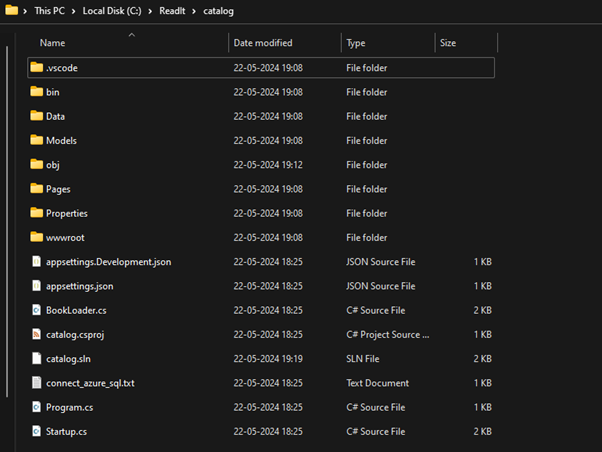
Click on the navigation bar for the Catalog folder
Type
cmdand hit enterMake sure if command line window is open
Type
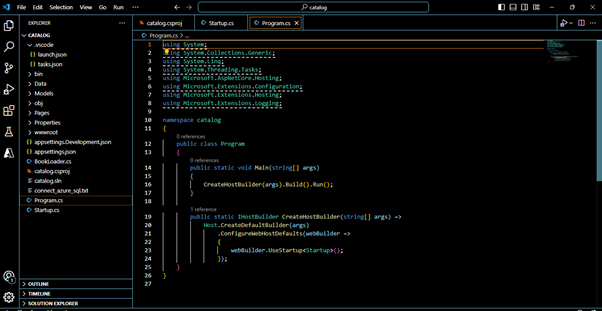
code .and hit enter
This will open the code in VS Code. (Alternatively, you can open the project in VS Code using the application interface if set up on your machine.)
Running the App Locally
To run the app locally, press F5. (If you have a separate function key, use Function key + F5.)
Local App Launch
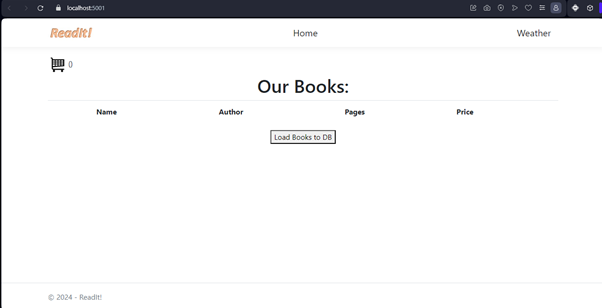
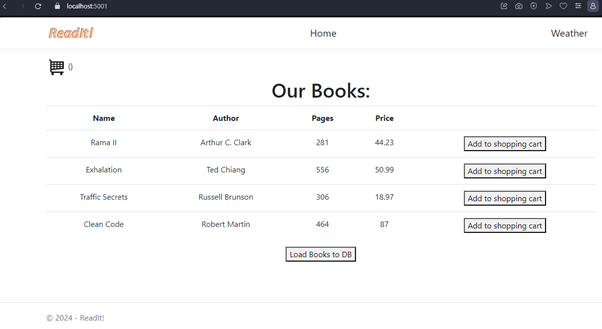
Once launched, you should see a working copy of the app on your local machine.
Continued...
In the next write-up, I will list the steps to deploy this app to Azure.
Subscribe to my newsletter
Read articles from Nitin directly inside your inbox. Subscribe to the newsletter, and don't miss out.
Written by

Nitin
Nitin
A Seasoned gate keeper for software quality (Manual / Automation (Web + Mobile native + API) / Performance test) with 13 years of experience, An automation🤖 lover and a continuous📚 learner. A test automation geek and a DevOps engineer using and exploring cloud☁️. Looking for opportunities in Cloud DevOps for mutual growth. (Working remotely since last 5 years with teams in Europe / USA and Canada)