Step-by-Step Tutorial: Deploying a Sample Application on AWS EKS using eksctl
 Sundaram Kumar Jha
Welcome to this detailed guide where we will walk through the process of deploying a sample application on Amazon EKS (Elastic Kubernetes Service). Whether you are a beginner looking to get started with Kubernetes or an experienced developer aiming to utilize AWS services, this tutorial will provide you with a clear path to follow.
What is Amazon EKS?
Amazon Elastic Kubernetes Service (EKS) is a managed service that makes it easy for you to run Kubernetes on AWS without needing to install and operate your own Kubernetes control plane. It's highly scalable and secure, making it a popular choice for deploying containerized applications.
Prerequisites
Before we begin, ensure you have the following installed on your machine:
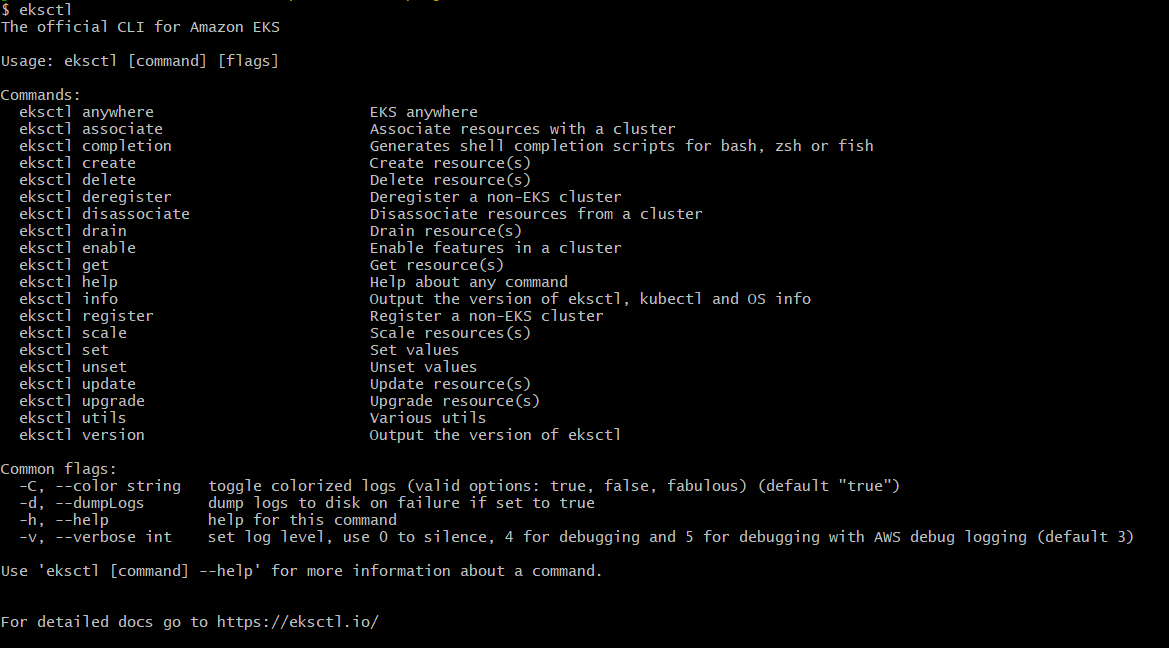
AWS CLI
eksctlkubectl
Let’s get started!
Step 1: Set Up Your AWS CLI and eksctl
Install AWS CLI:
Download and install the AWS CLI:
 curl "https://awscli.amazonaws.com/awscli-exe-linux-x86_64.zip" -o "awscliv2.zip"
 unzip awscliv2.zip
 sudo ./aws/install
Configure the AWS CLI with your credentials:
aws configureYou will be prompted to enter your AWS Access Key, Secret Key, Region, and output format.
Install eksctl:
curl --silent --location "https://github.com/weaveworks/eksctl/releases/download/latest_release/eksctl_$(uname -s)_amd64.tar.gz" | tar xz -C /tmp
sudo mv /tmp/eksctl /usr/local/bin

Step 2: Create an EKS Cluster
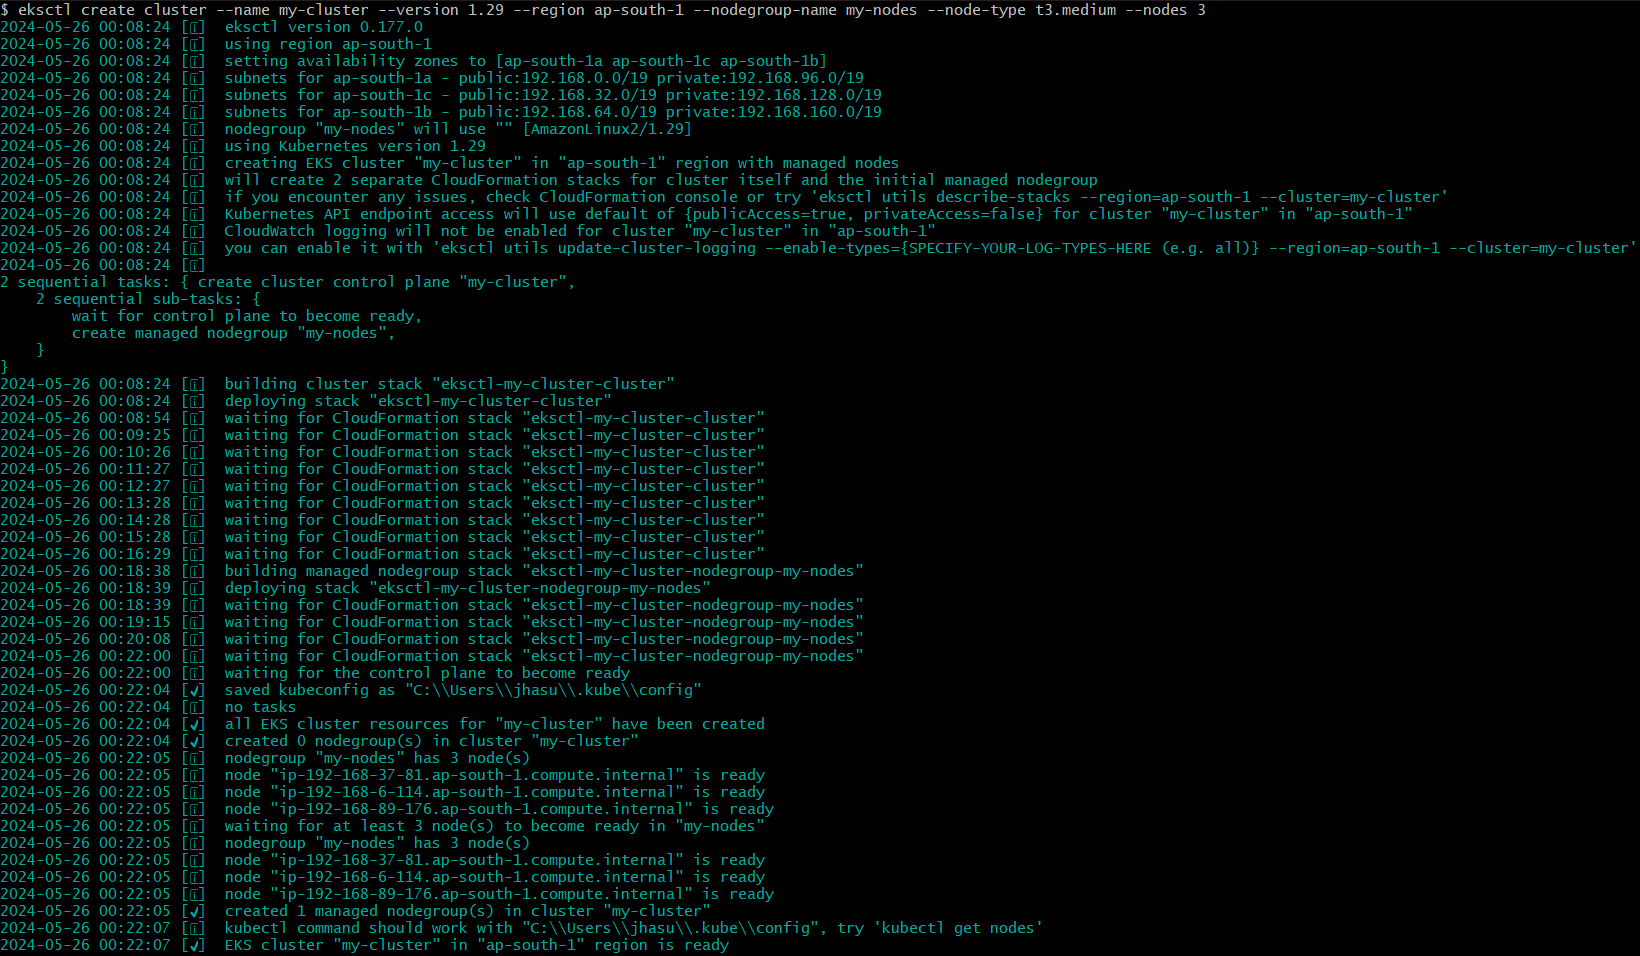
Using eksctl, create your Kubernetes cluster with the following command:
eksctl create cluster \
--name my-cluster \
--version 1.21 \
--region us-west-2 \
--nodegroup-name my-nodes \
--node-type t3.medium \
--nodes 3
This command will set up an EKS cluster named my-cluster in the us-west-2 region with 3 nodes of type t3.medium.

Step 3: Configure kubectl
Configure kubectl to interact with your newly created cluster:
aws eks --region us-west-2 update-kubeconfig --name my-cluster

Step 4: Deploy a Sample Application
Deploy a simple nginx application using the following steps:
Create a deployment file (
nginx-deployment.yaml):apiVersion: apps/v1 kind: Deployment metadata: name: nginx-deployment spec: replicas: 2 selector: matchLabels: app: nginx template: metadata: labels: app: nginx spec: containers: - name: nginx image: nginx:1.14.2 ports: - containerPort: 80Apply the deployment:
kubectl apply -f nginx-deployment.yamlExpose the deployment:
kubectl expose deployment nginx-deployment --port=80 --type=LoadBalancer

Step 5: Verify Your Deployment
Check the status of your deployment and service:
kubectl get deployments
kubectl get services -o wide


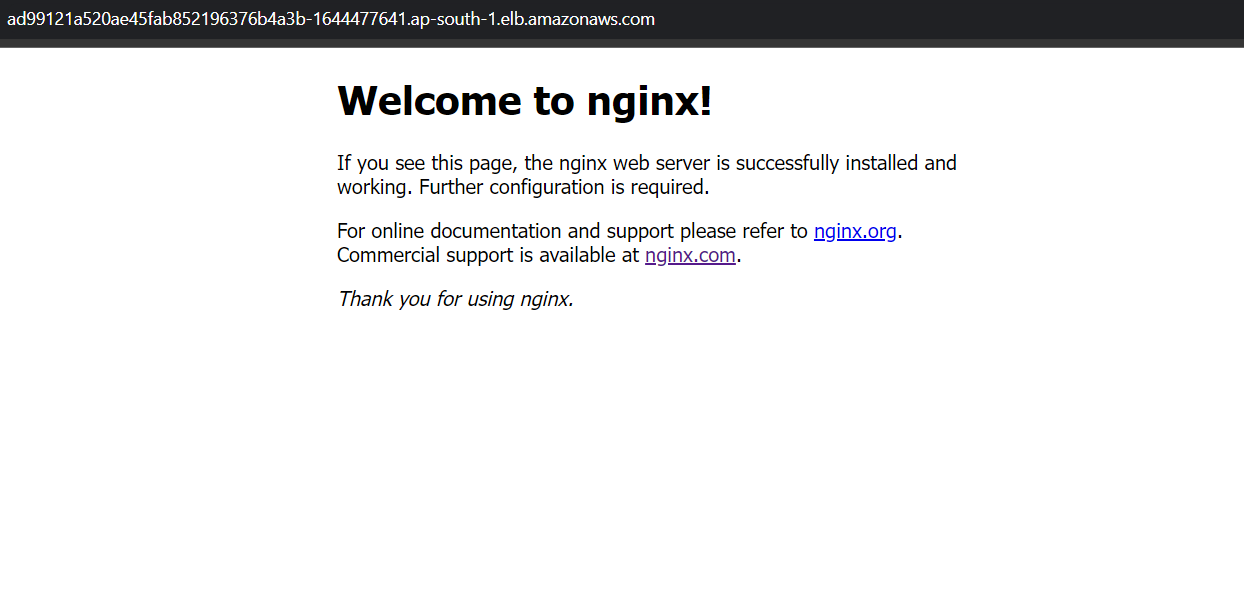
You can acess your nginx deployment at given external ip address

Step 6: Clean Up
To avoid incurring future charges, delete the resources when not needed:
eksctl delete cluster --name <cluster-name> --region <region>

Conclusion
Deploying an application on AWS EKS is straightforward with the help of tools like eksctl and kubectl. By following these steps, you can have a running application on a scalable and secure platform. Explore further to customize and optimize your deployments according to your needs.
Subscribe to my newsletter
Read articles from Sundaram Kumar Jha directly inside your inbox. Subscribe to the newsletter, and don't miss out.
Written by

Sundaram Kumar Jha
Sundaram Kumar Jha
I Like Building Cloud Native Stuff , the microservices, backends, distributed systems and cloud native tools using Golang