Day 57 - Ansible Hands-on 🚀🌟
 Nilkanth Mistry
Hello DevOps Enthusiasts! 👋
Welcome to Day 57 of the #90DaysOfDevOpsChallenge. Today, we’re diving into some practical hands-on experience with Ansible. 🎉 Let’s get started by launching an EC2 instance and setting up Ansible to manage multiple servers. 🛠️

🚀 Launch an EC2 Ansible-Master Instance
Log in to your AWS Management Console.
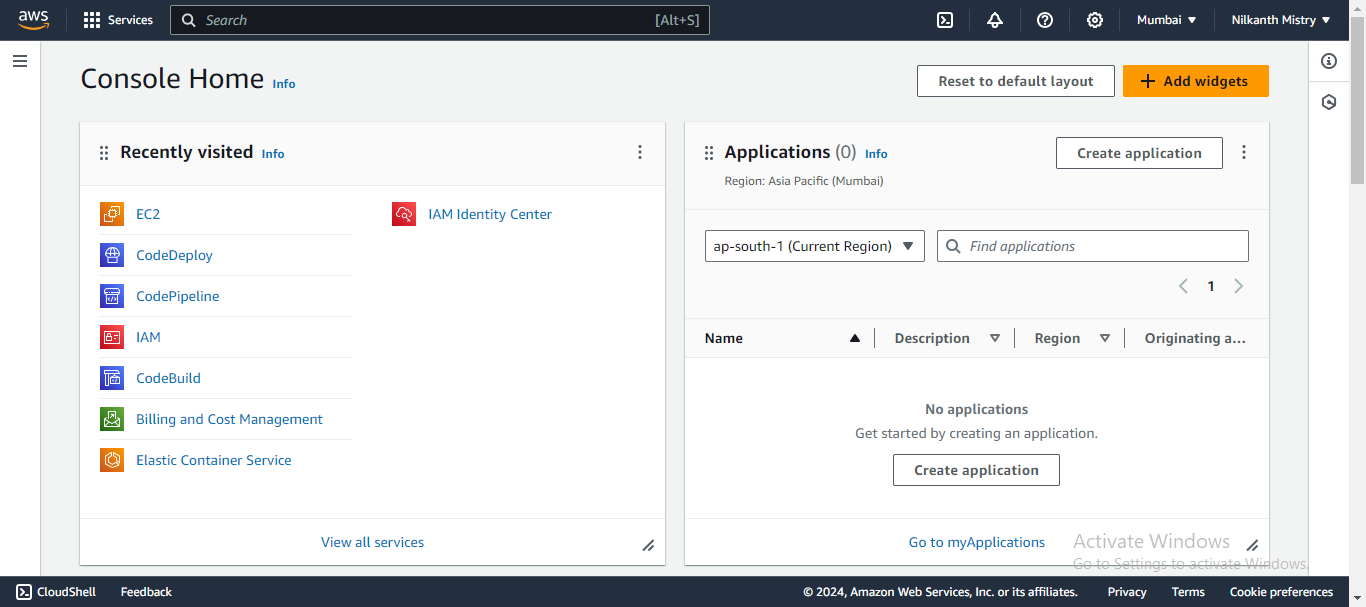
Navigate to the EC2 Dashboard and click on
Launch Instance.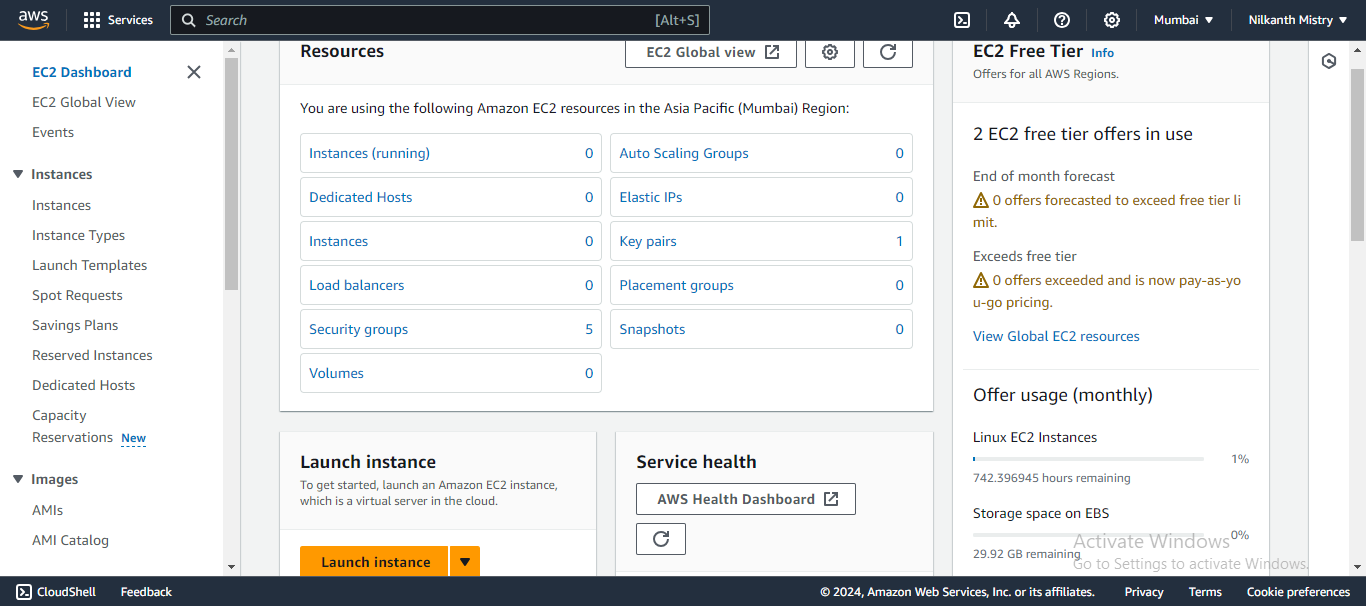
Configure your instance (choose Ubuntu as the AMI, select instance type, etc.)
Launch the instance.
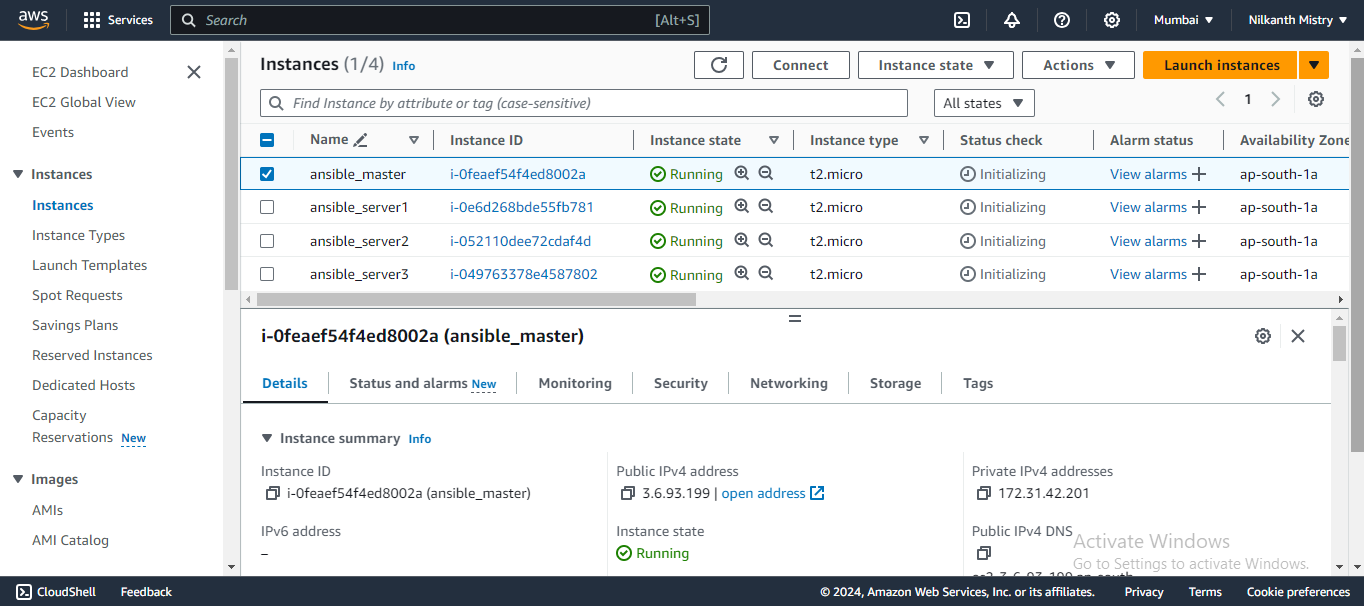
🔄 Clone the Ansible-Master Instance
Select the instance you just launched.
Click on
Image and templatesand thenLaunch more like this.Enter the name and number of instances (3).
Click
Launch instance. 🚀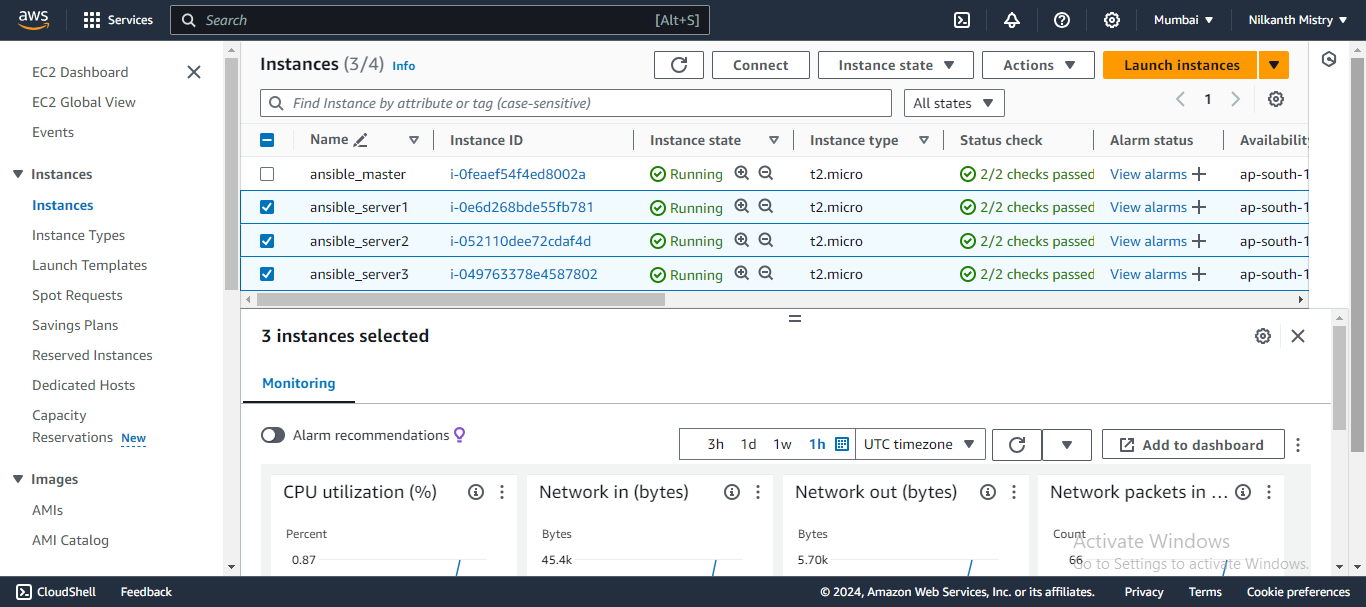
🛠️ Setting Up the Master Server
Connect to the master server using SSH:
ssh -i /path/to/your-key.pem ubuntu@your-master-server-ipUpdate the package list and install Ansible:
 sudo apt update
 sudo apt install ansible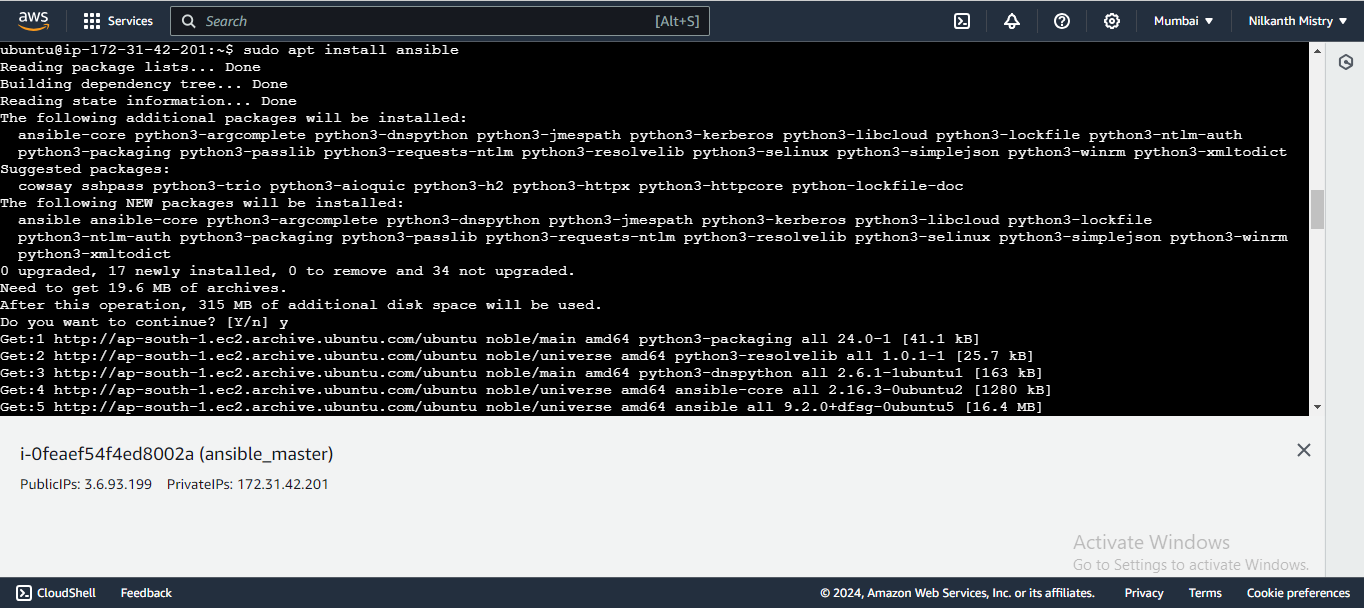
🔐 Configure SSH Access
Copy the downloaded private key to your local machine.
Create a key file in the
.sshdirectory and paste the copied key:mkdir -p ~/.ssh vim ~/.ssh/ansible-key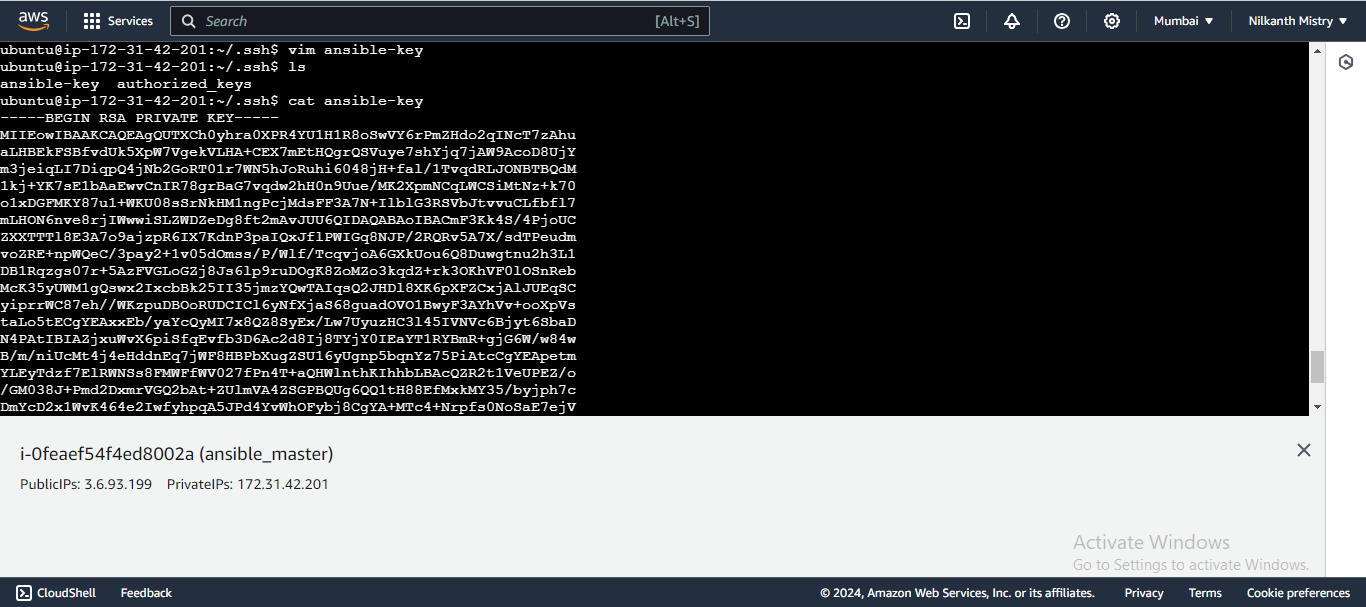
Set appropriate permissions for the key file:
sudo chmod 600 ~/.ssh/ansible-key
🌐 Connecting to the Other Servers
Use SSH to connect to each of the 3 servers:
sudo ssh -i ~/.ssh/ansible-key ubuntu@ip-address
📋 Create and Verify an Inventory File
Create a host file and add server information:
vim ~/hostsExample contents of
hosts:[server] ansible_server1 ansible_host=13.201.65.158 ansible_server2 ansible_host=43.205.118.99 ansible_server3 ansible_host=35.154.246.228 [all] ansible_python_interpreter=/usr/bin/python3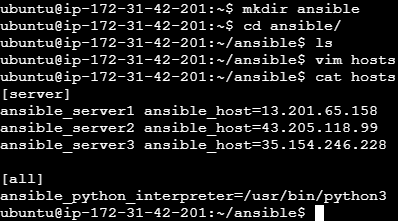
Verify the inventory of hosts:
ansible-inventory --list -y -i /home/ubuntu/ansible/hosts
⚙️ Using Ansible
Ping the servers to check connectivity:
ansible all -m ping -i /home/ubuntu/ansible/hosts --private-key=~/.ssh/ansible-key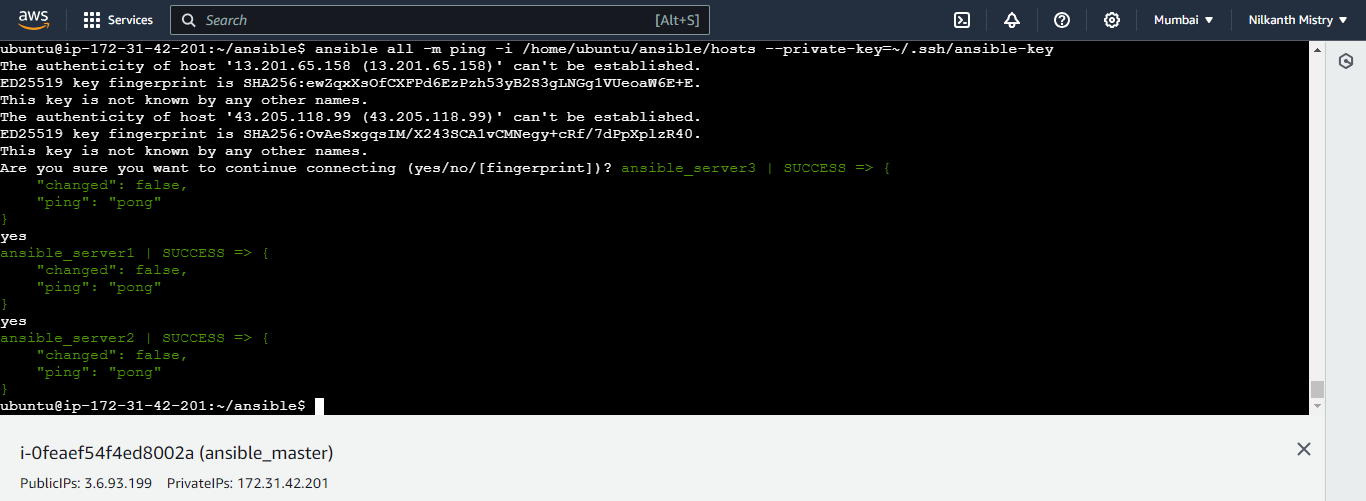
Check memory usage on the servers:
ansible all -a "free -h" -i ~/hosts --private-key=~/.ssh/ansible-key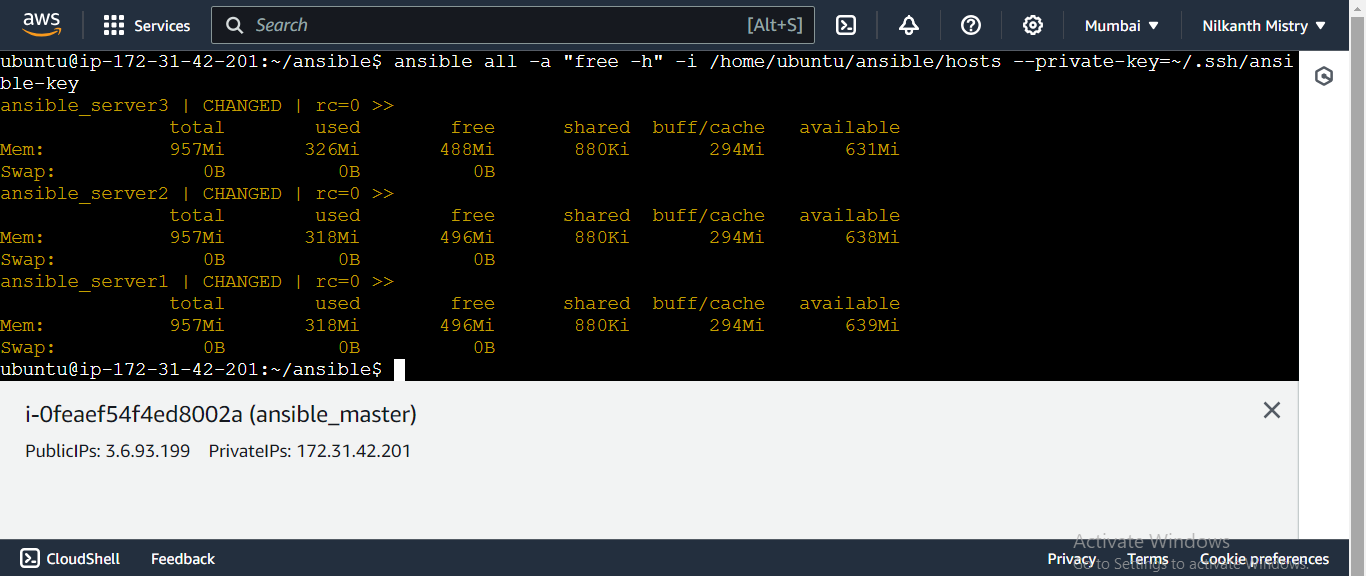
🎉 Conclusion
That's it for today's hands-on session with Ansible! 🎉 You’ve successfully launched an EC2 instance, cloned it, set up SSH keys, created an inventory file, and used Ansible to manage multiple servers. Keep practicing, and you’ll become an Ansible pro in no time! 🚀
Thank you for reading! 😊 Feel free to share your experiences and any questions you have in the comments below. Happy Learning! 🛠️
Subscribe to my newsletter
Read articles from Nilkanth Mistry directly inside your inbox. Subscribe to the newsletter, and don't miss out.
Written by

Nilkanth Mistry
Nilkanth Mistry
Embark on a 90-day DevOps journey with me as we tackle challenges, unravel complexities, and conquer the world of seamless software delivery. Join my Hashnode blog series where we'll explore hands-on DevOps scenarios, troubleshooting real-world issues, and mastering the art of efficient deployment. Let's embrace the challenges and elevate our DevOps expertise together! #DevOpsChallenges #HandsOnLearning #ContinuousImprovement