Day 59 - Ansible Project 🔥
 Nilkanth Mistry
Ansible playbooks are amazing, as you learned yesterday. What if you deploy a simple web app using Ansible? Sounds like a good project, right? Let’s get started!
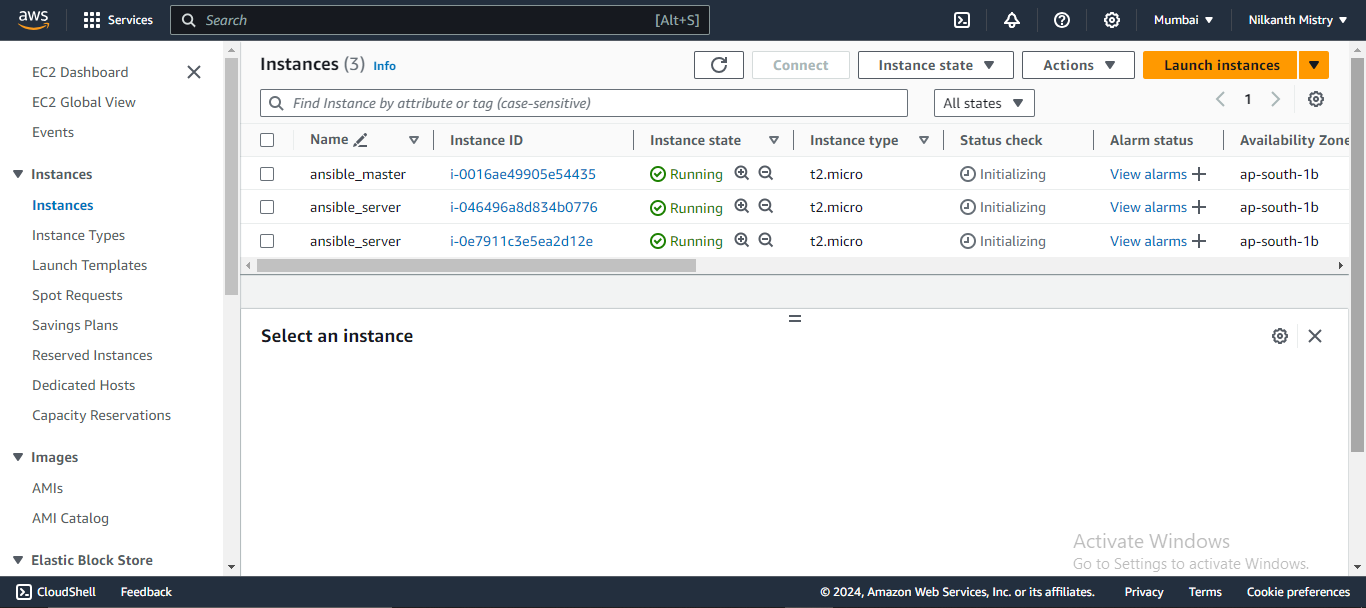
Task-01: Create 3 EC2 Instances 🖥️☁️
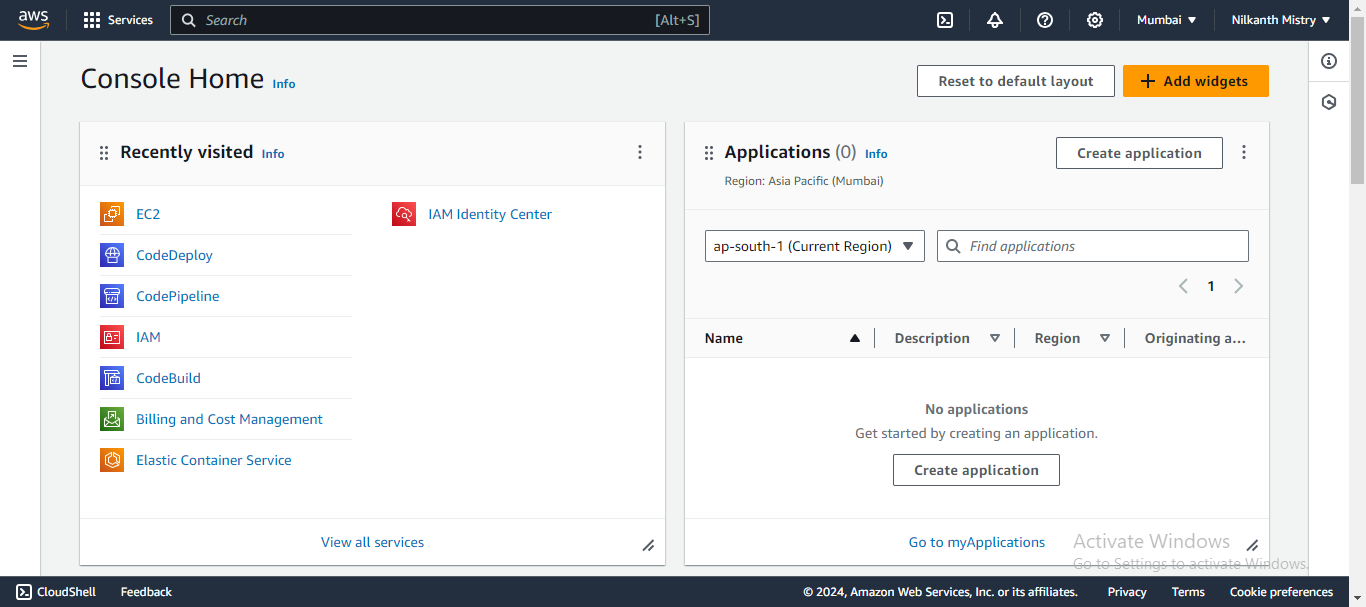
Log in to AWS Management Console 🖥️

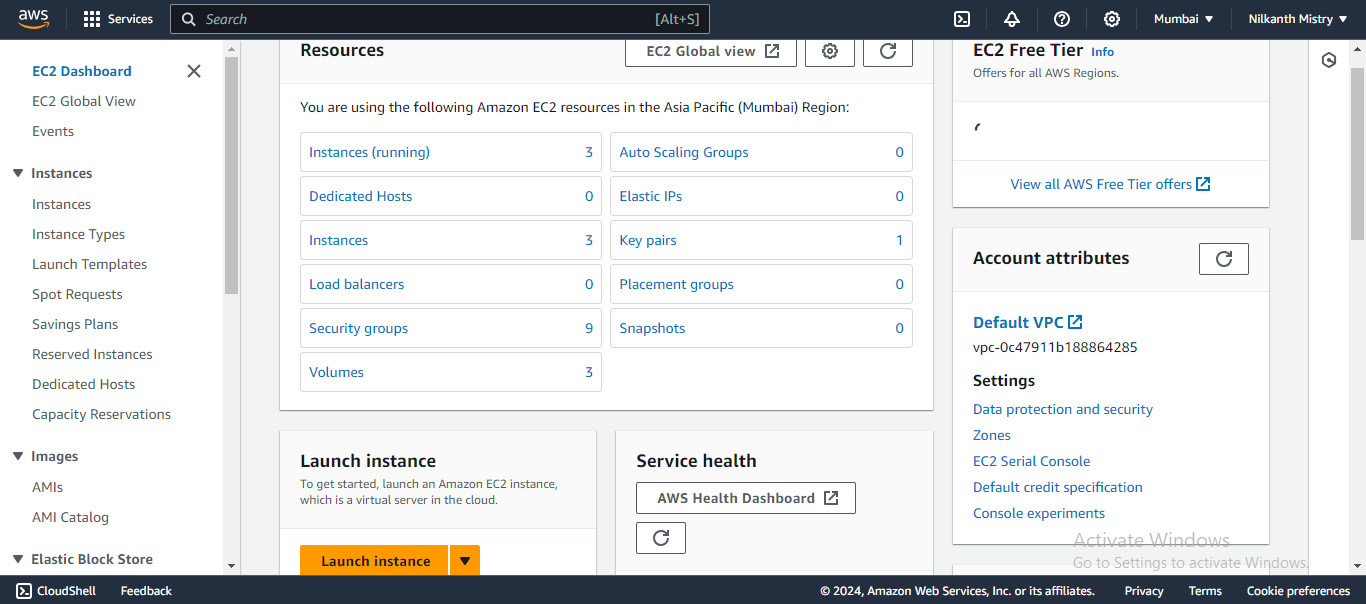
Navigate to EC2 Dashboard ➡️

Launch Instance:
Choose the Amazon Machine Image (AMI) (e.g., Ubuntu Server 20.04 LTS) 🐧.
Select the instance type (e.g., t2.micro for free tier) 💸.
Configure instance details:
Number of instances: 3
Network settings: Default VPC 🌐.
Add Storage: Leave the default settings 📦.
Add Tags: (Optional) Tag your instances for easy identification 🏷️.
Configure Security Group:
Add a rule to allow SSH (port 22) from your IP 🔒.
Add a rule to allow HTTP (port 80) from anywhere 🌍.
Review and Launch: Use the same key pair for all three instances (create a new one if you don’t have any) 🗝️.

Install Ansible on Host Server 🛠️
Connect to Your Host Server:
- Open terminal and SSH into your EC2 instance (one of the three you just created) 💻.
ssh -i /path/to/your-key-pair.pem ubuntu@your-ec2-instance-public-dns
Update Package Lists 🔄:
sudo apt updateInstall Ansible 📦:
 sudo apt-add-repository ppa:ansible/ansible
 sudo apt install ansible -y
 sudo ansible --version


Copy the Private Key to Host Server (Ansible_host) 🔑
Transfer the Private Key:
- From your local machine, copy the key to the host server using SCP 🚀.
escp -i /path/to/your-key-pair.pem /path/to/your-key-pair.pem ubuntu@your-ec2-instance-public-dns:/home/ubuntu/.ssh/
Set Permissions on the Key:
- SSH into your host server 💻.
ssh -i /path/to/your-key-pair.pem ubuntu@your-ec2-instance-public-dns
- Change permissions of the private key 🔐.
chmod 600 /home/ubuntu/.ssh/ansible_keys.pem

Access the Inventory File 📄
Edit the Ansible Hosts File ✏️:
sudo vim /etc/ansible/hosts
Add Your EC2 Instances:
- Add the IP addresses of your EC2 instances under a new group called
[webservers]🖥️.
- Add the IP addresses of your EC2 instances under a new group called
    [servers]
    server01 ansible_host=3.136.18.176
    server02 ansible_host=3.137.211.34

    [all:vars]
    ansible_python_interpreter=/usr/bin/python3
    ansible_ssh_private_key_file=/home/ubuntu/.ssh/ansible_keys
Create a Playbook to Install Nginx 📜
Create Playbook File:
- On your host server, create a new playbook file 📝.
vim install_nginx.yml
Write the Playbook:
 ---
 - name: Install Nginx on web servers
   hosts: webservers
   become: yes
   tasks:
     - name: Ensure Nginx is installed
       apt:
         name: nginx
         state: present

     - name: Start Nginx service
       service:
         name: nginx
         state: started
         enabled: yes

     - name: Deploy sample web page
       copy:
         content: "<h1>Welcome to your Ansible-deployed web server!</h1>"
         dest: /var/www/html/index.html
Deploy the Sample Webpage Using the Ansible Playbook 🌐
Run the Playbook 🎉:
ansible-playbook install_nginx.yml

Happy Learning! 😊🚀
Subscribe to my newsletter
Read articles from Nilkanth Mistry directly inside your inbox. Subscribe to the newsletter, and don't miss out.
Written by

Nilkanth Mistry
Nilkanth Mistry
Embark on a 90-day DevOps journey with me as we tackle challenges, unravel complexities, and conquer the world of seamless software delivery. Join my Hashnode blog series where we'll explore hands-on DevOps scenarios, troubleshooting real-world issues, and mastering the art of efficient deployment. Let's embrace the challenges and elevate our DevOps expertise together! #DevOpsChallenges #HandsOnLearning #ContinuousImprovement