Unleash the Power of Azure: A Step-by-Step Guide to Creating and Pushing Docker Images to Azure Container Registry
 AKEH EUNICE
Introduction
You will learn how to create an Azure Container Registry (ACR), use a Dockerfile to construct a Docker container image, and push the image to ACR by following this instruction. These are the essential stages for launching apps on Azure in a scalable and effective containerized environment. Follow these steps to launch your cloud-based containerized application.
Diagram Illustration
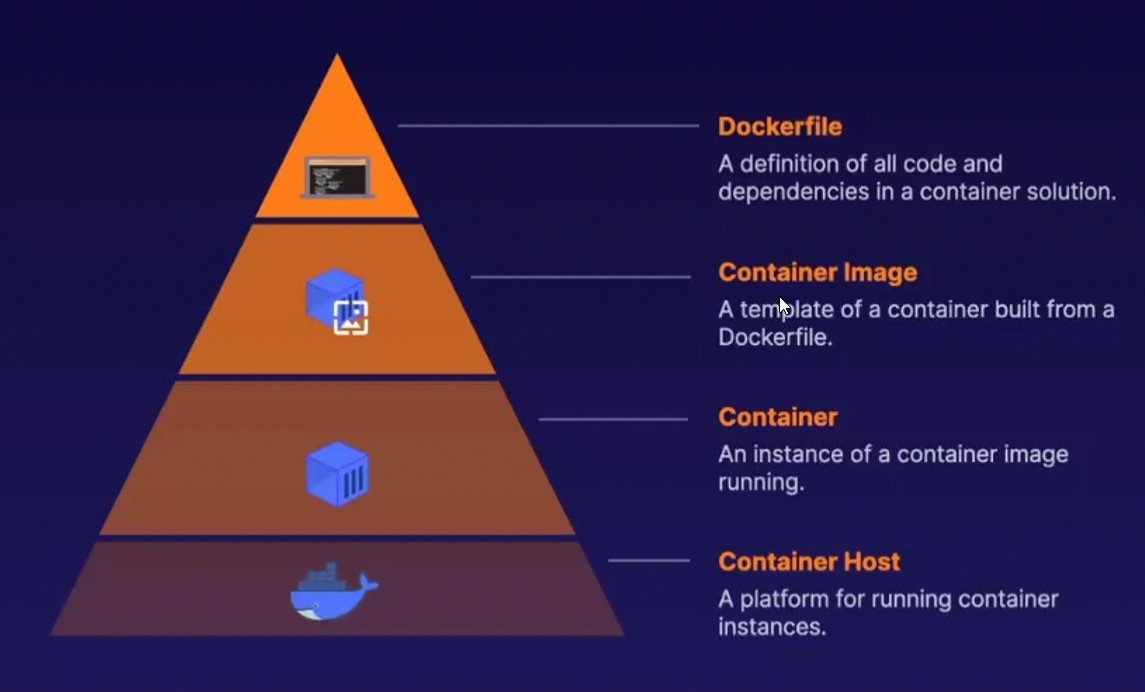
What is Container ? A container is a unit of software. This unit consists of code, its dependencies, and configurations to be shipped and run anywhere
What is Registry ? Manage a container registry (repository) of container images in a single place. For example, Azure Container Registry(ACR)
What is a Container Host ? Host a container image as an instance of a container on a hosting service. For example, Azure Container Instances (ACI)
Prerequisites
Before you begin, ensure you have the following:
Azure Subscription: You need an active Azure subscription.
Azure CLI: Ensure Azure CLI is installed and configured on your machine
Docker: Docker should be installed on your machine(Ubuntu on Oracle VM VirtualBox )
Basic Knowledge of Docker and Azure: Familiarity with Docker and Azure services is helpful
Steps
Step 1: Create an Azure Container Registry Log into Azure, search for and select "Container Registry" from the homepage
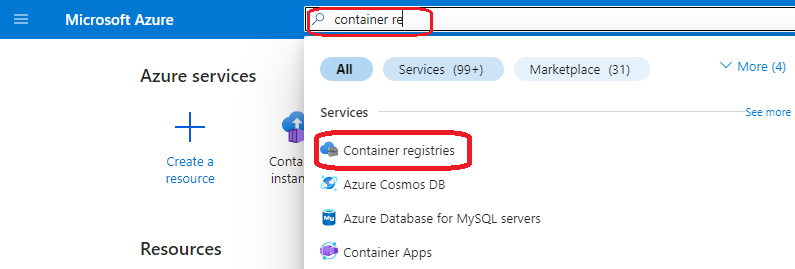
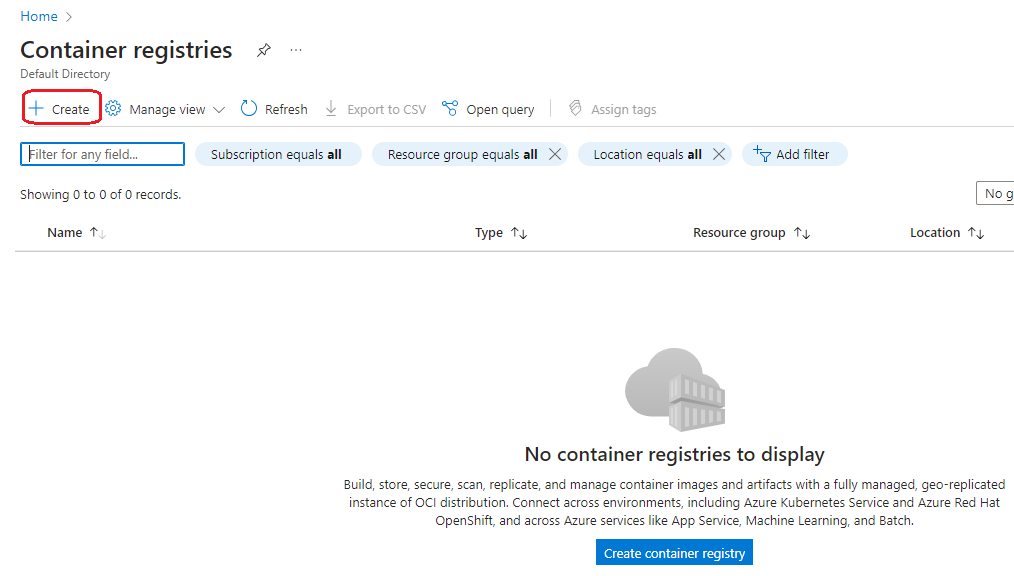
Step 1a: "Click On" "Create"
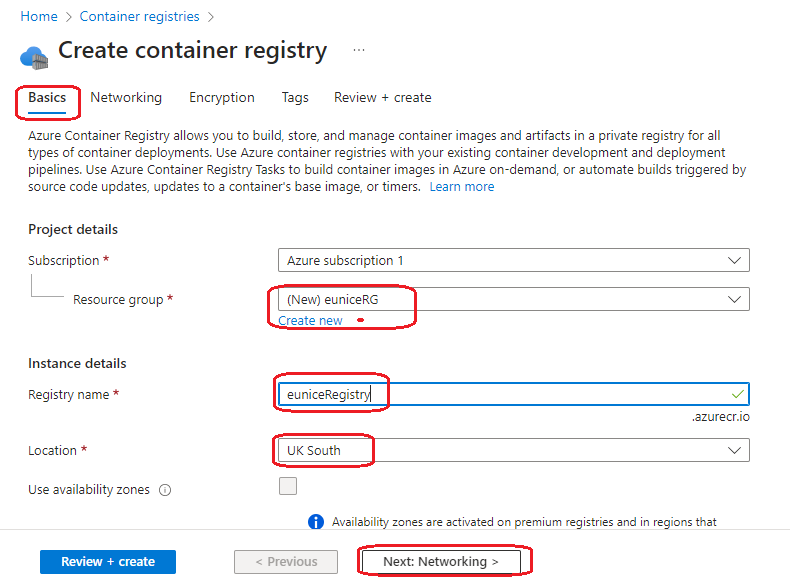
Step 1b: Fill In the Basic Settings - Create a resource group and give it a name "euniceRG" - Give your registry a name "euniceRegistry" NOTE: The registry name must be unique within Azure - Select a Location "UKSouth" - Click on "Next:Networking >"
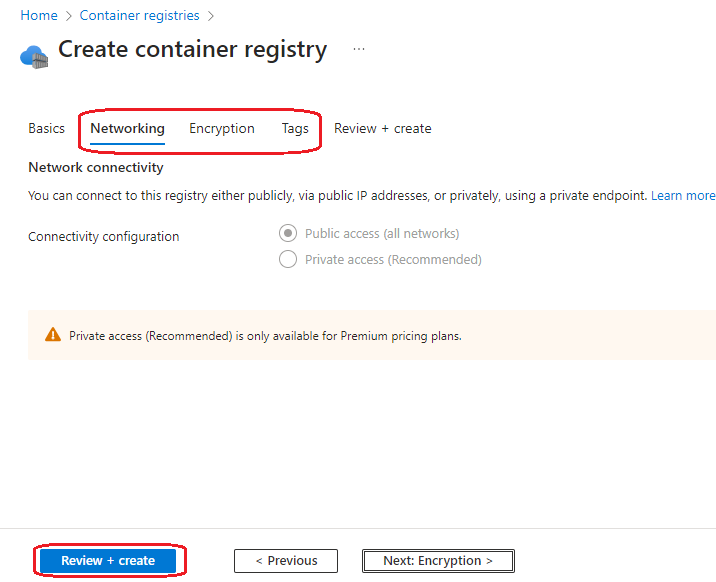
Step 1c: Accept default values for the remaining Settings - "Click On" "Review + create"
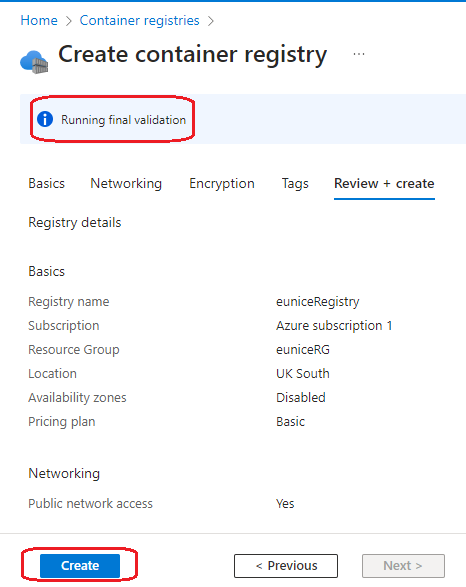
Step 1d: Click On "Create"
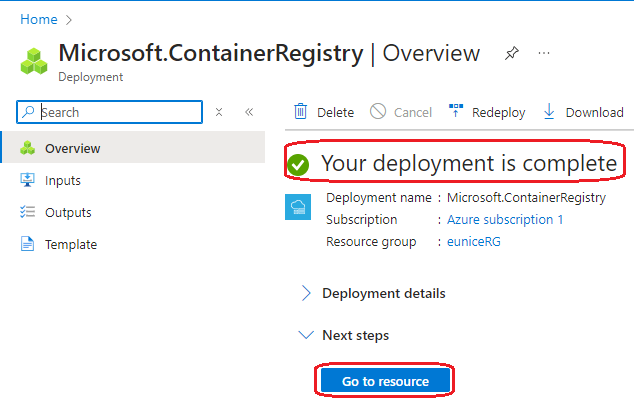
Step 1e: Deployment is Complete - Click on "Go to resource"
Step 1F: Enable the Admin User - On the left pane "Click On" "Settings" - Tick the Admin User Box
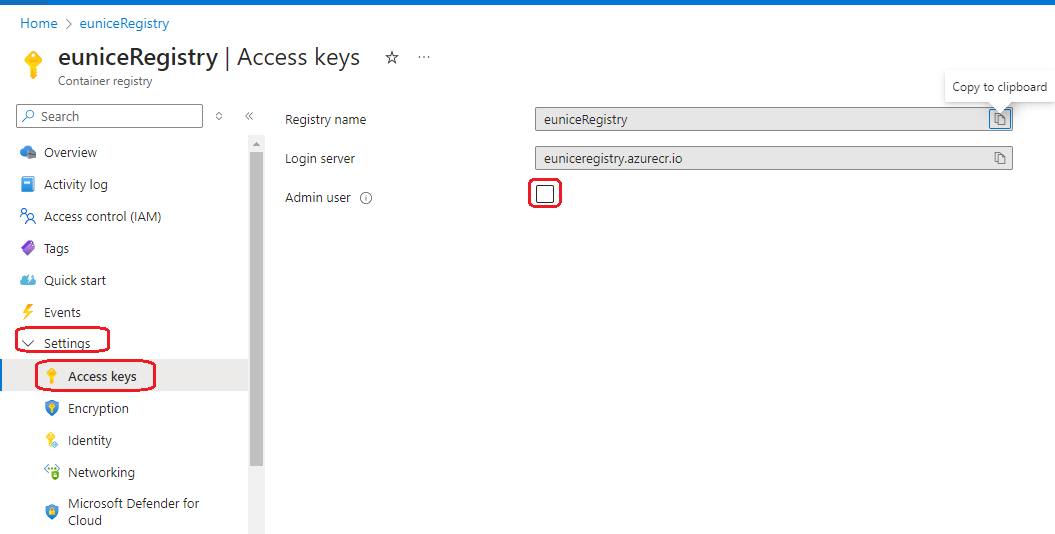
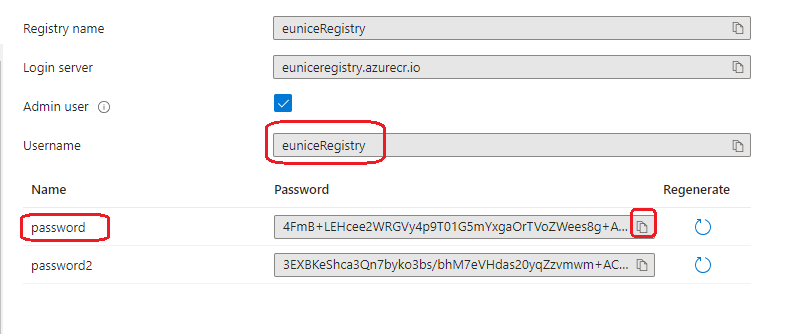
Step 1g: A password will be generated - Take note of your username and copy any of the password
Step 2: Build a Container Image Using Dockerfile - switch root user using the command - Input your password (its invisible when typing the password)

Step 2a: Create a Directory - Run command mkdir <nameofdirectory> - Change Directory (cd); Run command cd <nameofdirectory> to enter directory

Step 2b: Create and Edit index.html file -Run command touch index.html

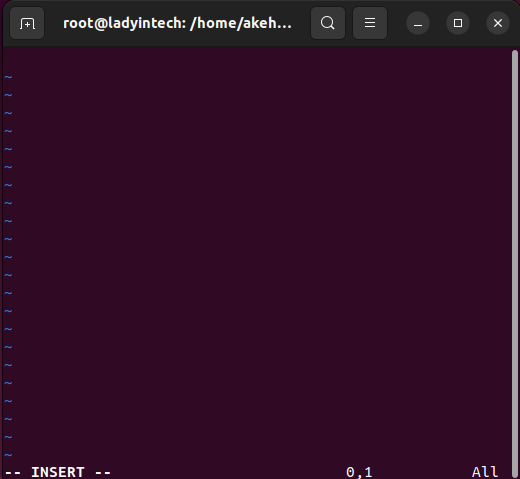
Step 2c: Open an Empty File - Run command vi index.html

Step 2d: Empty Index.html File - NOTE: To be able to type and edit text in file "Click On" the letter "I" on your keyboard to open up file
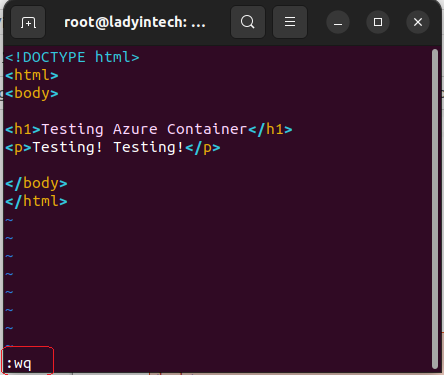
Step 2e: Input a Simple html code Save and Exit - To save "Click On" the "esc button" on your keyboard and type ":wq" to exit
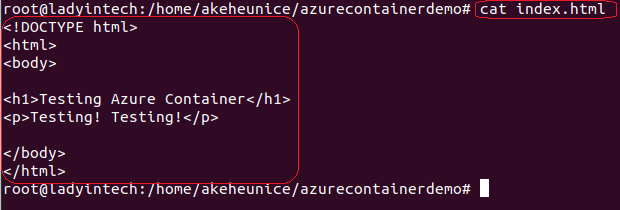
Step 2f: View Content of File On Terminal - Run command cat indext.html
Step 3: Build Container Image Using Docker Image - Create a DockerFile : Run command vi Dockerfile to open an empty file

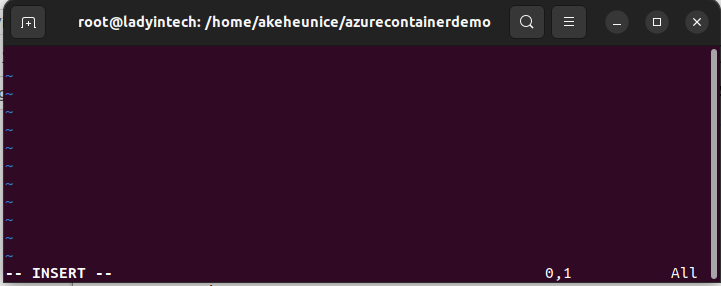
- Empty DockerFile
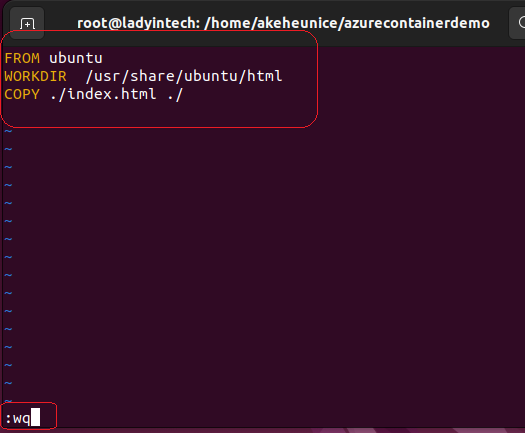
Step 3a: Add Content To File, Save & Exit - FROM ubuntu: This command specifies the base image for your Docker image. In this case, it uses the latest version of the official Ubuntu image from Docker Hub. - WORKDIR /usr/share/ubuntu/html: The Docker container's working directory is configured with this command. This indicates that any further commands (such as RUN, CMD, COPY, ADD, and so on) will be carried out in this directory. The directory will be created if it doesn't already exist. - COPY ./index.html ./: This command copies the index.html file from the local directory on your host machine (the same directory where the Dockerfile is located) into the working directory of the container (/usr/share/ubuntu/html) - Save & Exit: Press the "esc button" on your keyboard type :wq and press Enter, it saves your changes to the Dockerfile and exits the editor.
Step 3b: List Directory Contents Of Files

Step 3b: Build Docker Image - Run command docker build --tag <nameyourimage>
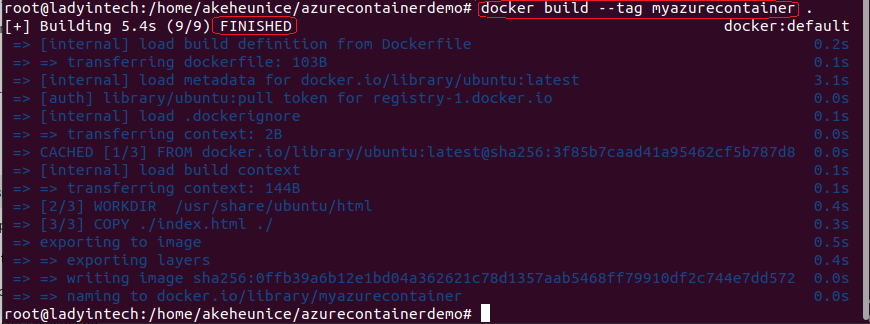
Step 4: Push the Image to Azure Container Registry - Log into Azure Container Registry from the terminal, Run command docker login <login server> as seen in Step 1g - Enter password when prompted from your container registry in Azure as seen in Step 1g

Step 4a:Tag The Docker Image - A unique identification must be assigned to each Docker image in order to tag it, particularly if the image has numerous versions. Enables effective management and organization of images. required in order to push images to remote repositories such as Azure Container Registry.

Step 4b: Push The Docker Image To ACR - Docker push: This is the Docker command used to upload or push images to a Docker registry - euniceRegistry.azurecr.io: This is the URL of your Azure Container Registry - myimages/myazurecontainer:latest: This is the path within your ACR where the image will be stored

Step 5: View Repository
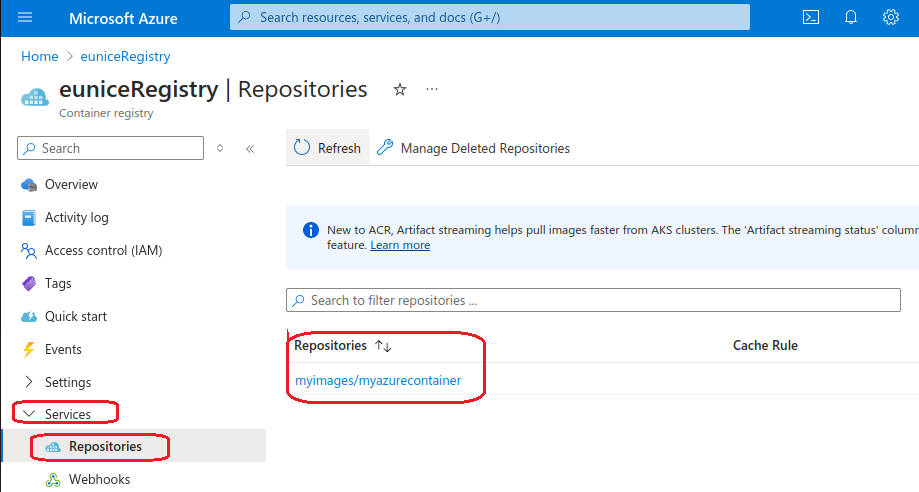
Step 5a: View Content of Your Repository

Conclusion
Congratulations! You have successfully created an Azure Container Registry, built a Docker container image, and pushed it to the ACR. This workflow demonstrates the ease with which you can deploy containerized applications to Azure. By following these steps, you are now equipped to manage and deploy Docker images using Azure services, making your development and deployment process more efficient and scalable.
Subscribe to my newsletter
Read articles from AKEH EUNICE directly inside your inbox. Subscribe to the newsletter, and don't miss out.
Written by
