Day 61 - Essential Terraform Commands 🔥
 Nilkanth Mistry
Welcome back to the #90DaysOfDevOpsChallenge! We're diving deeper into Terraform today. I hope you've already got the gist of what working with Terraform is like. Let's begin with day 2 of Terraform!
Task 1: Basic Terraform Commands
In this section, we'll cover some essential Terraform commands that you'll use frequently. Let's get started! 🚀
1. terraform init
Purpose: This command initializes a Terraform working directory. It's the first command you run after creating a new Terraform configuration or cloning an existing one from version control.
Explanation: It downloads the necessary provider plugins, sets up the backend, and ensures that your working directory is ready for Terraform operations.
terraform init
2. terraform init -upgrade
Purpose: This command upgrades the provider plugins to the latest version within the constraints specified in the configuration.
Explanation: If there are newer versions of the provider plugins, this command ensures you get those updates.
terraform init -upgrade
3. terraform plan
Purpose: This command creates an execution plan, showing what actions Terraform will take to achieve the desired state described in your configuration files.
Explanation: It's a dry run that helps you understand what changes will be made before actually applying them.
terraform plan
4. terraform apply
Purpose: This command applies the changes required to reach the desired state of the configuration.
Explanation: It creates or updates infrastructure according to the configuration files. After running terraform plan, use this to make the changes.
terraform apply
5. terraform validate
Purpose: This command checks the syntax and internal consistency of your configuration files.
Explanation: It helps catch any errors before you attempt to plan or apply your configuration.
terraform validate
6. terraform fmt
Purpose: This command formats your Terraform configuration files to a canonical style.
Explanation: It ensures that your code is clean, readable, and follows standard formatting guidelines.
terraform fmt
7. terraform destroy
Purpose: This command destroys the infrastructure managed by your Terraform configuration.
Explanation: It removes all the resources defined in your configuration, which is useful for cleaning up your environment.
terraform destroy
Understanding Terraform's Ecosystem
Terraform is a powerful tool, but it's not the only one in the infrastructure as code space. Here are some of its main competitors:
Ansible: Primarily used for configuration management, application deployment, and task automation. It's agentless and uses YAML for configurations.
Packer: Focused on creating machine images for multiple platforms from a single source configuration.
Cloud Foundry: An open-source platform-as-a-service (PaaS) that enables developers to build, deploy, run, and scale applications.
Kubernetes: An open-source container orchestration platform that automates deploying, scaling, and operating containerized applications.
Performing Hands-on with AWS
Let's perform some hands-on tasks using Terraform on AWS. Follow these steps:
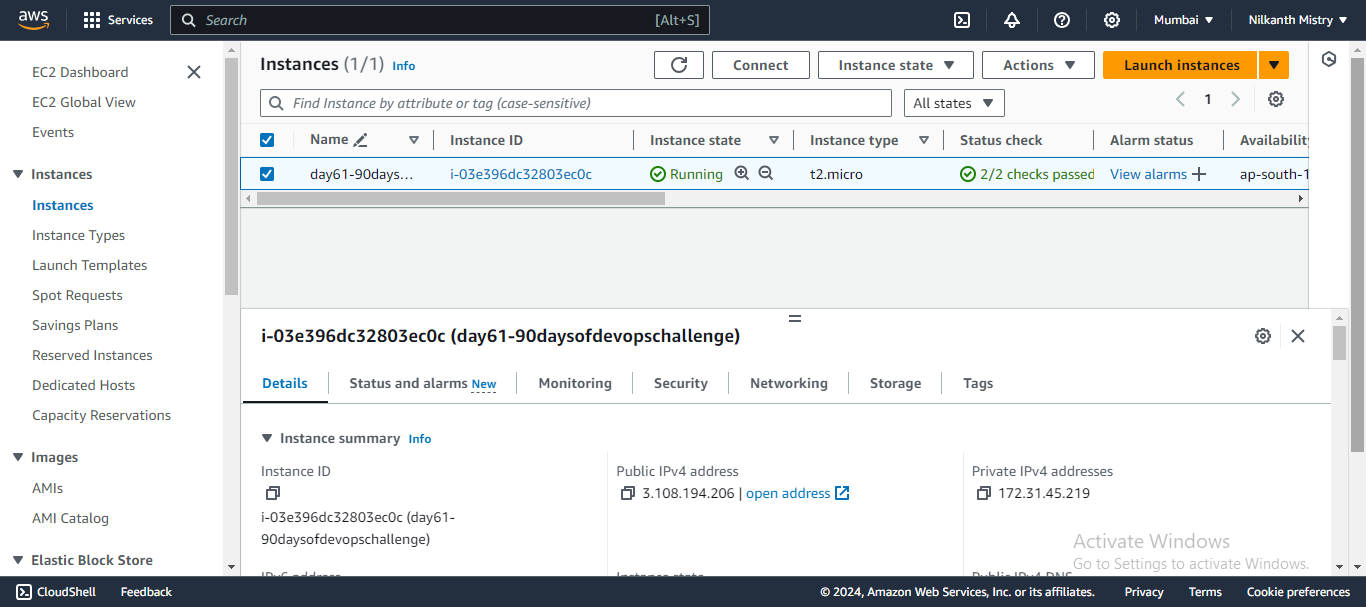
Install Terraform: Download and install Terraform from the official Terraform website.
 sudo apt-get update
 sudo apt-get install -y gnupg software-properties-common curl
 curl -fsSL https://apt.releases.hashicorp.com/gpg | sudo apt-key add -
 sudo apt-add-repository "deb [arch=amd64] https://apt.releases.hashicorp.com $(lsb_release -cs) main"
 sudo apt-get update
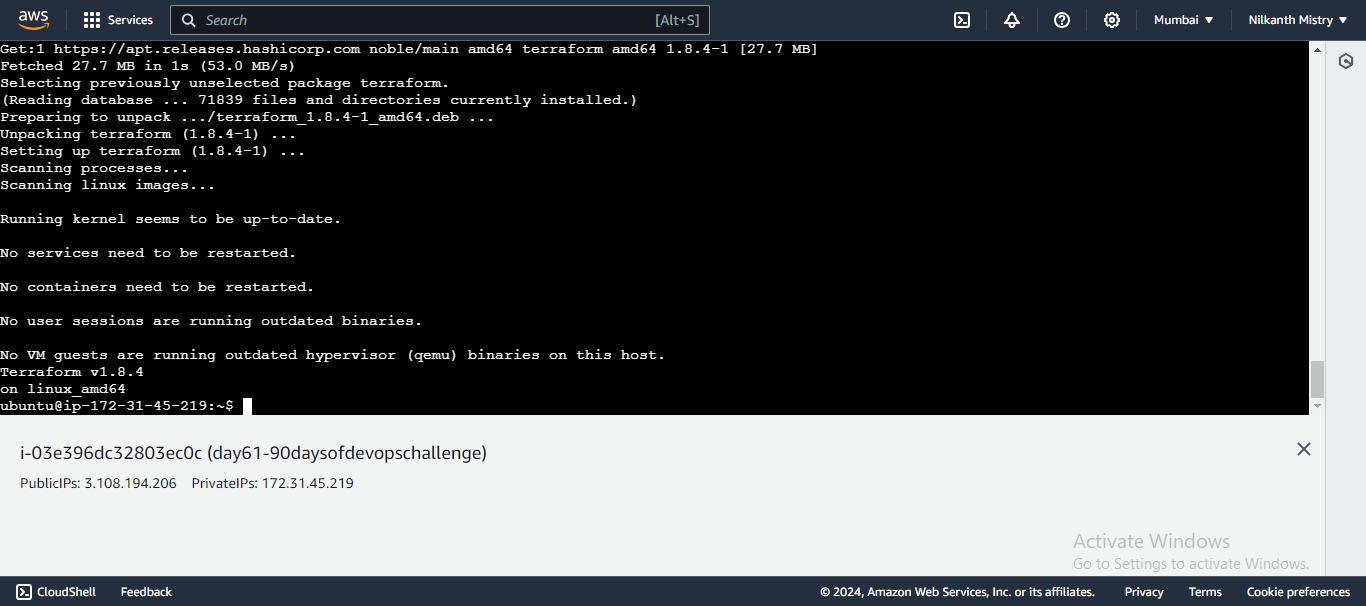
 sudo apt-get install terraform
 terraform -version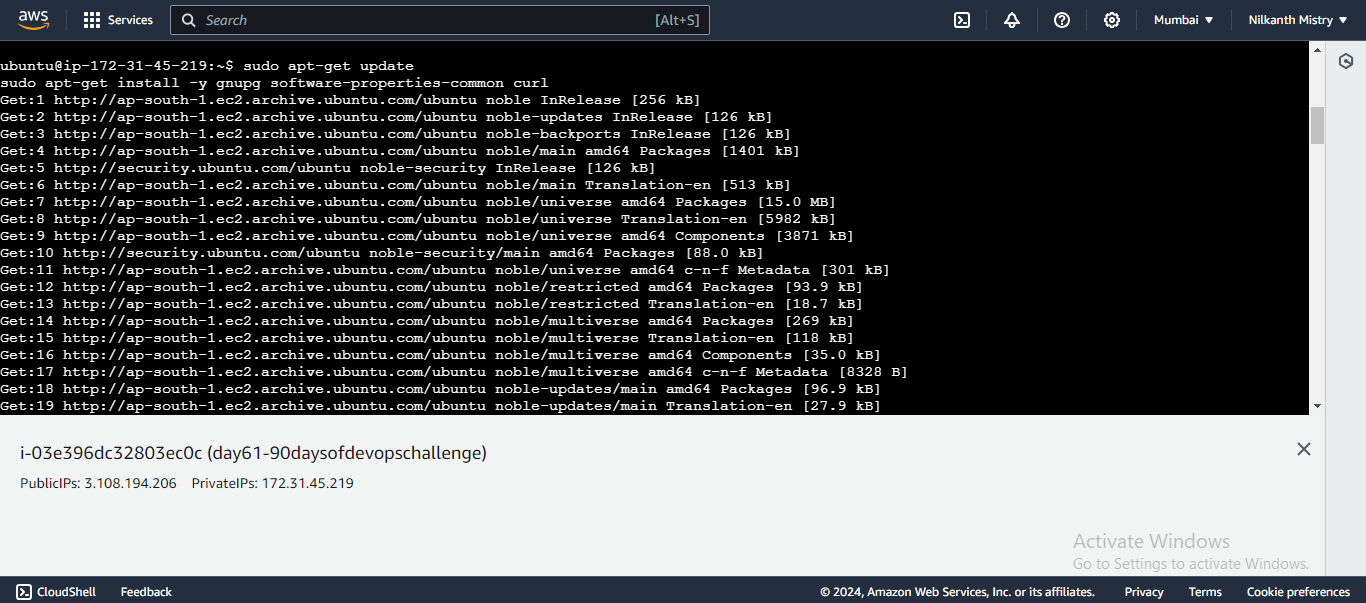
Setup AWS CLI: Ensure you have the AWS CLI installed and configured with your credentials. You can download it from AWS CLI Installation.
 sudo apt-get update
 sudo snap install aws-cli --classic
 aws --version
 aws configure
Create a new directory for your Terraform project:
 mkdir terraform-aws-demo
 cd terraform-aws-demo
Create a main configuration file (main.tf):
 provider "aws" {
   region = "ap-south-1"
 }

 resource "aws_instance" "example" {
   ami           = "ami-0f58b397bc5c1f2e8"
   instance_type = "t2.micro"
 }
Initialize your Terraform working directory 🛠️:
terraform init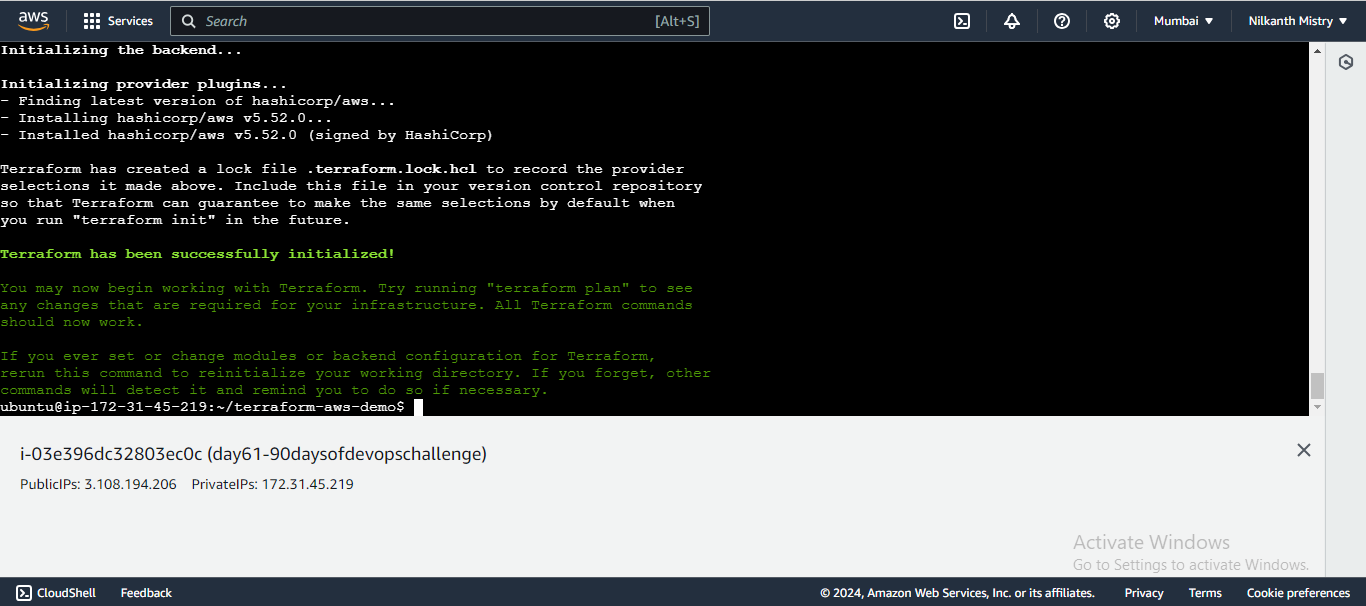
Validate the configuration 🔄:
terraform validate
Generate and review the execution plan 🔍:
terraform plan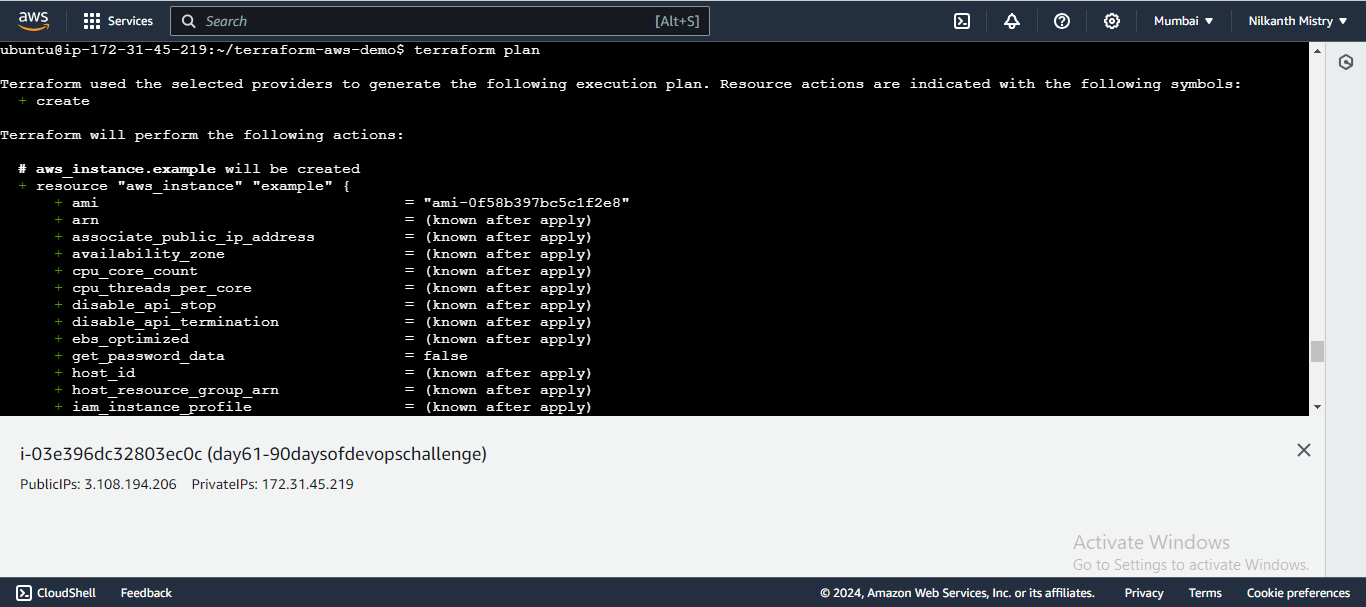
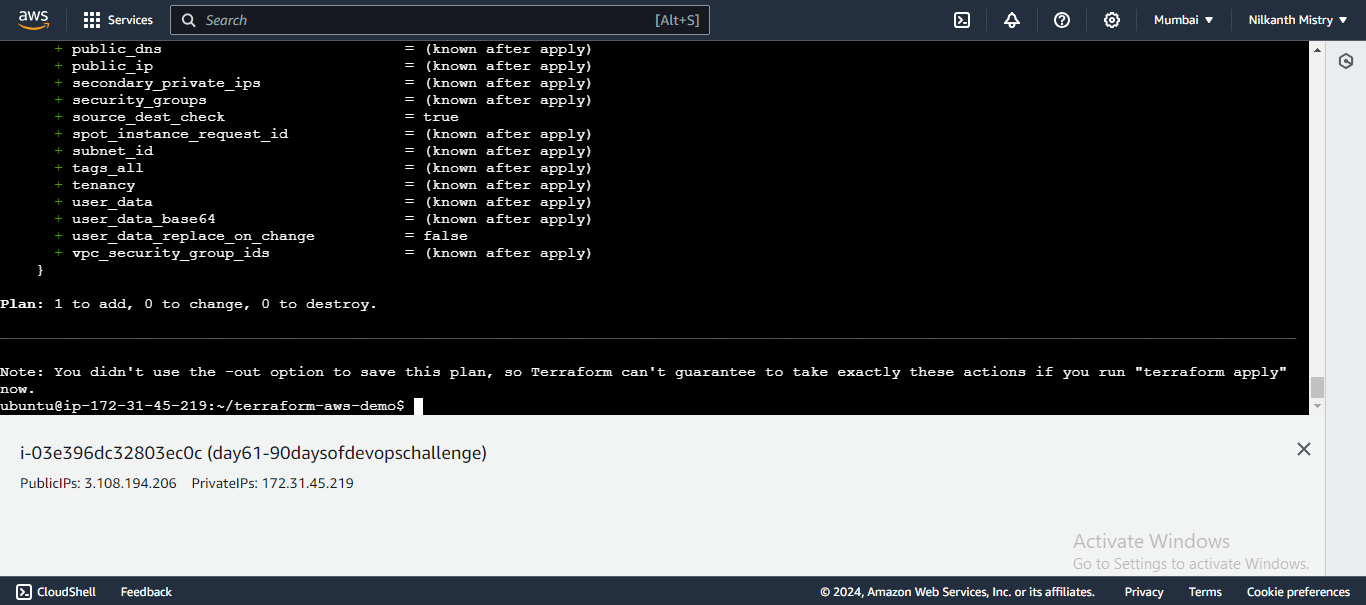
Apply the configuration to create the instance 🚀:
terraform applyConfirm the apply step by typing
yeswhen prompted.Verify your AWS instance in the AWS Management Console.
Destroy the infrastructure when no longer needed 💣:
terraform destroy
Confirm the destroy step by typing
yeswhen prompted.
By following these steps, you'll be able to set up and manage AWS resources using Terraform. Keep practicing and exploring more complex configurations as you become more comfortable with Terraform!
Happy Learning and Terraforming! 🌟
Subscribe to my newsletter
Read articles from Nilkanth Mistry directly inside your inbox. Subscribe to the newsletter, and don't miss out.
Written by

Nilkanth Mistry
Nilkanth Mistry
Embark on a 90-day DevOps journey with me as we tackle challenges, unravel complexities, and conquer the world of seamless software delivery. Join my Hashnode blog series where we'll explore hands-on DevOps scenarios, troubleshooting real-world issues, and mastering the art of efficient deployment. Let's embrace the challenges and elevate our DevOps expertise together! #DevOpsChallenges #HandsOnLearning #ContinuousImprovement