Day 62 - Terraform and Docker 🔥
 Nilkanth Mistry
Hello, DevOps enthusiasts! Welcome to Day 62 of the #90DaysOfDevOpsChallenge. Today, we're diving into Terraform and Docker. Let's break down the concepts and steps to get hands-on with these tools on AWS. 🌟
Terraform and Docker Overview 🛠️
Terraform is an Infrastructure as Code (IaC) tool that allows you to define and provision infrastructure using a high-level configuration language. 🌐
Docker is a platform that enables developers to create, deploy, and run applications in containers, which are lightweight and portable environments. 🐳
To manage Docker resources with Terraform, you need to specify the provider (in this case, Docker) and define the resources you want to create and manage. Let's get started! 🚀
Step 1: Install Terraform and Docker 🖥️
Before we begin, ensure you have Terraform and Docker installed on your machine. If not, you can install them using the following commands:
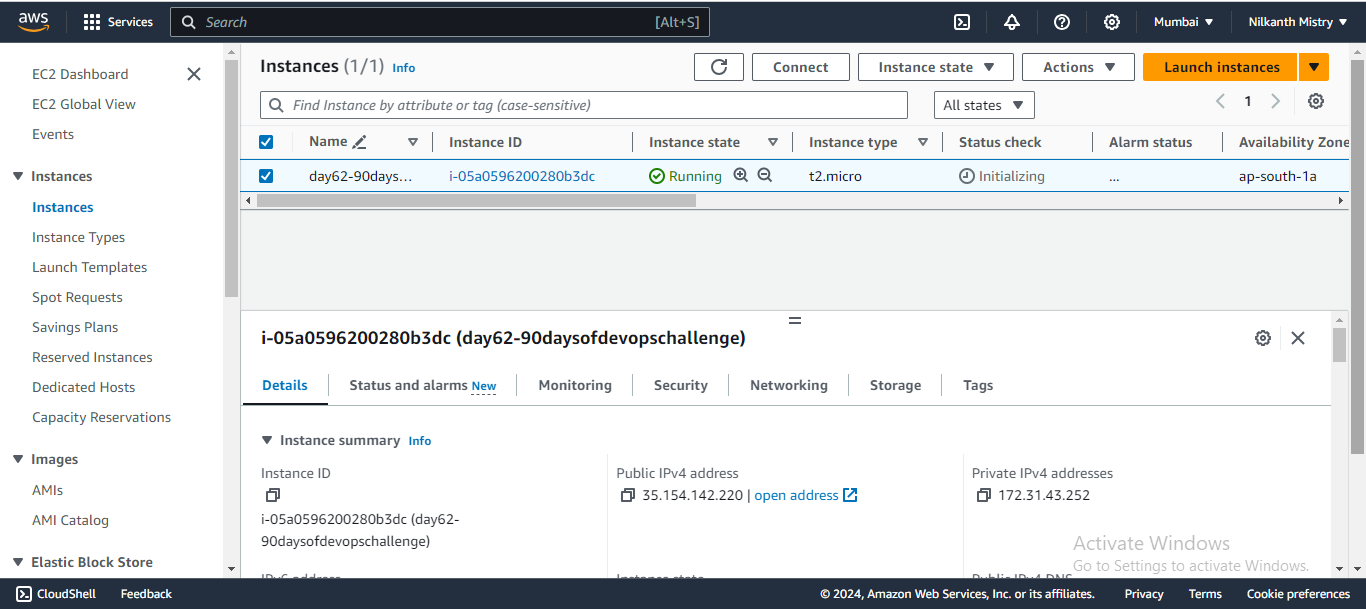
Install Terraform:
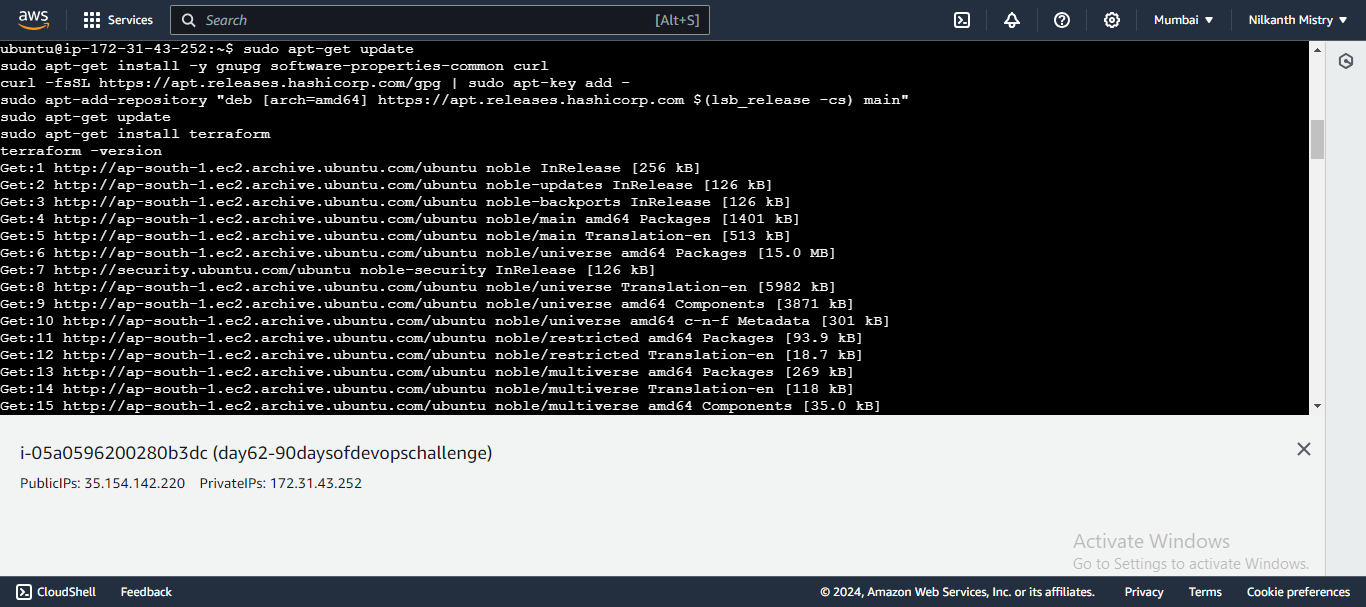
sudo apt-get update
sudo apt-get install -y gnupg software-properties-common curl
curl -fsSL https://apt.releases.hashicorp.com/gpg | sudo apt-key add -
sudo apt-add-repository "deb [arch=amd64] https://apt.releases.hashicorp.com $(lsb_release -cs) main"
sudo apt-get update
sudo apt-get install terraform
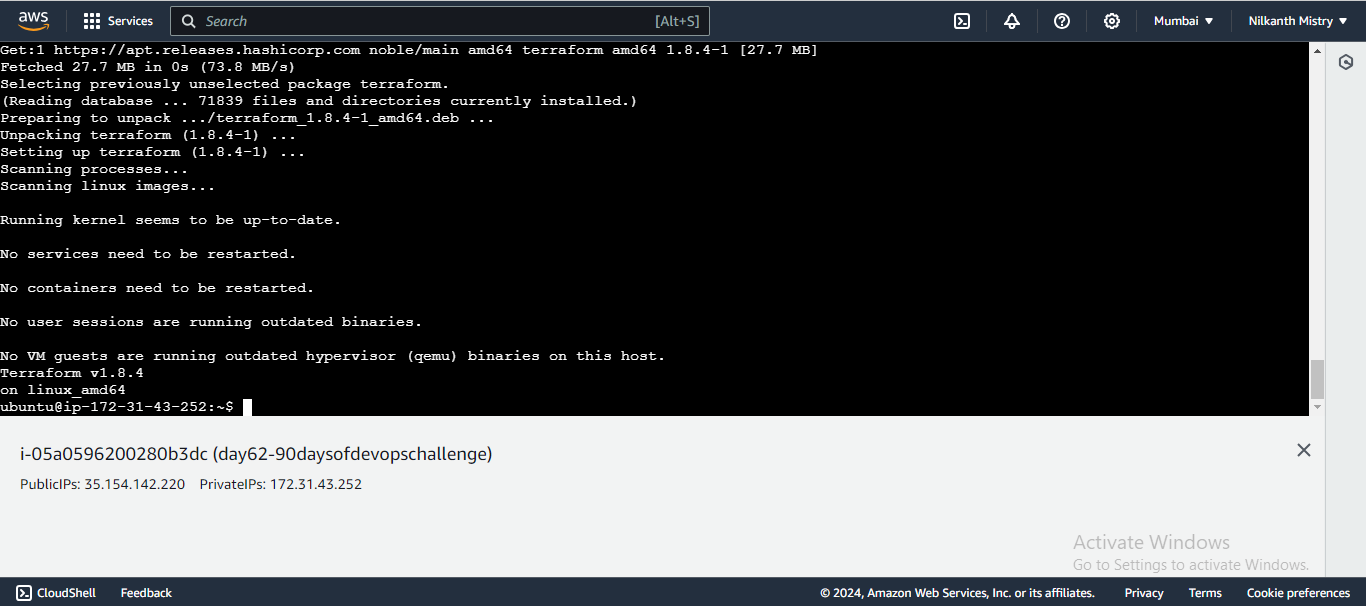
terraform -version
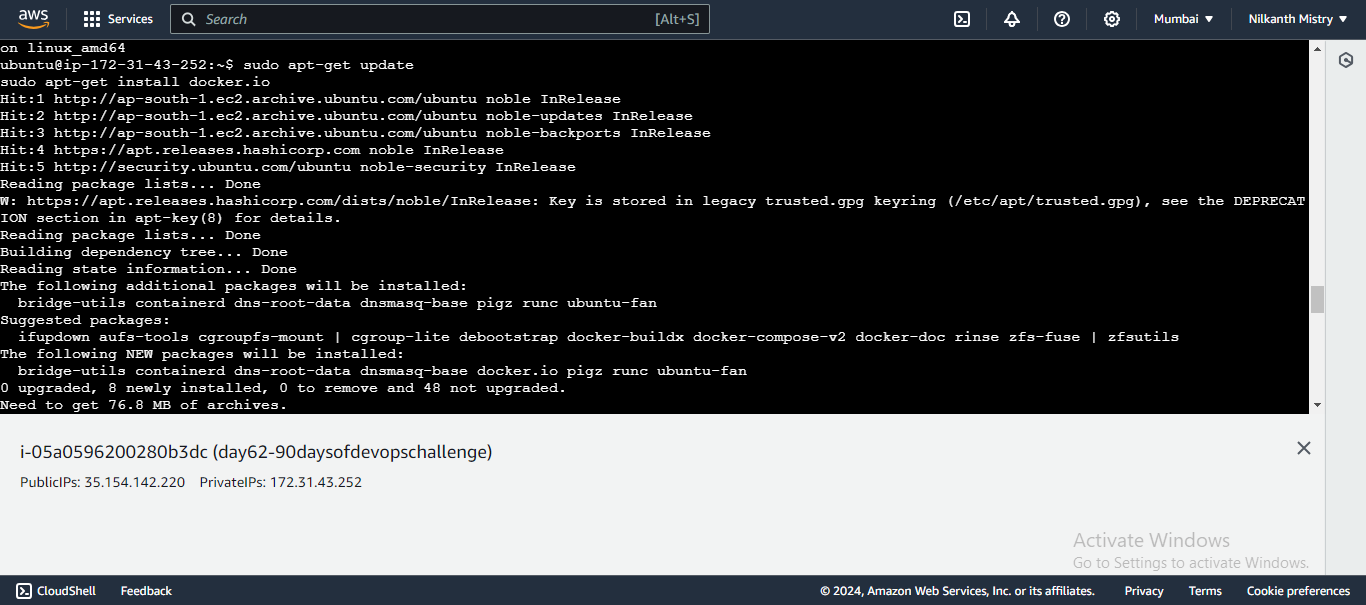
Install Docker:
sudo apt-get update
sudo apt-get install docker.io
Step 2: Define the Terraform Configuration 📜
Create a new directory for your Terraform project:
 mkdir terraform-docker-demo
 cd terraform-docker-demo
📁 Directory created!
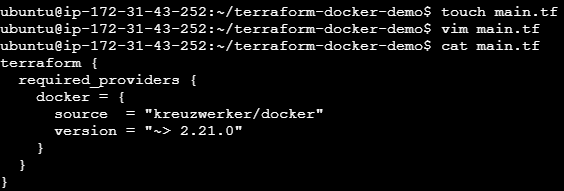
Create a new file named
main.tf:touch main.tf vim main.tf📝 File created!
Add the Terraform block to specify the Docker provider:
 terraform {
   required_providers {
     docker = {
       source  = "kreuzwerker/docker"
       version = "~> 2.21.0"
     }
   }
 }
🧩 Configuration added!
Step 3: Configure the Docker Provider ⚙️
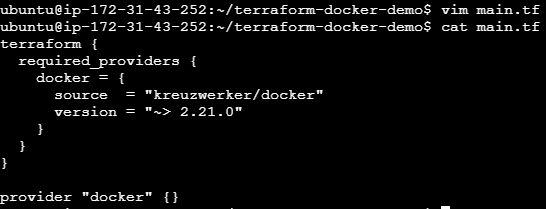
Add the provider block in
main.tf:provider "docker" {}🔧 Provider configured!
Step 4: Define Docker Resources 📦
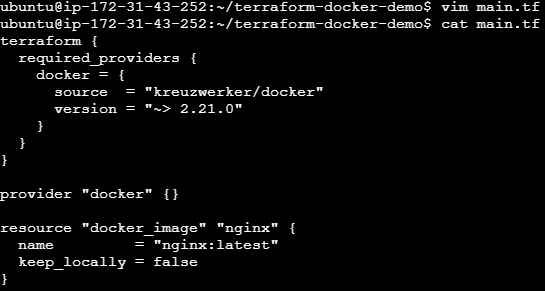
Create a resource block for the Nginx Docker image:
 resource "docker_image" "nginx" {
   name         = "nginx:latest"
   keep_locally = false
 }
🖼️ Nginx image resource defined!
Create a resource block for running an Nginx Docker container:
 resource "docker_container" "nginx" {
   image = docker_image.nginx.latest
   name  = "tutorial"
   ports {
     internal = 80
     external = 80
   }
 }
📦 Nginx container resource defined!
Your main.tf file should now look like this:
terraform {
  required_providers {
    docker = {
      source  = "kreuzwerker/docker"
      version = "~> 2.21.0"
    }
  }
}

provider "docker" {}

resource "docker_image" "nginx" {
  name         = "nginx:latest"
  keep_locally = false
}

resource "docker_container" "nginx" {
  image = "nginx:1.19.10"
  name  = "tutorial"
  ports {
    internal = 80
    external = 80
  }
}

Step 5: Initialize and Apply Terraform Configuration 💻
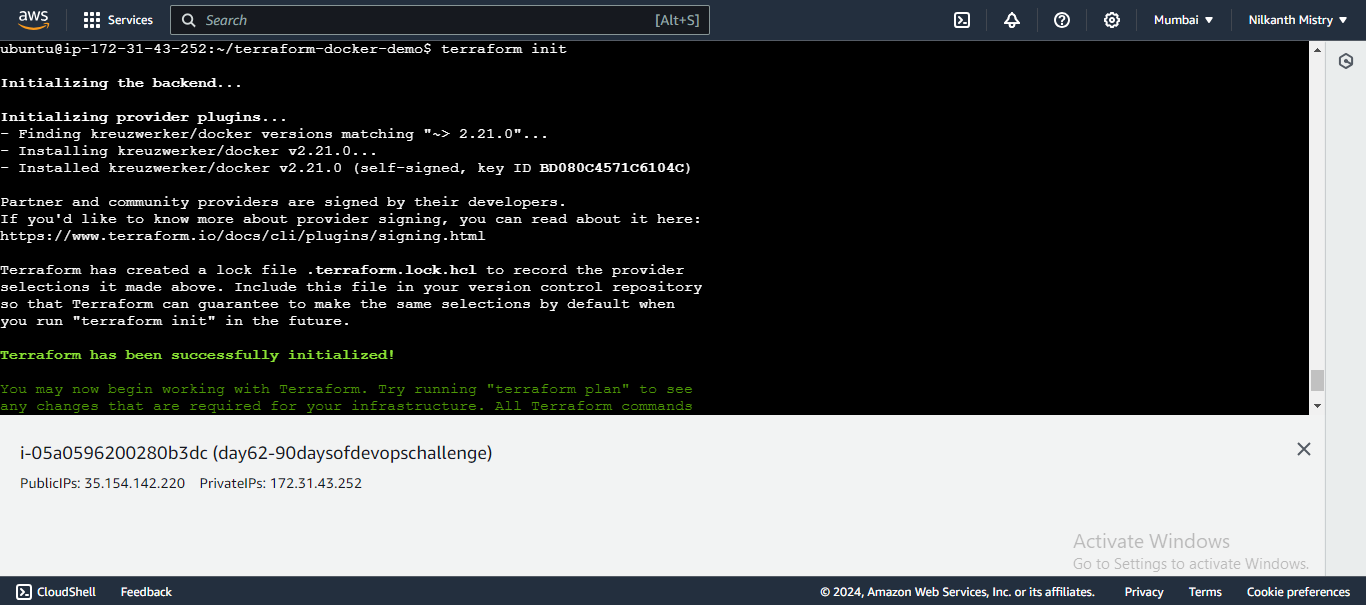
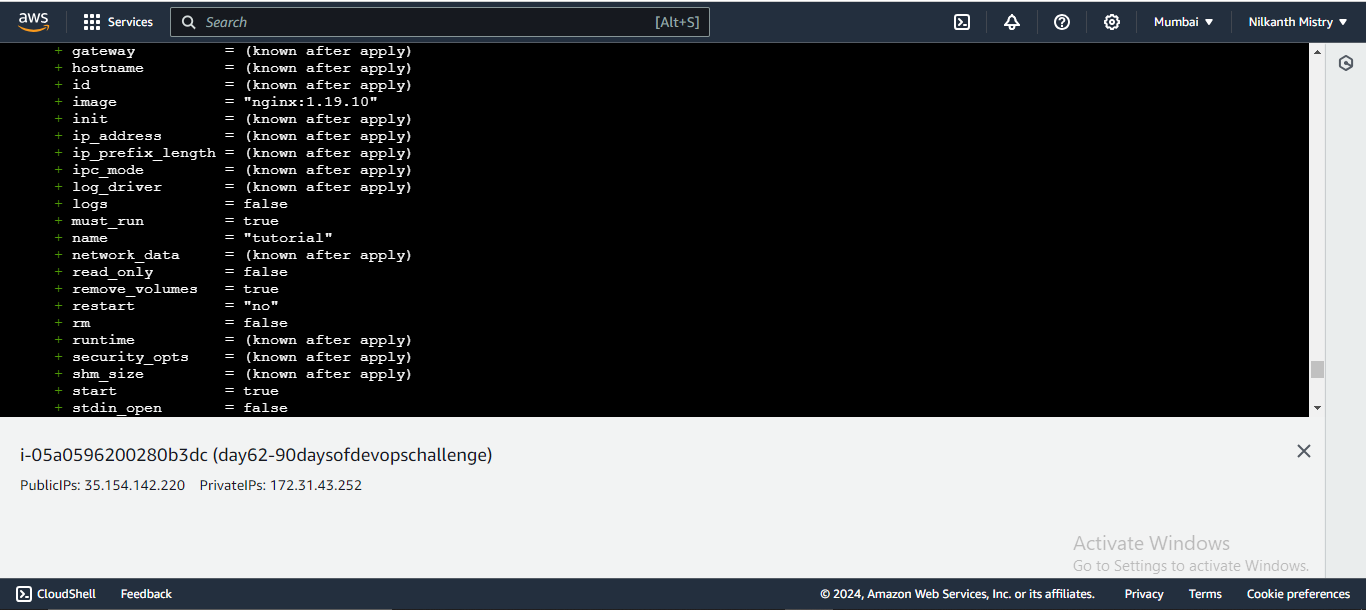
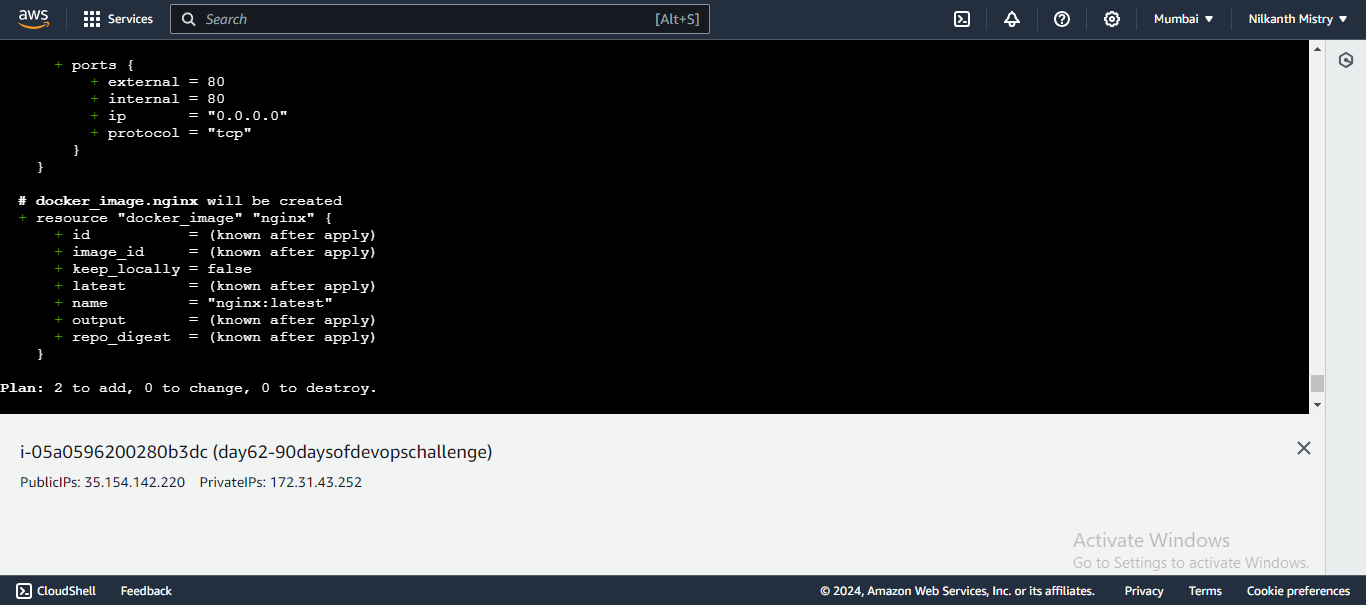
Initialize your Terraform configuration:
 terraform init
 terraform validate
 terraform plan
🏁 Initialization complete!

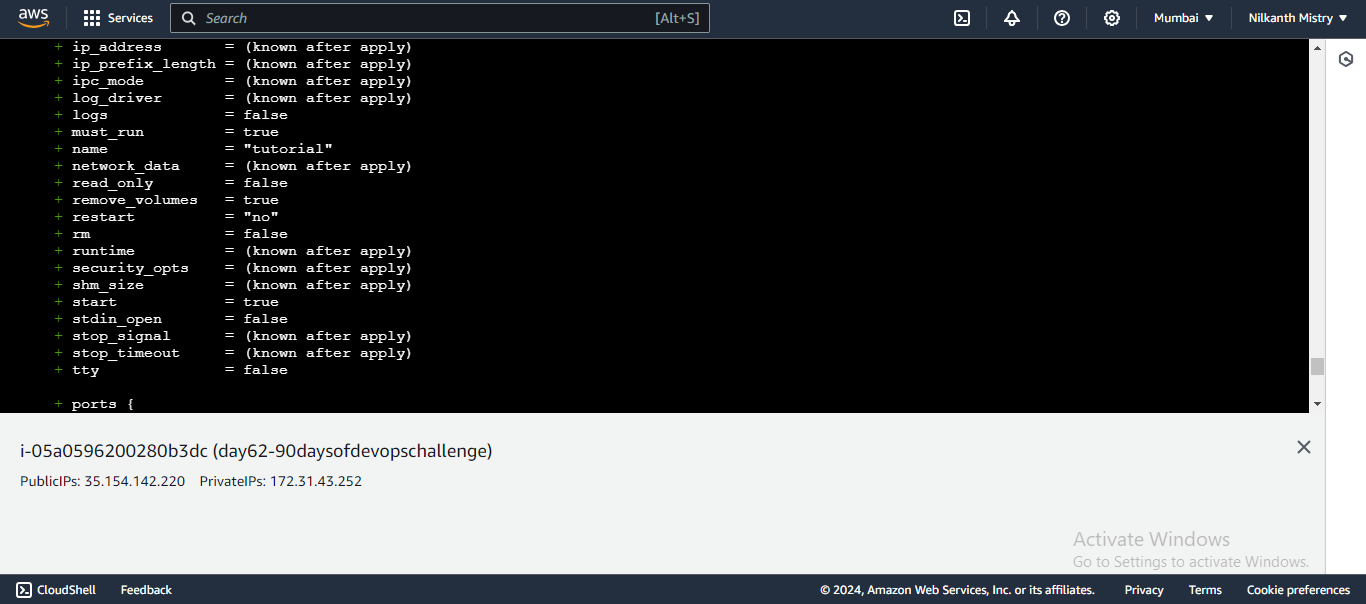
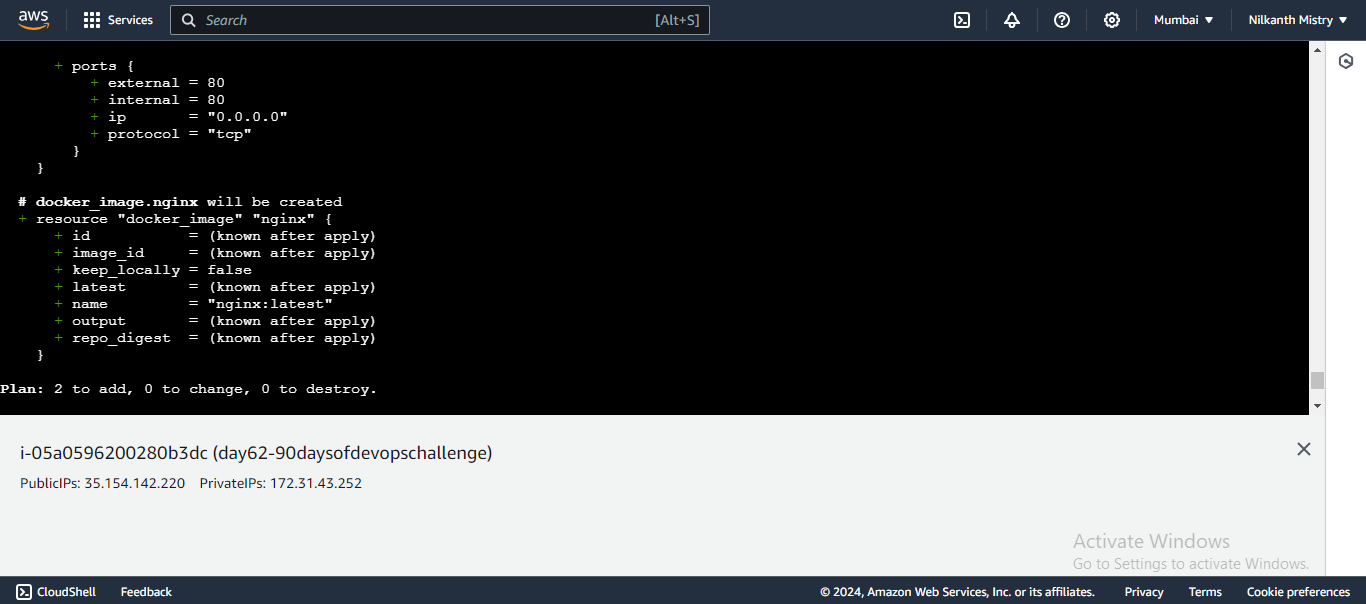
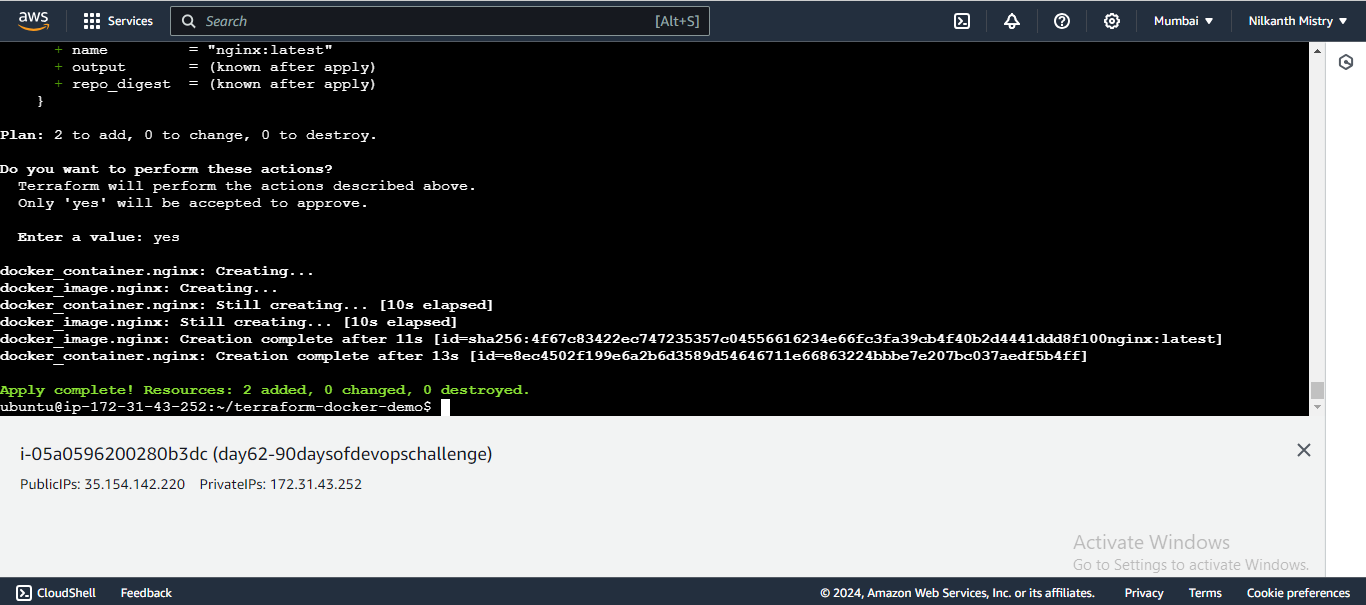
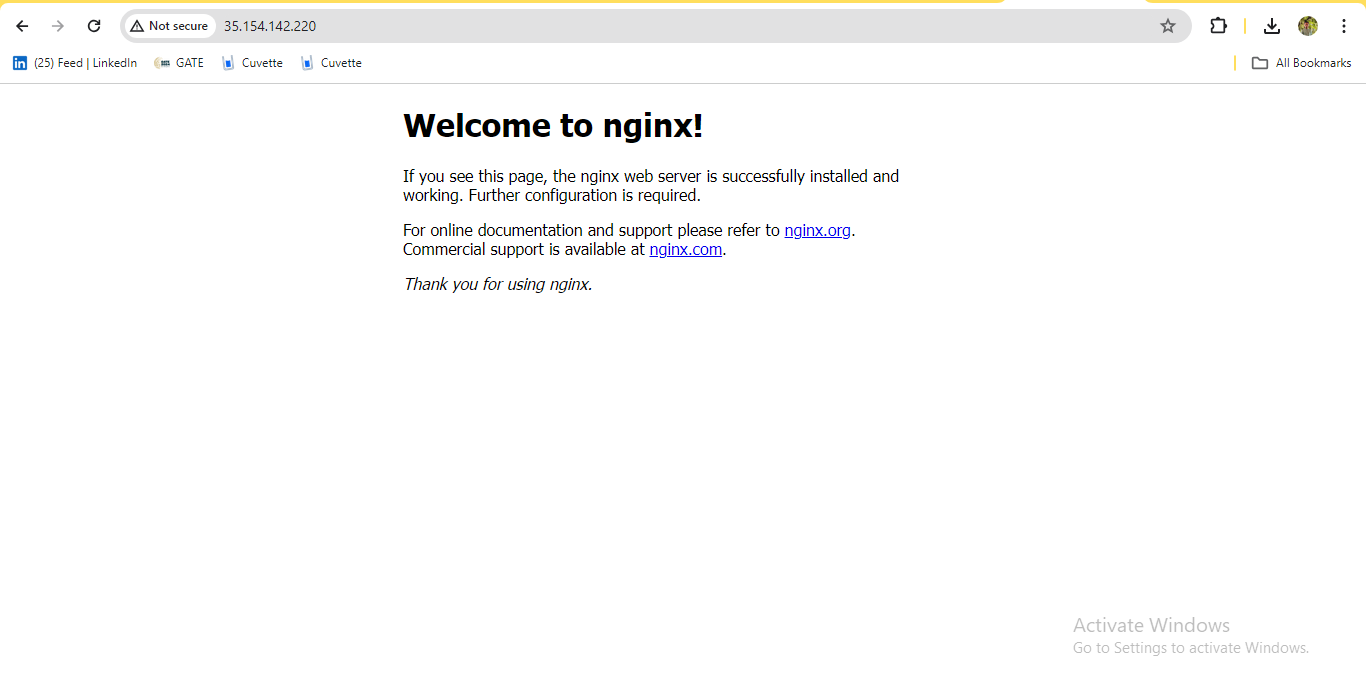
Apply the Terraform configuration to provision the Docker resources:
terraform applyReview the execution plan and confirm by typing
yes. ✔️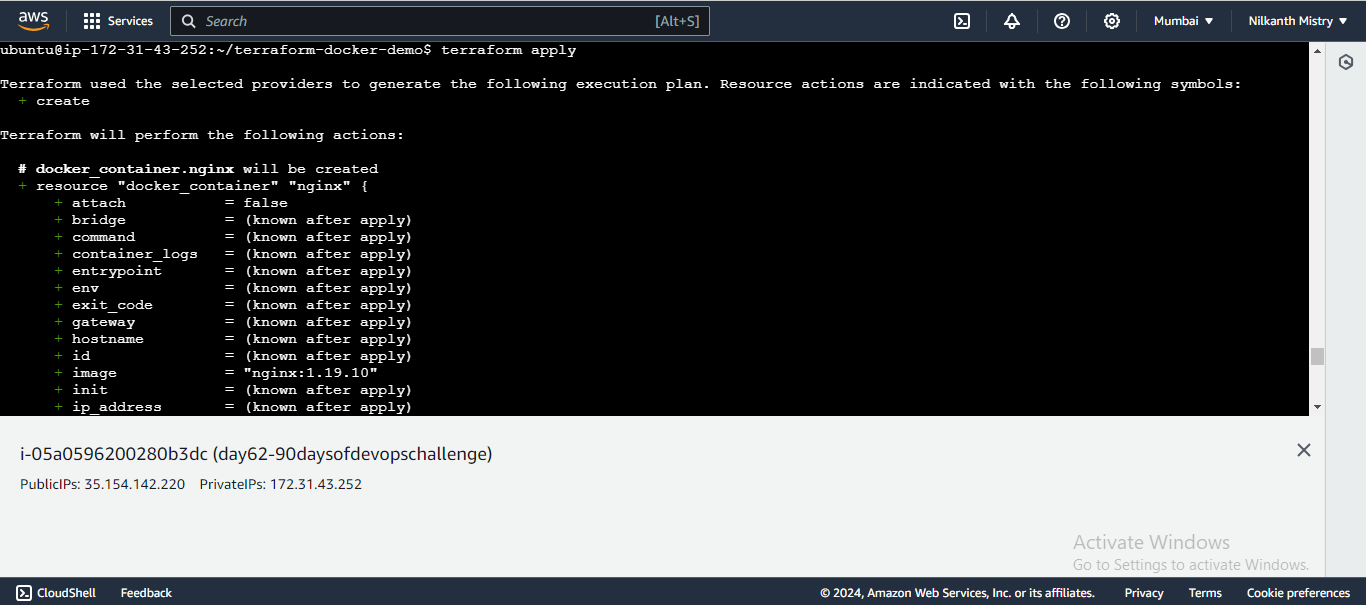
Note: In case Docker is not installed 🚑
If Docker is not installed, use the following commands:
sudo apt-get install docker.io
sudo docker ps
sudo chown $USER /var/run/docker.sock


Summary 📚
Today, we've covered how to:
Specify the Docker provider in Terraform.
Define resources for Docker images and containers.
Initialize and apply Terraform configurations to manage Docker resources.
Keep practicing and happy learning! 🚀
Feel free to reach out if you have any questions or run into any issues. See you tomorrow for another exciting day of the #90DaysOfDevOpsChallenge! 🌟
Subscribe to my newsletter
Read articles from Nilkanth Mistry directly inside your inbox. Subscribe to the newsletter, and don't miss out.
Written by

Nilkanth Mistry
Nilkanth Mistry
Embark on a 90-day DevOps journey with me as we tackle challenges, unravel complexities, and conquer the world of seamless software delivery. Join my Hashnode blog series where we'll explore hands-on DevOps scenarios, troubleshooting real-world issues, and mastering the art of efficient deployment. Let's embrace the challenges and elevate our DevOps expertise together! #DevOpsChallenges #HandsOnLearning #ContinuousImprovement