How to Use NgRx Selectors in Angular
 Dany Paredes
In NgRx, when we want to get data from the store, the easiest way is by using store.select. It allows us to get any slice of the state. Yes, it sounds funny, but any slice returns an Observable<any>.
For example:

It is flexible but also risky because, what happens if our state structure changes? The best way to fix this is by using Selectors. Let's play with them!
NgRx Selectors
The Selectors help us get slices of the store state with type safety. They act like a mirror of our state, making it easy to use anywhere and allowing us to avoid repeating the same code in our application.
NgRx provide two functions createFeatureSelector() and createSelector() to create selectors.
The createFeatureSelector function allows us to define a type-safe slice of our state using our state definition.
export const selectHomeState = createFeatureSelector<HomeState>('home');
The createSelector function uses the featureState as the first parameter and a second function to get the featureState and pick the slice.
export const selectLoading = createSelector(
  selectHomeState,
  (homeState) => homeState.loading
)
We already know the NgRx selector functions, so let's use them and have some fun 🔥!
Creating Selectors
It's time to start using createFeatureSelector and createSelectorin our project. We continue with the initial project of NgRx, clone it, and switch to the action-creators branch.
git clone https://github.com/danywalls/start-with-ngrx.git
git switch action-creators
Open the project with your favorite editor, and create a new file src/app/pages/about/state/home.selectors.ts. Next, import the createFeatureSelector and createSelector functions. Use createFeatureSelector with the HomeState interface to create selectHomeState.
export const selectHomeState = createFeatureSelector<HomeState>('home');
After that, use selectHomeState to create selectors for players, loading, and acceptTerms.
export const selectLoading = createSelector(
selectHomeState,
(homeState) => homeState.loading
)
export const selectPlayers = createSelector(
selectHomeState,
(homeState) => homeState.players
)
export const selectAcceptTerms = createSelector(
selectHomeState,
(homeState) => homeState.acceptTerms,
)
We can also compose selectors. For example, if we want to know when the players have data and the user has accepted the terms (acceptTerms), we can create selectAllTaskDone. This combines the selectPlayers and selectAcceptTerms selectors to check if all tasks are done.
export const selectAllTaskDone = createSelector(
  selectPlayers,
  selectAcceptTerms,
  (players, acceptTerms) => {
    return acceptTerms && players.length > 0;
  }
)
The final code in home.selectors.ts looks like this:
import {createFeatureSelector, createSelector} from "@ngrx/store";
import {HomeState} from "./home.state";


export const  selectHomeState = createFeatureSelector<HomeState>('home');

export const selectLoading = createSelector(
  selectHomeState,
  (homeState) => homeState.loading
)

export const selectPlayers = createSelector(
  selectHomeState,
  (homeState) => homeState.players
)
export const selectAcceptTerms = createSelector(
  selectHomeState,
  (homeState) => homeState.acceptTerms,
)

export const selectAllTaskDone = createSelector(
  selectPlayers,
  selectAcceptTerms,
  (players, acceptTerms) => {
    return acceptTerms && players.length > 0;
  }
)
Okay, with the selectors ready, it's time to refactor home.component.ts to use them. Import each selector from home.selectors.ts.
Note: Remove the
toSignalfunction and usestore.selectSignalsto automatically transform the selectors' observables into signals.
  public $loading = this._store.selectSignal(selectLoading);
  public $players = this._store.selectSignal(selectPlayers);
  public $acceptTerms = this._store.selectSignal(selectAcceptTerms);
Finally, create a new variable to use the composable selector selectAllTaskDone.
public $allTasksDone = this._store.selectSignal(selectAllTaskDone);
Update home.component.html markup to use the $allTasksDone signals in the template.
@if (!$allTasksDone()) {
  Wait for the players and  accept terms

} @else {
  <h2>Everything done!🥳</h2>
}
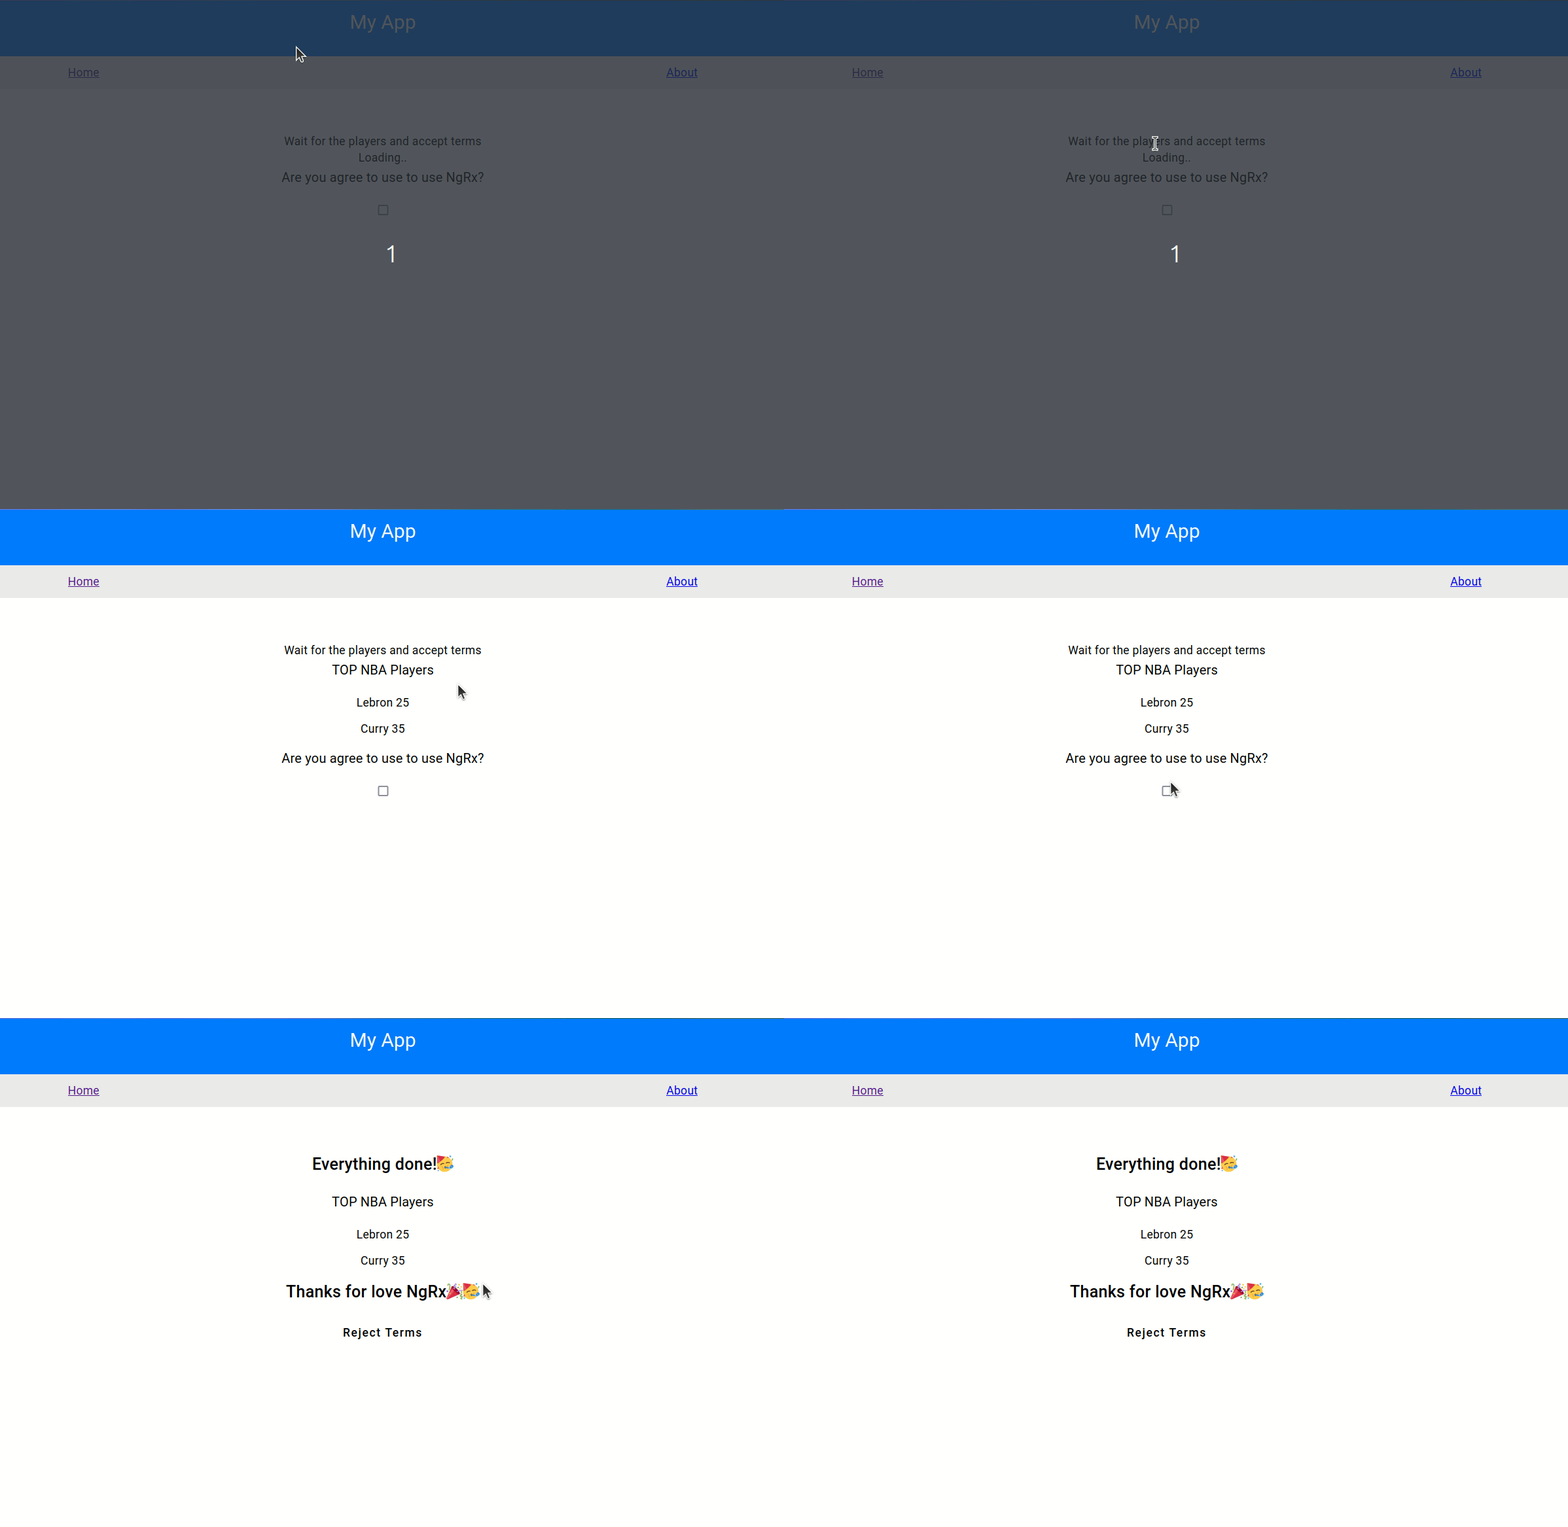
Save the changes, and everything will continue to work 😄. To test the composed selectors, when playersLoadSuccess is triggered and you click on acceptTerms, the message "Everything done!" will be shown!

Conclusion
We learn how to use selectors to retrieve and manage state slices in NgRx, instead of directly using store.select , getting the benefits of type-safe selectors with createFeatureSelector and createSelector and composing selectors.
Subscribe to my newsletter
Read articles from Dany Paredes directly inside your inbox. Subscribe to the newsletter, and don't miss out.
Written by

Dany Paredes
Dany Paredes
I'm passionate about front-end development, specializing in building UI libraries and working with technologies like Angular, NgRx, Accessibility, and micro-frontends. In my free time, I enjoy writing content for the Google Dev Library, This Is Angular Community, Kendo UI, and sharing insights here.