Let the devices sense!
 Srinidhi Chitti
Ok, I admit I need to stop my cheesy puns. But today, we are going to learn a boatload of things. As promised, we are building our control system via our phones, and then we will build around sensors, hopefully giving us a base to develop our projects.
For controlling the LED through the phone, the code in the Nodemcu connection with wifi is the same, but we will change the loop with the following:
while (WiFi.status() != WL_CONNECTED) {
    delay(500);
    Serial.print(".");
  }

  Serial.println("");
  Serial.println("WiFi connected");
  Serial.println("IP address: ");
  Serial.println(WiFi.localIP());

  server.begin();
}

void loop() {
  WiFiClient client = server.available();

  if (client) {
    Serial.println("New client");

    String request = client.readStringUntil('\r');
    Serial.println(request);

    if (request.indexOf("/on") != -1) {
      digitalWrite(ledPin, HIGH);
    } else if (request.indexOf("/off") != -1) {
      digitalWrite(ledPin, LOW);
    }
After the modifications and connecting your nodemcu to your Arduino ide, the following will be the output.
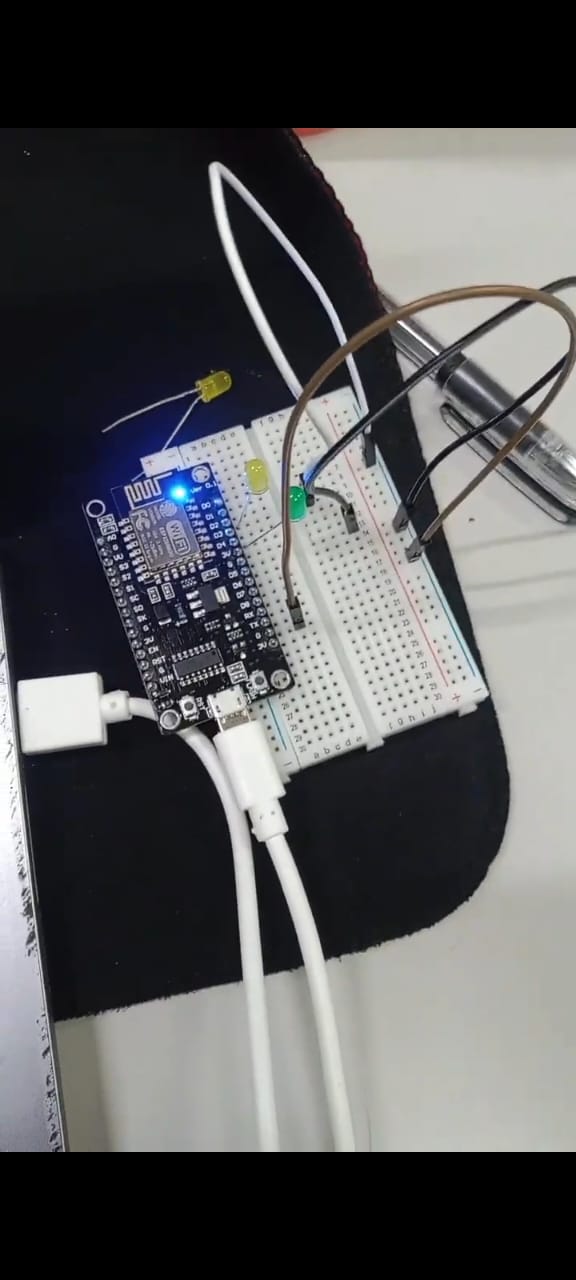
First make sure your connections are apt and the entire board is connected to the laptop.
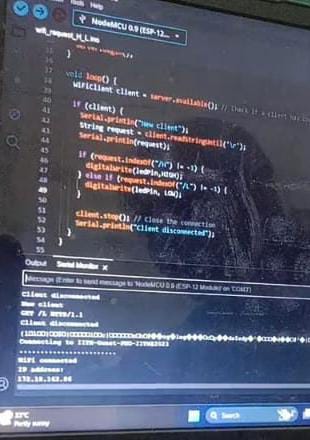
Then connect your Arduino board to the ide and start your serial monitor.
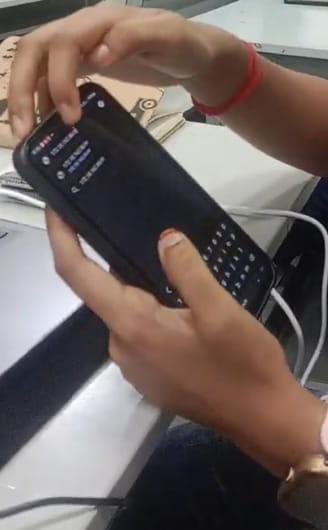
Then, input the IP address shown on the serial monitor to your Chrome search bar. And then the LED light will glow. You can also prepare a simple web page on and off your led through your phone. Just add the below code, which prepares the HTTP response
client.println("HTTP/1.1 200 OK");
    client.println("Content-type:text/html");
    client.println();
    client.println("<!DOCTYPE html><html>");
    client.println("<head><title>ESP8266 LED Control</title></head>");
    client.println("<body>");
    client.println("<h1>LED Control</h1>");
    client.println("<button onclick=\"location.href='/on'\">on karo</button>");
    client.println("<button onclick=\"location.href='/off'\">off karo</button>");
    client.println("</body></html>");
Lastly for today lets use the IR sensor and Lidar.
IR Sensor
An Infrared (IR) sensor is a device that uses infrared light to sense its surroundings. Here’s how it works:
Emission: An IR LED sends out infrared light.
Detection: An IR photodiode or phototransistor picks up the infrared light that bounces back from an object.
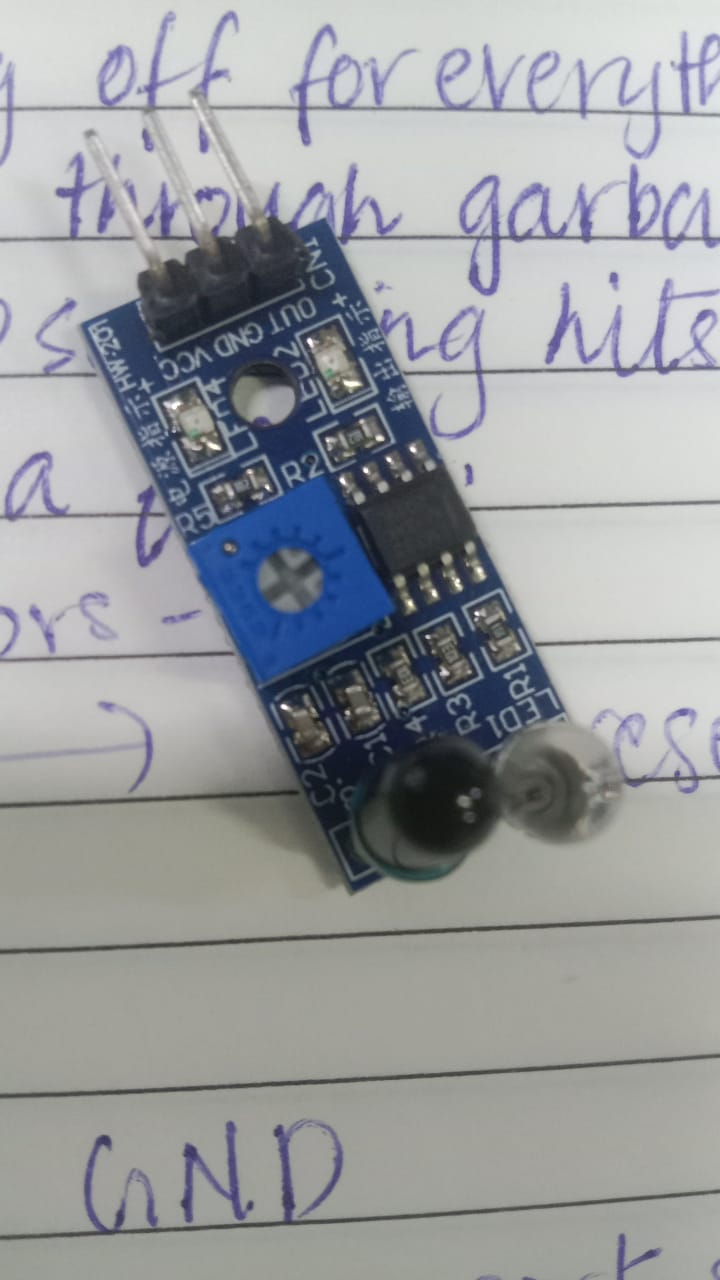
Connecting an IR Sensor to Arduino
Components Needed:
Arduino board
IR sensor module
Jumper wires
Steps:
Connect the IR sensor's VCC pin to the Arduino's 5V pin.
Connect the IR sensor's GND pin to the Arduino's GND pin.
Connect the IR sensor's OUT pin to a digital pin on the Arduino.
    const int irSensorPin = D2;
    const int ledPin = D4;      // defining const at 2 and 4 pin

    void setup() {

      Serial.begin(9600);
      pinMode(ledPin, OUTPUT);
      pinMode(irSensorPin, INPUT);// less data and less frequency, taking i/p from ir sensor from the real world interacivity to control
    }

    void loop() {
      int irSensorValue = digitalRead(irSensorPin); //write to set on and off but read means reading from the sensor

      Serial.println(irSensorValue);

      if (irSensorValue == LOW) {
        digitalWrite(ledPin, HIGH); // if ir sensr is low then turn else viceversa
      } else {
        digitalWrite(ledPin, LOW);
      }

      delay(100);// to detect
    }
Repeat the same steps we did to connect the board to the system and check the output.
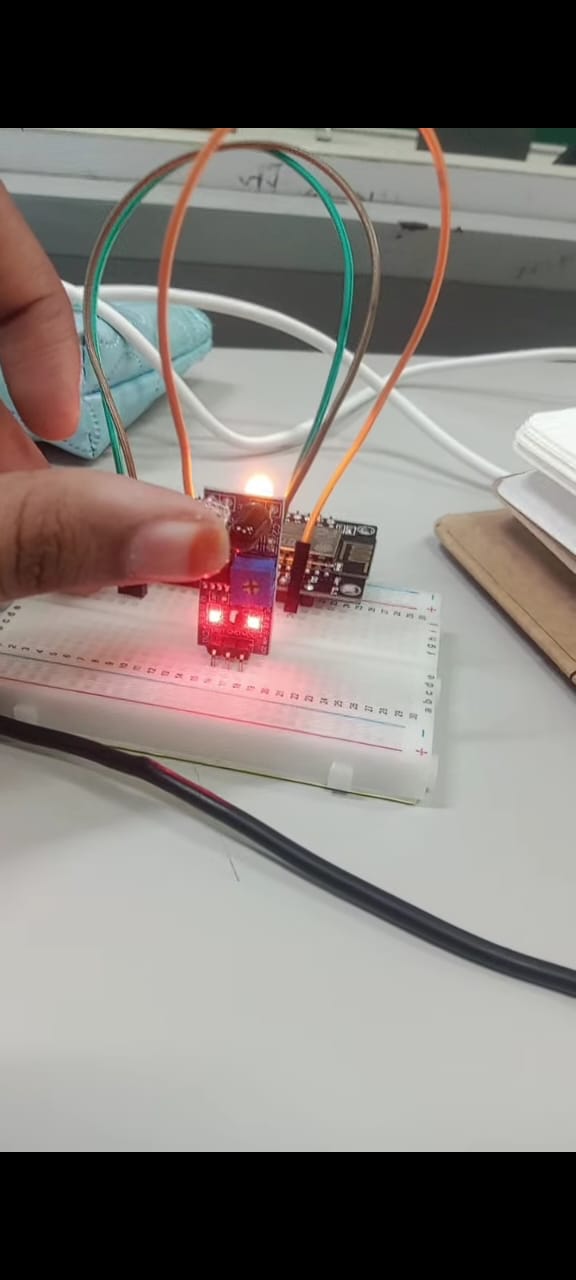
You can also create an ui/ux to control the sensor. To the code for the led replace it with IR and add the following code snippet before the http response part. For more ui and ux you can use blink app and arduino iot.
  int irSensorValue = digitalRead(irSensorPin);
      String irMessage = irSensorValue == LOW ? "Someone is at your door" : "No one is here";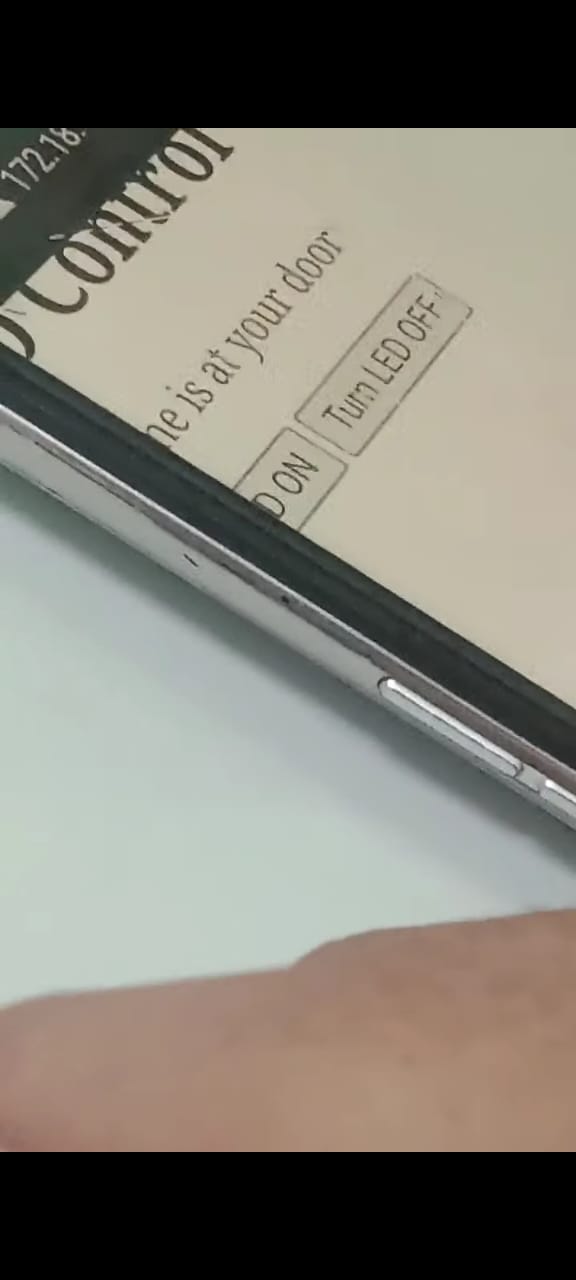
LiDAR (Light Detection and Ranging)
It uses laser light to measure distances by timing how long it takes for the light to bounce back from an object. It's used in self-driving cars, mapping, forestry, and environmental monitoring.
Components Needed:
Arduino board (e.g., Arduino Uno)
LDR (Light Dependent Resistor)
LED
Jumper wires
Breadboard
Connect one end of the LDR to 5V, the other to A0 to GND. Connect LED's anode to D4 through a 220-ohm resistor, cathode to GND. Use the below code. Below is also the output.
    const int ldrPin = D2;
    const int ledPin = D4;

    void setup() {

      Serial.begin(9600);//single sensor
      pinMode(ledPin, OUTPUT);// declaration
    }

    void loop() {

      int ldrValue = analogRead(ldrPin);// analog input


      Serial.println(ldrValue);// print


      int brightness = map(ldrValue, 0, 1023, 0, 255);// asking the maping, 0-255 is the range of analog values

      analogWrite(ledPin, brightness);// defining the value to change the brightness

      delay(100);
    }
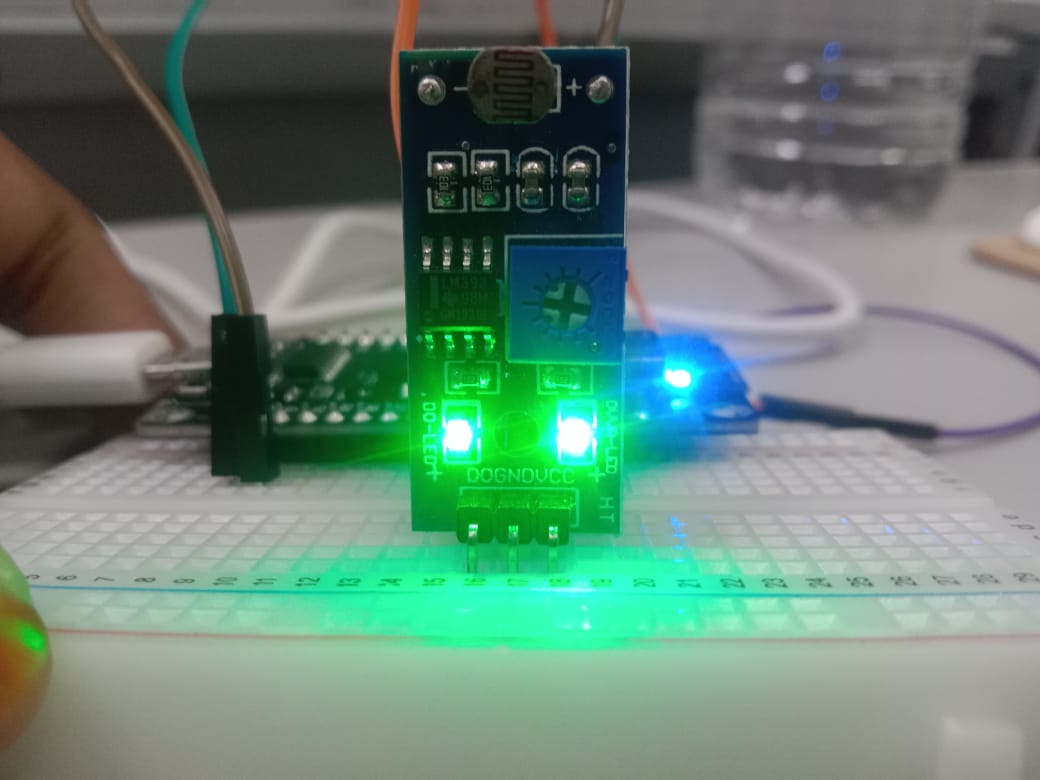
This is it for today. Let's hope to build more projects using these fundamentals. Till then, tech talk time ticks! Code connections click!
Subscribe to my newsletter
Read articles from Srinidhi Chitti directly inside your inbox. Subscribe to the newsletter, and don't miss out.
Written by

Srinidhi Chitti
Srinidhi Chitti
Namaste! I am Srinidhi Chitti, a first-year CSE student at GITAM University Vizag, an extroverted individual who thrives on connections and continuous learning. With academic achievements like an IEO gold medal, IEEE Kahoot, and victories in essay competitions, my passion extends to writing. Beyond my love for engaging in stimulating conversations, I am naturally inclined to write. My words flow effortlessly, painting vivid pictures and evoking powerful emotions. I channel my creativity into crafting poems, which serve as a beautiful medium for self-expression. Moreover, my passion for writing extends beyond personal endeavors. I selflessly dedicate my time to volunteer at GDG (Google Developers Group) and WTM (Women Techmakers) Vizag, contributing to content creation and other technology initiatives. These experiences have sharpened my writing skills and deepened my understanding of the technical landscape.Since my early years in 5th grade, I have been captivated by the power of words and the enchantment of literature. This infatuation with reading and writing poetry paved the way for my development as a budding writer. During my time as a volunteer, I have worked diligently to ensure the success of these events, collaborating with a diverse team and executing a range of responsibilities. These experiences have not only enhanced my organizational and leadership skills but also provided me with invaluable insights into the dynamic world of technology and its transformative potential.