Connect Xcode with apple developer account
 Sumit Kushwaha
In Flutter, while developing an app to test it in iOS environment we generally use simulators and connect any apple id to Xcode for building the app on iOS platform.
While it's sufficient for development phase, as we move into testing phase, we need to share builds with testers, managers and clients. In order to do that we need an apple developer account purchased and link it with Xcode.
I am assuming you have an apple developer account ready with you.
Let me walk you thru the process of this setup in simple steps. Lessgoooo!!!!
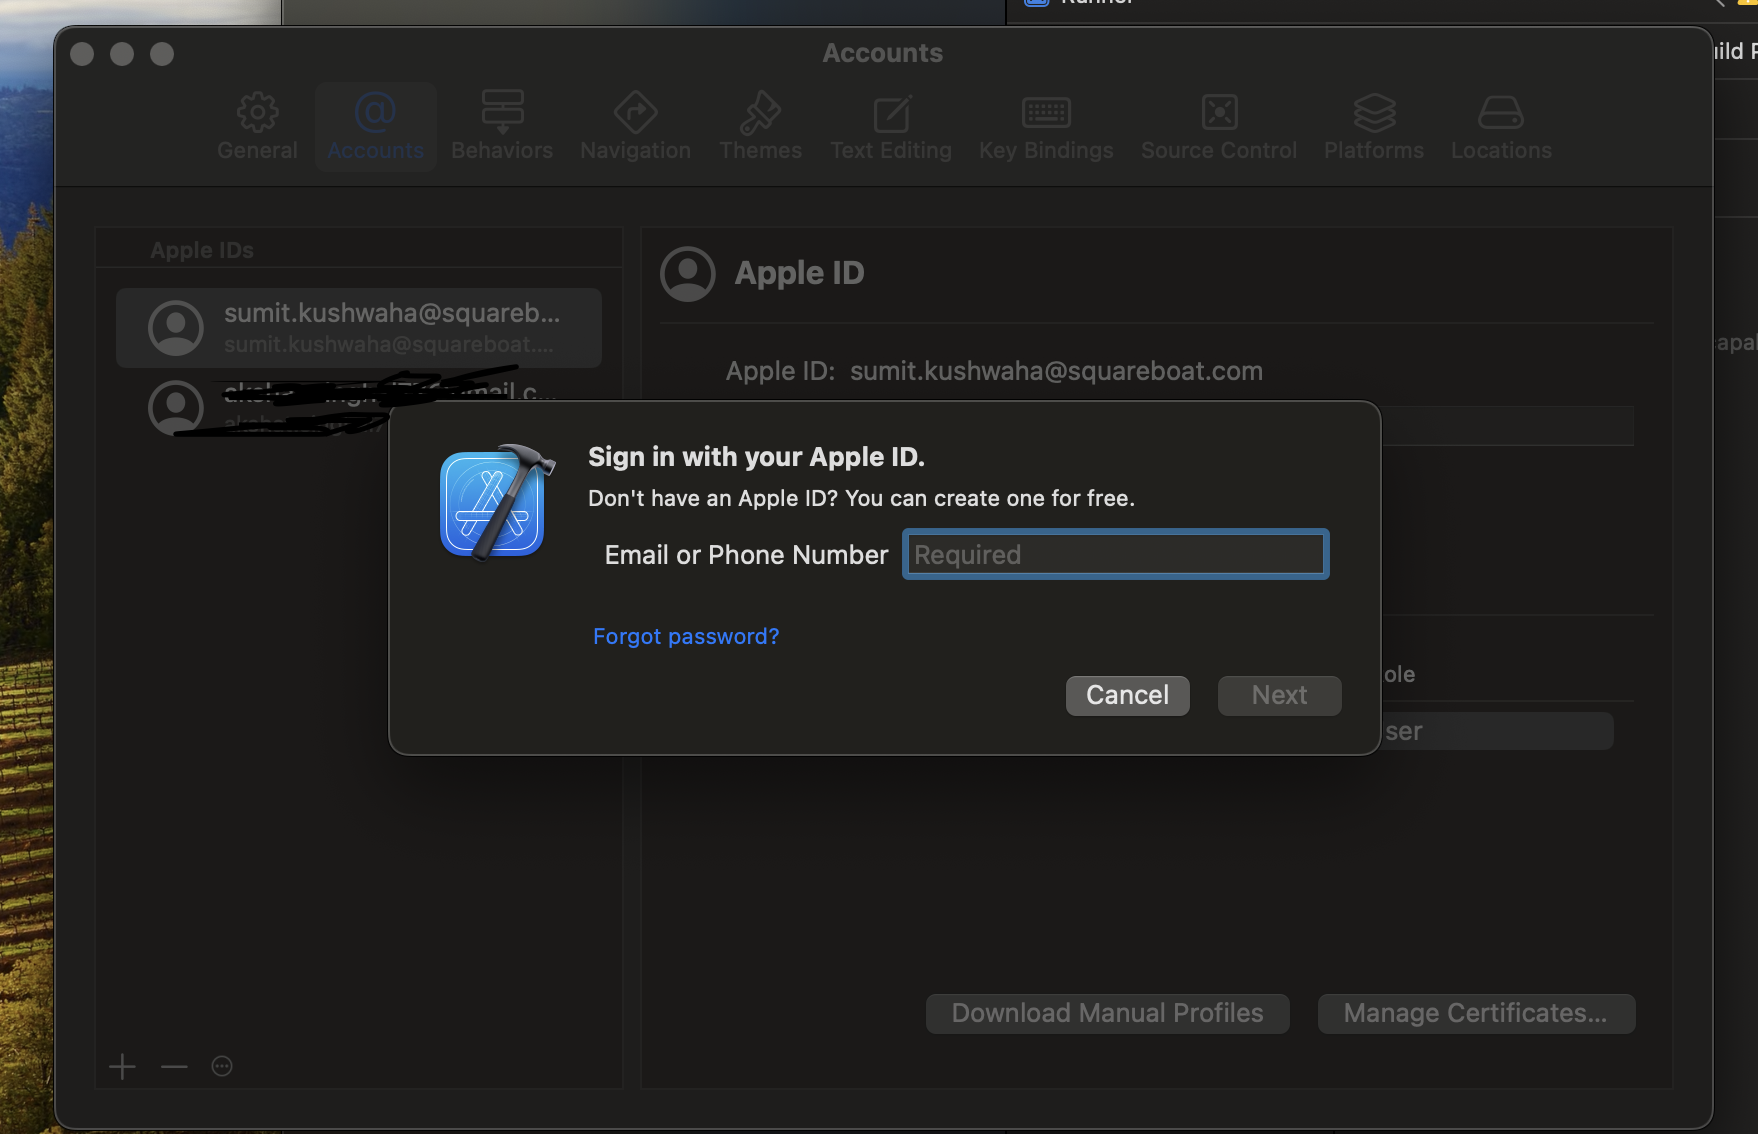
Open Xcode and go to settings. Move to account and click on add account. Log in with your developer account that you have purchased.
Now open KeyChainAccess and go to Certificate Assistant and select "Request a Certificate From a Certificate Authority".
Use the same email as before and choose the option of "Save to disk".
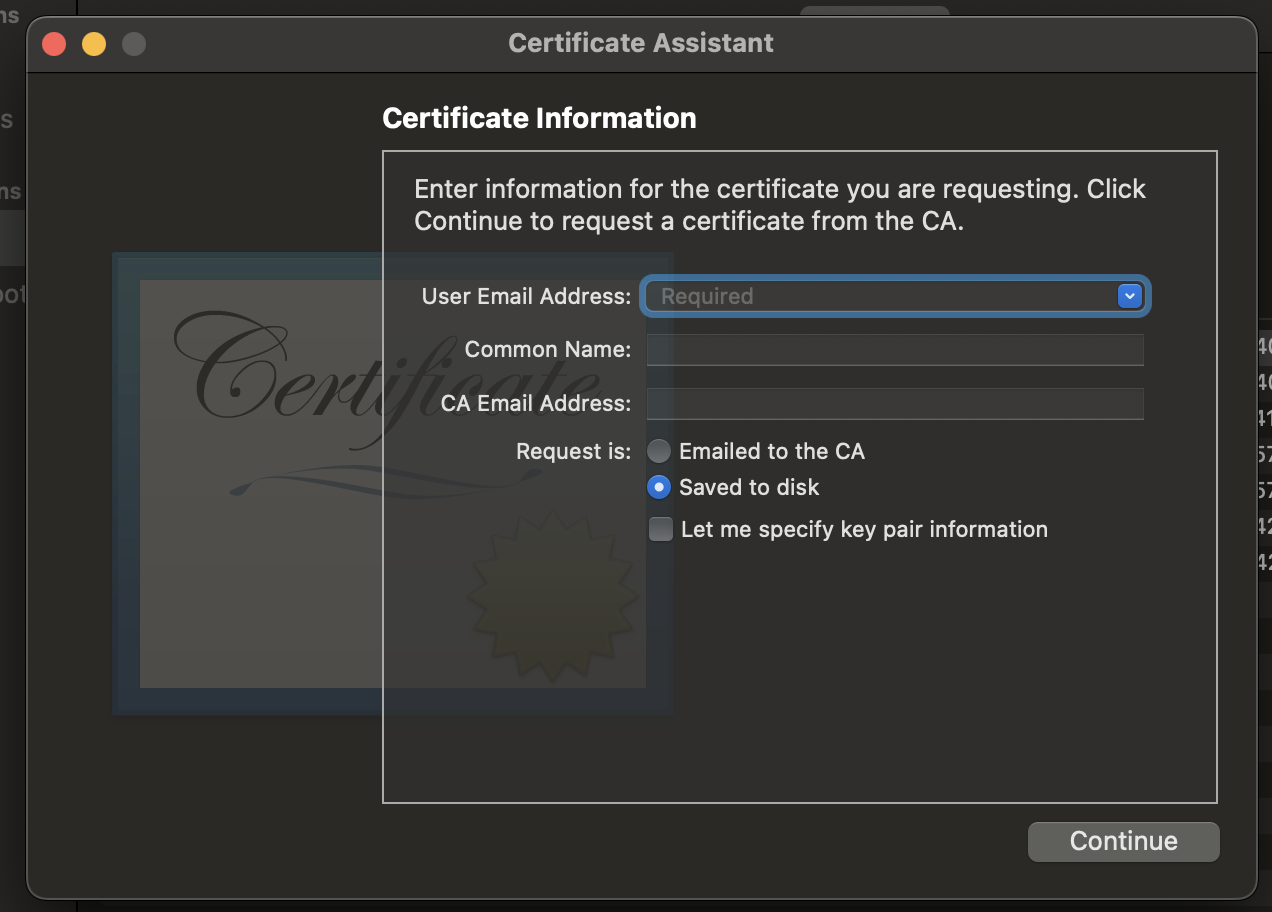
The file generated from above step is called CSR (Certificate Signing Request). It contains info that verifies your identity as a developer.
Now we will move on to apple developer account website. Log in with your credentials and move to Identifiers section
We will be creating a new identifier for our app (if it doesn't already exists.). Choose "App Id" as identifier type
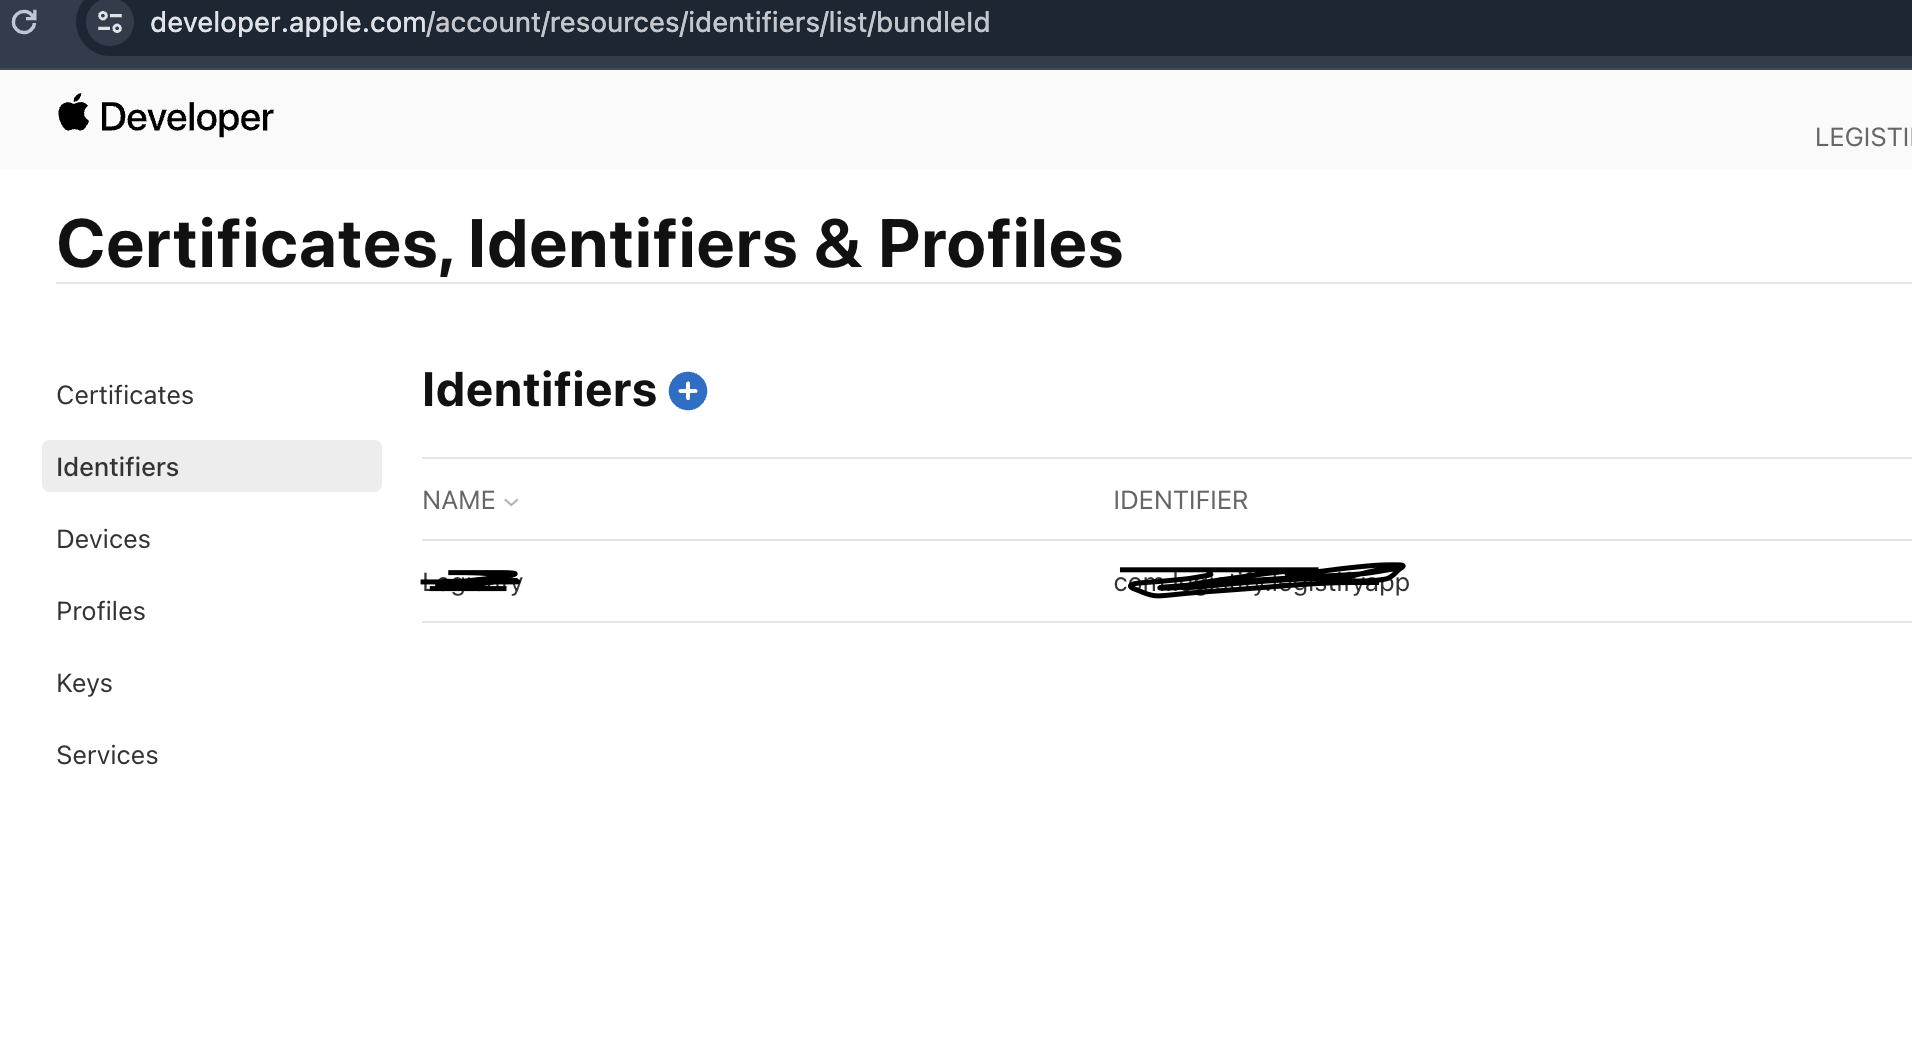
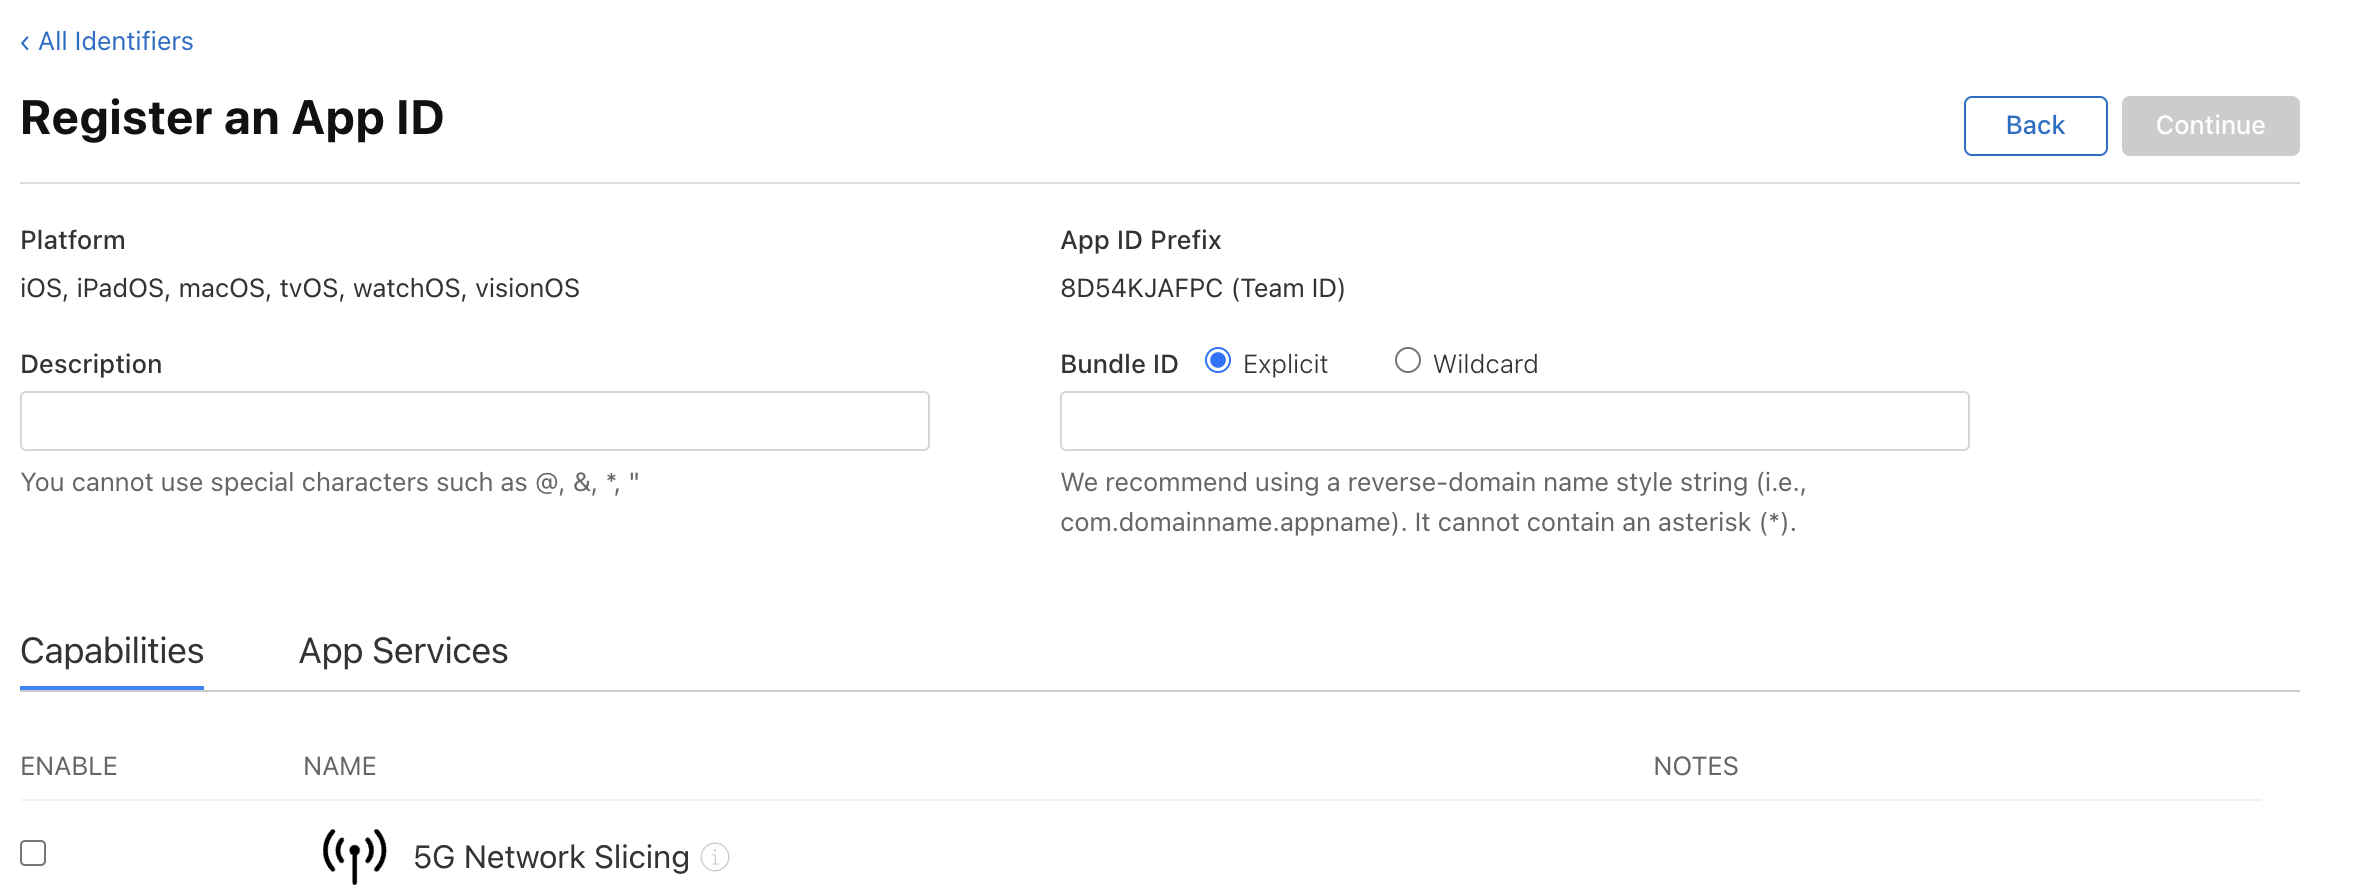
In the capabilities section, select those who you already know are in scope of your app such as Push Notifications. (Not a mandatory step, you can always do this in Xcode later on.)
Now we need following certificates to be generated.
iOS Development Certificate
iOS Distribution Certificate
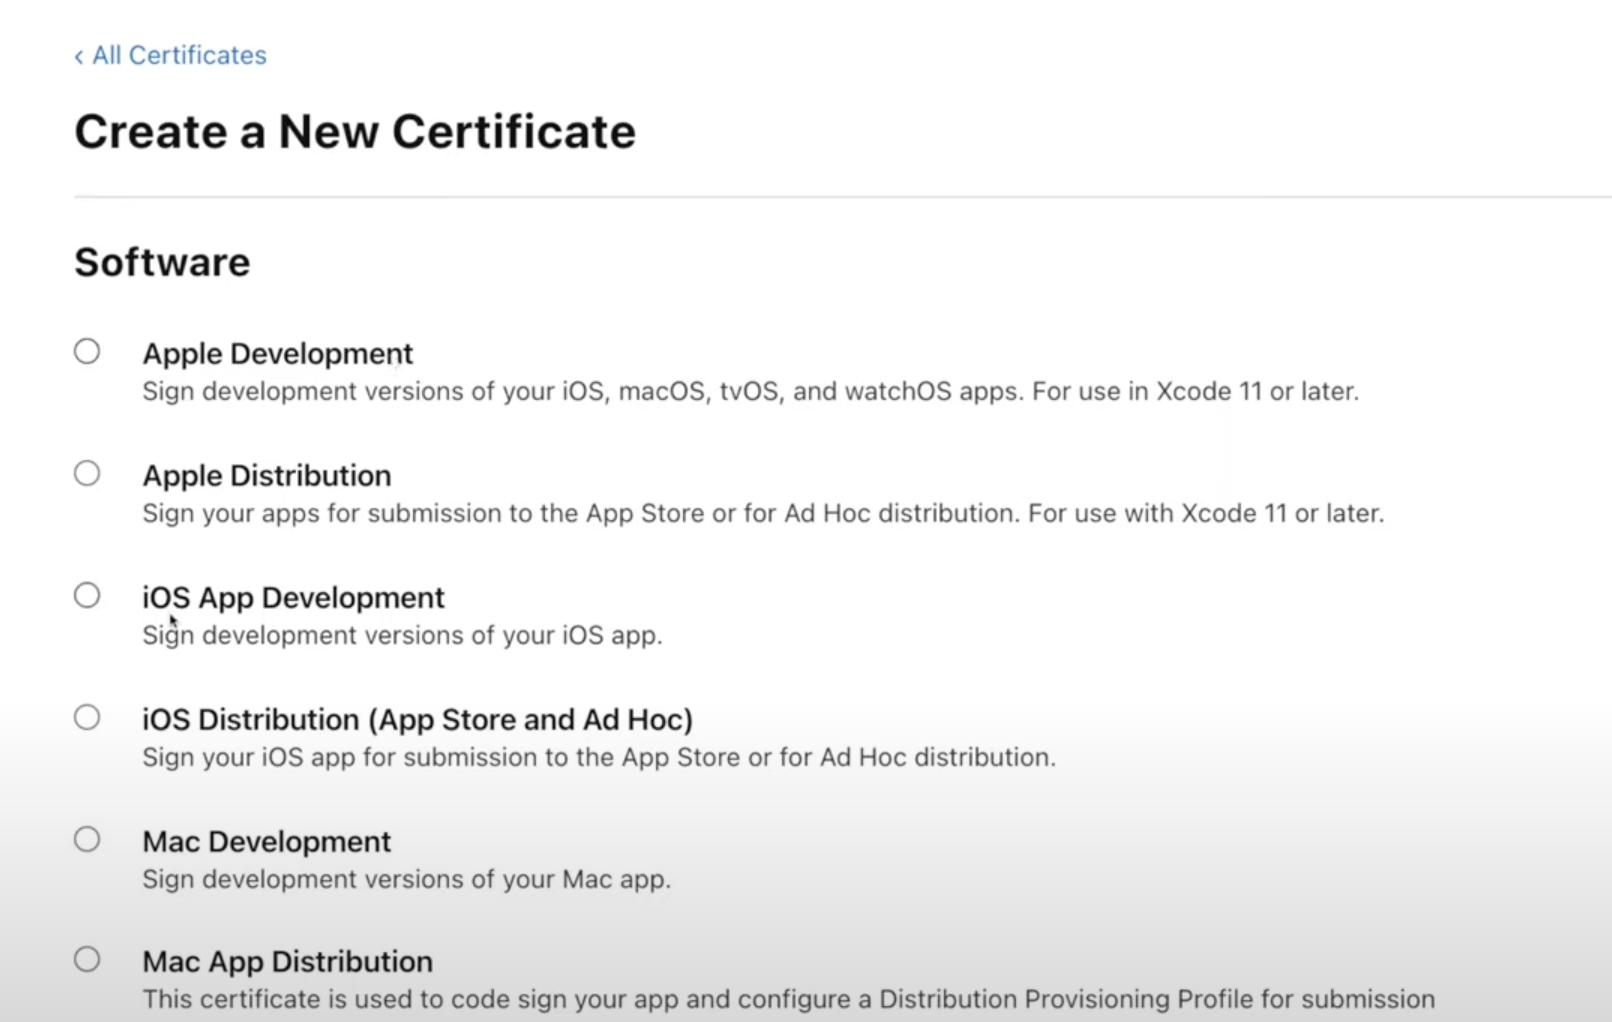
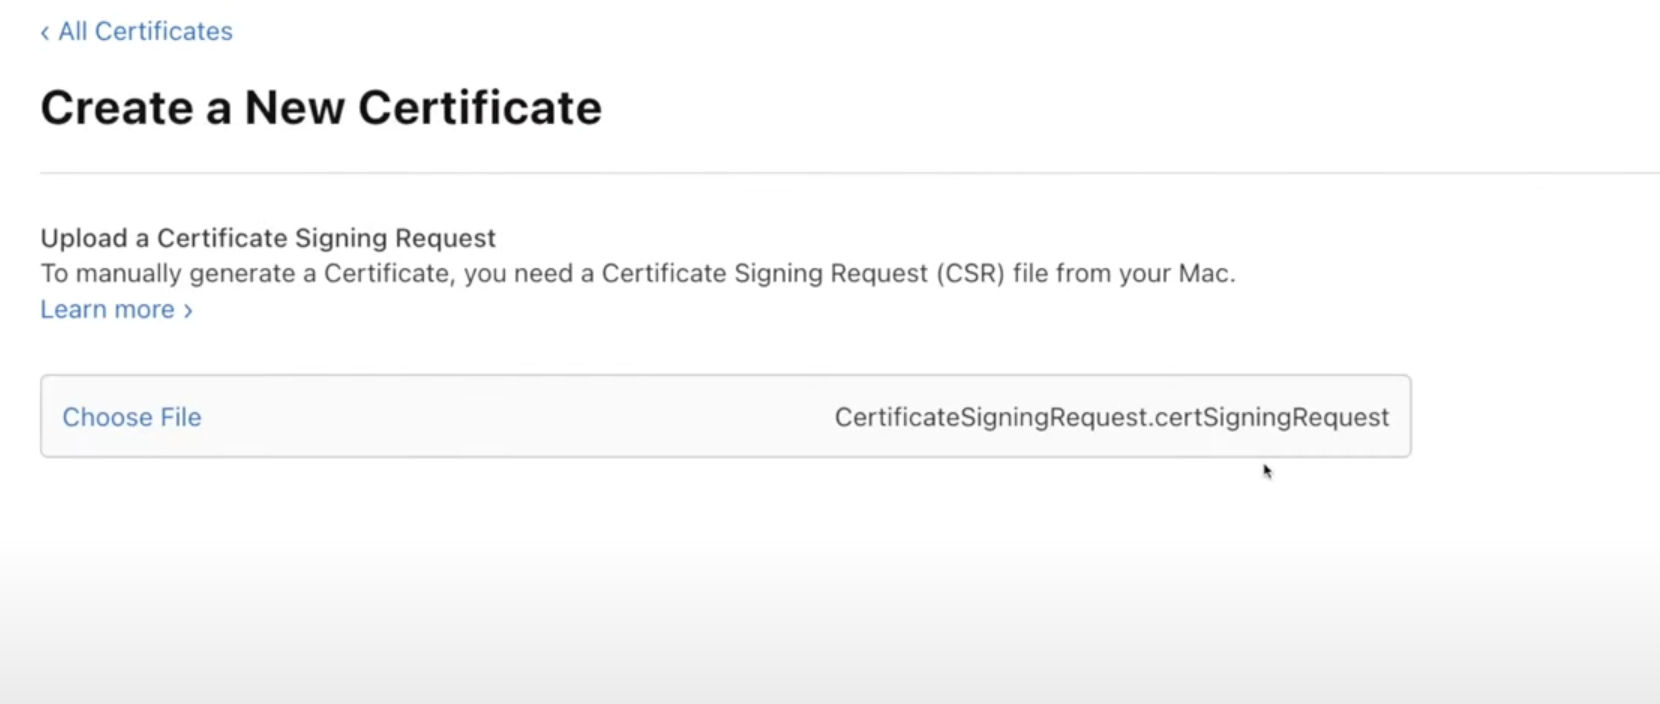
We will use our previously generated CSR for this. Download them and double click on them. It will be automatically added in your keychain access.
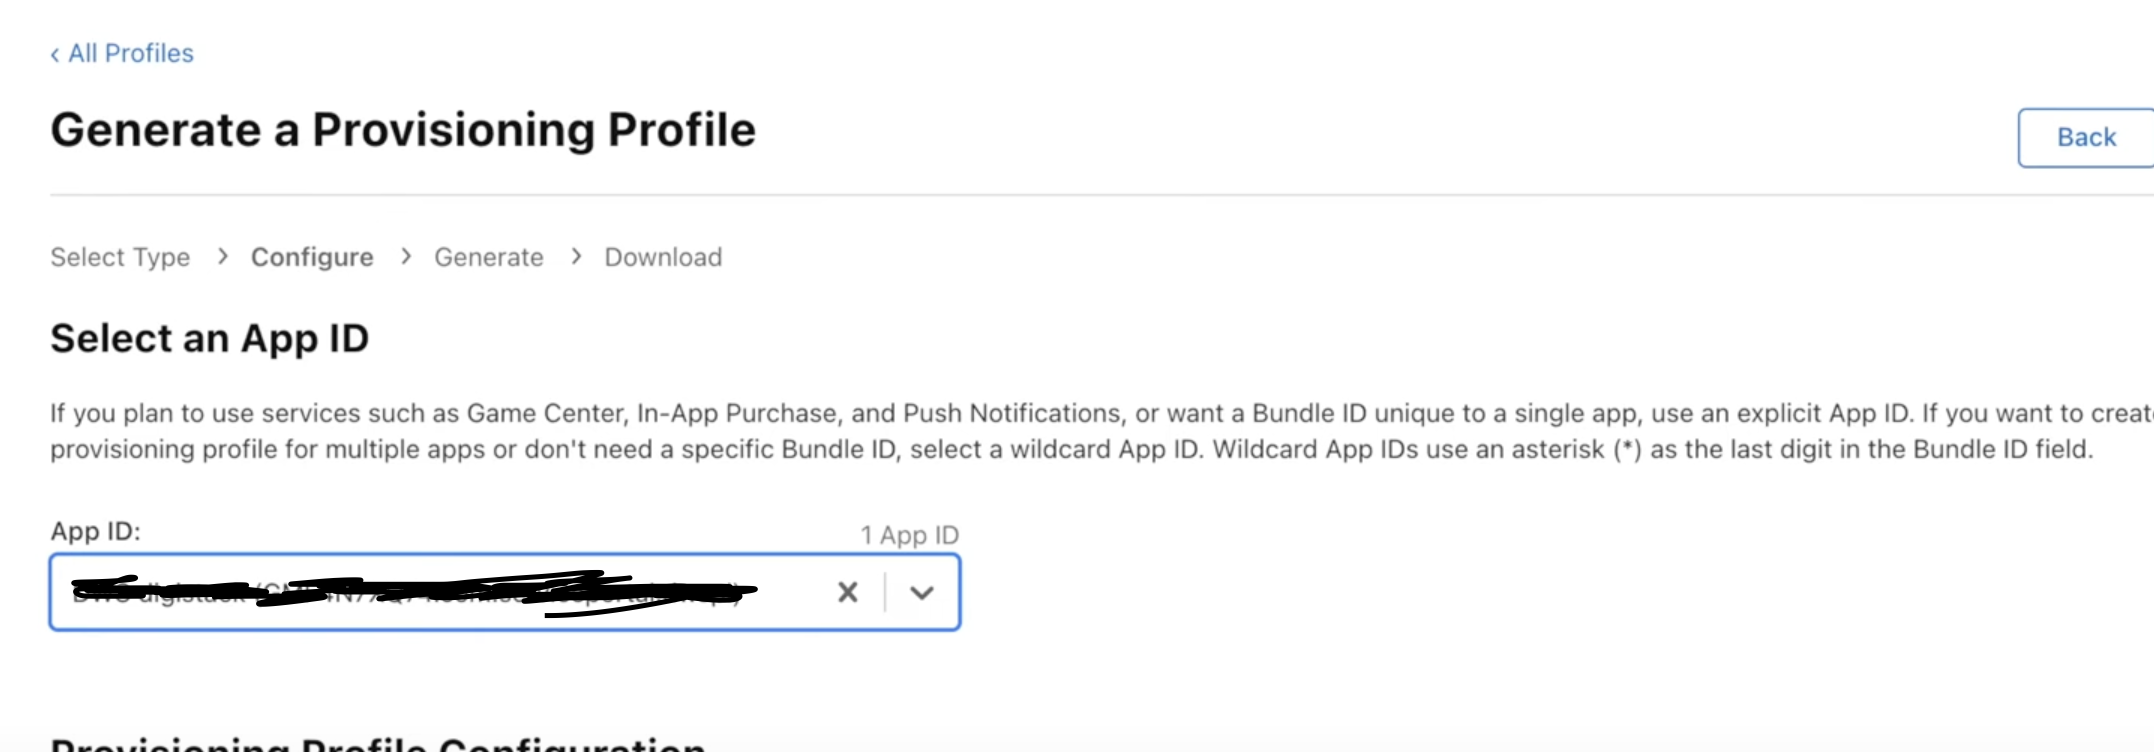
Now, we need following provisioning profiles to be generated.
iOS App Development
Appstore Distribution


Now we need a device to be added for testing our app, also generating provisioning profile require you to register at least one device to be added.
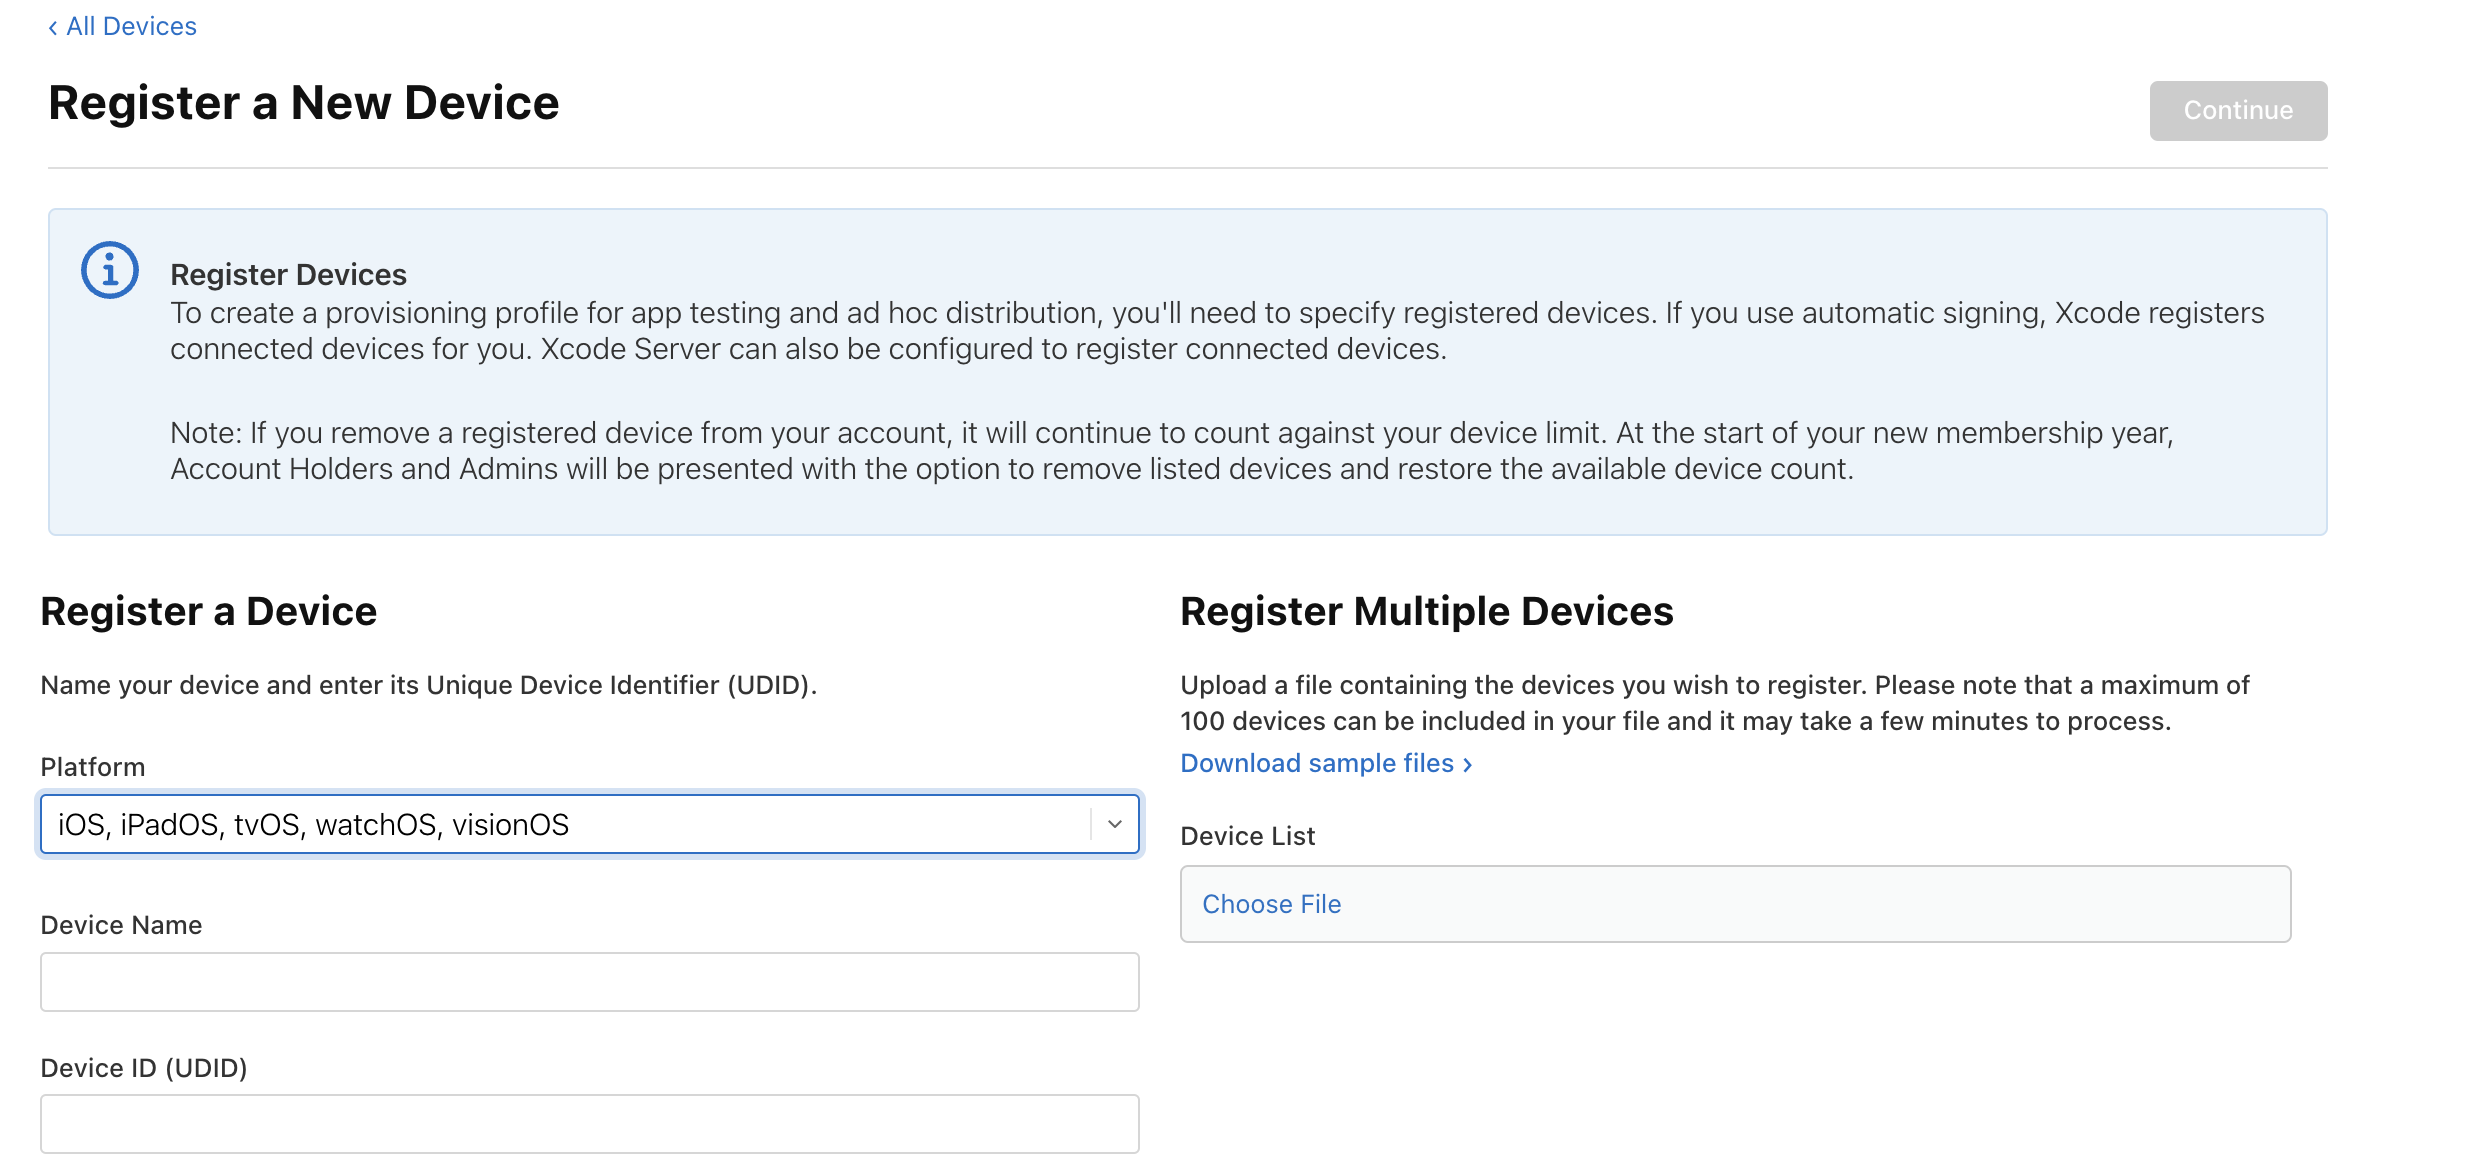
To easily get UDID of an iOS device follow this link: https://youtu.be/57bg7STC4Kg?si=PKtbUjdk54Hfn_8_
After downloading both the profiles, double click on them so as to add them to keychain. That's it. It's done!!!
Fire up your Xcode, select Runner and under Signing And Capabilities you'll be able to see your team. Select it and your provisioning profile will be automatically fetched.
Congratulations, your Xcode is now linked with your developer account, you can now generate .ipa files, push to TestFlight and production smoothly.
Your love makes my heart "flutter" ❤️.
Adios!
- Sumit
Subscribe to my newsletter
Read articles from Sumit Kushwaha directly inside your inbox. Subscribe to the newsletter, and don't miss out.
Written by
