AWS Auto Scaling Group (ASG) of EC2 Instances
 Codefy Labs
AWS Auto Scaling is a dynamic service that manages the capacity of your EC2 instances, ensuring consistent and reliable performance while minimizing costs. It automatically adjusts the number of active EC2 instances up or down in response to demand, according to policies, schedules, and health checks defined by the user.
In my opinion, AWS Auto Scaling is an excellent tool for organizations looking to optimize their cloud resources efficiently. By automating the scaling process, it not only saves time and reduces the likelihood of human error, but it also ensures that applications are running with the resources they need when they need them, without overspending. This makes AWS Auto Scaling an indispensable component of cloud resource management, particularly in environments where workload demands are unpredictable and continuously changing.
To enable Auto Scaling in AWS, you'll need to follow two primary steps:
Create a Launch Template: This initial step involves defining the settings and configurations for the EC2 instances you want to launch. You'll select the AMI, instance type, and other specifics such as storage options, security groups, and key pairs. Launch templates provide enhanced flexibility and version control, allowing you to easily update and manage instance configurations.
Set Up an Auto Scaling Group: After the launch Template is ready, the next step is to create an Auto Scaling Group. This group uses the launch template to manage the number of instances automatically, scaling them up or down based on defined criteria.
Hands-On Lab: Setting Up an AWS Auto Scaling Group
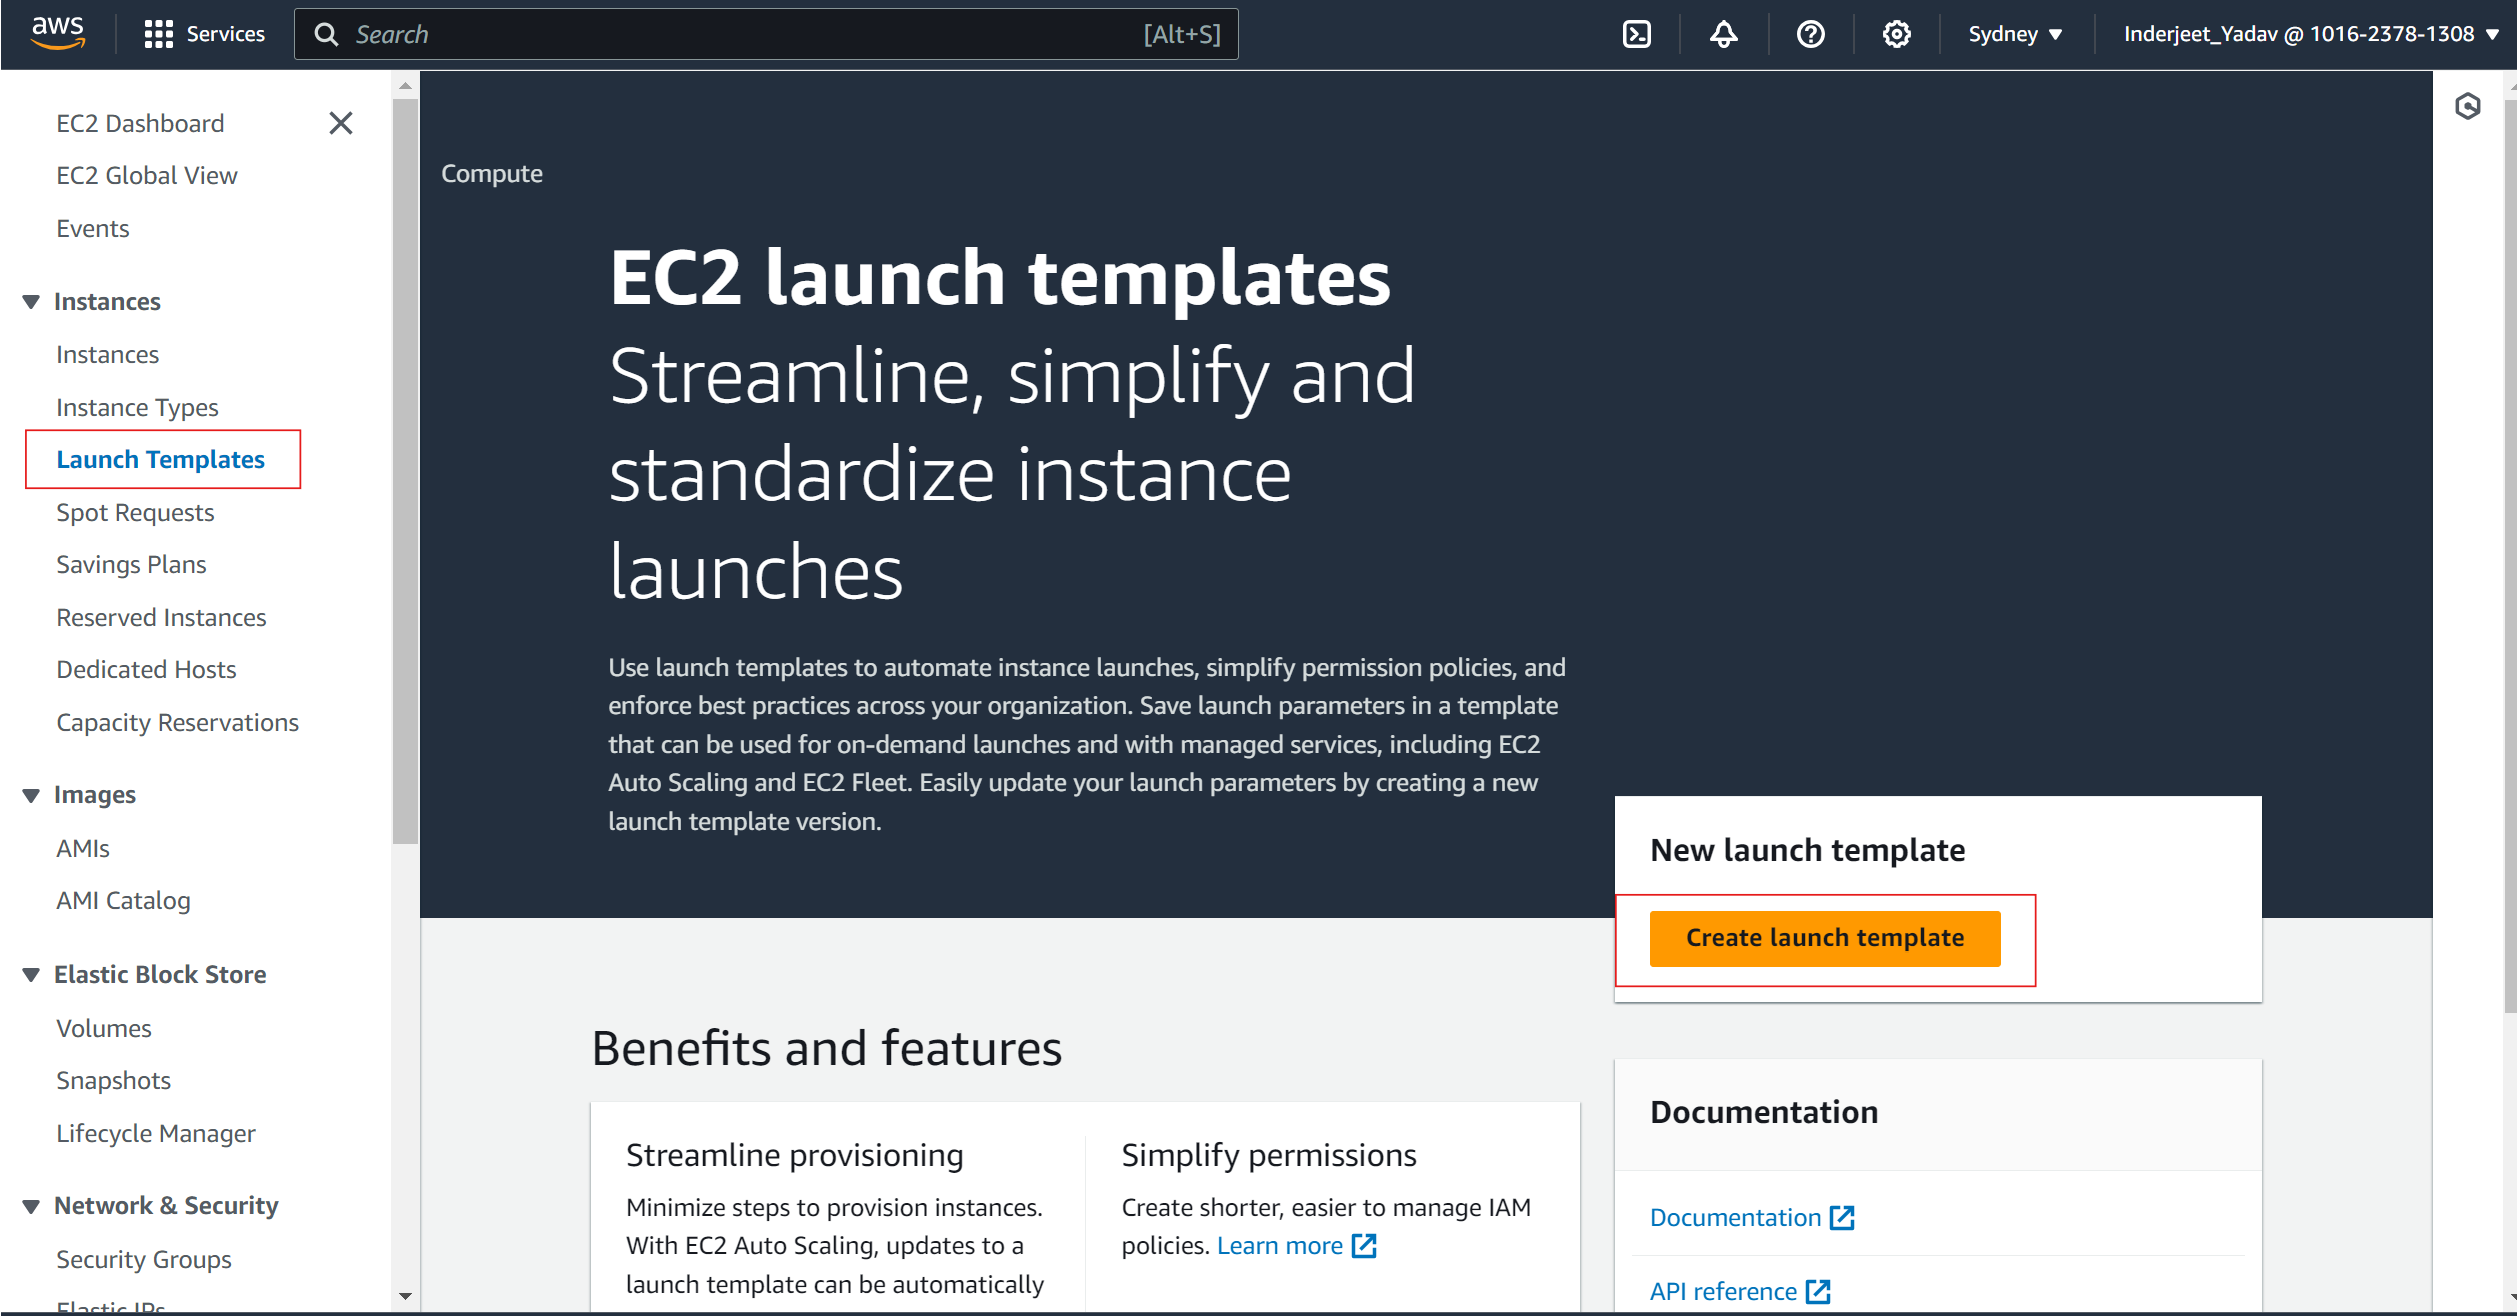
Go to the following page to set up a launch Templates and click on create launch template.
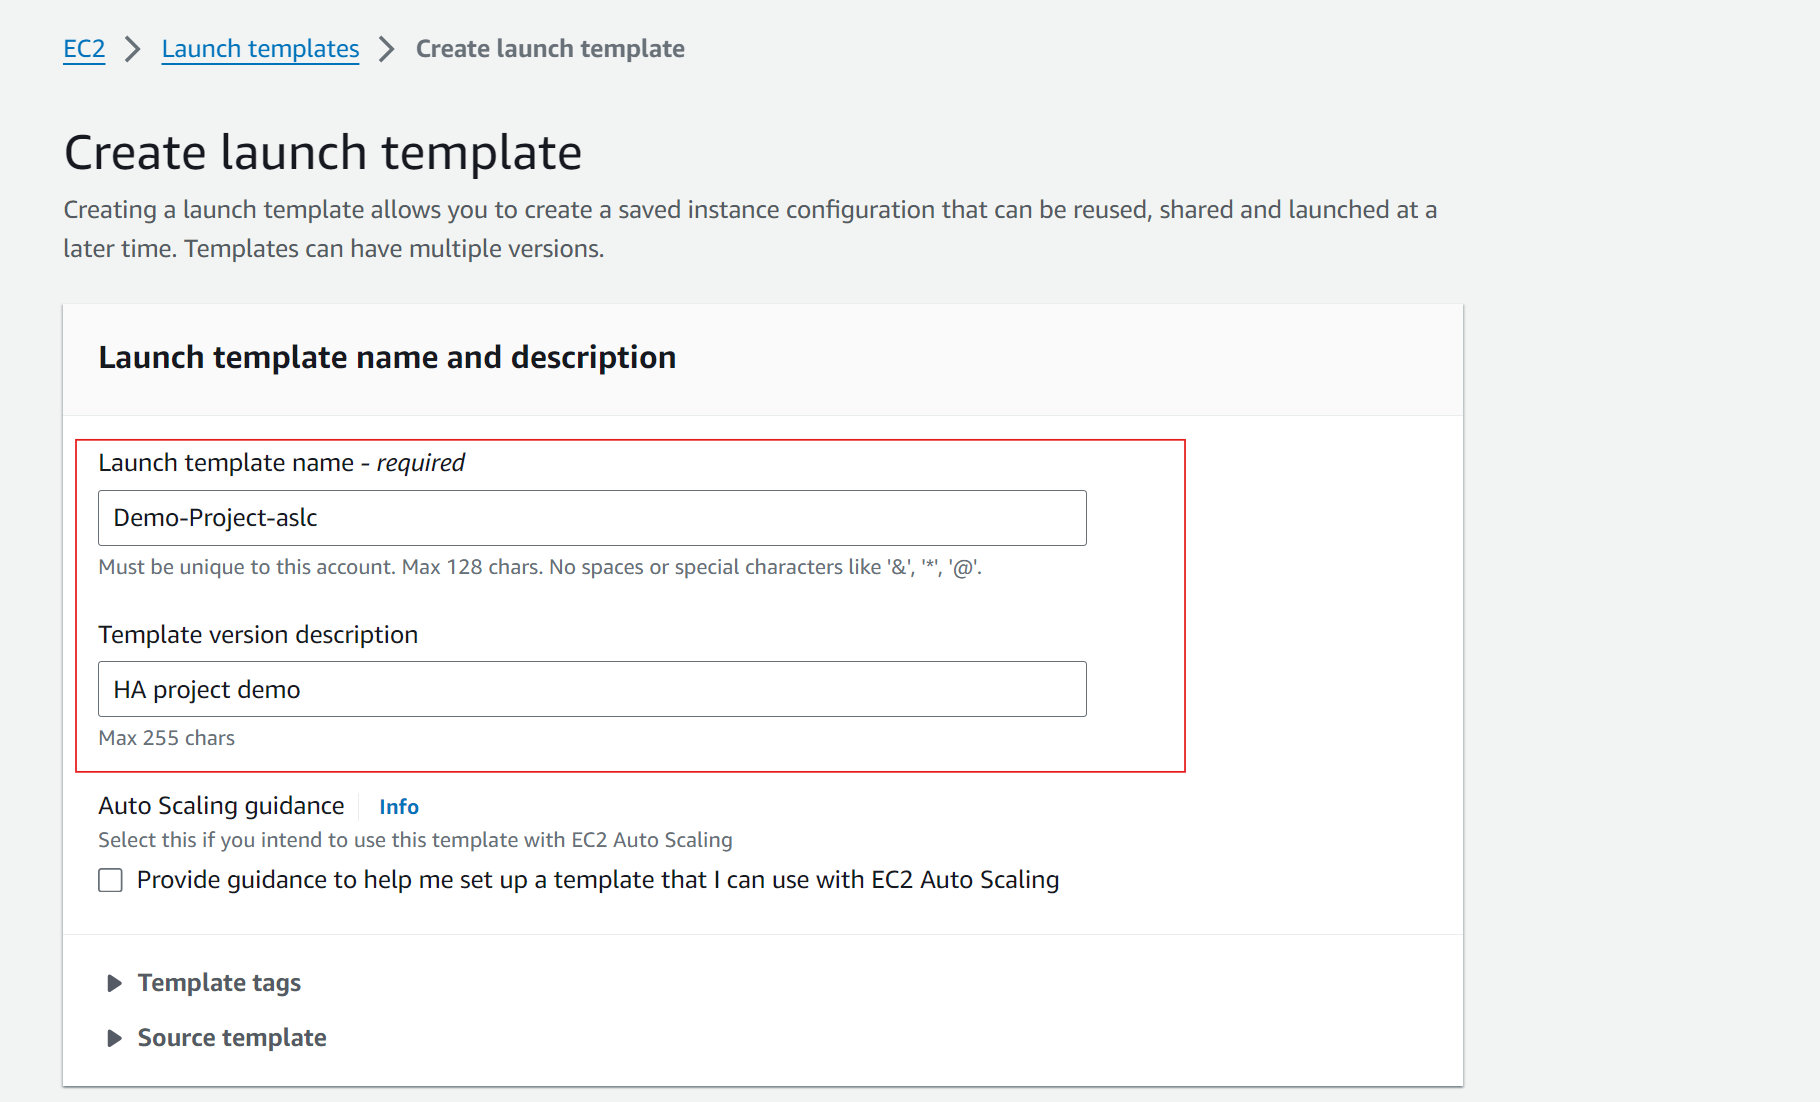
Give the template a name and description.
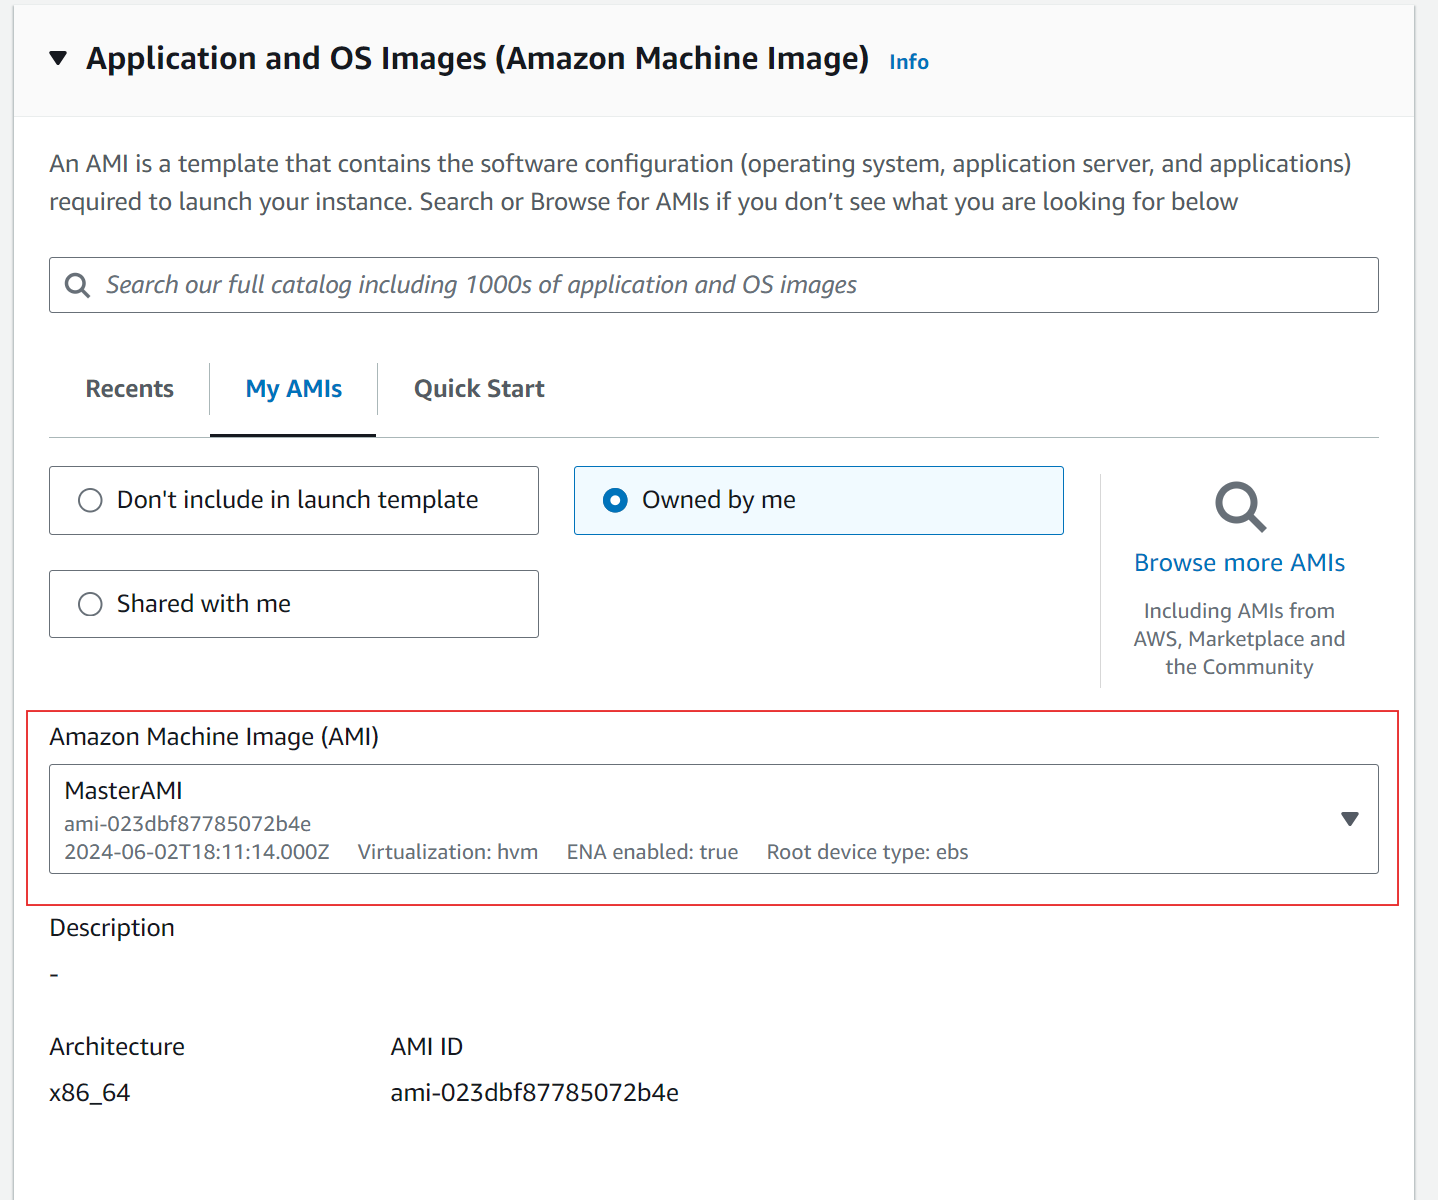
If you have previously created AMIs in this lab, you can select 'My AMIs' to use one of those. For guidance on creating AMIs, refer to this tutorial: How to Create AMIs. If you haven’t created any AMIs yet, you can choose 'Quick Start' under the 'Application and OS Images' section. And select a free tier eligible Amazon Linux AMI.
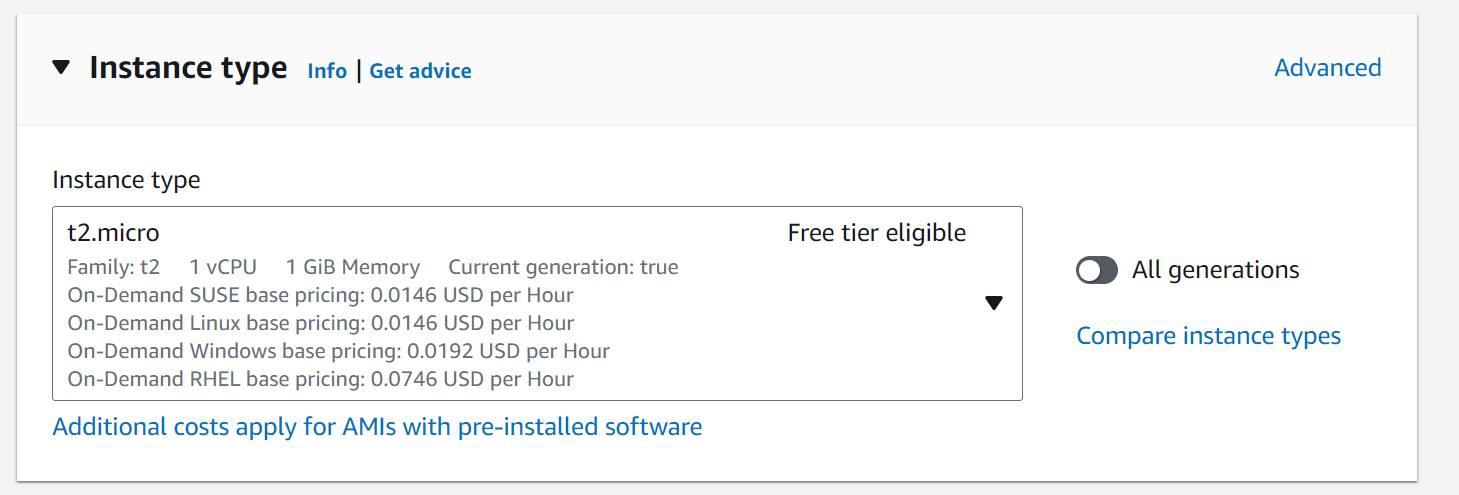
Select instance type
If you have already created a key pair, select it from the available options. If you need to create a new key pair, simply click the 'Create Key Pair' button to generate one. This will allow you to securely connect to your instances once they are launched.

Under Network settings select existing security group or Create security group.
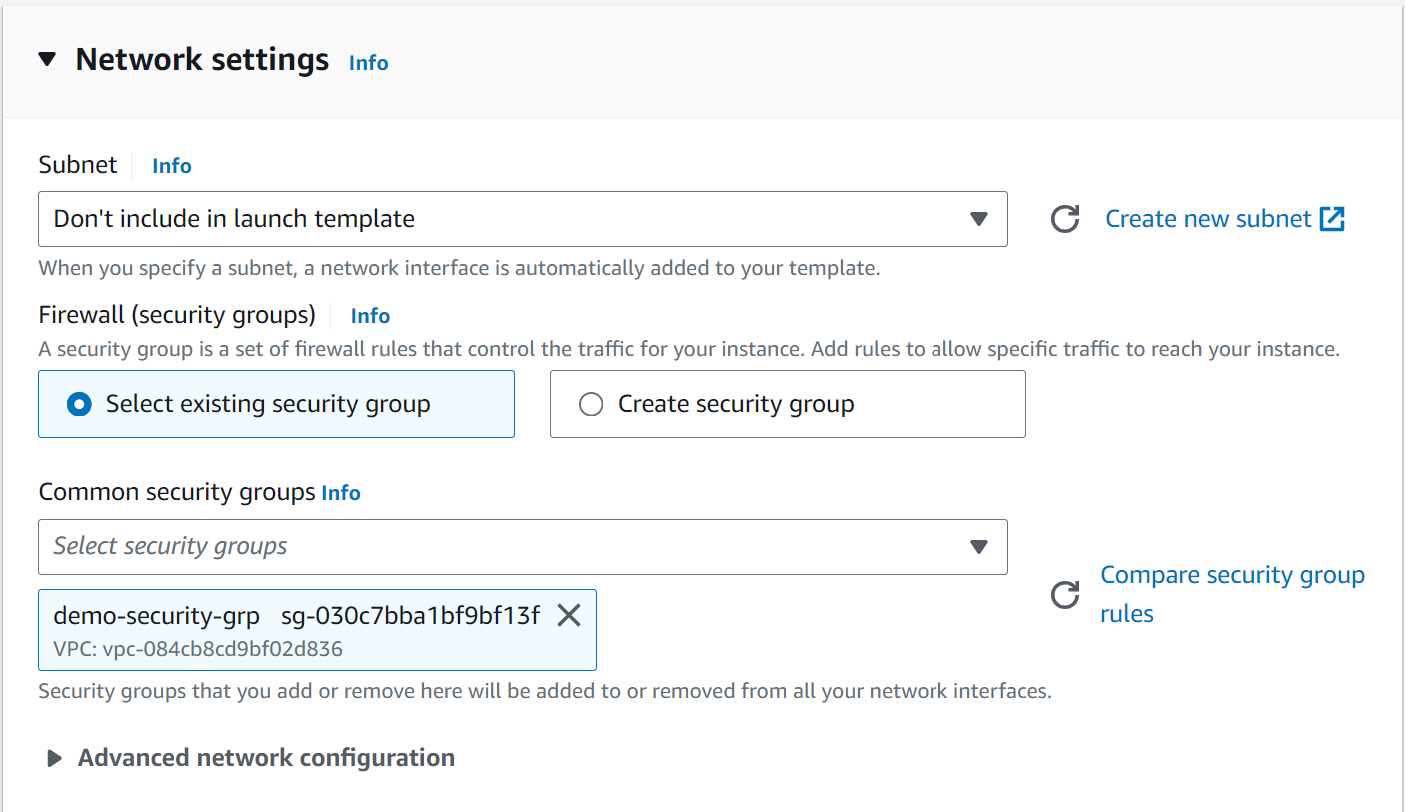

If you need to include custom bootstrap actions, you can add them in the 'Advanced Details' section. This allows you to specify scripts or commands that run when your instance initializes.

click on launch template
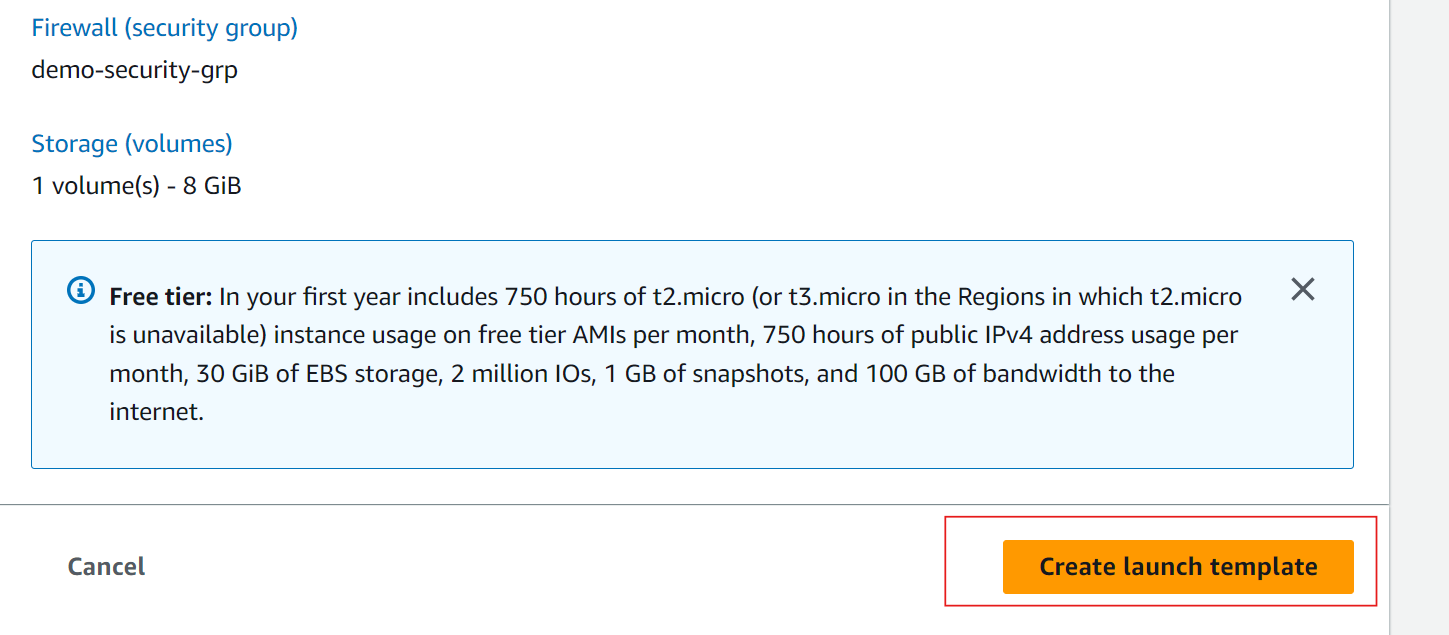

Create Auto Scaling Group (ASG)
Next, let's create an auto scaling group. This group acts as a logical collection of EC2 instances, which AWS can manage and scale automatically based on the policies you set. These policies enable the dynamic adjustment of your instance count to align with fluctuating demands.
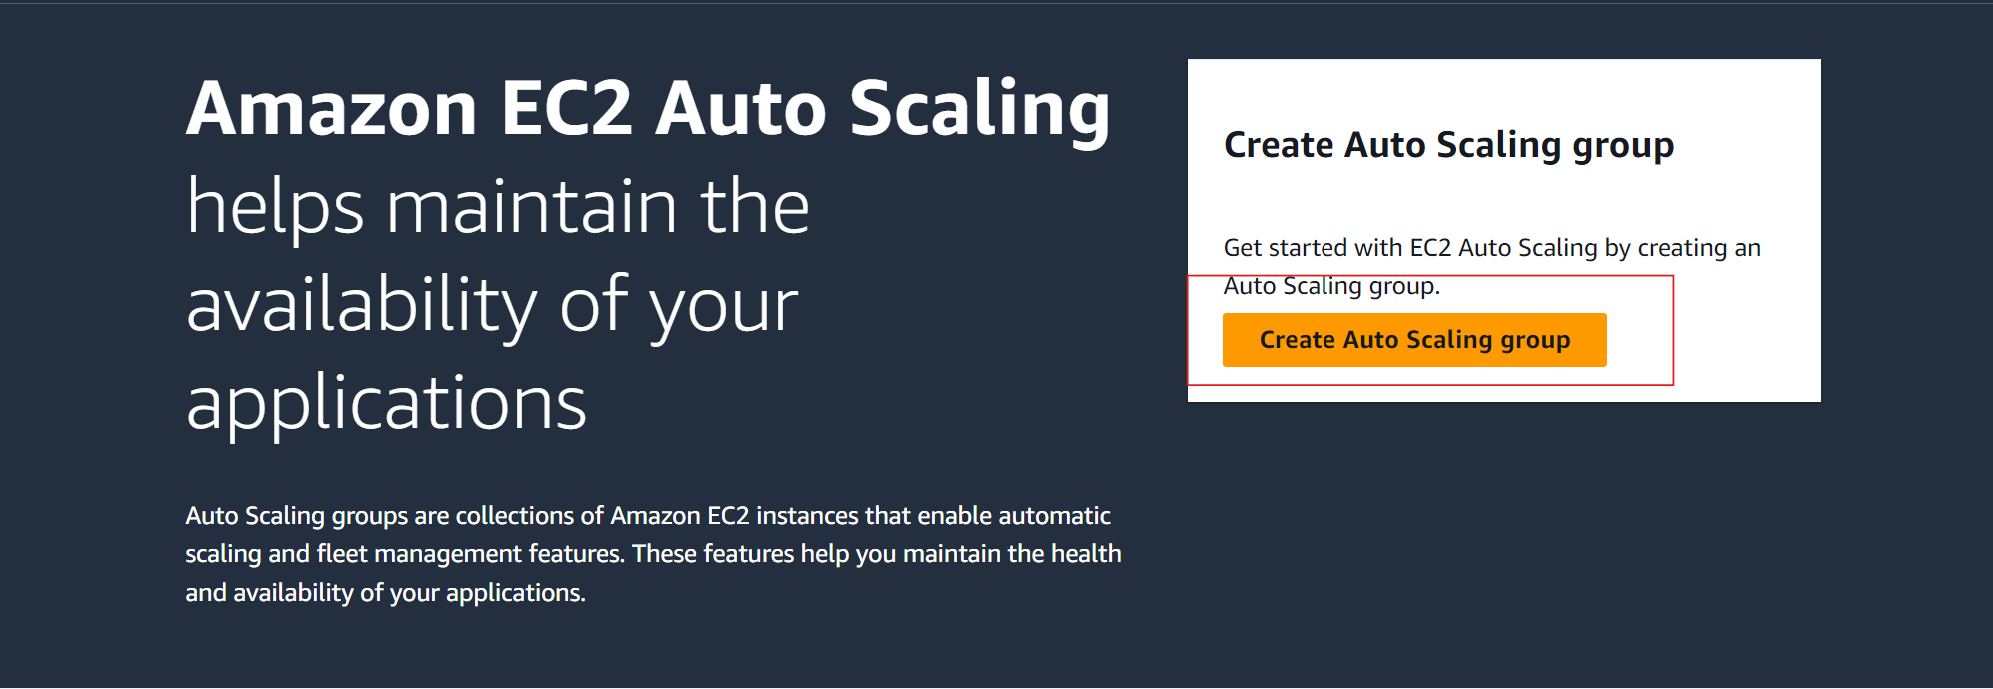
To begin, navigate to the EC2 dashboard, and scroll down to find the "Auto Scaling Groups" section. Click on this to create Auto Scaling group.
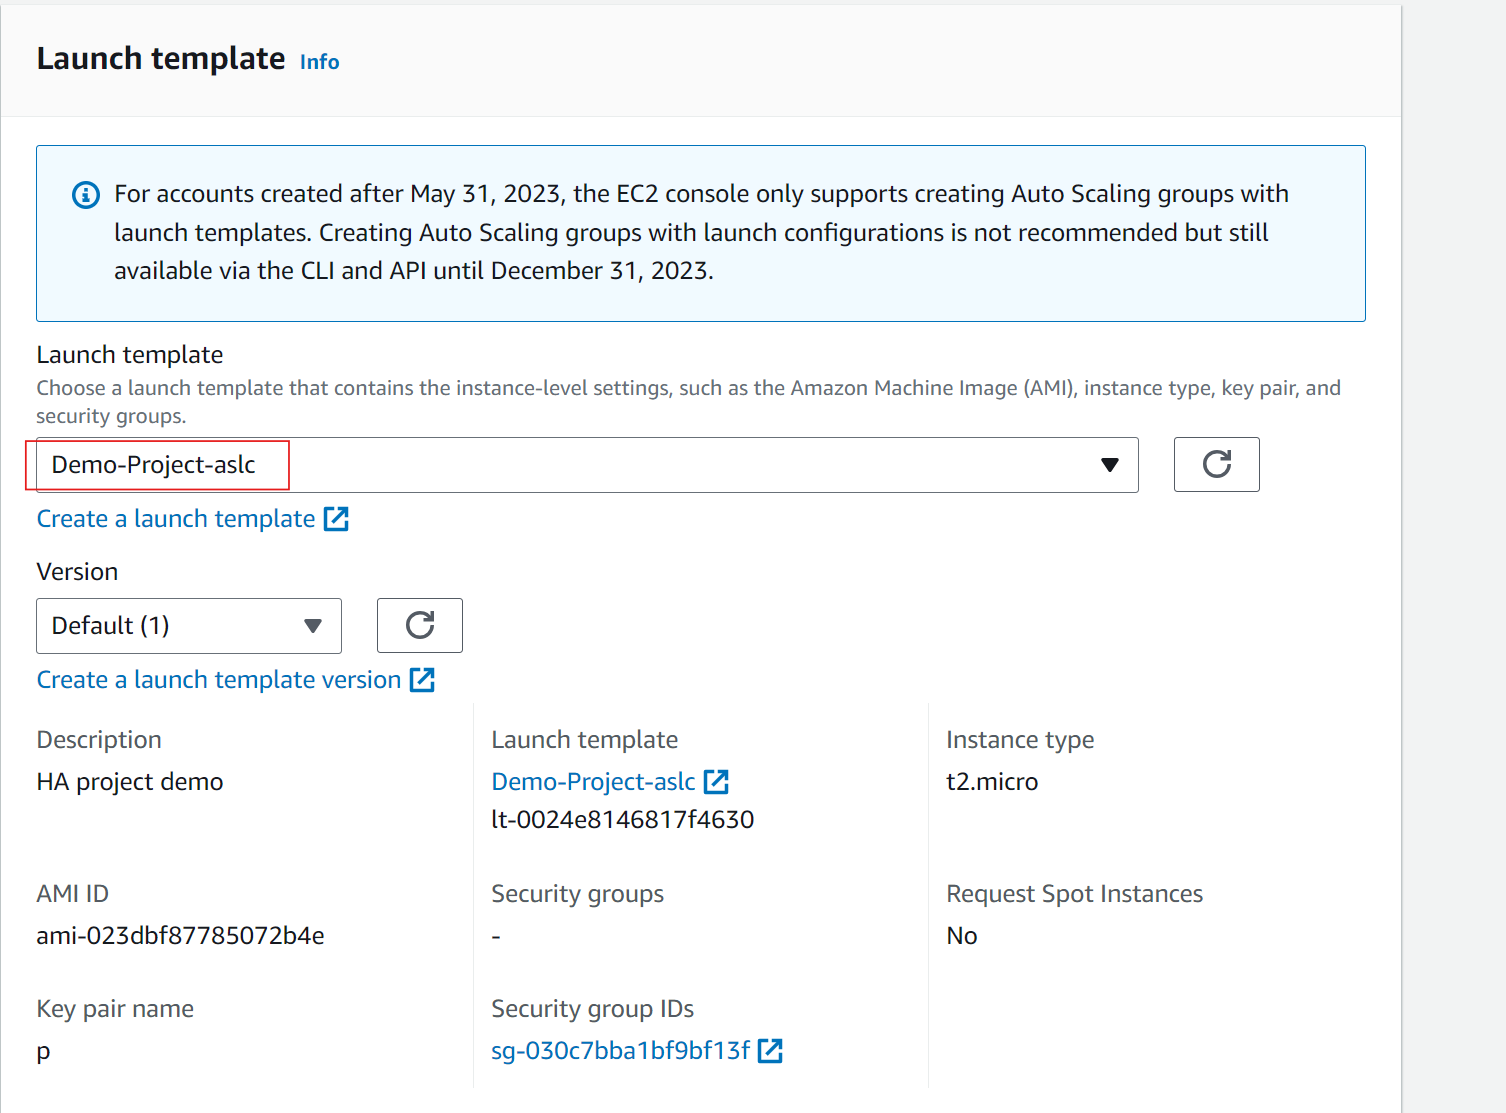
Name your group and choose the launch template you created earlier from the dropdown menu. Then, click "Next" to continue.

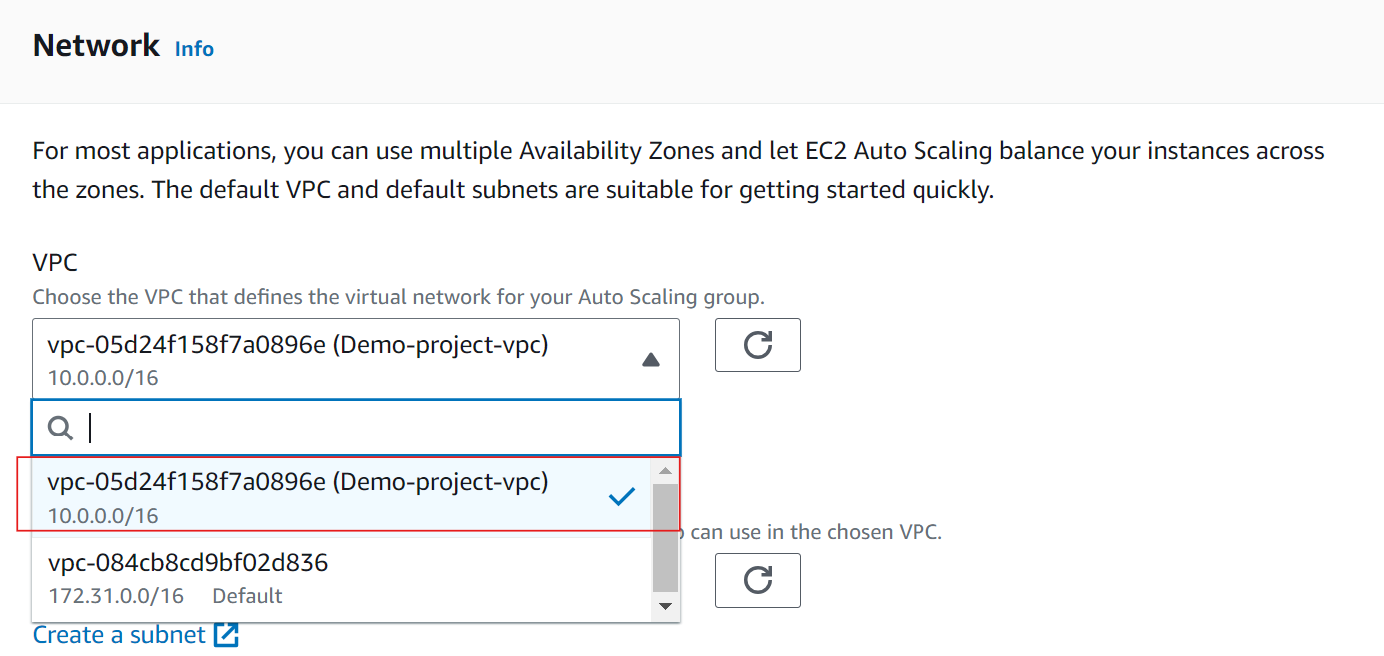
Select the VPC you previously set up. In the "Availability Zones and Subnets" section, choose the two public subnets you have already established from the dropdown menu. If you need guidance on creating a VPC, you can learn more by following this link: How to Create a VPC in AWS. After making these selections, click "Next" to proceed.

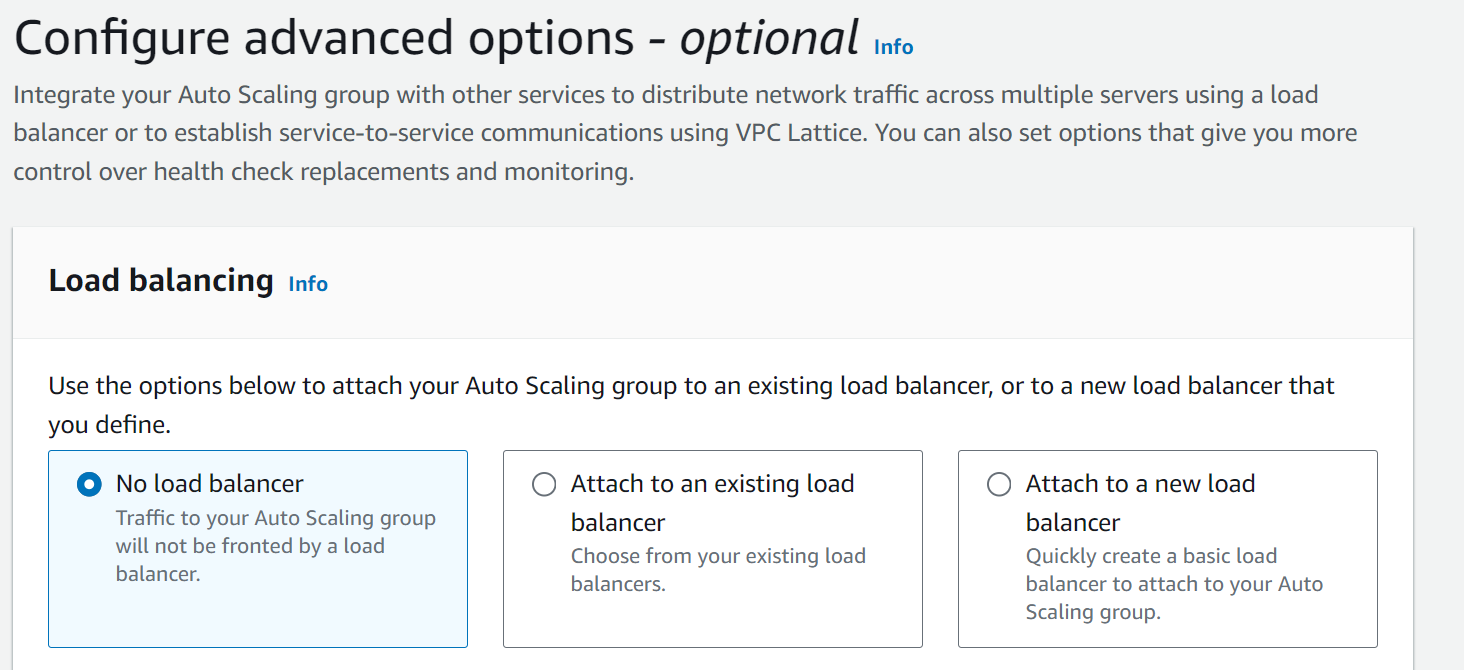
In the "Configure Advanced Options" section, select the load balancer you previously created from the dropdown menu. If you haven't set up a load balancer yet and plan to do so after configuring this auto scaling group, choose the "No Load Balancer" option. Once the load balancer is created, you can return to the auto scaling group settings to attach it by editing the configuration.
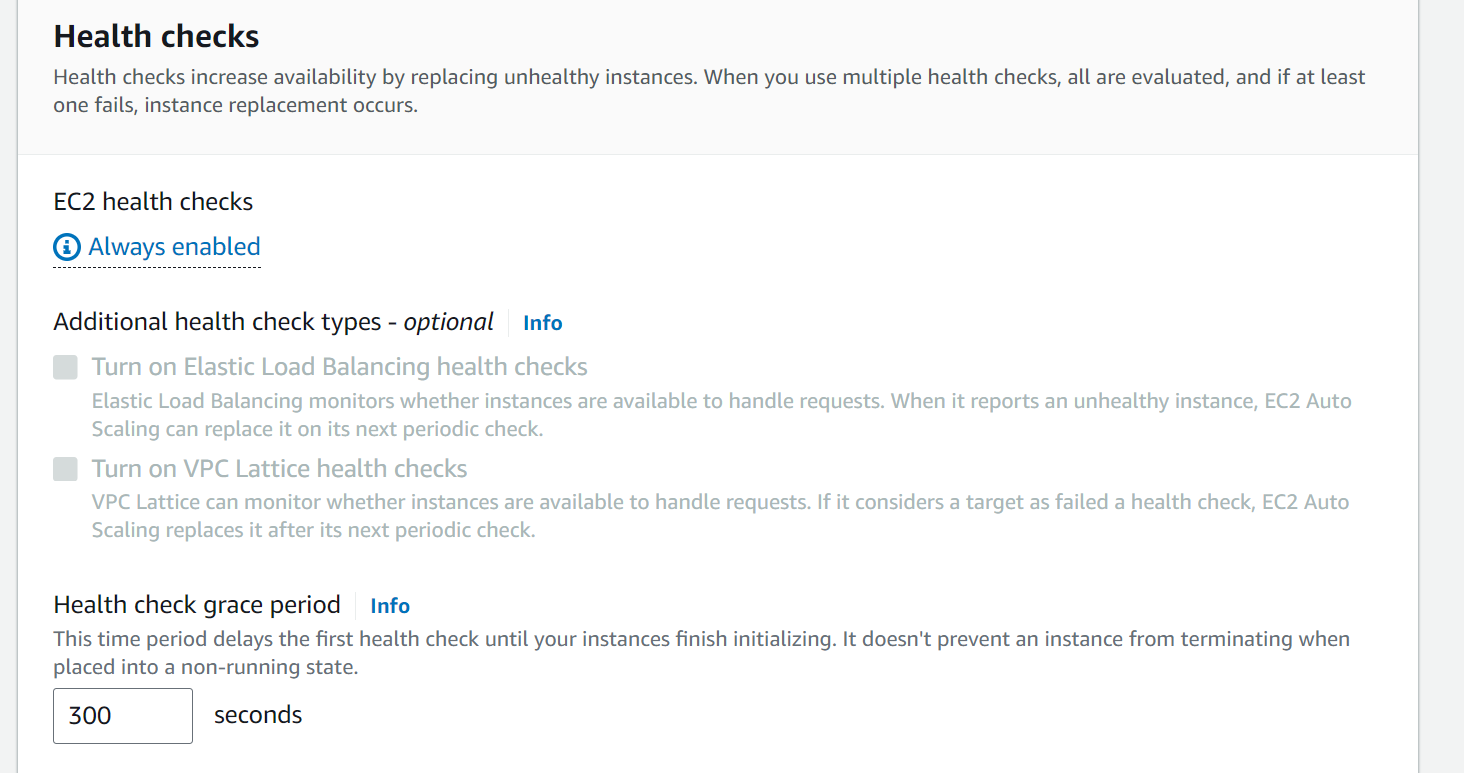
You can specify the duration for the health check interval; by default, it is set to 300 seconds. Adjust this setting according to the needs of your project.
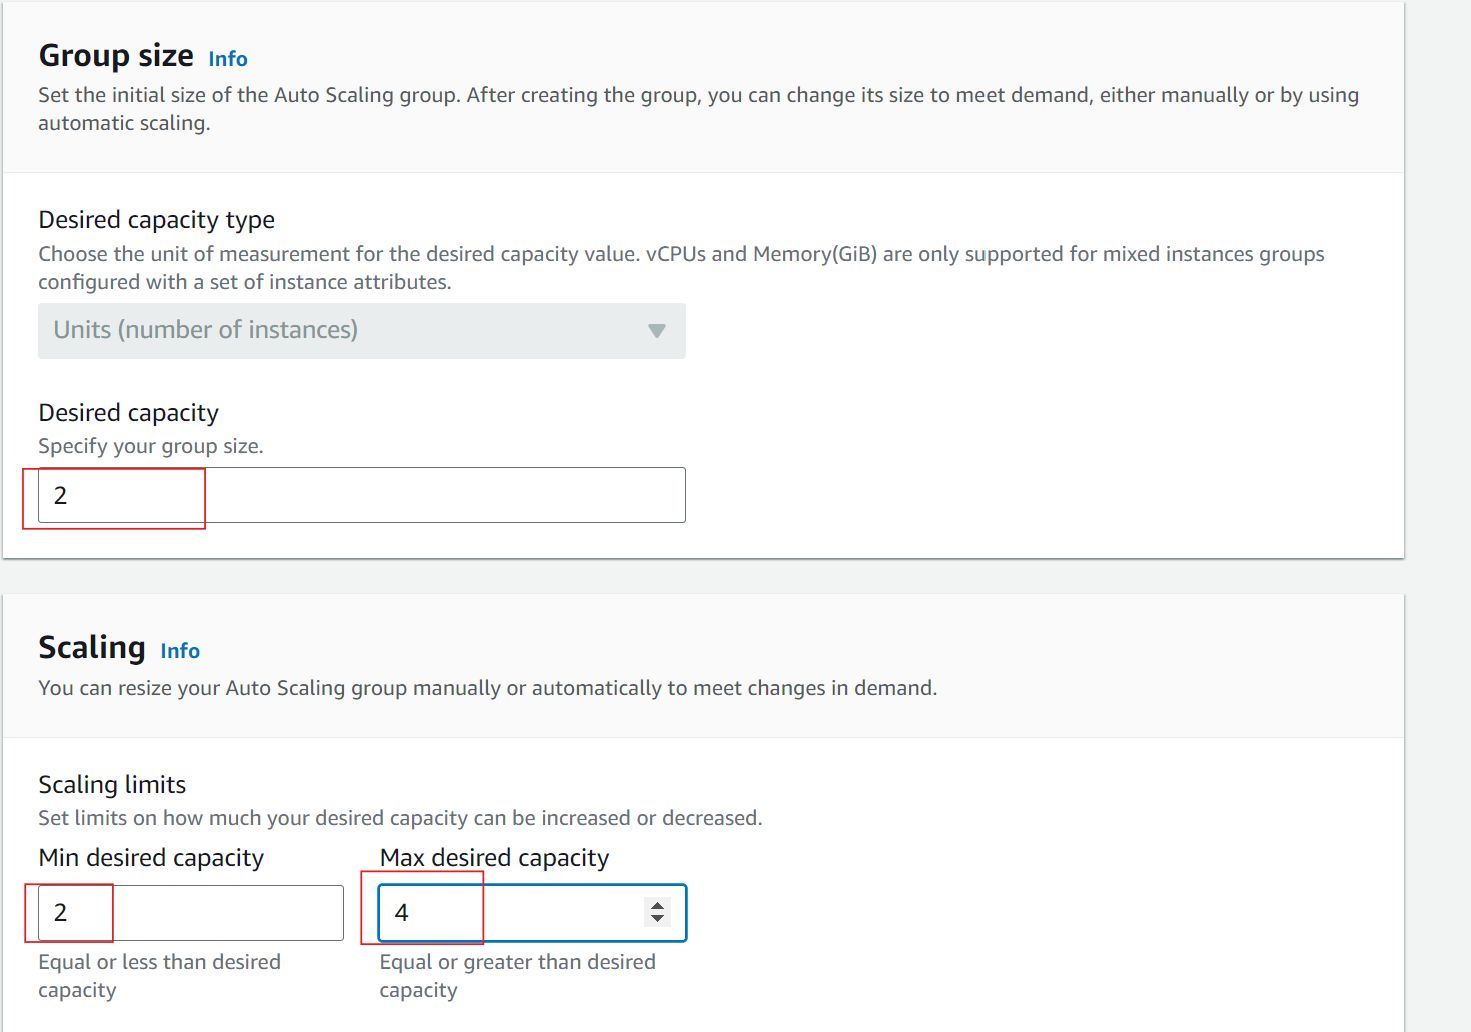
The "Configure Group Size" settings determine the minimum, maximum, and ideal number of EC2 instances in your Auto Scaling group. These settings ensure that your application has enough resources to handle demand efficiently while controlling costs by limiting excess capacity.
In the "Configure Group Size" menu, set the desired and minimum capacities to 2, and choose a maximum capacity of 4. You can adjust these settings based on your specific requirements.
Click "Next" to skip adding tags, or if you wish to assign tags to your instances for easier management and tracking, you can do so at this stage.
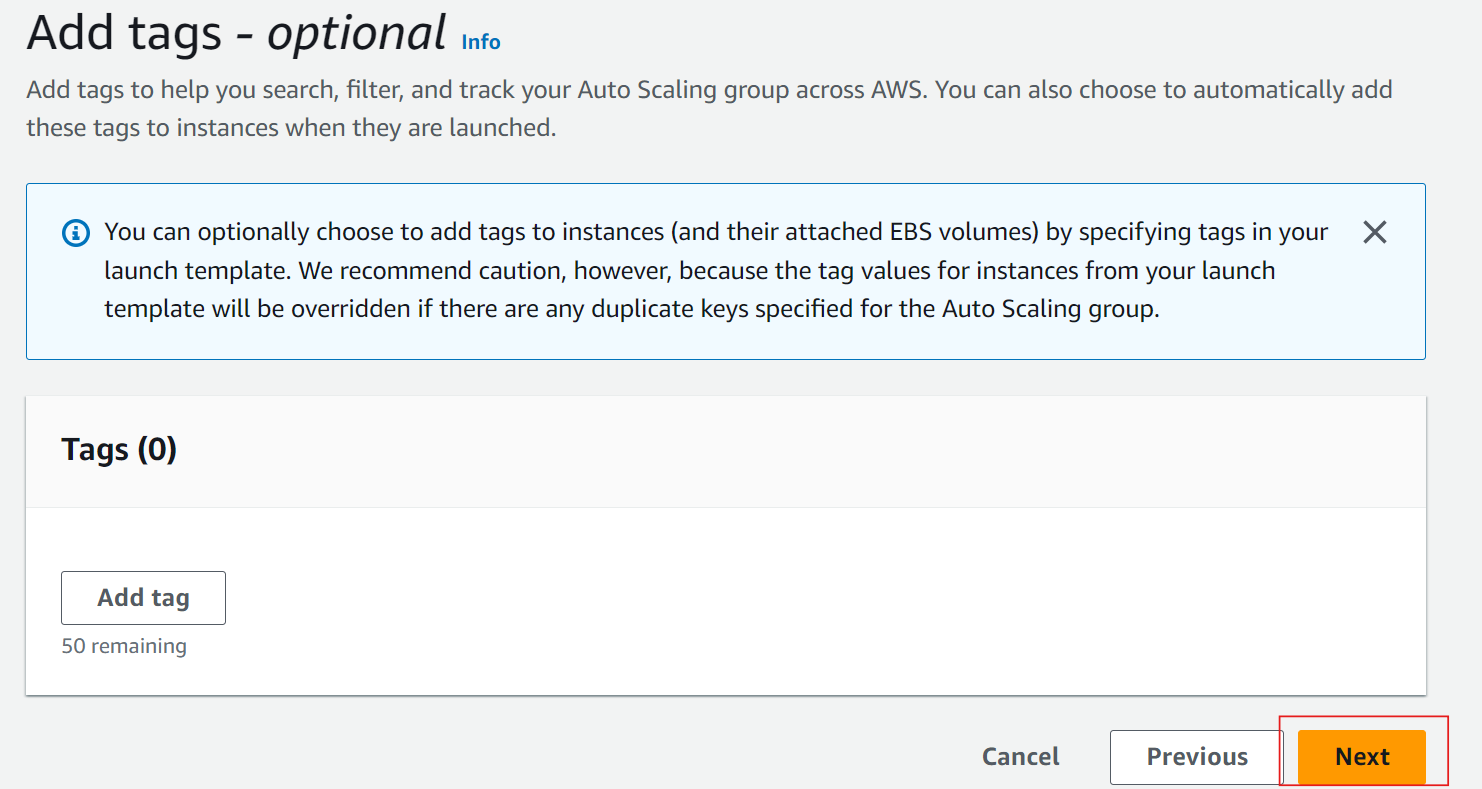
Finally click Create Auto Scaling Group on the review page.

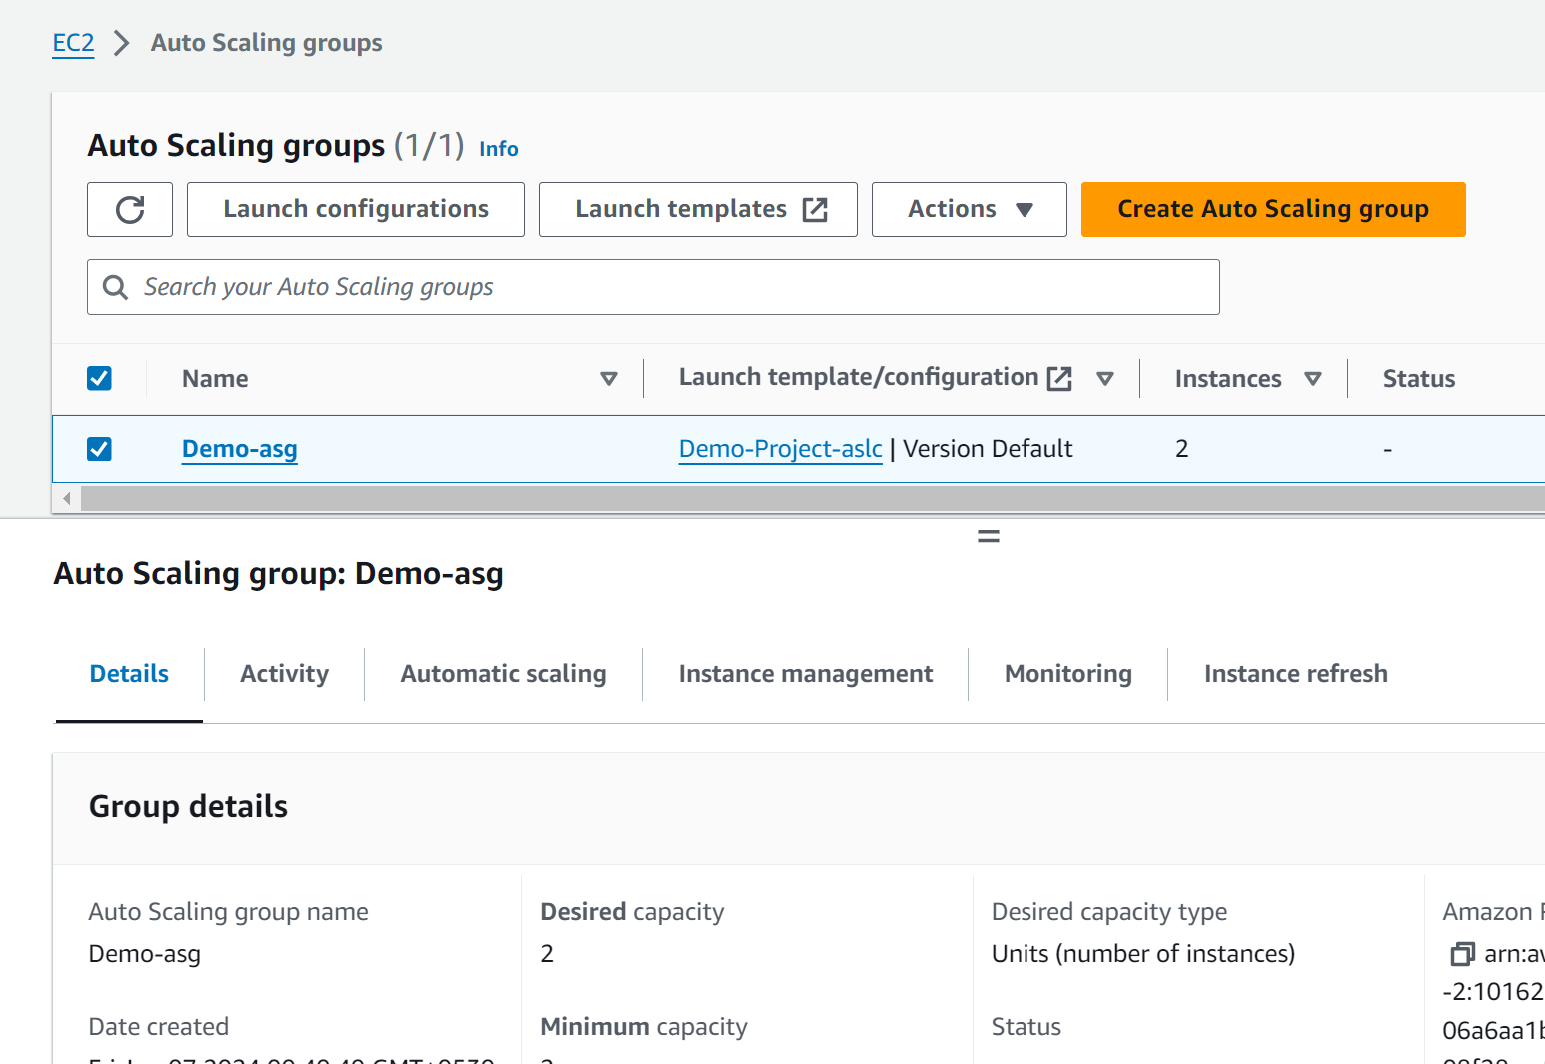
Auto Scaling group should now be created successfully.
Thank you for reading! For more content, follow us at https://www.linkedin.com/company/codefy-labs
Subscribe to my newsletter
Read articles from Codefy Labs directly inside your inbox. Subscribe to the newsletter, and don't miss out.
Written by

Codefy Labs
Codefy Labs
We build products that scale