Simplifying Deployment: GitOps for BBMS Application on EKS Cluster
 Sorav Kumar Sharma
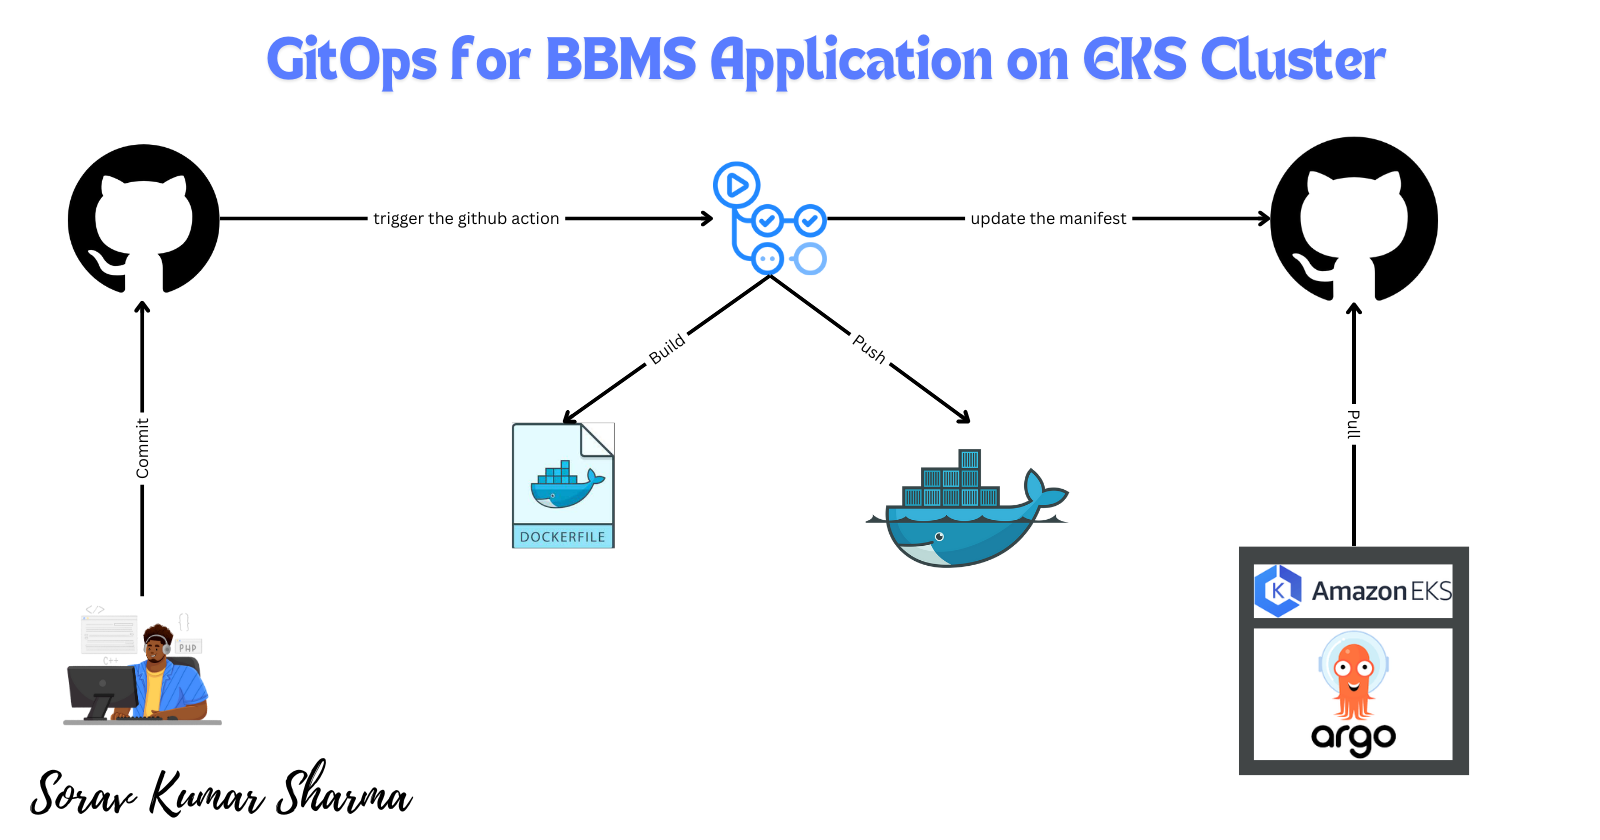
In this blog, we will deploy a Blood Bank Management System (BBMS) application on an Amazon EKS cluster using the GitOps approach. This project has a three-tier architecture and is developed in PHP.
We will also set up a CI/CD pipeline:
For Continuous Integration (CI), we will use GitHub Actions.
For Continuous Deployment (CD), we will use ArgoCD.
As per the GitOps methodology, we will maintain two separate Git repositories:
The application repository will contain the source code for the BBMS project.
The manifest repository will contain the configuration files that ArgoCD will monitor.
By the end of this blog, you will learn how to deploy a three-tier application on an EKS cluster using the GitOps approach.
Prerequisites:
Ubuntu Instance
Instance Type: t2.medium
Root Volume: 20GiB
Region: us-east-1
IAM Role:
- Create an IAM Role with the Administrator policy, and attach that role with an EC2 Instance profile.
Install AWS CLI, eksctl, Kubectl, Kubectl argo rollouts & Helm
Git Repositories:
Application Code -Blood-Bank-Management-System
Configuration Manifests -Blood-Bank-Management-System-Infra
Step 1: SSH into the Ubuntu Instance.
update the package list
sudo apt update
Step 2: Fork and Clone the application repository.
git clone https://github.com/soravkumarsharma/Blood-Bank-Management-System.git
Step 3: Change the Directory.
cd Blood-Bank-Management-System
Step 4: Make a script file executable.
sudo chmod +x install.sh
Step 5: Run the executable script.
./install.sh
Step 6: Check the AWS CLI package version.
aws --version | cut -d ' ' -f1 | cut -d '/' -f2
Step 7: Check the eksctl package version.
eksctl version
Step 8: Check the kubectl package version.
kubectl version --client | grep 'Client' | cut -d ' ' -f3
Step 9: Check the kubectl argo rollouts package version.
kubectl argo rollouts version | grep 'kubectl-argo-rollouts:' | cut -d ' ' -f2
Step 10: Check the Helm package version:
helm version | cut -d '"' -f2
Step 11: Create an IAM policy for the AWS Load Balancer Controller that allows it to call AWS APIs on your behalf.
cd EKS-Cluster
aws iam create-policy --policy-name AWSLoadBalancerControllerIAMPolicy --policy-document file://iam_policy.json
Step 12: Retrieve the AWS account ID of the currently authenticated user.
ACC_ID=$(aws sts get-caller-identity | grep 'Account' | cut -d '"' -f4)
Step 13: Replace the Account ID.
sed -i "s/898855110204/${ACC_ID}/g" cluster.yml
Step 14: Create an EKS cluster.
- Note: wait for 10-15 minutes for the provisioning process to complete
eksctl create cluster -f cluster.yml
Step 15: Check all the worker nodes.
kubectl get nodes
Step 16: Check Addons.
aws-ebs-csi-driver
aws-efs-csi-driver
kubectl get daemonset -n kube-system
Step 17: Add the eks chart to the helm repository.
helm repo add eks https://aws.github.io/eks-charts
Step 18: Check whether the repo is added or not.
helm repo list
Step 19: Update your local repo to make sure that you have the most recent charts.
helm repo update eks
Step 20: Before installing the AWS load balancer controller, first apply the crds manifest file.
kubectl apply -f crds.yml
Step 21: Install the aws-load-balancer-controller.
helm upgrade -i aws-load-balancer-controller eks/aws-load-balancer-controller \
  -n kube-system \
  --set clusterName=blood-bank-prod \
  --set serviceAccount.create=false \
  --set serviceAccount.name=aws-load-balancer-controller
Step 22: Verify that the controller is installed.
helm list --all-namespaces
Step 23: Change the Directory.
cd ../Kubernetes/php
Step 24: Create an EFS.
Retrieve the AWS VPC ID.
  VPC_ID=$(aws eks describe-cluster \
      --name blood-bank-prod \
      --query "cluster.resourcesVpcConfig.vpcId" \
      --output text)
Retrieve the AWS VPC CIDR Range.
  CIDR_RANGE=$(aws ec2 describe-vpcs \
      --vpc-ids $VPC_ID \
      --query "Vpcs[].CidrBlock" \
      --output text \
      --region us-east-1)
Create a Security Group for the EFS.
  SG_ID=$(aws ec2 create-security-group \
      --group-name MyEfsSecurityGroup \
      --description "My EFS security group" \
      --vpc-id $VPC_ID \
      --output text)
Add the Inbound rules into the Security Group.
  aws ec2 authorize-security-group-ingress \
      --group-id $SG_ID \
      --protocol tcp \
      --port 2049 \
      --cidr $CIDR_RANGE
Create the EFS.
  FS_ID=$(aws efs create-file-system \
      --region us-east-1 \
      --performance-mode generalPurpose \
      --query 'FileSystemId' \
      --output text)
Retrieve the Public Subnet ID.
  aws ec2 describe-subnets \
      --filters "Name=vpc-id,Values=$VPC_ID" \
      --query 'Subnets[?MapPublicIpOnLaunch==`true`].SubnetId' \
      --output text
Mount the Public Subnet ID to the EFS.
  aws efs create-mount-target \
      --file-system-id $FS_ID \
      --subnet-id public-subnet-ids \
      --security-groups $SG_ID
Step 25: Create Secrets in the Blood-Bank-Management-System repository.
echo $FS_ID
Note: copy the EFS ID
Go to Repo Settings -> Go to Secrets and Variables -> Actions -> New Repository Secret.
Secret Name: EFS_ID
Secret Value: paste the copied EFS ID.
Create a Certificate from the AWS Certificate Manager.
After Certificate is created then copy the Certificate ARN.
Go to Repo Settings -> Go to Secrets and Variables -> Actions -> New Repository Secret.
Secret Name: CERT_ARN
Secret Value: paste the copied Certificate ARN.
- Create the API TOKEN for Github.
Create API TOKEN Secret for The CI pipeline.
Go to Profile -> Settings -> Go to Developer Settings -> Go to Personal Access Tokens -> Generate Classic Token -> Copy the Token
Secret Name: API_TOKEN_GITHUB
Secret Value: paste the copied token.
- Create the Docker Hub Secrets for the CI Pipeline.
Create DOCKERHUB_USERNAME Secret for The CI pipeline.
Go to Repo Settings -> Go to Secrets and Variables -> Actions -> New Repository Secret.
Secret Name: DOCKERHUB_USERNAME
Secret Value: enter your dockerhub username

Create DOCKERHUB_TOKEN Secret for The CI pipeline.
Go to [Docker](https://hub.docker.com) -> Go to profile -> Go to My account -> Go to Security -> Create Access Token -> Copy the Token
Go to Repo Settings -> Go to Secrets and Variables -> Actions -> New Repository Secret.
Secret Name: DOCKERHUB_TOKEN
Secret Value: paste your copied token.
Push the changes to the Git Repository.
- Trigger the GitHub action.
git add .
git commit -m "manifest files modified"
git push origin main\
- Change the Directory.
cd ../..
Step 26: Install ArgoCD.
kubectl create namespace argocd
kubectl apply -n argocd -f https://raw.githubusercontent.com/argoproj/argo-cd/stable/manifests/install.yaml
- Expose the service of ArgoCD Server as a Classic Load Balancer.
kubectl patch svc argocd-server -n argocd -p '{"spec": {"type": "LoadBalancer"}}'
- Retrieve the Load Balancer DNS.
kubectl get svc -n argocd
Retrieve the ArgoCD initial password.
- Login into the Server using the Load Balancer DNS URL.
kubectl get secret/argocd-initial-admin-secret -n argocd -o jsonpath="{.data.password}" | base64 -d; echo
Step 27: Install Argo Rollouts.
kubectl create namespace argo-rollouts
kubectl apply -n argo-rollouts -f https://github.com/argoproj/argo-rollouts/releases/latest/download/install.yaml
- Before Applying the ApplicationSet manifest file to the Kubernetes cluster, Firstly change the git repo URL in the manifest, and then Apply the manifest file.
kubectl apply -f ApplicationSet.yml
Step 28: Argo Rollouts Dashboard.
- Make sure that the inbound port 3100 is opened into the EC2 instance.
kubectl argo rollouts dashboard
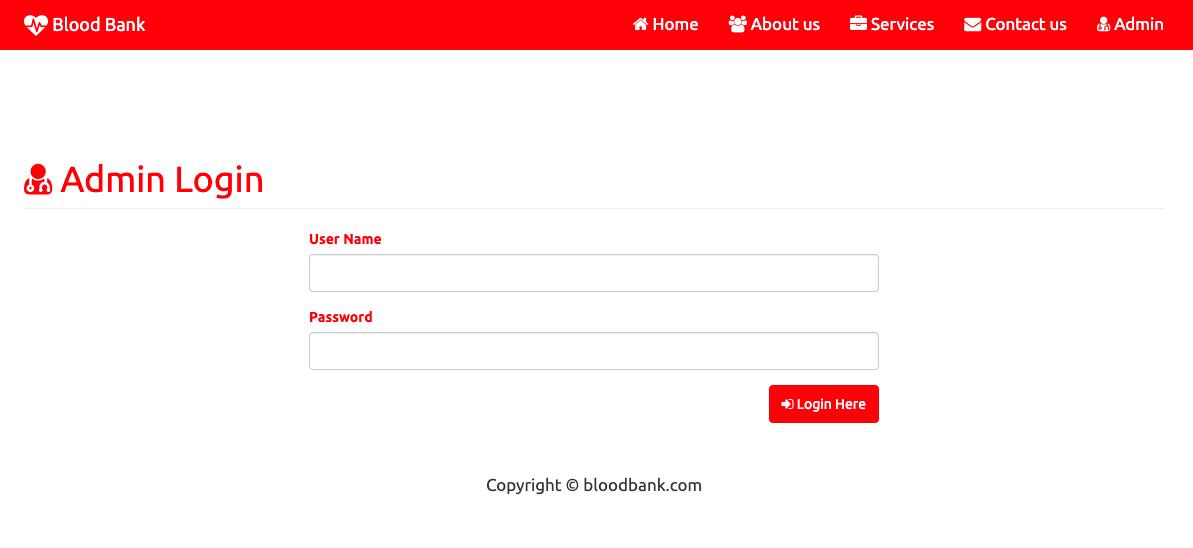
Note: Access the admin_test.php file in your browser by typing admin_test.php in the address bar. This will automatically execute the PHP code inside the file and insert admin credentials into your MySQL database
Like this:
https://bloodbank.soravkumarsharma.info/admin_test.php
username: sorav
password: root
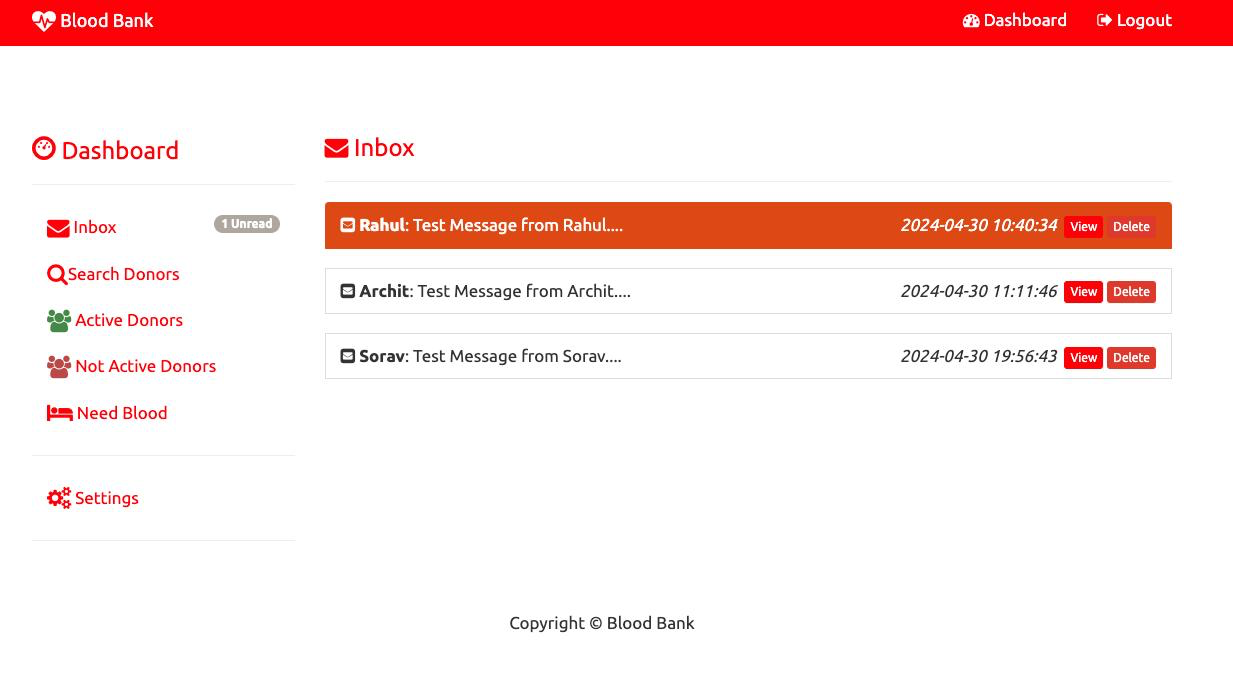
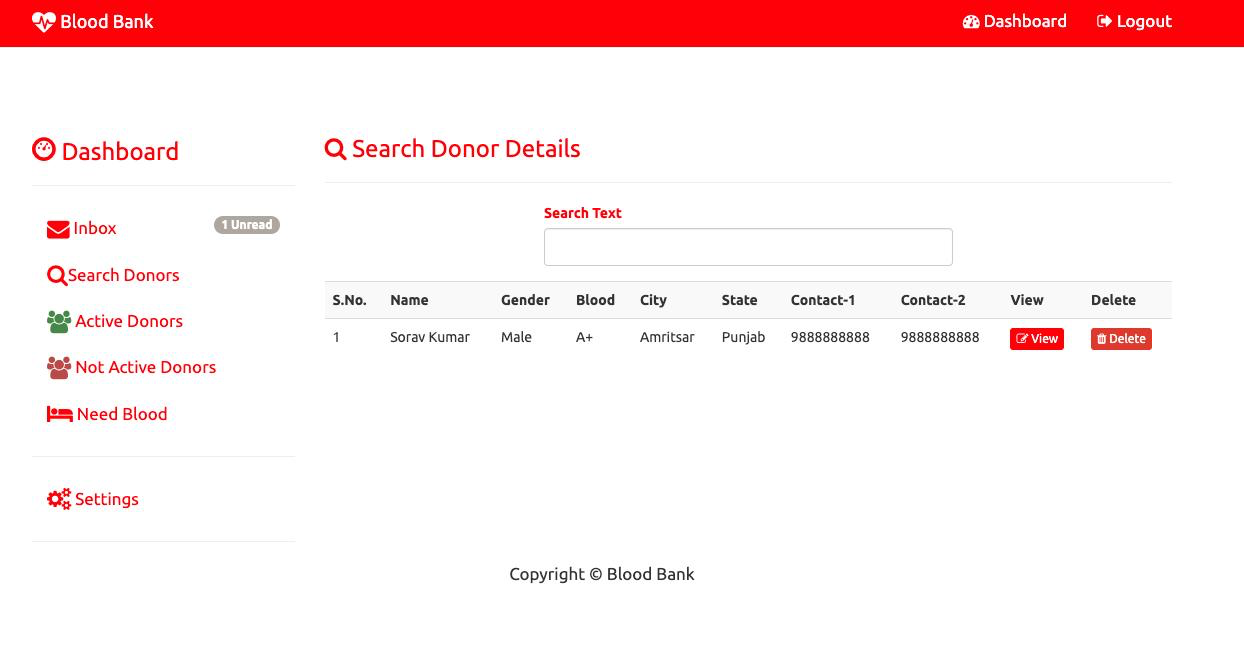
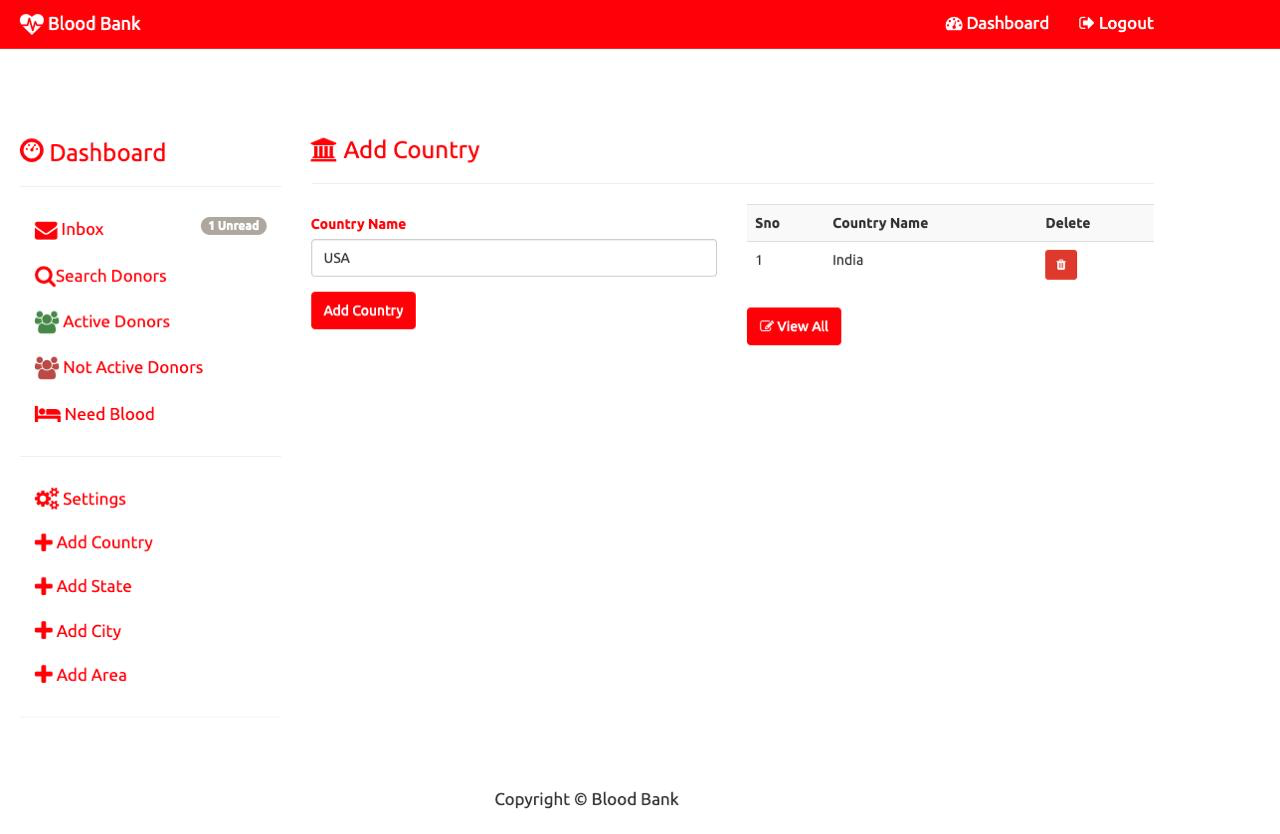
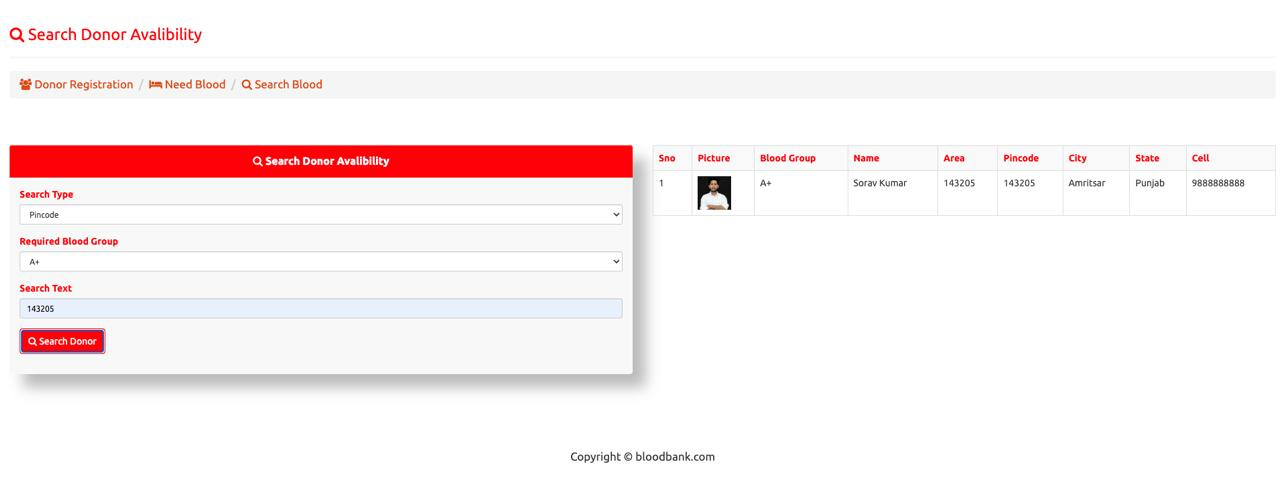
Desktop View:
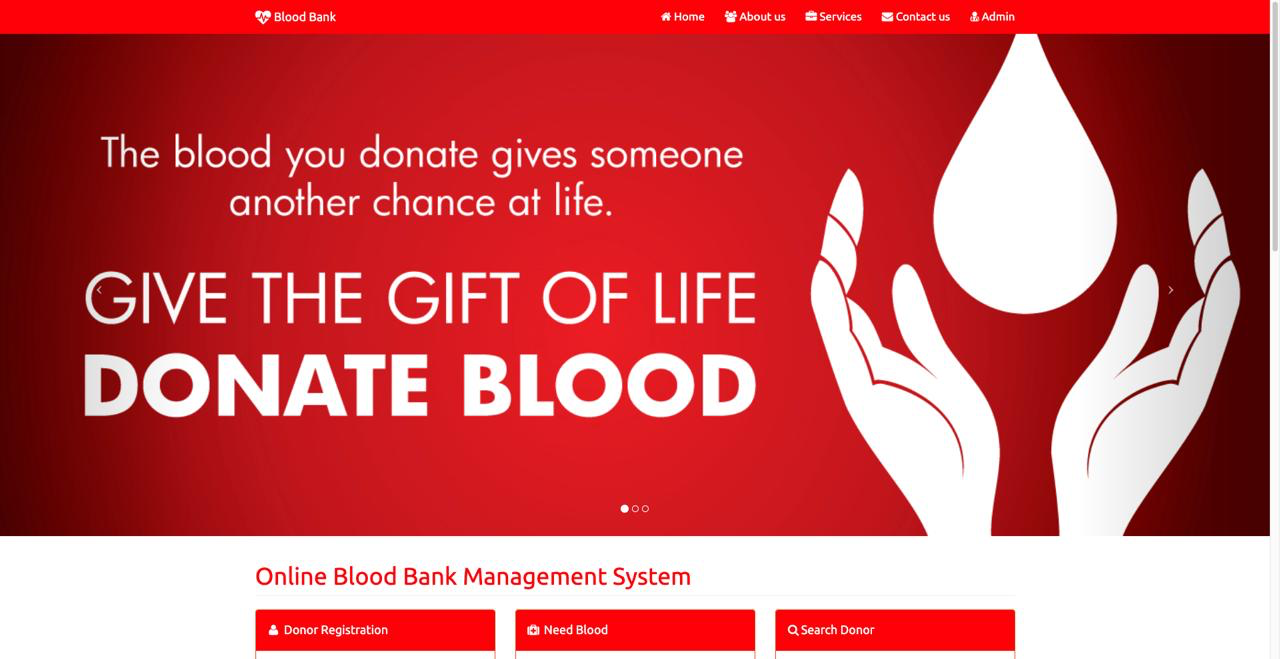
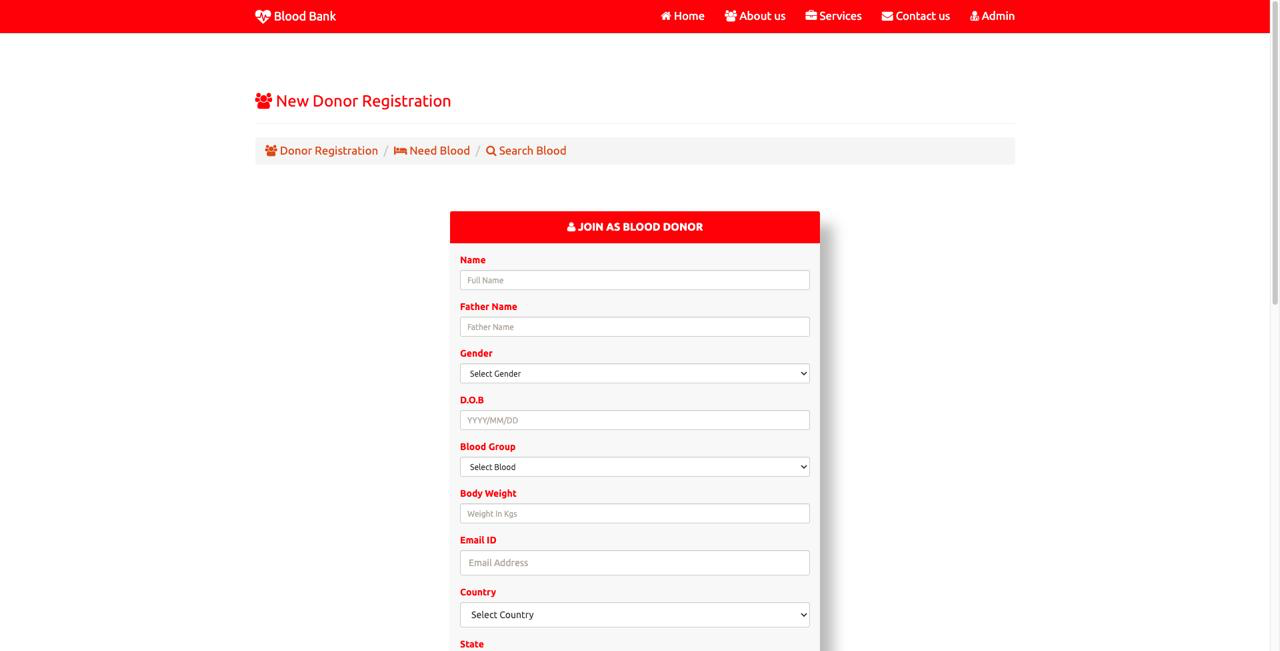
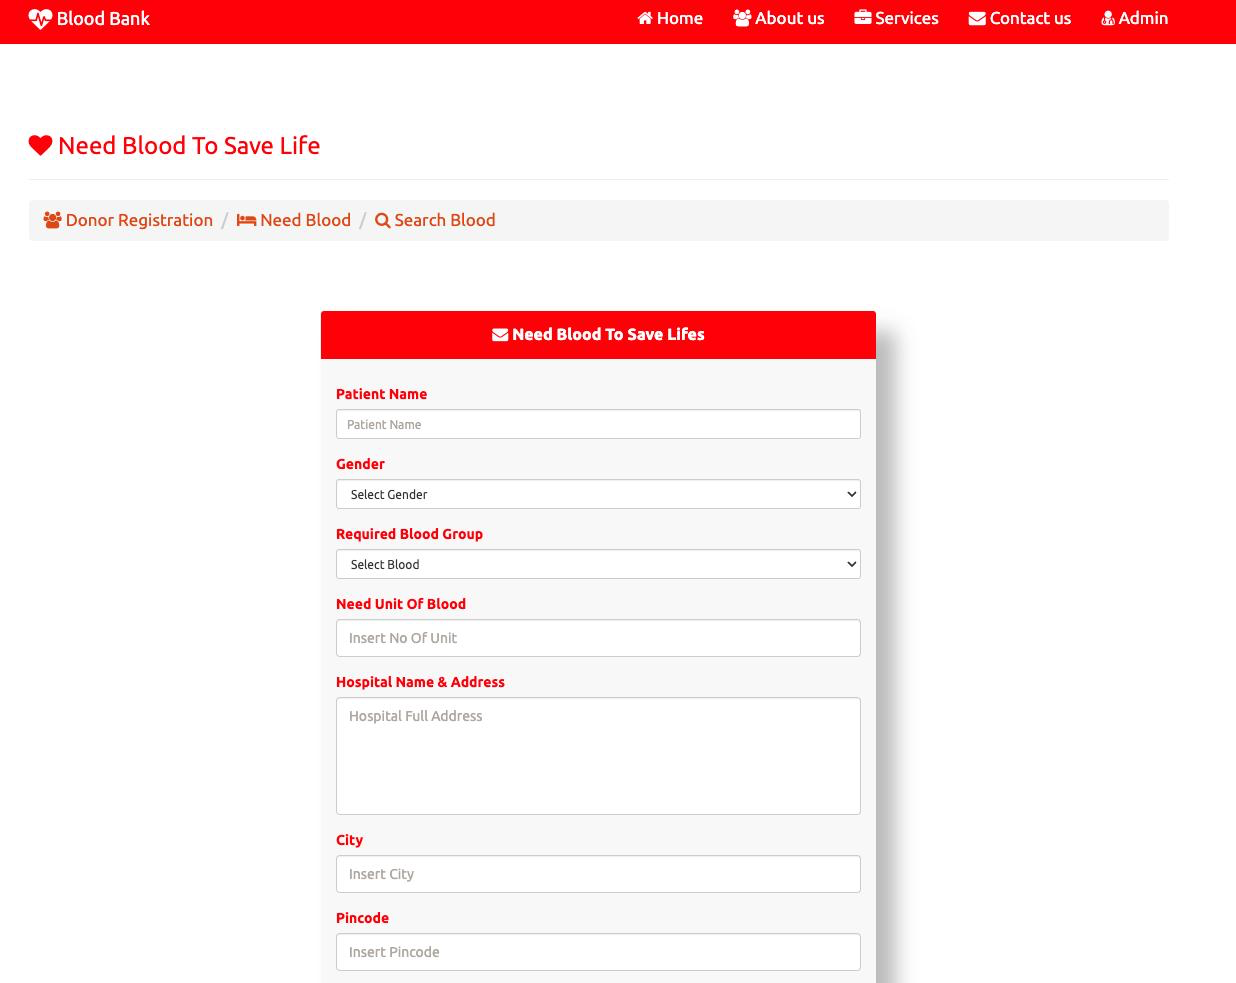
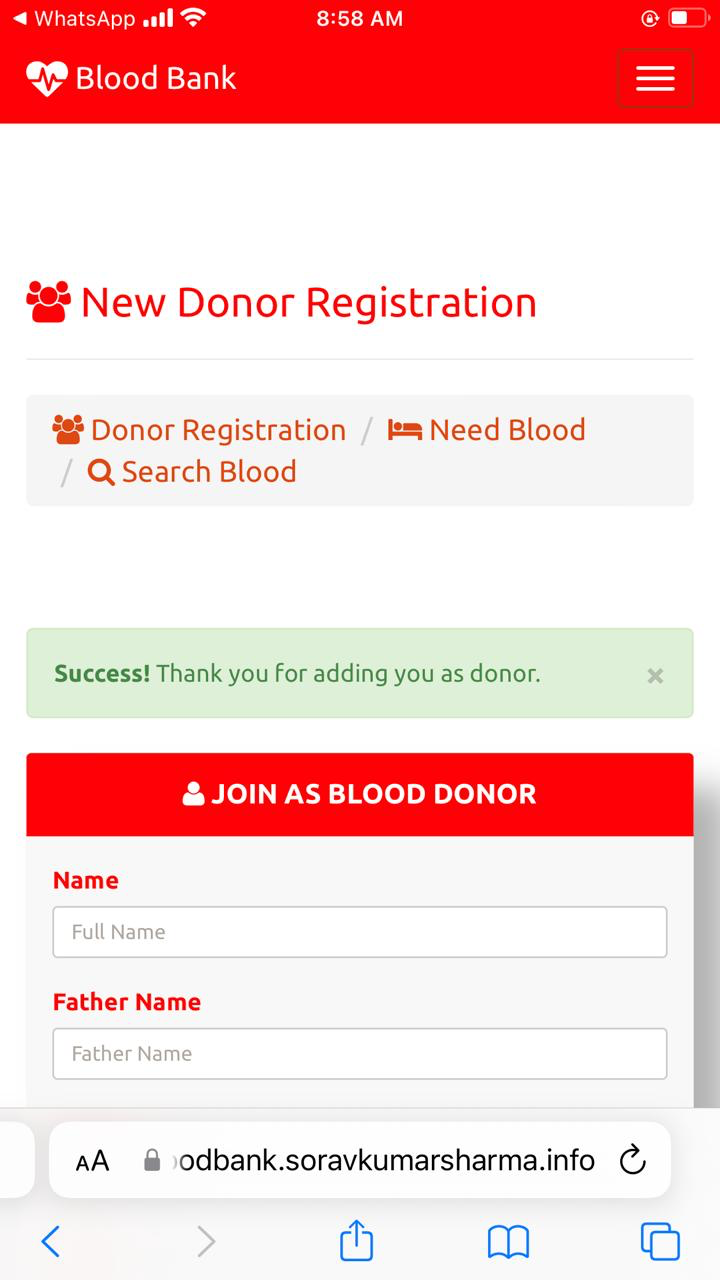
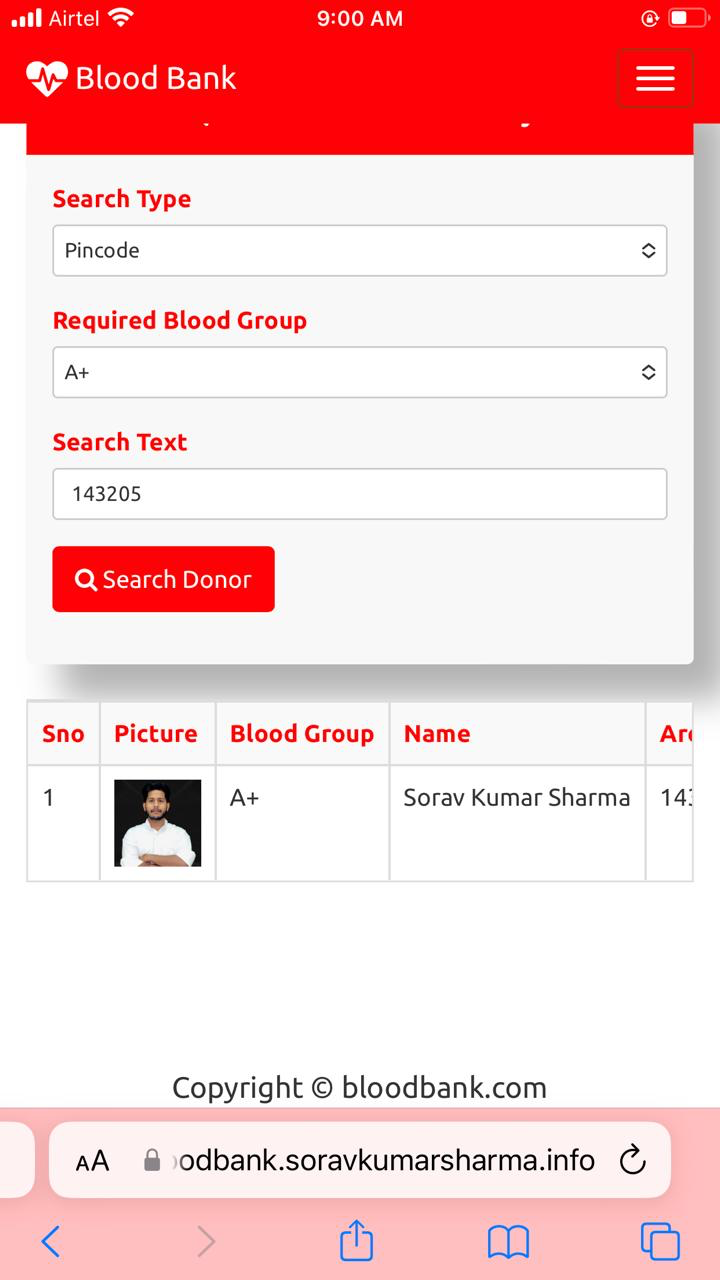
Mobile View:
Subscribe to my newsletter
Read articles from Sorav Kumar Sharma directly inside your inbox. Subscribe to the newsletter, and don't miss out.
Written by

Sorav Kumar Sharma
Sorav Kumar Sharma
As a passionate DevOps Engineer, I'm dedicated to mastering the tools and practices that bridge the gap between development and operations. Currently pursuing my bachelor’s in Computer Science and Engineering at Guru Nanak Dev University (Amritsar), I'm honing my skills in automation, continuous integration/continuous deployment (CI/CD), and cloud technologies. Eager to contribute to efficient software delivery and infrastructure management. Open to learning and collaborating with like-minded professionals. Let's connect and explore opportunities in the dynamic world of DevOps.