Day 64 - Terraform with AWS 🌍☁️
 Nilkanth Mistry
Hello, DevOps enthusiasts! Welcome to Day 64 of the #90DaysOfDevOpsChallenge. Today, we're diving into provisioning AWS resources using Terraform. We'll walk through each step with clear explanations and plenty of emojis to keep things fun! 🌟
Prerequisites 🛠️
Before we start, make sure you have the following:
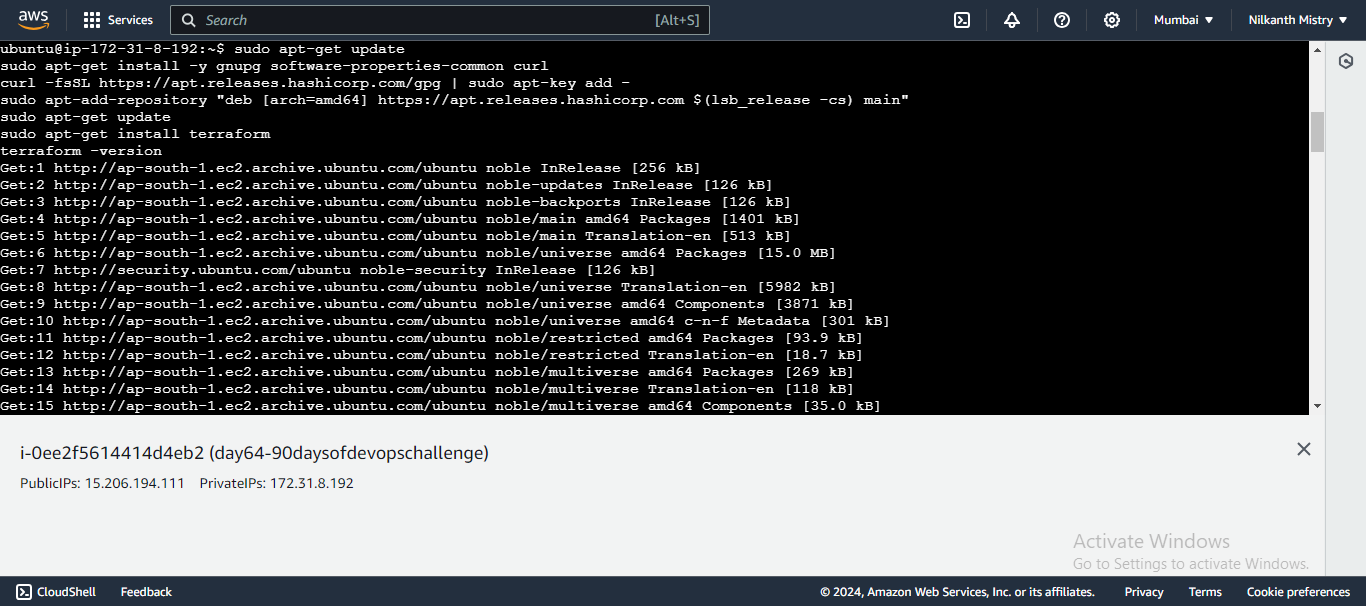
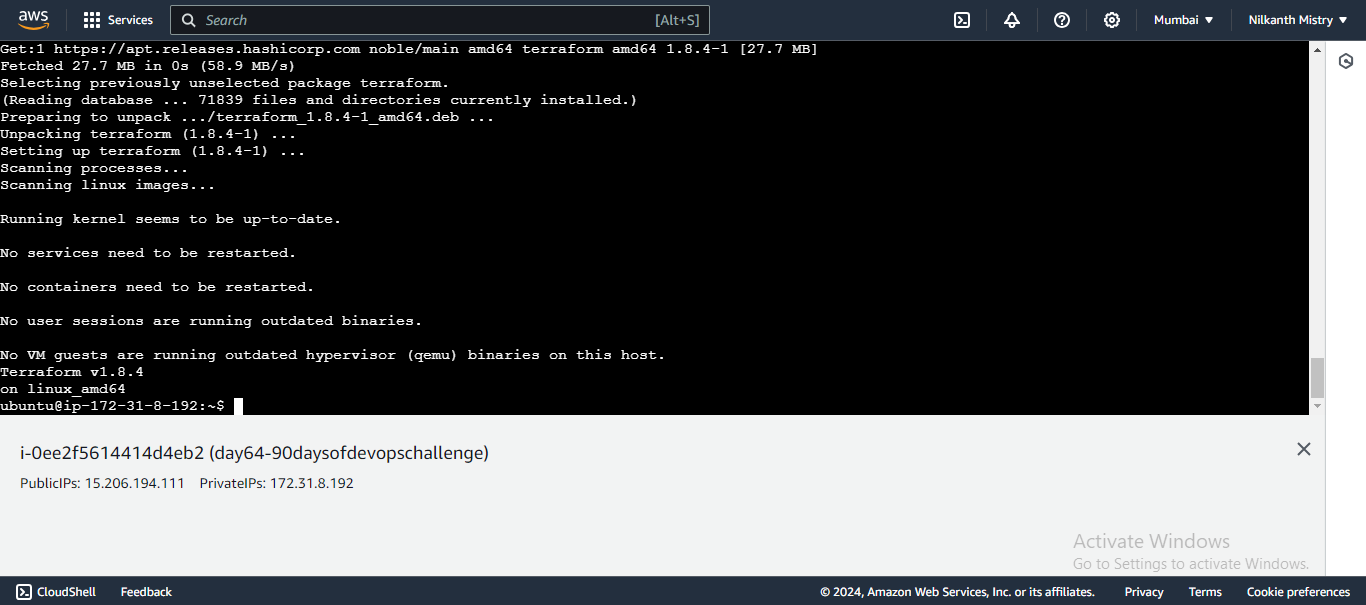
Install Terraform:
sudo apt-get update
sudo apt-get install -y gnupg software-properties-common curl
curl -fsSL https://apt.releases.hashicorp.com/gpg | sudo apt-key add -
sudo apt-add-repository "deb [arch=amd64] https://apt.releases.hashicorp.com $(lsb_release -cs) main"
sudo apt-get update
sudo apt-get install terraform
terraform -version
AWS CLI Installed 🖥️ The AWS Command Line Interface (AWS CLI) is a unified tool to manage your AWS services. With this tool, you can control multiple AWS services from the command line and automate them through scripts.
Install AWS CLI:
 sudo apt-get update
 sudo snap install aws-cli --classic
 aws --version
 aws configure
AWS IAM User 🔐 AWS Identity and Access Management (IAM) is a web service that helps you securely control access to AWS resources. You'll need an IAM user with access keys to connect Terraform with your AWS account.
Export AWS Access Keys:
 export AWS_ACCESS_KEY_ID=<your_access_key>
 export AWS_SECRET_ACCESS_KEY=<your_secret_access_key>
Step 1: Initialize Terraform Configuration ⚙️
Create a new directory for your Terraform project:
 mkdir terraform-aws-demo
 cd terraform-aws-demo
📁 Directory created!
Create a
main.tffile:touch main.tf📝 File created!
Add the required providers block in
main.tf:terraform { required_providers { aws = { source = "hashicorp/aws" version = "~> 4.16" } } required_version = ">= 1.2.0" }📜 Configuration added!
Add the AWS provider block specifying your region:
provider "aws" { region = "us-east-1" }🌍 Region set!
Step 2: Provision an AWS EC2 Instance 🖥️
Add the EC2 instance resource in
main.tf:resource "aws_instance" "aws_ec2_test" { count = 4 ami = "ami-08c40ec9ead489470" instance_type = "t2.micro" tags = { Name = "TerraformTestServerInstance" } }🛠️ EC2 instance configuration added!
Your main.tf file should now look like this:
 terraform {
   required_providers {
     aws = {
       source  = "hashicorp/aws"
       version = "~> 4.16"
     }
   }
   required_version = ">= 1.2.0"
 }
 provider "aws" {
   region = "us-east-1"
 }
resource "aws_instance" "aws_ec2_test" {
count = 4
ami = "ami-00beae93a2d981137"
instance_type = "t2.micro"
tags = {
Name = "TerraformTestServerInstance"
}
}
Step 3: Initialize and Apply the Configuration 💻
Initialize your Terraform configuration:
terraform init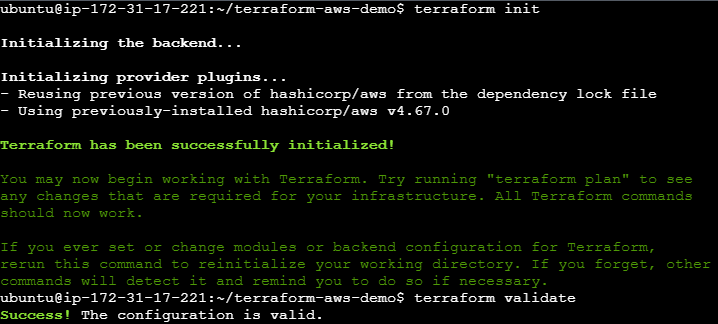

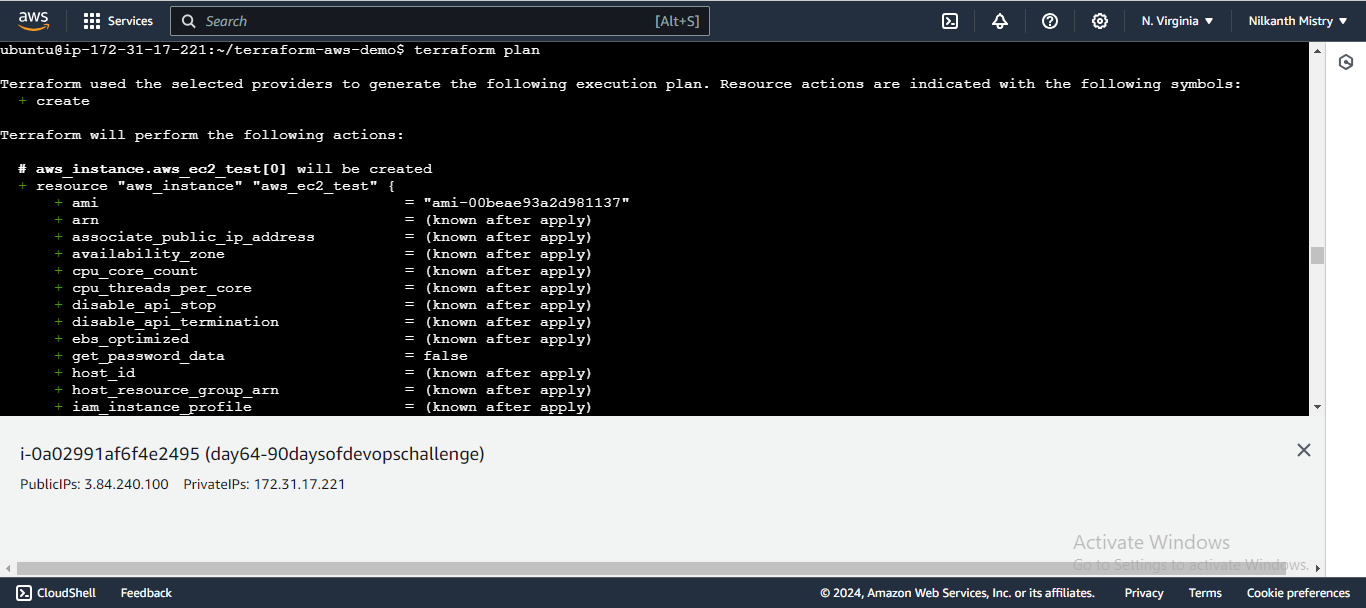
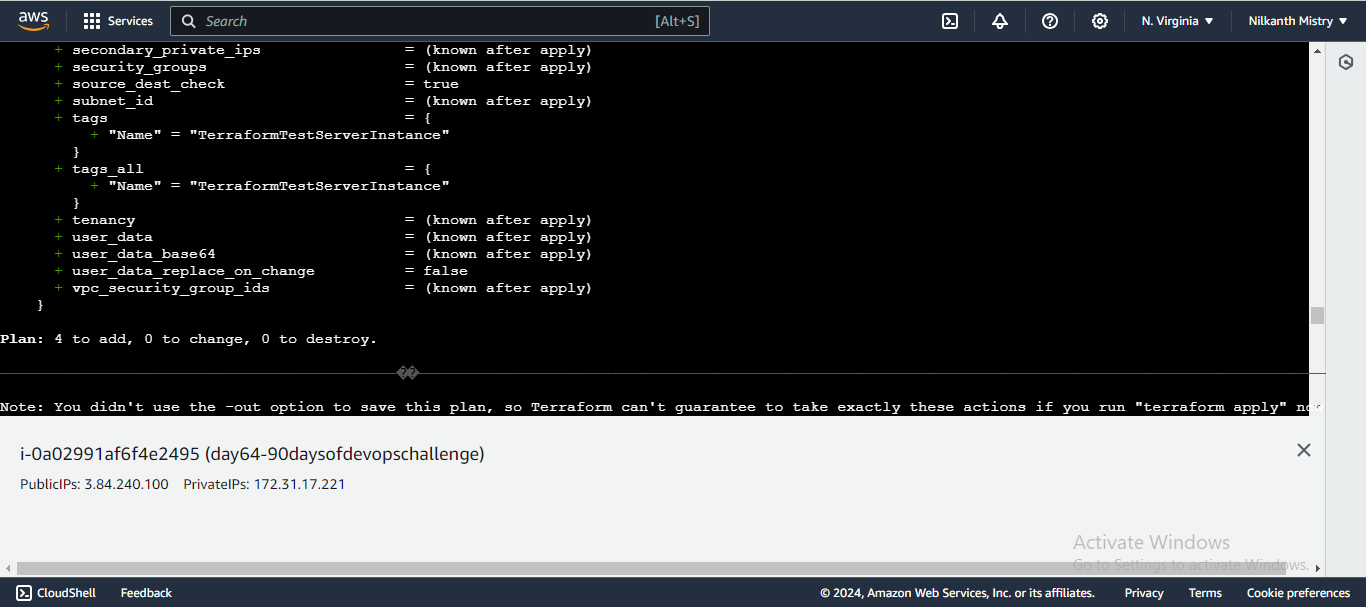
🏁 Initialization complete!
Apply the Terraform configuration to provision the AWS resources:
terraform apply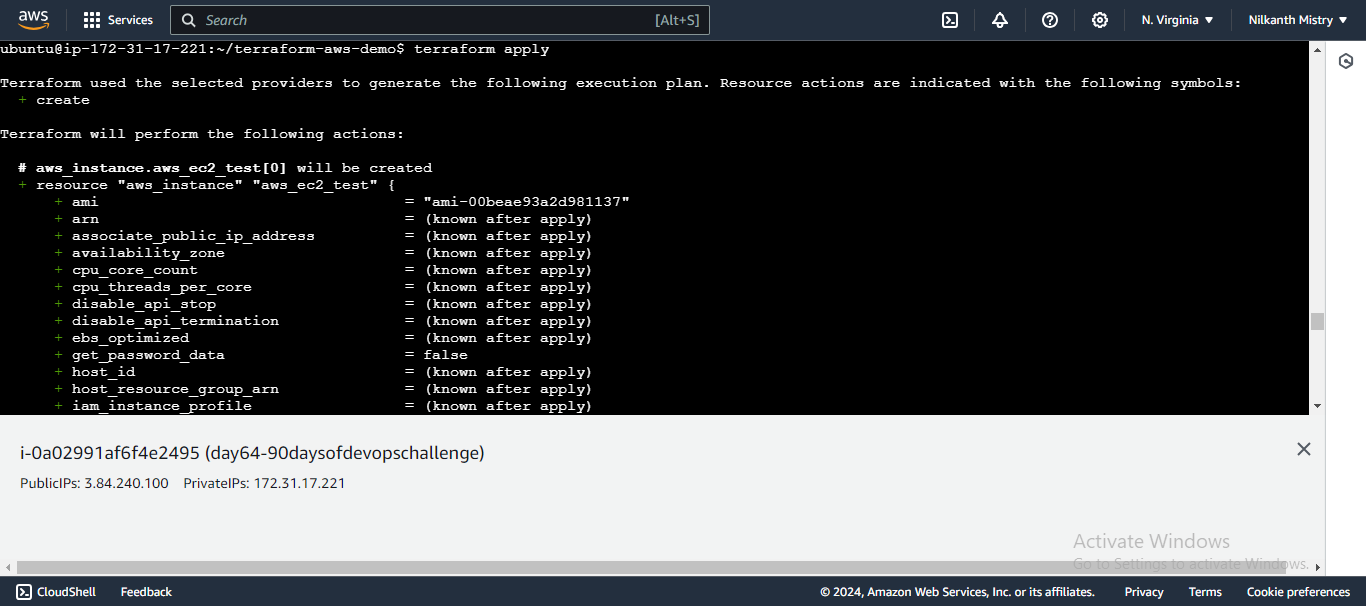
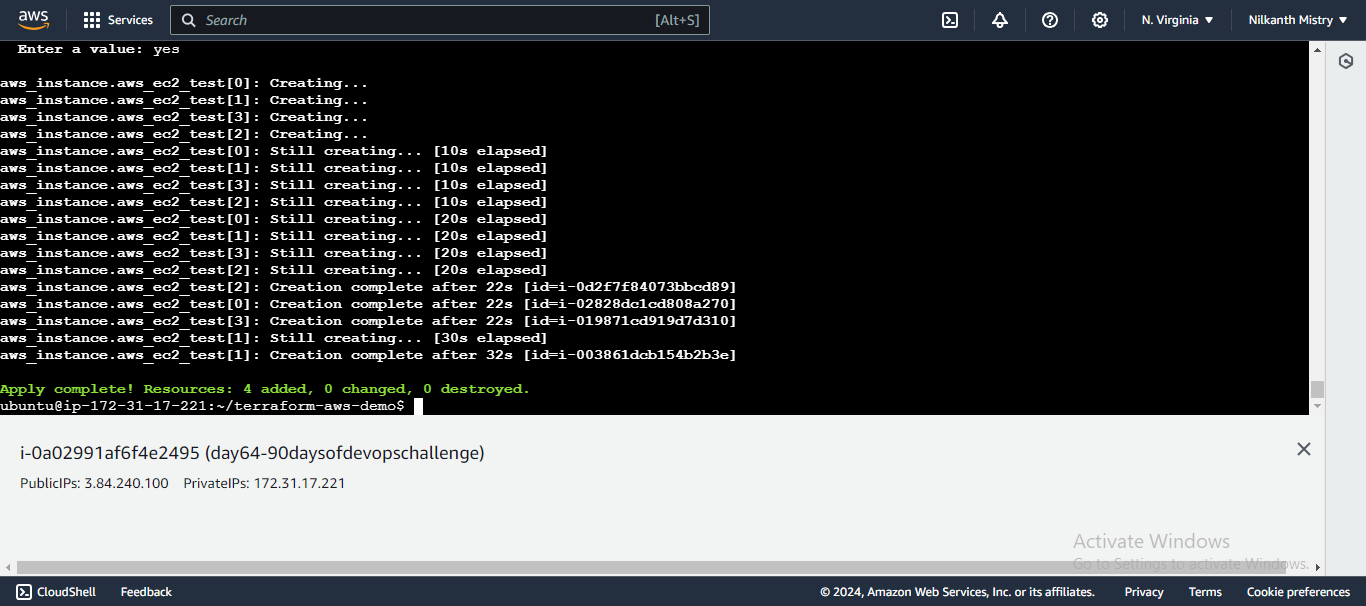
Review the execution plan and confirm by typing
yes. ✔️
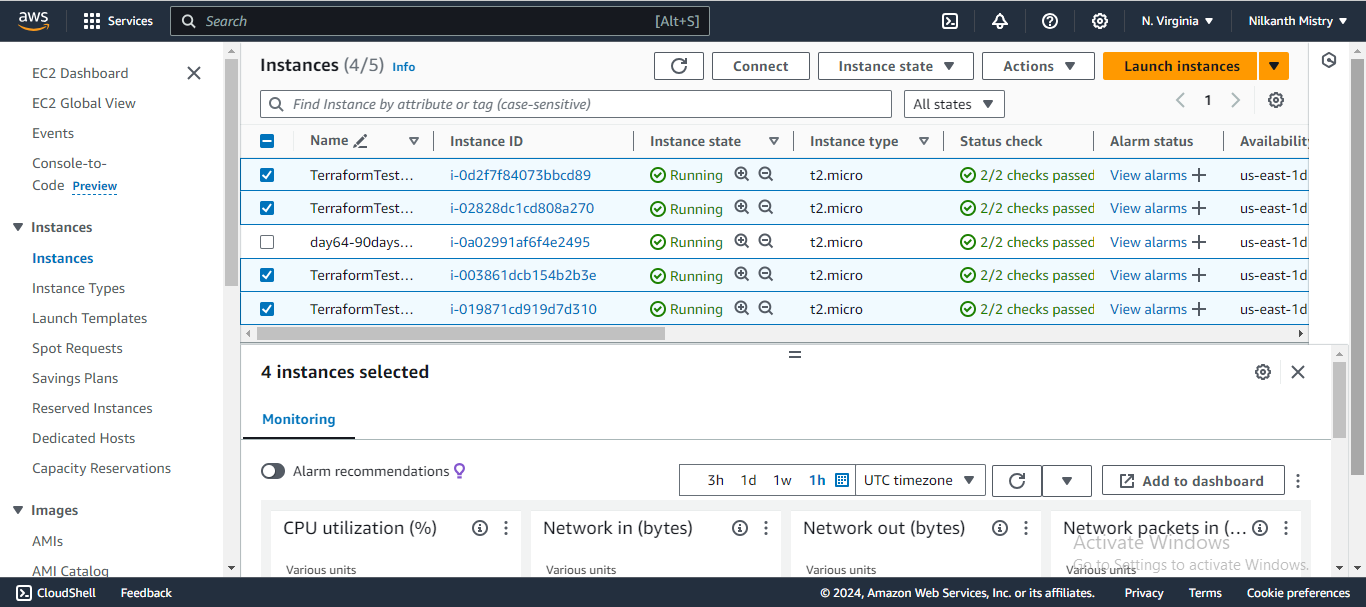
Step 4: Verify the EC2 Instances 🚀
Log in to your AWS Management Console and navigate to the EC2 Dashboard. Here, you should see the instances created by Terraform.
Summary 📚
Today, we've covered how to:
Set up Terraform to work with AWS.
Define and use providers in Terraform.
Provision an AWS EC2 instance using Terraform.
Keep practicing and happy learning! 🚀
Subscribe to my newsletter
Read articles from Nilkanth Mistry directly inside your inbox. Subscribe to the newsletter, and don't miss out.
Written by

Nilkanth Mistry
Nilkanth Mistry
Embark on a 90-day DevOps journey with me as we tackle challenges, unravel complexities, and conquer the world of seamless software delivery. Join my Hashnode blog series where we'll explore hands-on DevOps scenarios, troubleshooting real-world issues, and mastering the art of efficient deployment. Let's embrace the challenges and elevate our DevOps expertise together! #DevOpsChallenges #HandsOnLearning #ContinuousImprovement