Day 65 - Working with Terraform Resources 🚀
 Nilkanth Mistry
Welcome to the #90DaysOfDevOpsChallenge! Today is Day 65 and we are diving deeper into Terraform resources. Yesterday, we learned how to create a Terraform script with Blocks and Resources. Today, we'll explore how to create and manage Terraform resources more thoroughly.
Understanding Terraform Resources 📚
A resource in Terraform represents a component of your infrastructure, such as:
A physical server 🖥️
A virtual machine 🖥️
A DNS record 🌐
An S3 bucket 🪣
Attributes of resources define their properties and behaviors, such as:
The size and location of a virtual machine 📍
The domain name of a DNS record 🌐
When you define a resource in Terraform, you specify:
Type of resource (e.g.,
aws_instance)Unique name for the resource (e.g.,
web_server)Attributes that define the resource (e.g.,
instance_type,ami)
Terraform uses the resource block to define resources in your configuration.
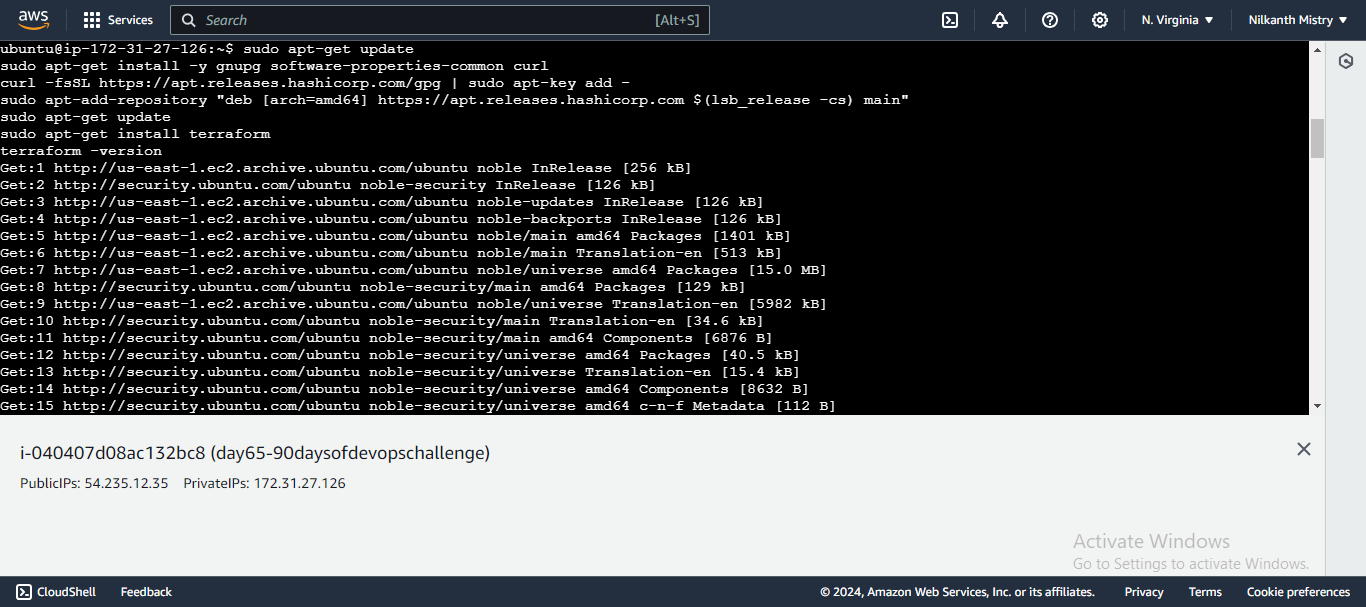
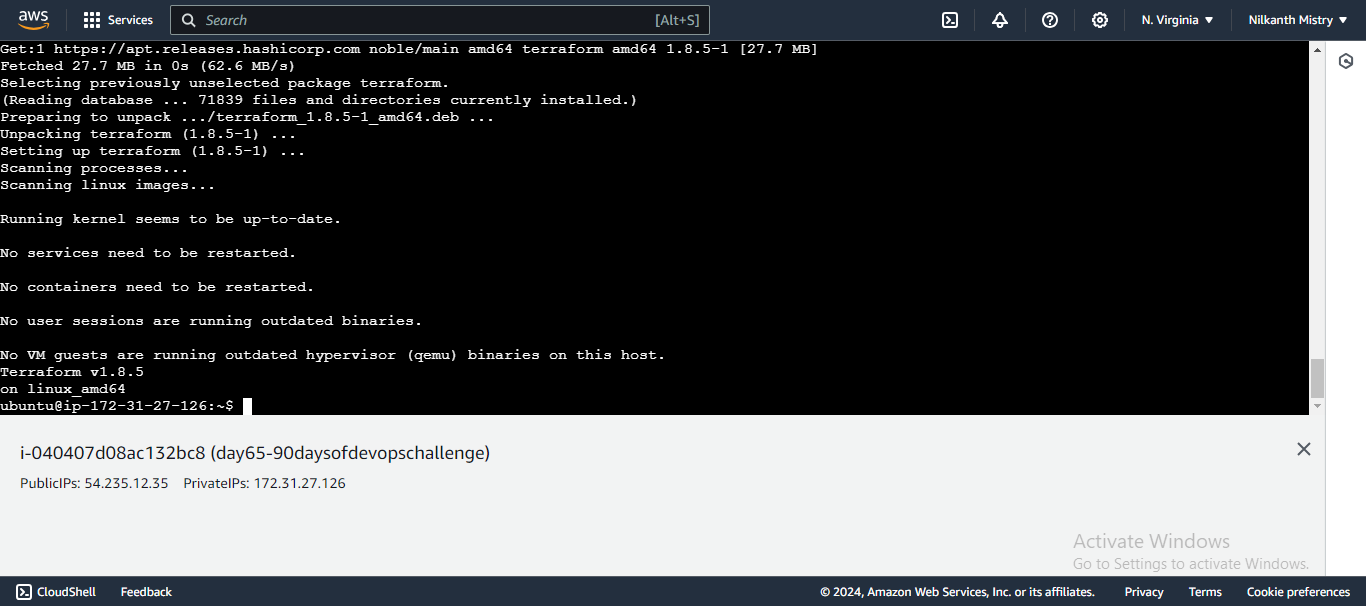
Install Terraform:
sudo apt-get update
sudo apt-get install -y gnupg software-properties-common curl
curl -fsSL https://apt.releases.hashicorp.com/gpg | sudo apt-key add -
sudo apt-add-repository "deb [arch=amd64] https://apt.releases.hashicorp.com $(lsb_release -cs) main"
sudo apt-get update
sudo apt-get install terraform
terraform -version
Task 1: Create a Security Group 🔒
To allow traffic to your EC2 instance, you need to create a security group. Follow these steps:
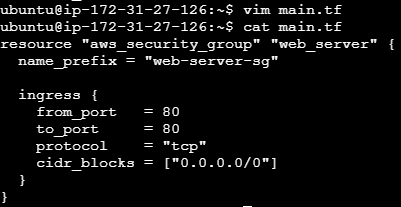
Open your
main.tffile 📄Add the following code to create a security group:
resource "aws_security_group" "web_server" {
  name_prefix = "web-server-sg"

  ingress {
    from_port   = 80
    to_port     = 80
    protocol    = "tcp"
    cidr_blocks = ["0.0.0.0/0"]
  }
}
Resource block:
aws_security_groupdefines the type of resource.Name:
web_serveris a unique name for the resource.Attributes:
name_prefix: Prefix for the security group name.ingress: Rules to allow incoming traffic.from_portandto_port: Ports to allow (80 for HTTP).protocol: Protocol to use (TCP).cidr_blocks: IP ranges to allow (0.0.0.0/0 allows all IPs).
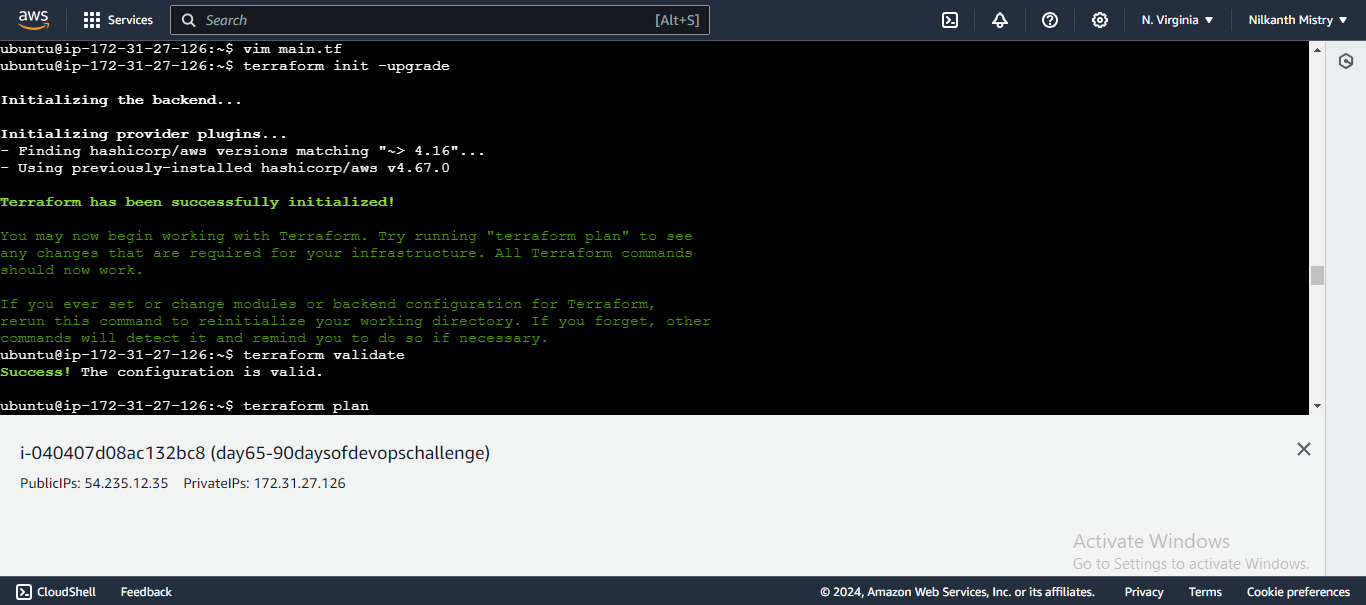
- Initialize the Terraform project:
terraform init
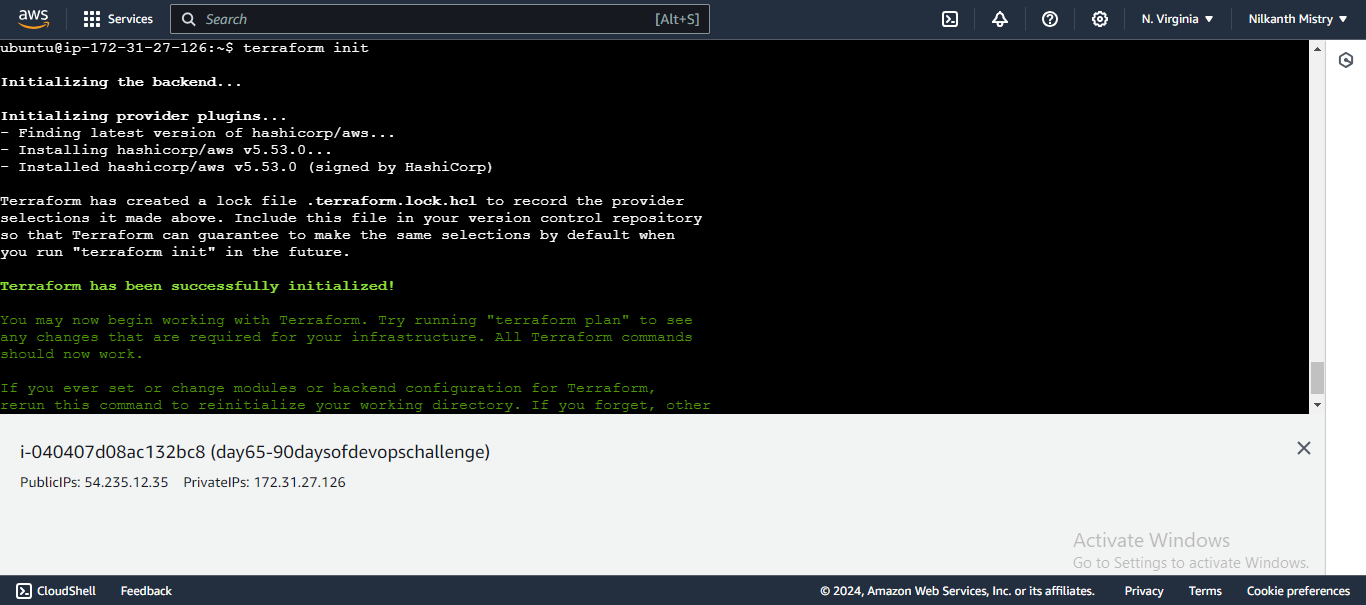
- This command initializes the project and downloads necessary plugins.
- Apply the configuration to create the security group:
terraform apply
- This command creates the security group based on the configuration.
Task 2: Create an EC2 Instance 🖥️
Now, let's create an EC2 instance with Terraform. Follow these steps:
Open your
main.tffile 📄Add the following code to create an EC2 instance:
terraform {
  required_providers {
    aws = {
      source  = "hashicorp/aws"
      version = "~> 4.16"
    }
  }
  required_version = ">= 1.2.0"
}

provider "aws" {
  region = "us-east-1"
}

resource "aws_security_group" "web_server" {
  name_prefix = "web-server-sg"

  ingress {
    from_port   = 80
    to_port     = 80
    protocol    = "tcp"
    cidr_blocks = ["0.0.0.0/0"]
  }
}

resource "aws_instance" "web_server" {
  ami           = "ami-00beae93a2d981137"
  instance_type = "t2.micro"
  key_name      = "90days0fdevopschallenge"
  security_groups = [
    aws_security_group.web_server.name
  ]

  user_data = <<-EOF
              #!/bin/bash
              echo "<html><body><h1>Welcome to my website!</h1></body></html>" > index.html
              nohup python -m SimpleHTTPServer 80 &
              EOF
}
Resource block:
aws_instancedefines the type of resource.Name:
web_serveris a unique name for the resource.Attributes:
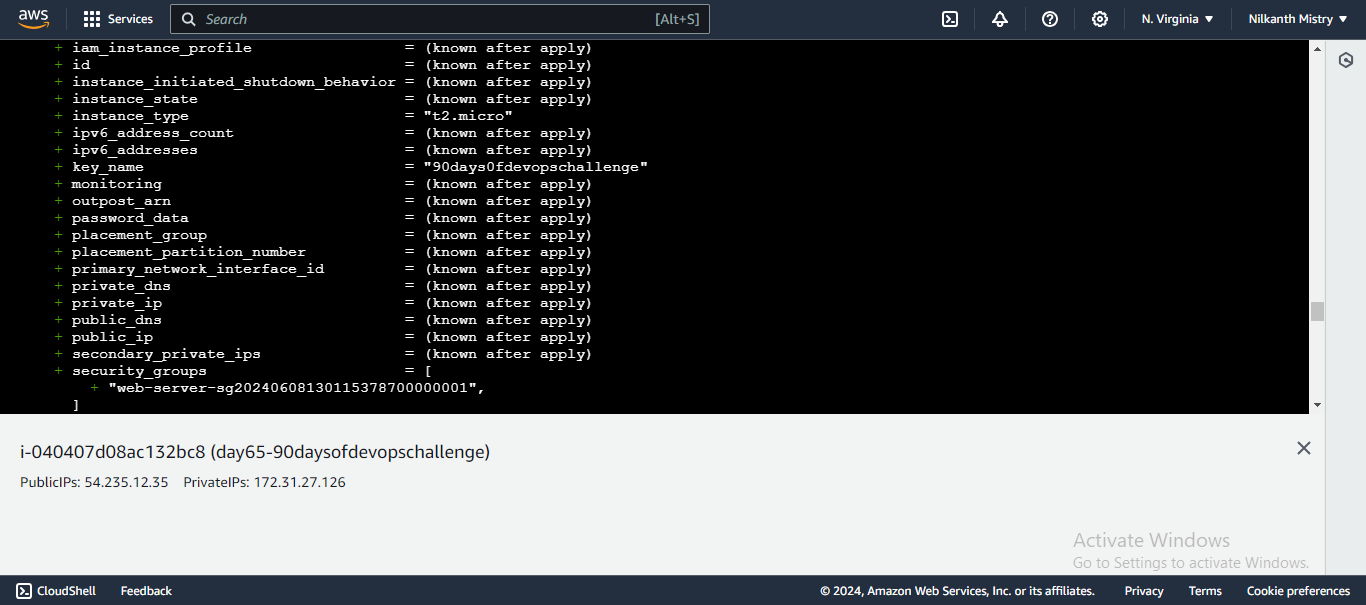
ami: Amazon Machine Image ID (replace with your own).instance_type: Type of instance (t2.microis a free tier eligible type).key_name: Key pair for SSH access (replace with your own).security_groups: List of security groups (references the security group created earlier).user_data: Script to run on instance start-up (hosts a simple website).
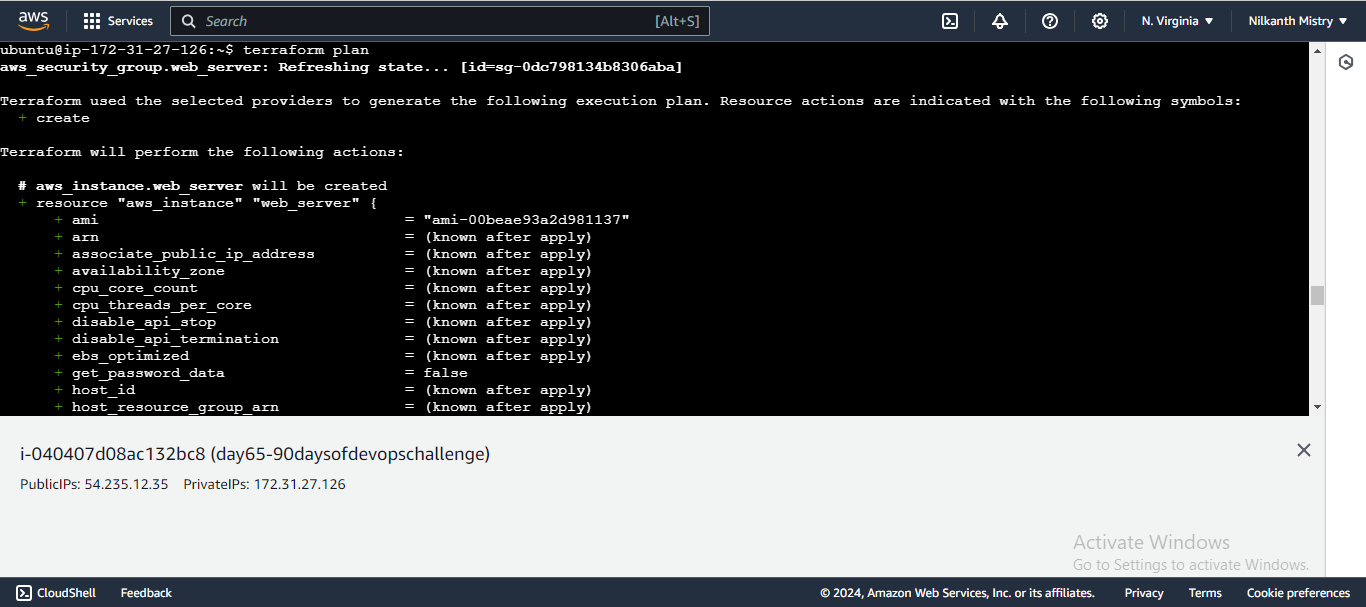
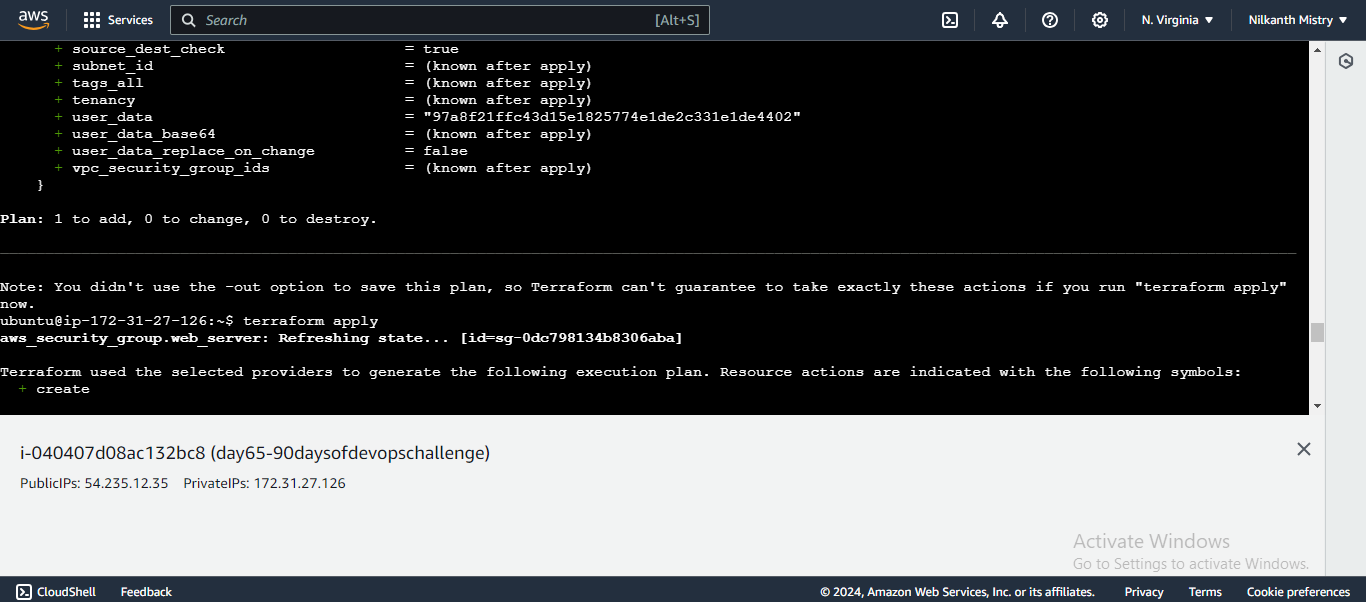
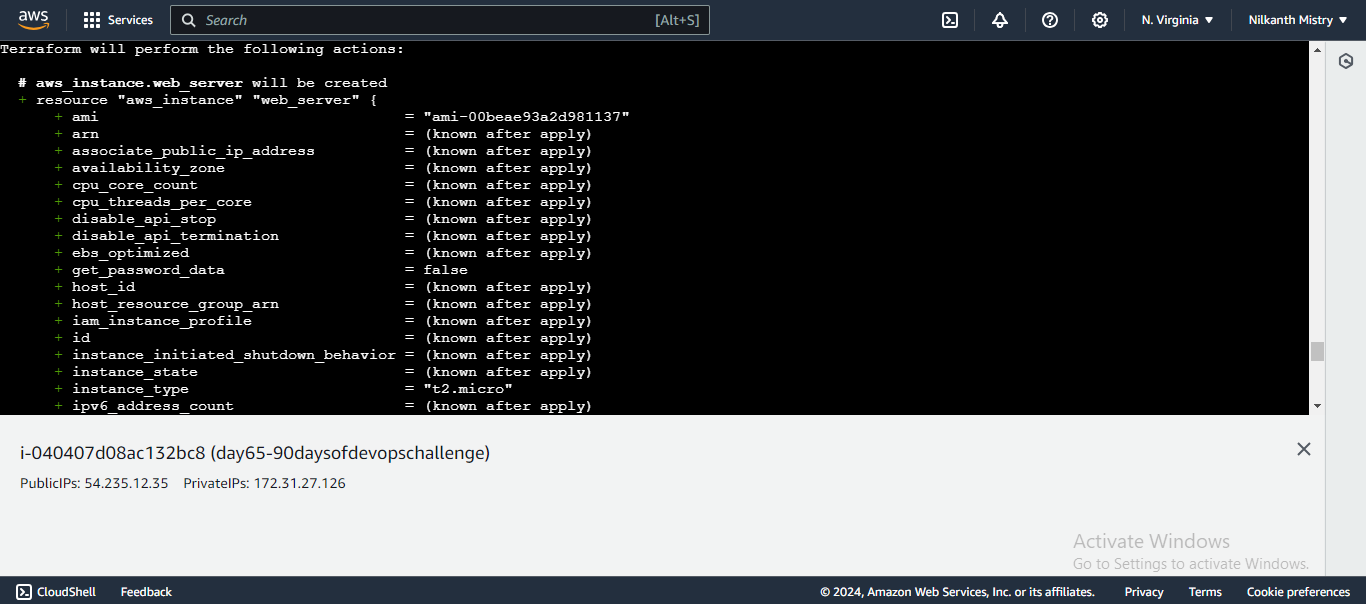
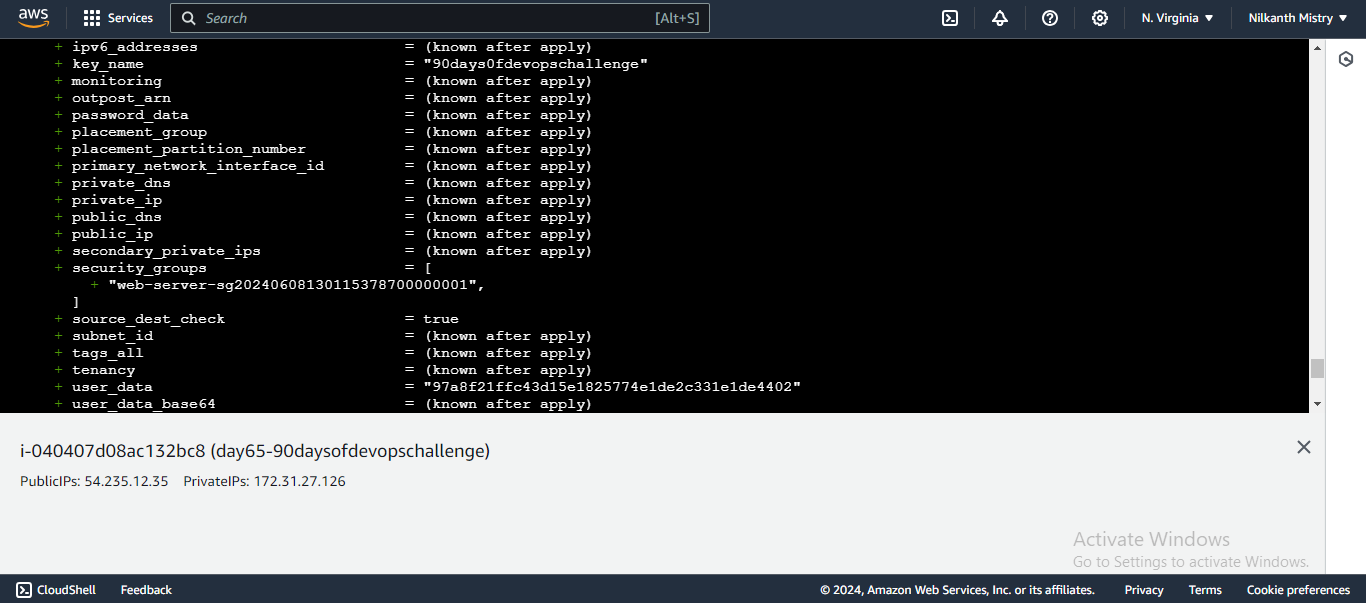
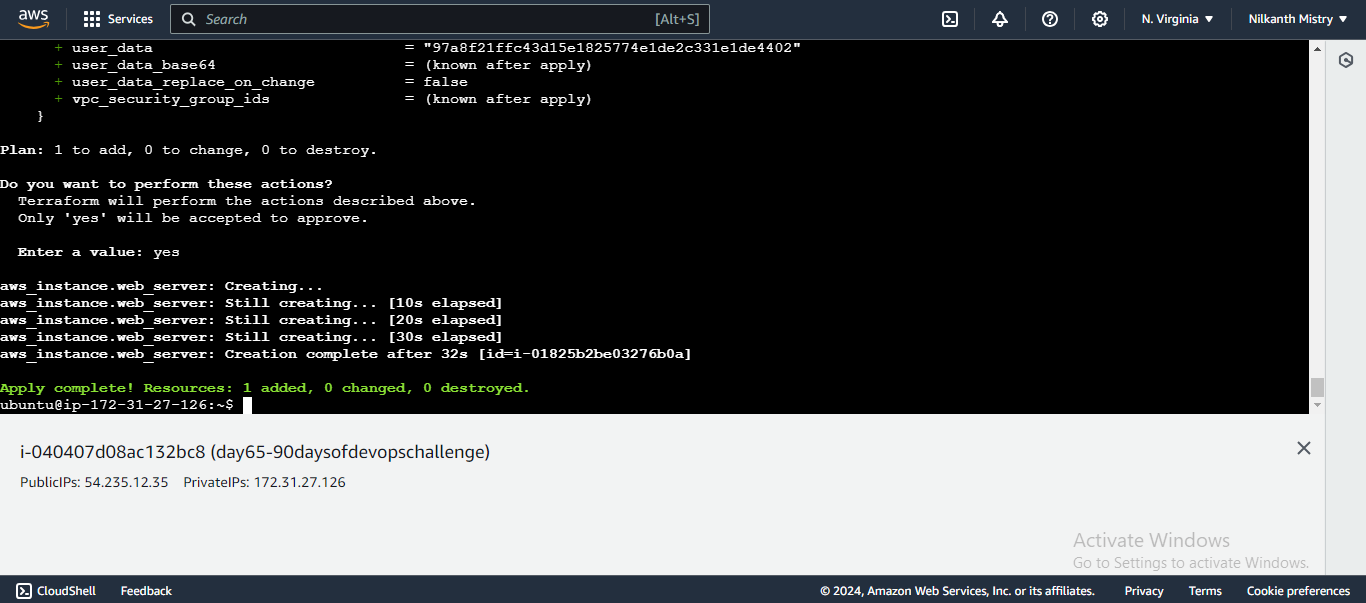
- Apply the configuration to create the EC2 instance:
terraform apply
- This command creates the EC2 instance based on the configuration.
Task 3: Access Your Website 🌐
Now that your EC2 instance is up and running, you can access the website hosted on it. Follow these steps:
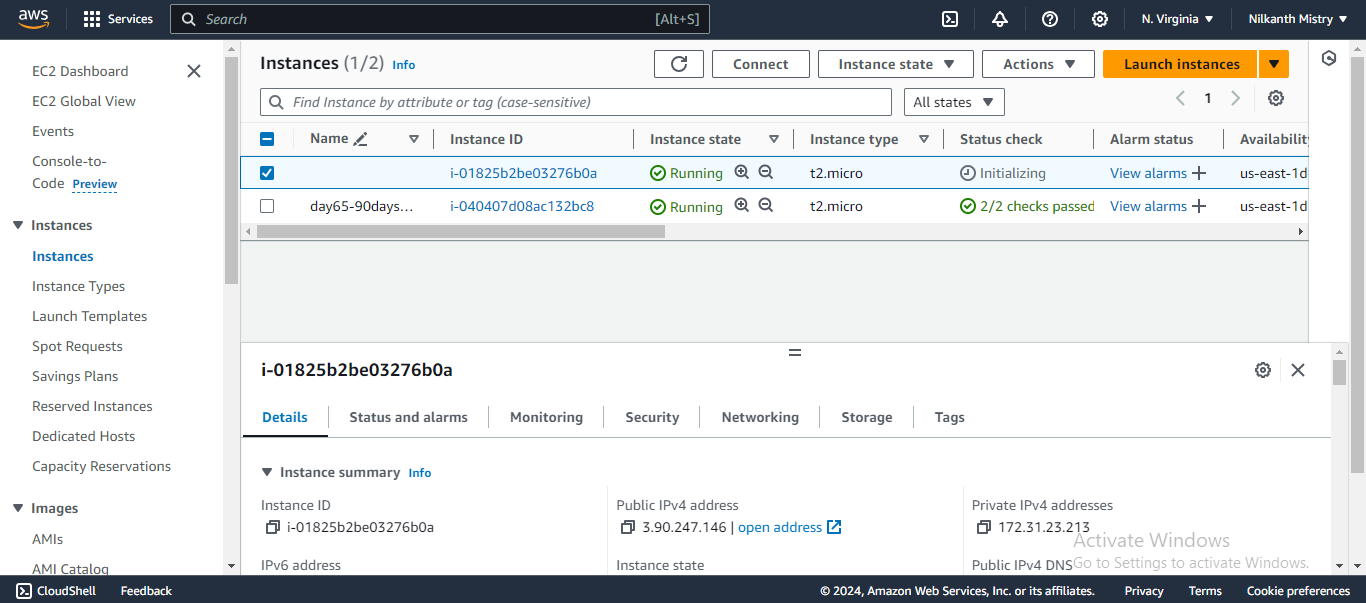
Find the Public IP of your EC2 instance:
- After running
terraform apply, Terraform will output the public IP address of the instance.
- After running
Open your web browser and enter the public IP address:
http://<Public-IP>
- You should see a webpage that says "Welcome to my website!"
Happy Terraforming! 🎉
With this guide, you have learned how to create a security group and an EC2 instance on AWS using Terraform. Keep experimenting and exploring more Terraform resources to build complex infrastructures efficiently. Happy Terraforming! 🚀
Subscribe to my newsletter
Read articles from Nilkanth Mistry directly inside your inbox. Subscribe to the newsletter, and don't miss out.
Written by

Nilkanth Mistry
Nilkanth Mistry
Embark on a 90-day DevOps journey with me as we tackle challenges, unravel complexities, and conquer the world of seamless software delivery. Join my Hashnode blog series where we'll explore hands-on DevOps scenarios, troubleshooting real-world issues, and mastering the art of efficient deployment. Let's embrace the challenges and elevate our DevOps expertise together! #DevOpsChallenges #HandsOnLearning #ContinuousImprovement