Understanding States and Props in React: A Detailed Tutorial
 Rudraksh Gupta
Introduction
React is a popular JavaScript library for building user interfaces, and mastering its core concepts, state, and props, is essential. These concepts help manage and pass data within your application, enabling you to create dynamic and interactive UIs. In this blog, we'll explain state and props, and their differences, and provide practical examples.
What are State and Props?
State
State is a component's local data storage that can change over time. It is managed internally within the component and updated using methods like setState in-class components or the useState hook in functional components.
Props
Props (short for properties) are read-only data passed from parent component to child components. They pass information and event handlers down the component tree, making components reusable and modular.
Key Differences
Mutability: State is mutable and can be updated within the component, whereas props are immutable from the child component's perspective.
Scope: State is local to the component, while props are passed from parent to child components.
Responsibility: State is managed by the component itself, while props are managed and provided by the parent component.
Use Cases
State: Ideal for managing data that changes over time within a component, such as form inputs, toggle buttons, and counters.
Props: Perfect for passing data and functions to child components to ensure reusability and composition.
Examples
Example 1: Managing State
Let's create a simple counter component using state to manage the count value.
import React, { useState } from 'react';

function Counter() {
  const [count, setCount] = useState(0);

  const increment = () => setCount(count + 1);

  return (
    <div>
      <h1>Count: {count}</h1>
      <button onClick={increment}>Increment</button>
    </div>
  );
}

export default Counter;
Here is the explanation of the above program:
Import Statements: Imports React and the
useStatehook from the React library.Function Definition: Defines a functional component
Counter.State Initialization: Uses
useState(0)to declare a state variablecountinitialized to0and a functionsetCountto update it.Increment Function: Defines
incrementto update the state by incrementingcountby 1.JSX Return: Returns JSX that includes a
<div>containing an<h1>element displaying the current count and a<button>that callsincrementon click.Export: Exports the
Countercomponent as the default export.
Example 2: Passing Props
Now, we'll create a parent component that passes a message prop to a child component.
import React from 'react';

// Child component
function Message({ text }) {
  return <h1>{text}</h1>;
}

// Parent component
function App() {
  const message = "Hello, World!";

  return (
    <div>
      <Message text={message} />
    </div>
  );
}

export default App;
Here is the explanation of the above program:
Import React:
import React from 'react';- Imports the React library.Define Child Component (
Message):function Message({ text }) { return <h1>{text}</h1>; }- Defines a functional componentMessagethat takes atextprop and returns an<h1>element displayingtext.Define Parent Component (
App):function App() {- Defines a functional componentApp.Initialize State:
const message = "Hello, World!";- Initializes a constantmessagewith the string "Hello, World!".Return JSX:
return ( <div> <Message text={message} /> </div> );- Returns JSX with a<div>containing theMessagecomponent, passingmessageas thetextprop.Export Component:
export default App;- Exports theAppcomponent as the default export of the module.

Example 3: Combining State and Props
Finally, let's create a parent component that manages a list of items using state and passes the items as props to a child component.
import './App.css';
import React, { useState } from 'react';

// Child component
function ItemList({ items }) {
  return (
    <ul>
      {items.map((item, index) => (
        <li key={index}>{item}</li>
      ))}
    </ul>
  );
}

// Parent component
function App() {
  const [items, setItems] = useState(['Apple', 'Banana', 'Cherry']);

  const addItem = () => setItems([...items, 'New Item']);

  return (
    <div className='container'>
      <div className='main'>
        <ItemList items={items} />
        <button onClick={addItem}>Add Item</button>
      </div>

    </div>
  );
}

export default App;
Here is the explanation of the above program:
Import React and useState:
import React, { useState } from 'react';Imports the React library and the
useStatehook from the React package.
Define Child Component (
ItemList):function ItemList({ items }) { // Component code }Defines a functional component
ItemListthat takes anitemsprop.
Return JSX in Child Component:
<ul>{items.map((item, index) => (<li key={index}>{item}</li>))}</ul>Returns JSX containing an unordered list (
<ul>) with list items (<li>) generated from theitemsarray using themapfunction.
Define Parent Component (
App):function App() { // Component code }Defines a functional component
App.
Initialize State with useState:
const [items, setItems] = useState(['Apple', 'Banana', 'Cherry']);Initializes a state variable
itemswith an array containing three strings using theuseStatehook.Also initializes a function
setItemsto update theitemsstate.
Add Item Function:
const addItem = () => setItems([...items, 'New Item']);Defines a function
addItemthat adds a new item ('New Item') to theitemsarray using the spread operator (...) and thesetItemsfunction.
Return JSX in Parent Component:
<div><ItemList items={items} /><button onClick={addItem}>Add Item</button></div>Returns JSX with a
<div>containing theItemListcomponent, passing theitemsstate as theitemsprop.Also includes a
<button>that, when clicked, calls theaddItemfunction to add a new item.
Export Component:
export default App;Exports the
Appcomponent as the default export of the module.
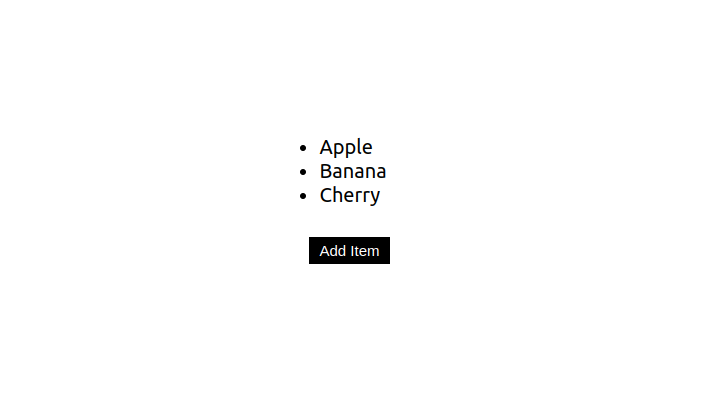
You will see something like this in your browser. This is just a demo project, so no styling has been added. You can add your own CSS according to your needs.

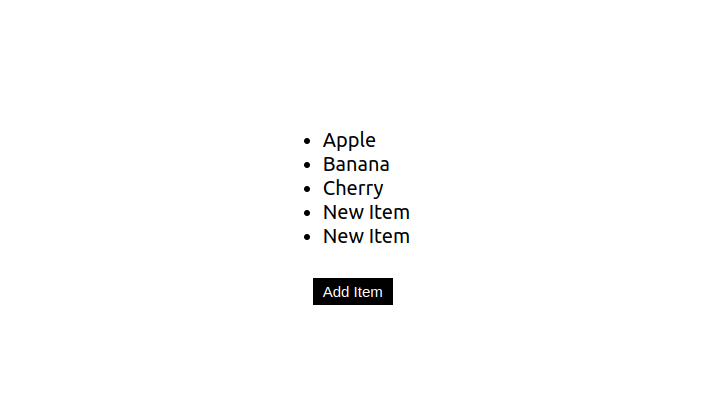
After clicking on the Add Item button, you will see something like this. The list will keep increasing whenever you click the button.

Conclusion
State and props are fundamental to React development, providing the tools to manage and pass data within your components. State handles dynamic, changeable data local to the component, while props facilitate data transfer and function delegation from parent to child components. Understanding these concepts will help you build more efficient, modular, and maintainable React applications.
Subscribe to my newsletter
Read articles from Rudraksh Gupta directly inside your inbox. Subscribe to the newsletter, and don't miss out.
Written by

Rudraksh Gupta
Rudraksh Gupta
Passionate and aspiring Full Stack Developer currently in my third year of college. My web development journey began after my class 10th board exams, during the COVID-19 pandemic. I started freelancing as a frontend developer in class 11th, completing five paid projects and delivering high-quality user interfaces. In college, I've expanded my skills to include full stack development. I've worked on several team projects for college events, gaining hands-on experience in both frontend and backend technologies. My expertise in various technologies and tools allows me to build seamless and efficient web applications.