How to Set Up a Static Web Server with Apache httpd? (Step-by-Step Guide)
 Aashutosh Soni
Table of contents

How to Set Up a Static Web Server with Apache httpd? (Step-by-Step Guide) 🚀
Prerequisites:
A basic HTML/CSS/JS web project to deploy.
A Linux machine or server.
Domain name (optional).
So, you've mastered web development and created a fantastic webpage. Now, you're eager to share it with the world. But how do you deploy it on the internet? Fear not; I'm here to guide you through the process.
To get started, you'll need a Linux machine or VM. (how to create one?)
Step 0 - Connect to your VM (if using cloud)
connect to your virtual machine using any of the following ways so we can start installing and configuring apache server on it.
A. Connect using ssh-
ssh ashutosh@192.168.1.7 ↩️
fingerprint(yes) ↩️
yourpassword ↩️

this will start a shell session like-

ashutosh@yourvm:~$
B. You can use VNC / RDP, for more info google vnc with your cloud provider term.
You can skip above step if you are setting up apache on a local server.
Step 1 - Update Your Packages 🔄
First things first, ensure your system is up-to-date by running this command:
sudo apt update && sudo apt upgrade
💡Pro tip: If you're feeling lazy, you can use sudo su to avoid typing sudo twice!
Step 2 - Install Apache httpd Server 🌐
Let's get Apache httpd on board. Run this command:
sudo apt install apache2
Step 3 - Verify Your Setup ✅
After Apache httpd is installed, it's time to see if everything's working. You can do this by typing your server's Public IP address in your web browser.
You can find this public IP from your cloud dashboard, or the address you used for ssh-ing into this machine.
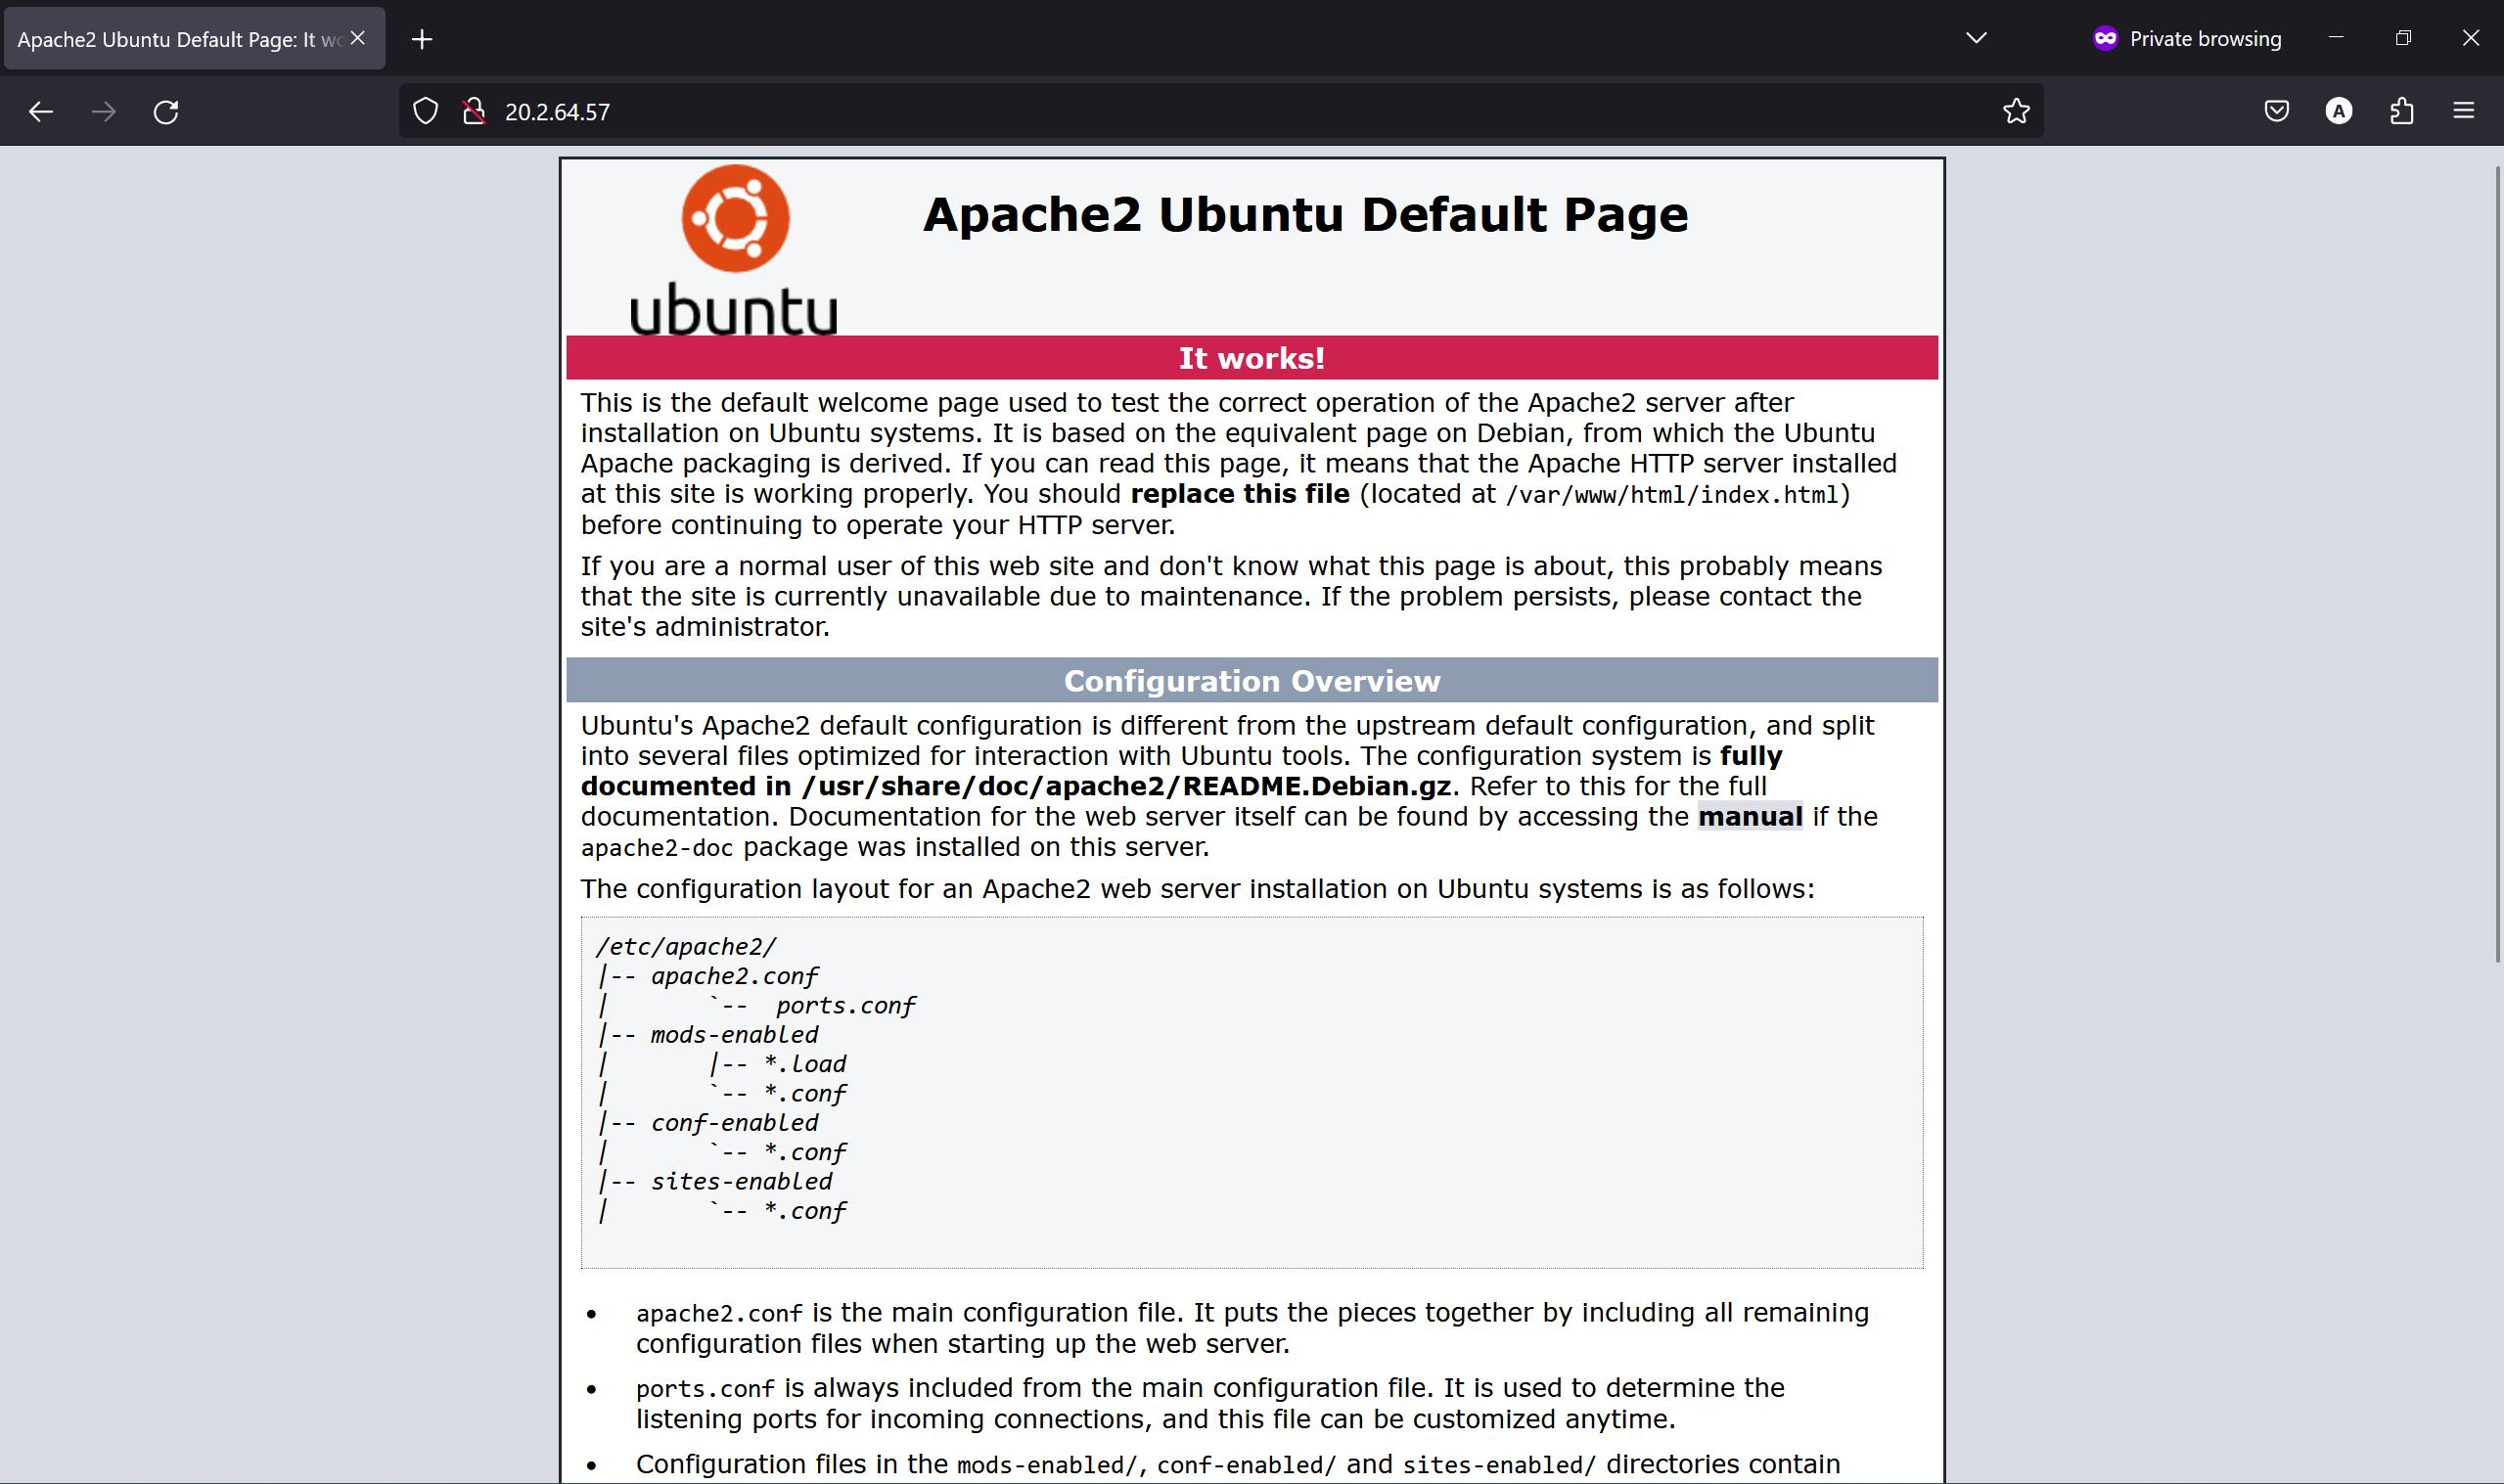
Opening your IP in browser should show default Apache sample page. which looks something like this-

Or you can simply type-
curl localhost
Step 4 - Creating Your Website 🌟
By default, Apache comes with a basic site enabled. You can customize its content, which is located at /var/www/html.
Lets modify default page with our content.
Step 1 - Navigate to default directory
cd /var/www/html/
ls
sudo rm -r index.html index.nginx-debian.html
ls
sudo nano index.html
    //if you don't have nano
vim index.html -> i
paste this sample html file-
<!DOCTYPE html>
<html>
<head>
    <style>
        body {
            background-color: #f0f0f0;
            font-family: Arial, sans-serif;
            display: flex;
            justify-content: center;
            align-items: center;
            height: 100vh;
            margin: 0;
        }
        h1 {
            color: #333;
        }
    </style>
</head>
<body>
    <h1>Hello, World!</h1>
</body>
</html>
save and exit
nano -> ctrl+x -> y -> enter.
vim -> :wq -> enter.
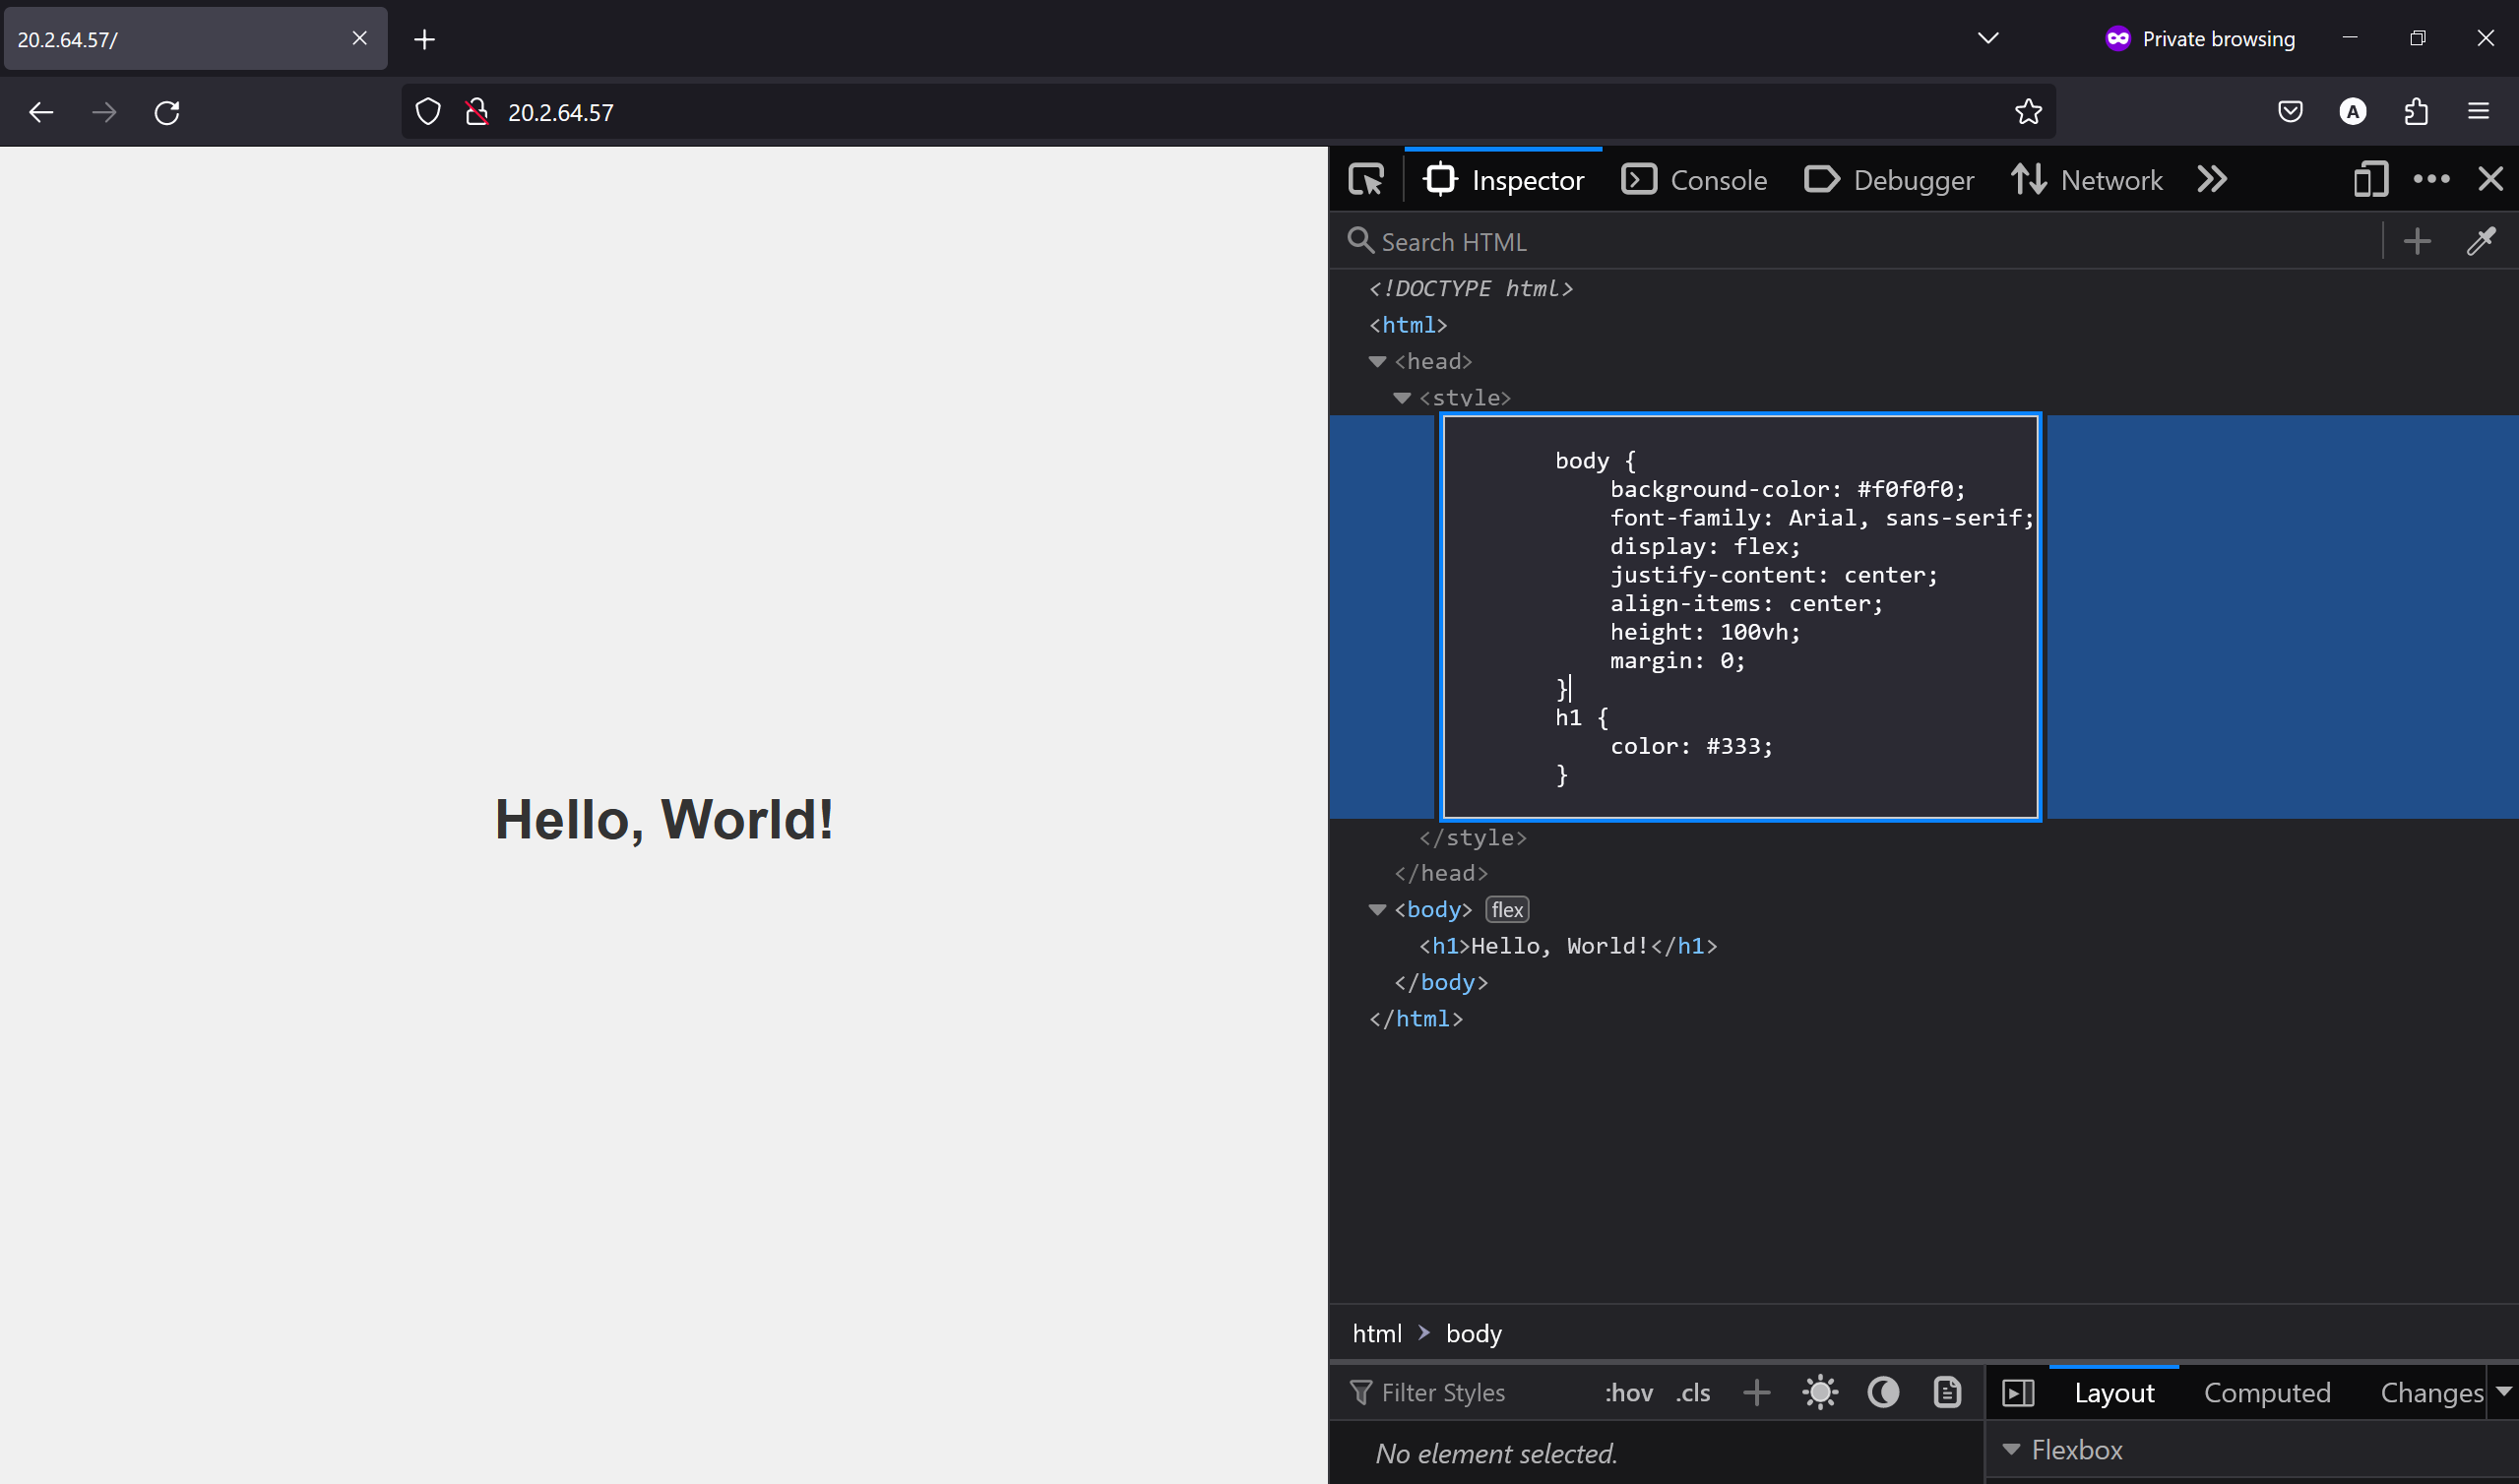
Then refresh you webpage, it will look something like this-

So this is how you setup a simple static web server with apache httpd✨
How to host your Vanillajs Projects here from Github?
say you have create a simple project on github and you want to deploy it here,
Now we will see how to do this-
1. For this to work the index.html of your project should be on the root directory,
the project structure should be like this-
.
├── assets
│   ├── logo/logo.png
│   ├── images
│   └── icons
├── index.html
├── style.css
├── index.js
└── README.md
Remove existing files from the
/var/www/htmlfolder, make sure it is empty, use rm command to delete files.sudo rm filenameNext step is to clone the github repository with a
.path so all of its contents are directly in this /html folder.git clone yourrepourl .for example-
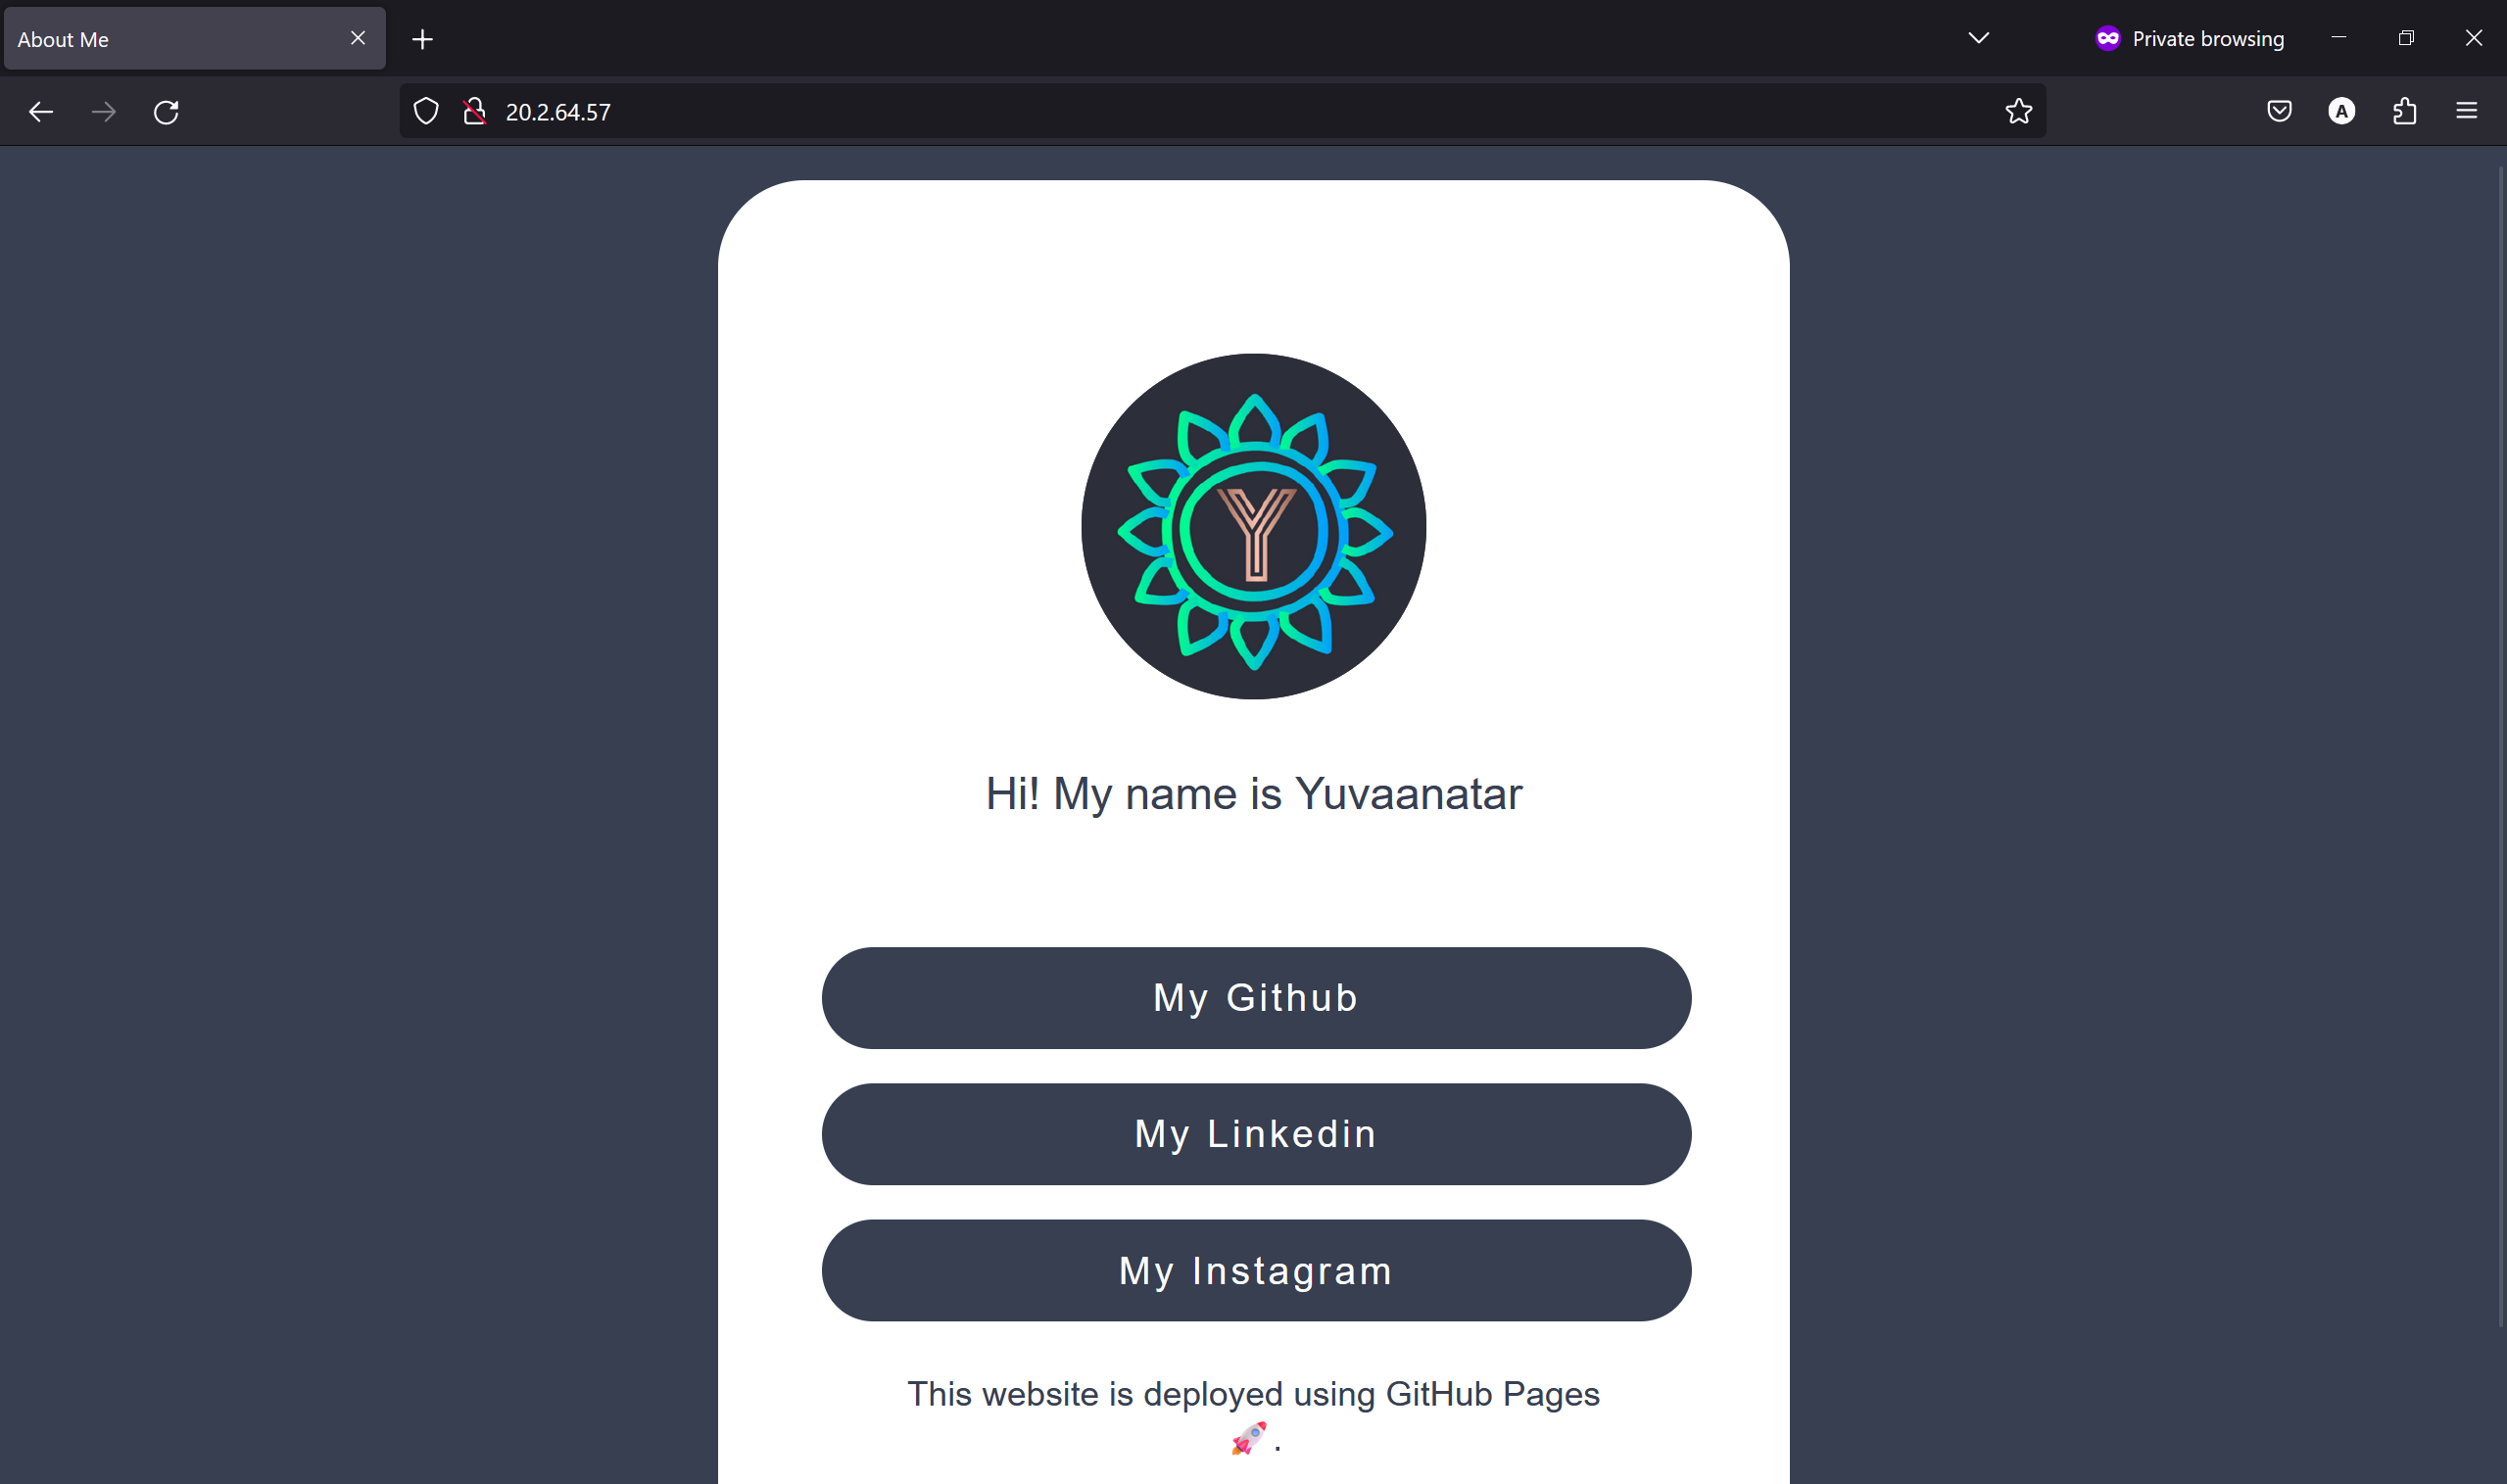
git clone https://github.com/ashutosh7i/Yuvaantar_portfolio.git .Doing this will import your project here, now refreshing the ip will show your project, in my case it looks like this-

Here are some additional tips and tricks:
🛠️ CI pipeline: Once your project is on the server, you can make changes on it locally, push to github, ssh into server and run
git pullcommand to host latest files.🔒 Port and Firewall Settings: If your website is not showing up ensure that your firewall allows traffic on port 80 (HTTP) and 443 (HTTPS) for your server. You might need to set up these rules using
ufw,sudo ufw allow http🏠 Setting Up Virtual Hosts: If you plan to host multiple websites on your server, consider setting up virtual hosts. This allows you to manage multiple domains with a single server (upcoming blogs).
🔧 Essential Apache and Server Management Commands:
Restart Apache:
sudo systemctl restart apache2Check Apache status:
sudo systemctl status apache2Enable Apache to start on boot:
sudo systemctl enable apache2View Apache error logs:
sudo tail -f /var/log/apache2/error.log
How to add a domain name like yourname.com to this ip?🤔 stay tuned for this blog.
That's it! You're on your way to sharing your masterpiece with the world. Stay tuned for more web server wizardry in our upcoming blogs! 🧙♂️✨
for any issues you can always reach me out on Linkedin
Happy Hacking! ☁️🚀
Subscribe to my newsletter
Read articles from Aashutosh Soni directly inside your inbox. Subscribe to the newsletter, and don't miss out.
Written by

Aashutosh Soni
Aashutosh Soni
Hello, I'm Aashutosh Soni 👋, a passionate Full-Stack Developer from India 🇮🇳. I specialize in MERN stack development and have experience in JavaScript, PHP, and C++. I'm also an ML&IOT enthusiast 🤖, a winner of WittyHacks 3.0, Techacks 4.0, JugaadHacks 2024, Peerlist AI Hacks 2024 🏆top-10 at Hack This Fall 4.0 and an Alpha MLSA member. I enjoy tinkering with electronic devices 🔌, creating videos 🎥, and editing graphics 🎨. Let's connect and talk about all things tech! 🚀