Day 67 - AWS S3 Bucket Creation and Management 🚀
 Nilkanth Mistry
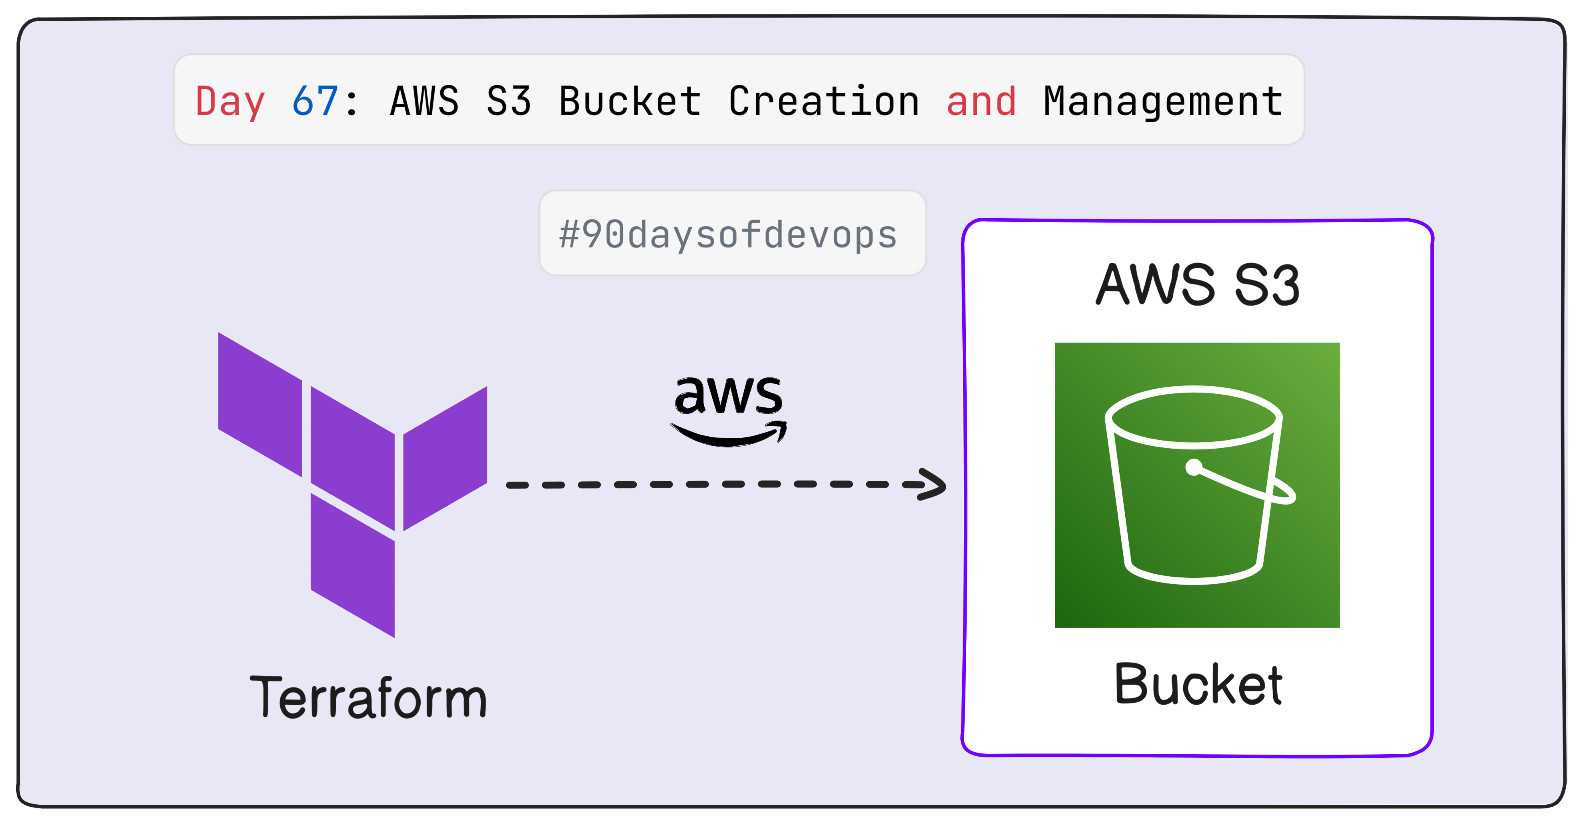
AWS S3 Bucket Overview 🌐
Amazon S3 (Simple Storage Service) is an object storage service offering industry-leading scalability, data availability, security, and performance. S3 can be used for various purposes, such as storing and retrieving data, hosting static websites, and more.
In this task, we'll create and manage S3 buckets using Terraform, an Infrastructure as Code (IaC) tool. Let's dive into the details!
Today's Task 🛠️
Create an S3 bucket using Terraform.
Configure the bucket to allow public read access.
Enable versioning on the S3 bucket.
Create an S3 bucket policy that allows read-only access to a specific IAM user.
Let's break down each task step by step!
Step-by-Step Guide 📝
Prerequisites 🔧
- Ensure you have an AWS account.
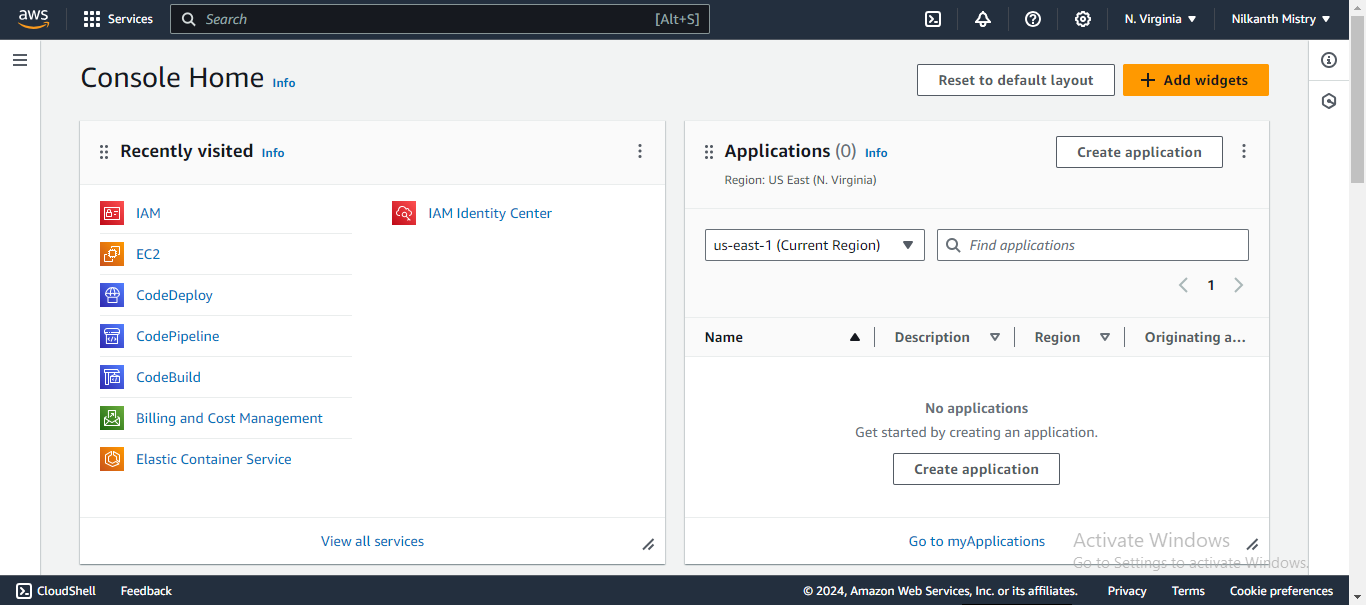
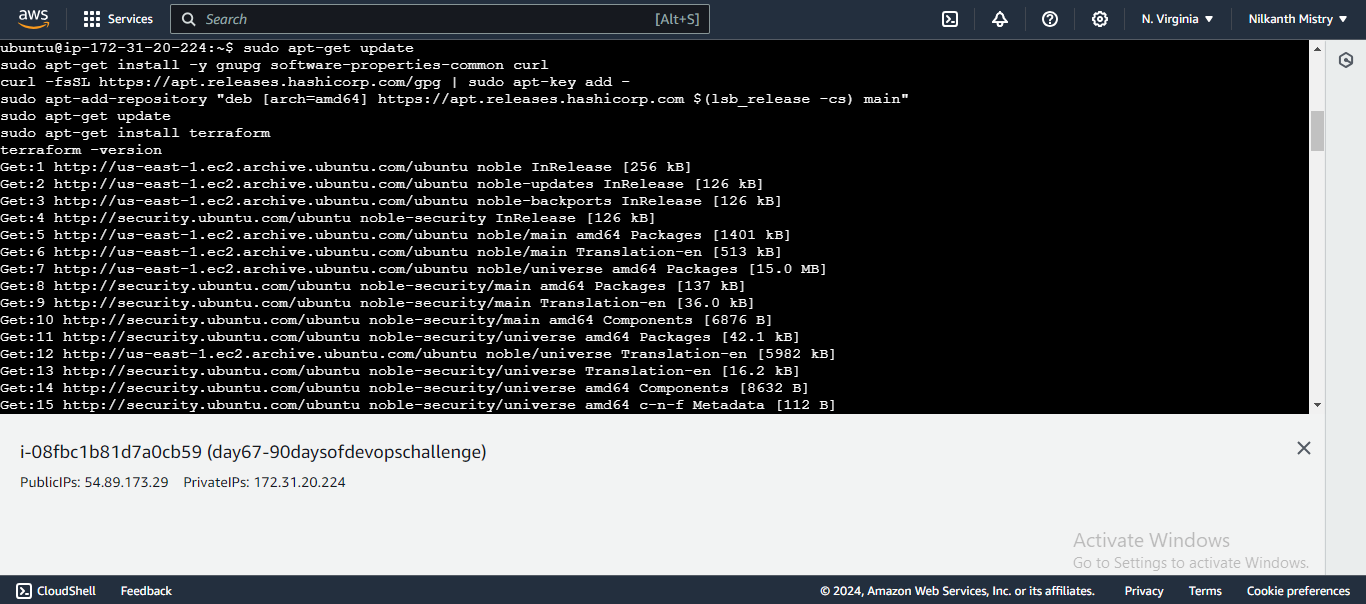
- Install Terraform on your local machine.
sudo apt-get update
sudo apt-get install -y gnupg software-properties-common curl
curl -fsSL https://apt.releases.hashicorp.com/gpg | sudo apt-key add -
sudo apt-add-repository "deb [arch=amd64] https://apt.releases.hashicorp.com $(lsb_release -cs) main"
sudo apt-get update
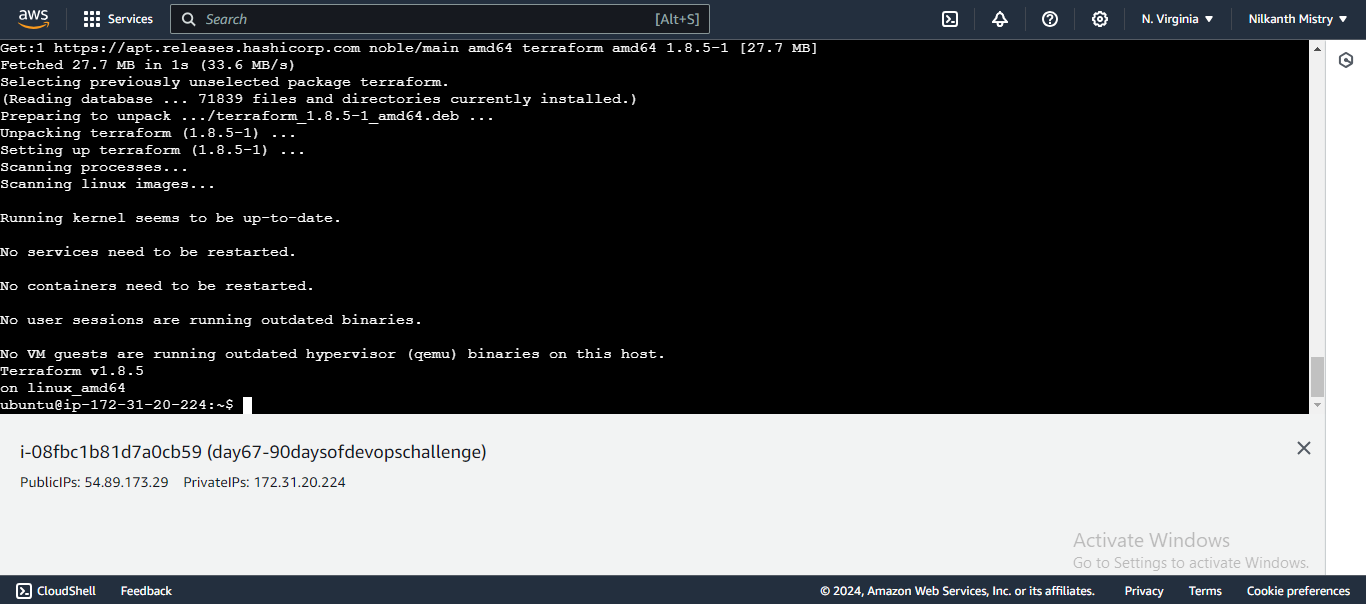
sudo apt-get install terraform
terraform -version
Install AWS CLI:
 sudo apt-get update
 sudo snap install aws-cli --classic
 aws --version
 aws configure
Step 1: Create an S3 Bucket using Terraform 🪣
Set Up Your Terraform Configuration: Create a directory for your Terraform project and navigate into it.
 mkdir terraform-s3-setup
 cd terraform-s3-setup
Create a Terraform Configuration File: Create a file named
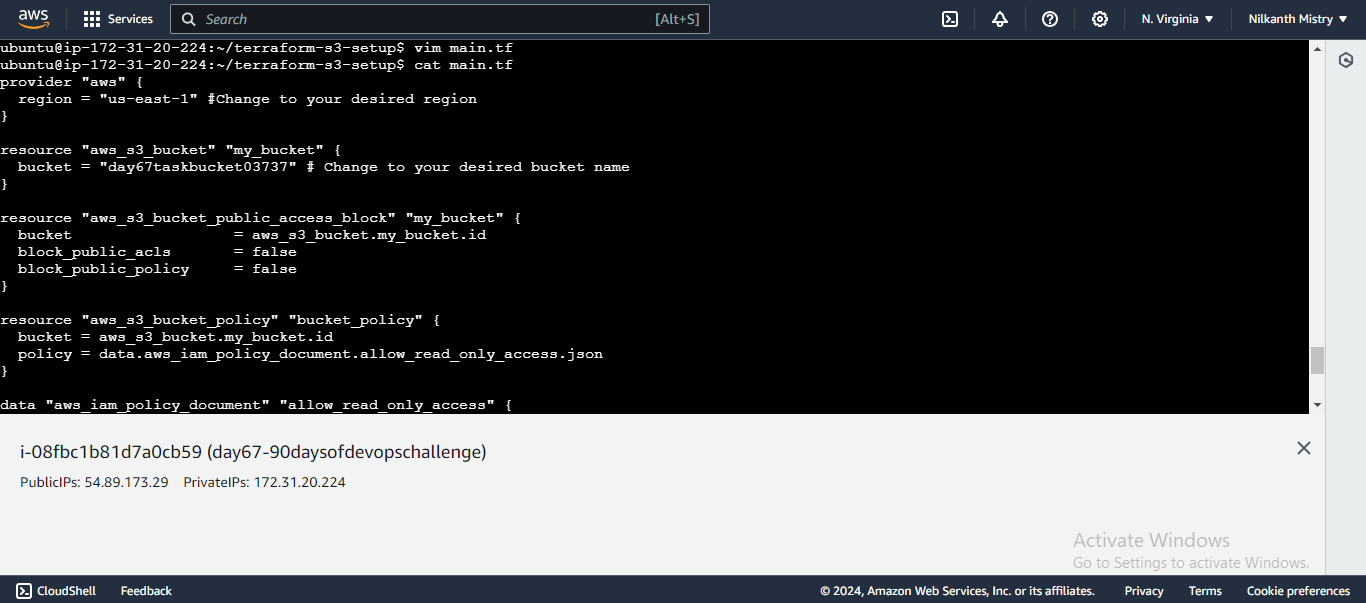
main.tfand add the following configuration:provider "aws" { region = "us-east-1" # Change to your desired region } resource "aws_s3_bucket" "my_bucket" { bucket = "day67taskbucket03737" # Change to your desired bucket name }
This configuration defines the AWS provider and creates a new S3 bucket.
Initialize Terraform: Initialize your Terraform configuration.
terraform init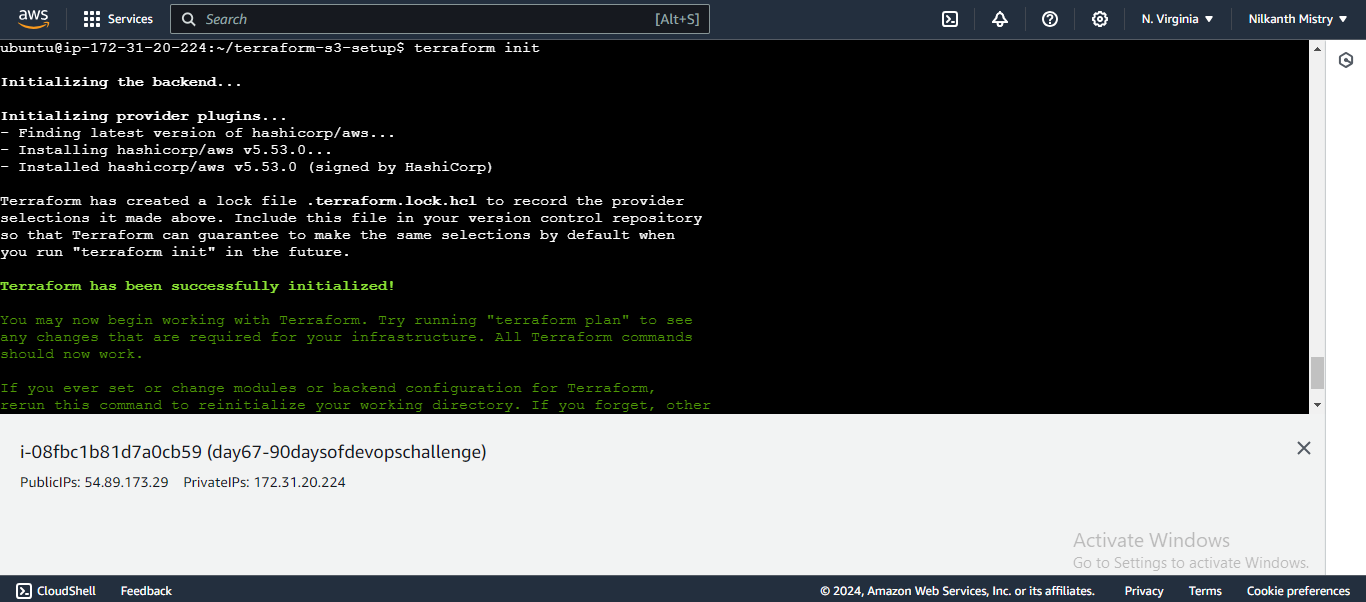
Plan the Configuration: Create an execution plan to preview the changes.
terraform plan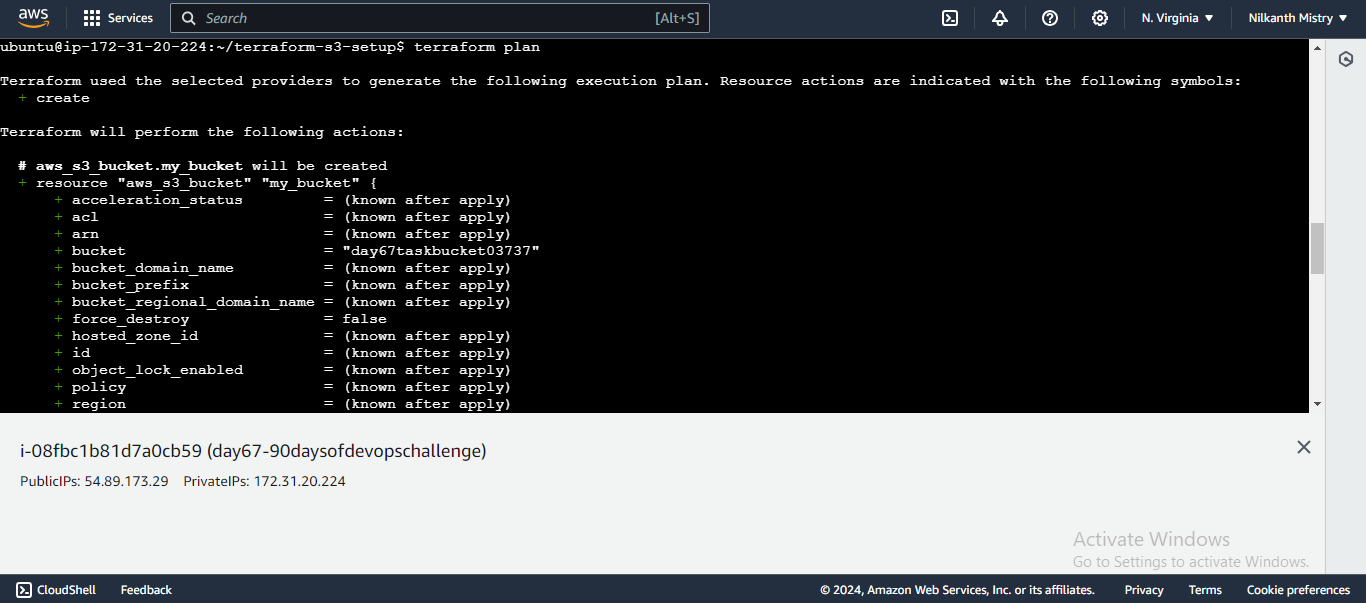
Apply the Configuration: Apply the configuration to create the S3 bucket.
terraform apply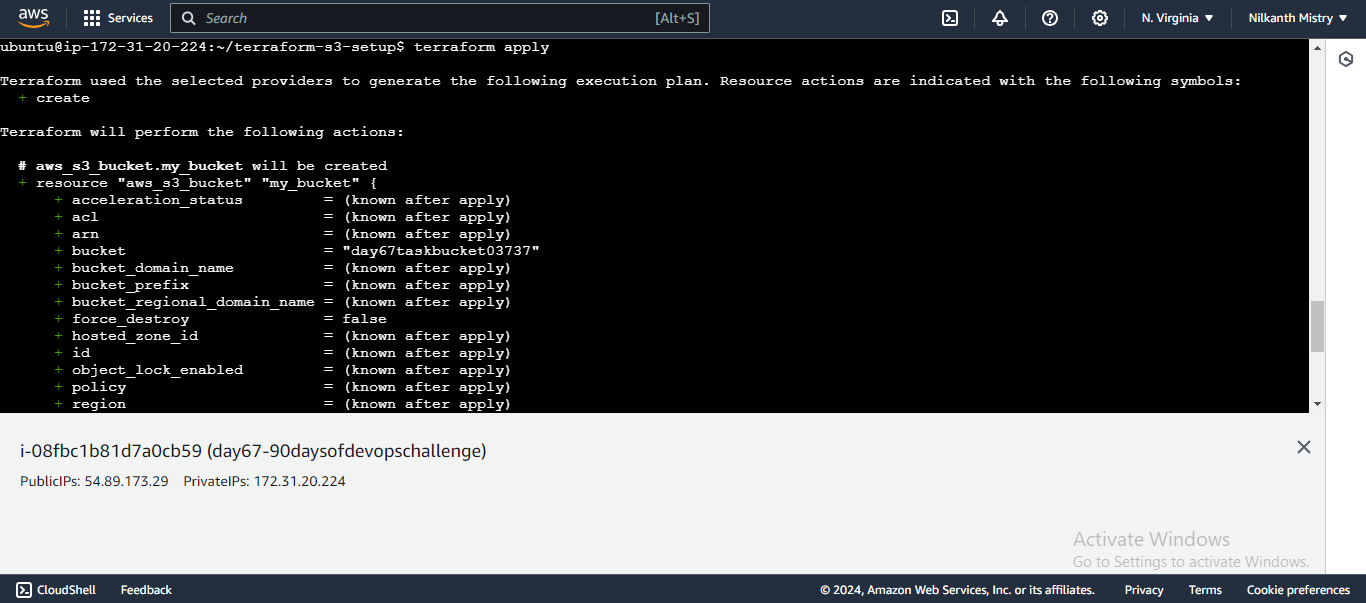
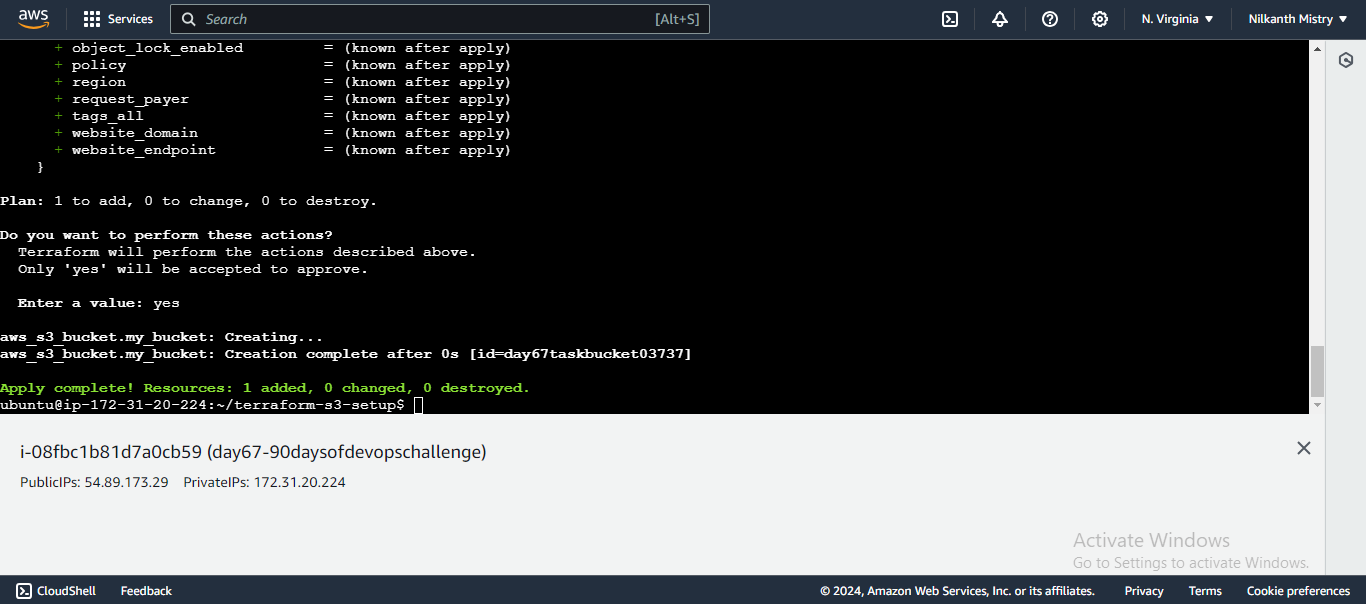
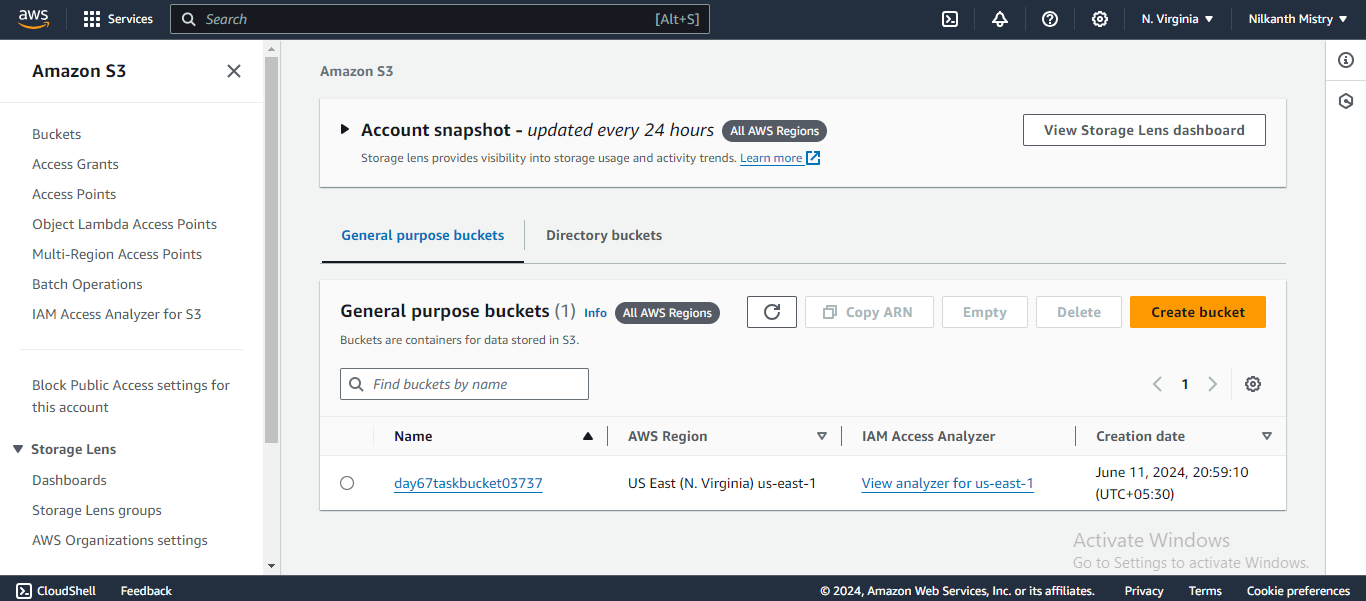
Confirm the creation by typing
yeswhen prompted. Your S3 bucket is now successfully created. ✅
Step 2: Configure Public Read Access 🌍
Update Your Terraform Configuration: Add the following block to your
main.tfto configure public read access:resource "aws_s3_bucket_public_access_block" "my_bucket" { bucket = aws_s3_bucket.my_bucket.id block_public_acls = false block_public_policy = false }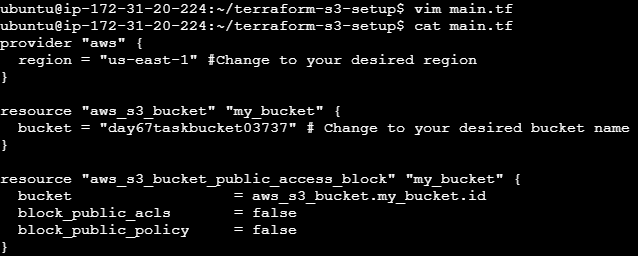
Apply the Configuration: Apply the changes to configure public read access.
terraform apply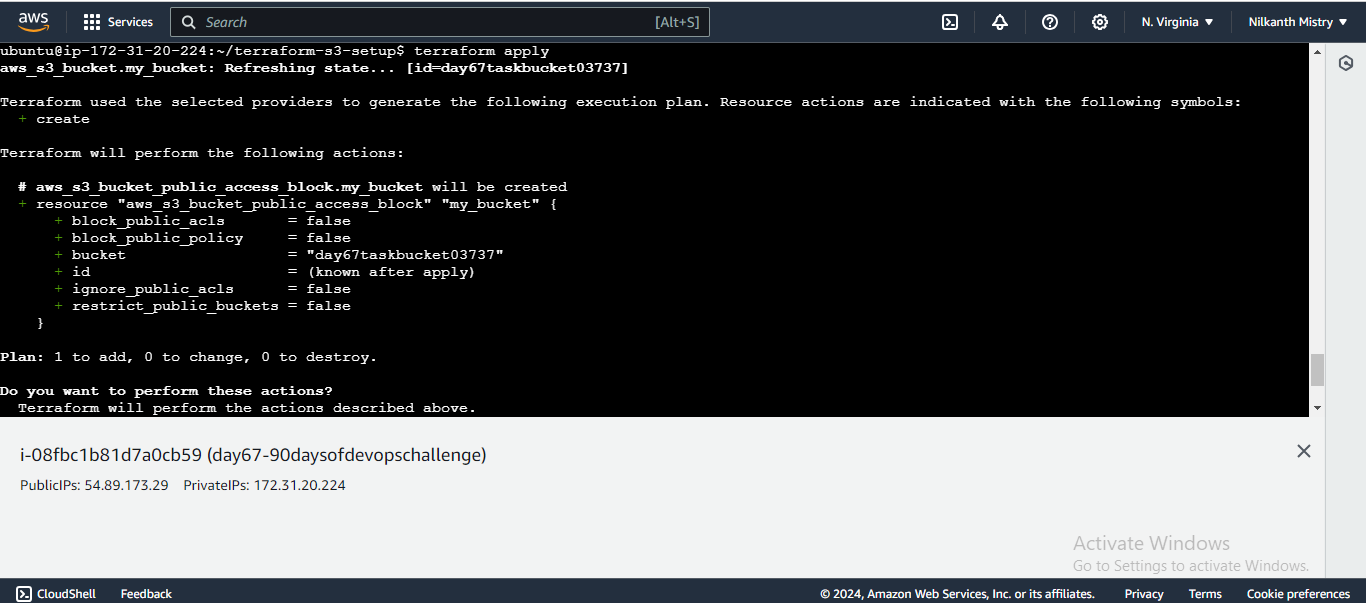
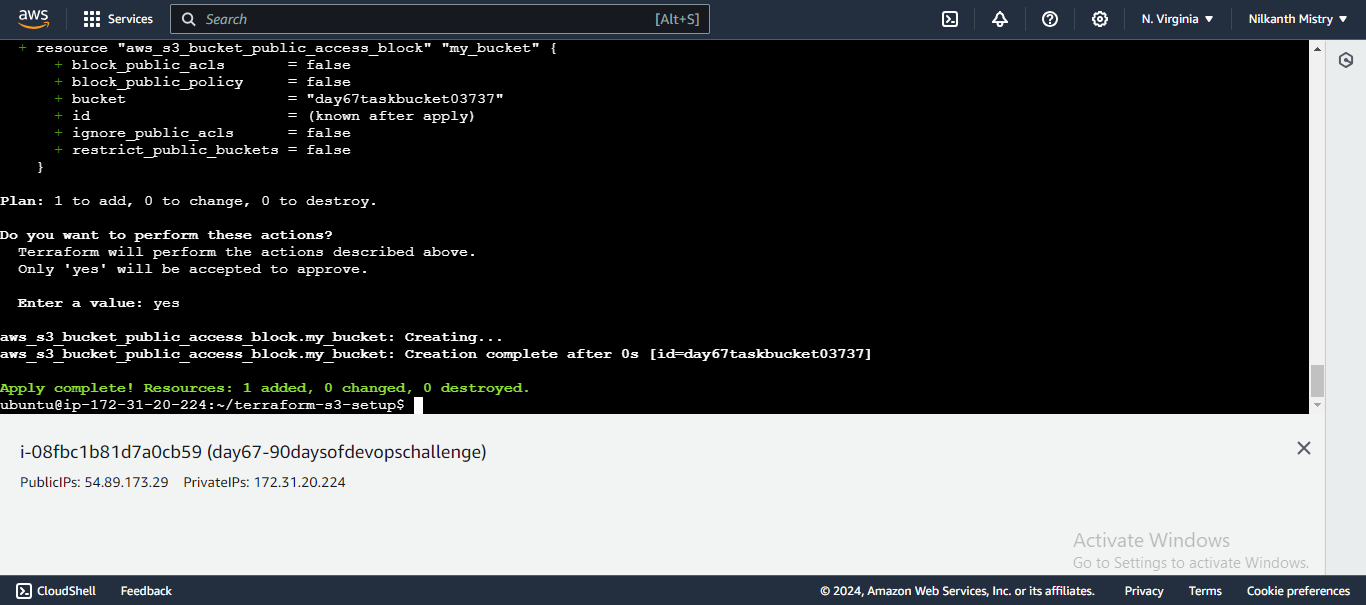
Confirm the changes by typing
yeswhen prompted. Your bucket is now publicly accessible. 🌐
Step 3: Enable Versioning on the S3 Bucket 📂
Update Your Terraform Configuration: Add the following block to your
main.tfto enable versioning:resource "aws_s3_bucket_versioning" "versioning" { bucket = aws_s3_bucket.my_bucket.id versioning_configuration { status = "Enabled" # 🆕 Enable versioning } }Apply the Configuration: Apply the changes to enable versioning.
terraform applyConfirm the changes by typing
yeswhen prompted. Versioning is now enabled on your S3 bucket. 🗂️
Step 4: Create an S3 Bucket Policy for Read-Only Access 🔑
Update Your Terraform Configuration: Add the following blocks to your
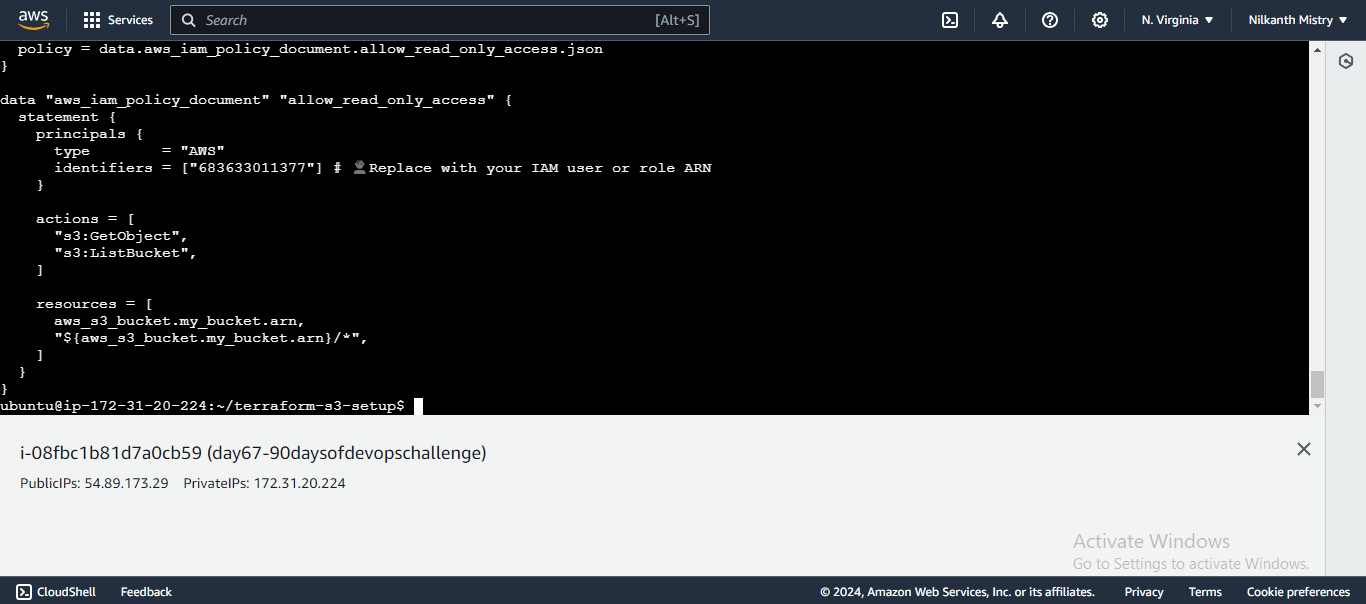
main.tfto create an S3 bucket policy:resource "aws_s3_bucket_policy" "bucket_policy" { bucket = aws_s3_bucket.my_bucket.id policy = data.aws_iam_policy_document.allow_read_only_access.json } data "aws_iam_policy_document" "allow_read_only_access" { statement { principals { type = "AWS" identifiers = ["683633011377"] # 👤 Replace with your IAM user or role ARN } actions = [ "s3:GetObject", "s3:ListBucket", ] resources = [ aws_s3_bucket.my_bucket.arn, "${aws_s3_bucket.my_bucket.arn}/*", ] } }This configuration creates a policy that grants read-only access to a specific IAM user or role.
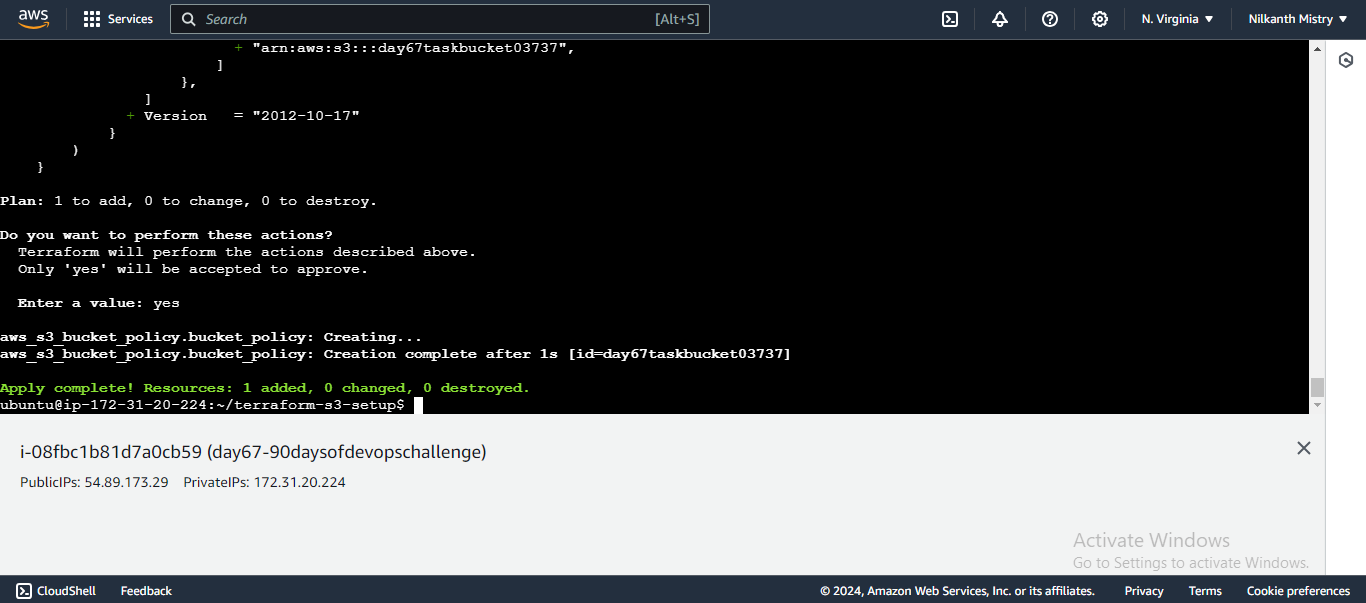
Apply the Configuration: Apply the changes to create the S3 bucket policy.
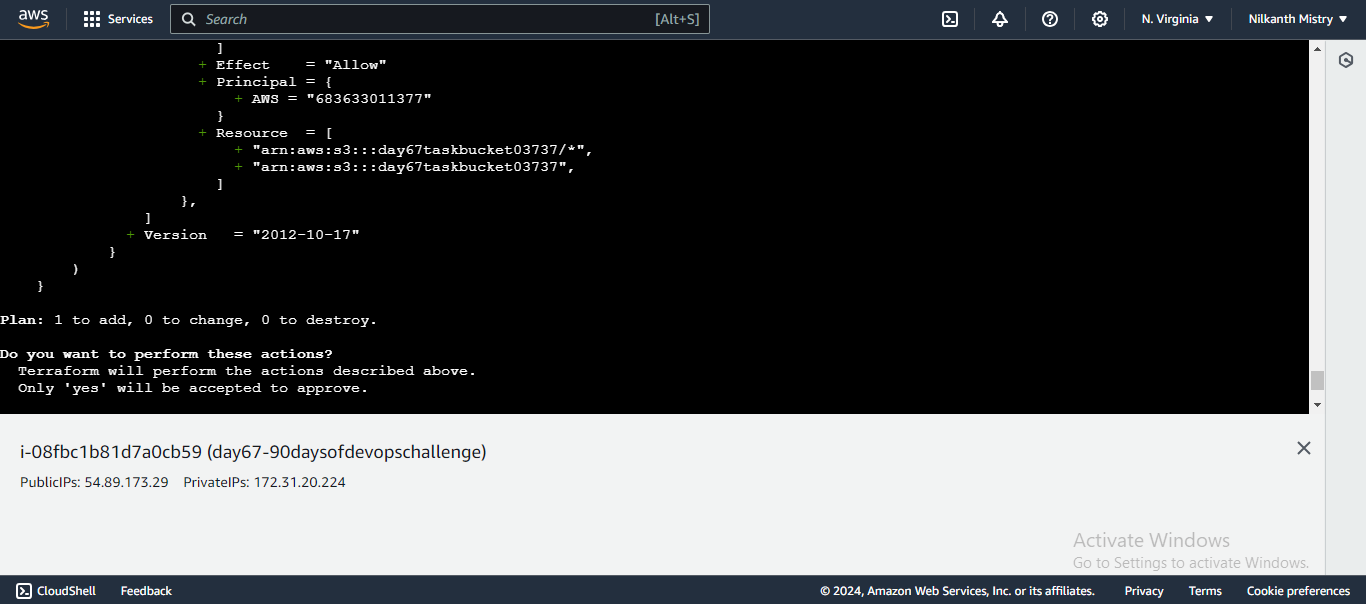
terraform applyConfirm the changes by typing
yeswhen prompted. The S3 bucket policy is now created, allowing read-only access to the specified IAM user. �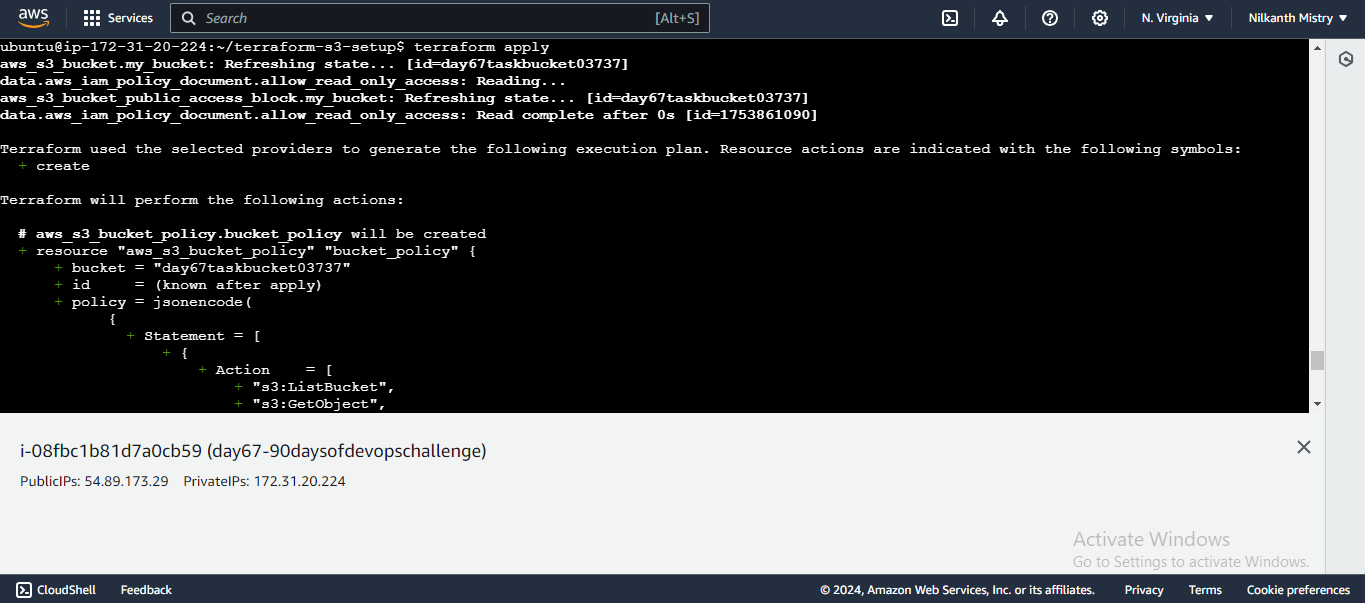
Summary 🎉
In today's challenge, we created and managed an AWS S3 bucket using Terraform. We configured public read access, enabled versioning, and added a bucket policy for read-only access to a specific IAM user. These steps provide a robust foundation for managing S3 buckets in a secure and scalable way.
Thank you for reading! Good luck and happy learning! 🍀
Subscribe to my newsletter
Read articles from Nilkanth Mistry directly inside your inbox. Subscribe to the newsletter, and don't miss out.
Written by

Nilkanth Mistry
Nilkanth Mistry
Embark on a 90-day DevOps journey with me as we tackle challenges, unravel complexities, and conquer the world of seamless software delivery. Join my Hashnode blog series where we'll explore hands-on DevOps scenarios, troubleshooting real-world issues, and mastering the art of efficient deployment. Let's embrace the challenges and elevate our DevOps expertise together! #DevOpsChallenges #HandsOnLearning #ContinuousImprovement