Building StreamIt! with Docker, FFmpeg, and RTMP
 Kaurani Divya D.
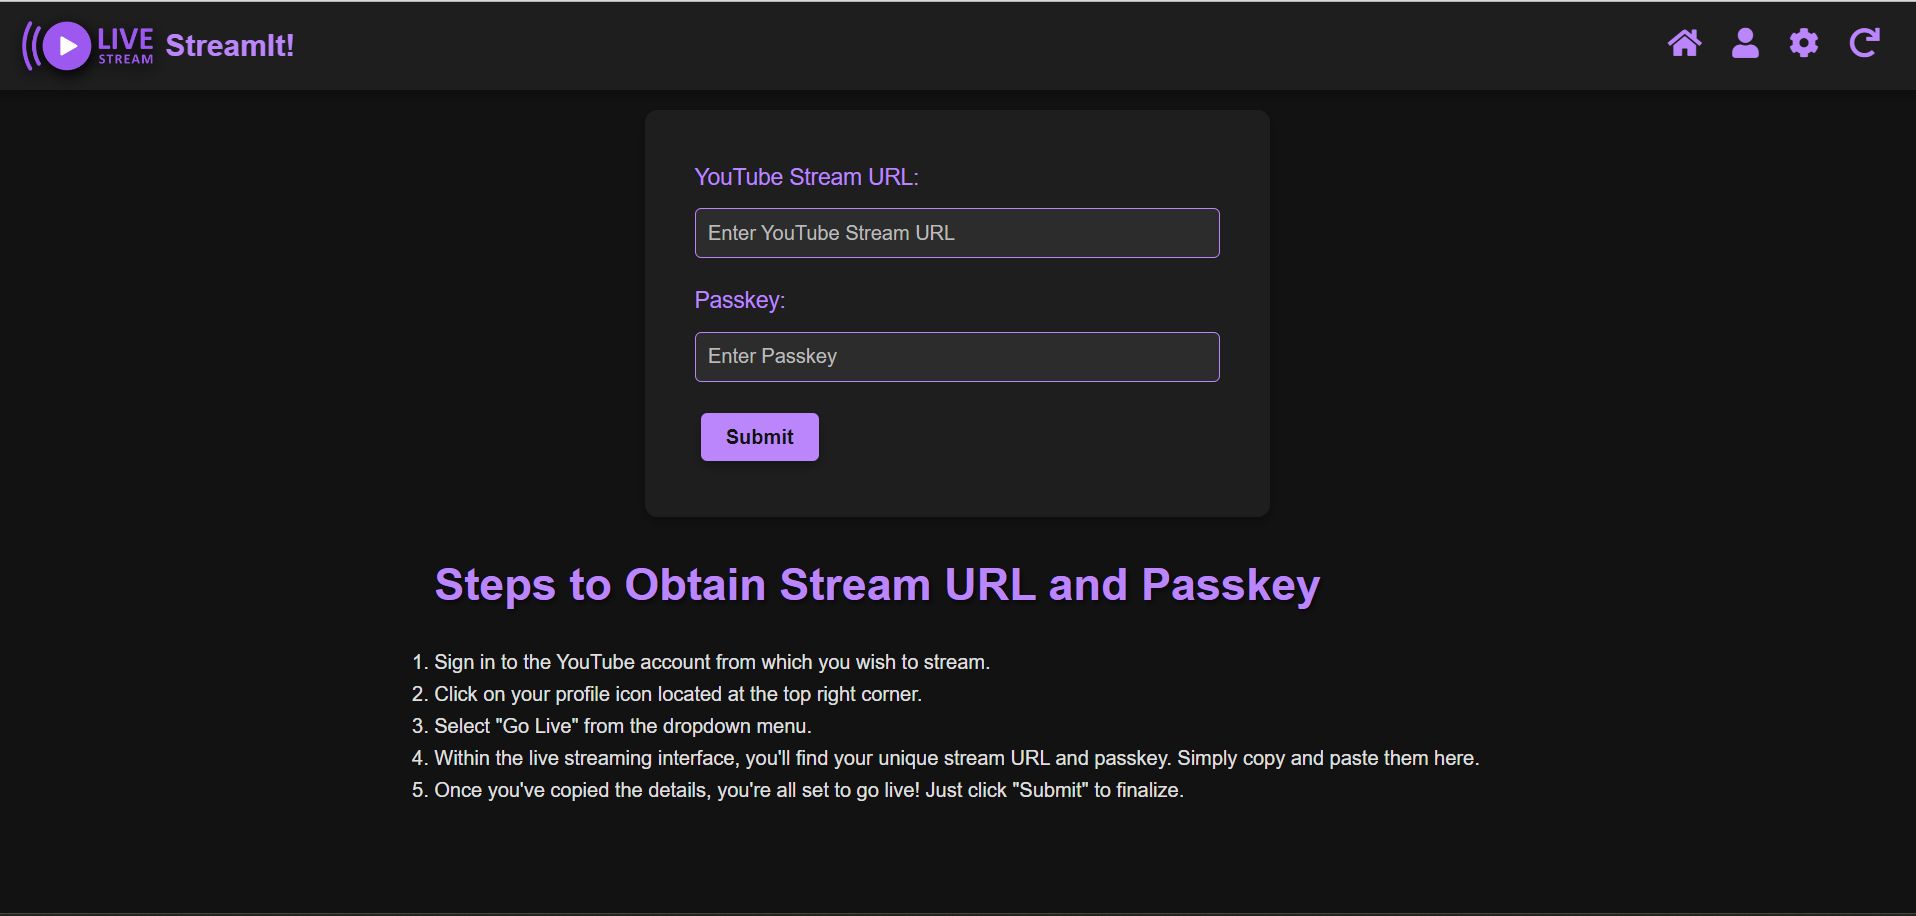
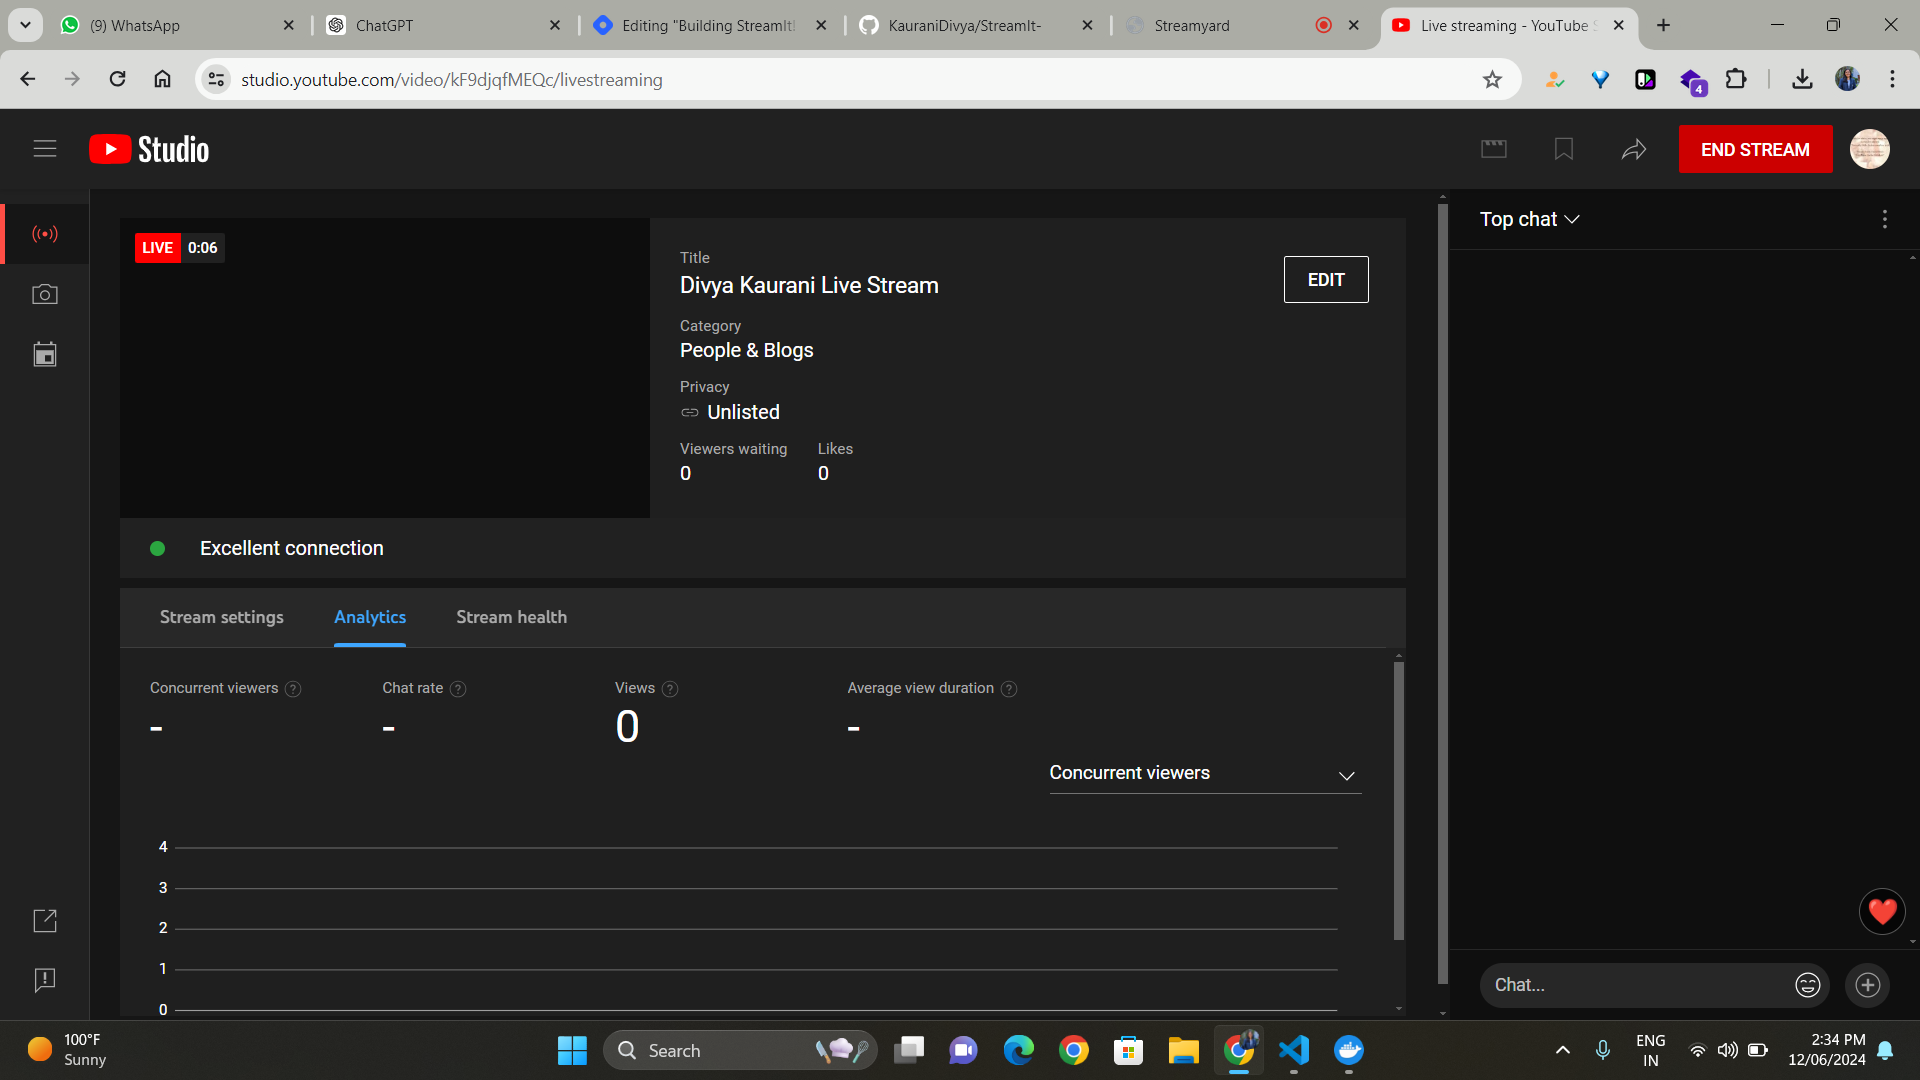
In this blog, I will share my journey of creating a streaming application called StreamIt! The project uses Docker, FFmpeg, and RTMP protocols to enable users to live stream directly to YouTube, manage the stream, and download the recorded sessions. I will also walk you through the key learnings and technical implementations that made this project possible.


Overview of Technologies
Docker
Docker is a platform that uses OS-level virtualization to deliver software in packages called containers. Containers are isolated from each other and bundle their own software, libraries, and configuration files. They can communicate with each other through well-defined channels.
Key Learnings:
Isolation and Environment Consistency: Each user's stream runs in a separate container, ensuring isolation and avoiding conflicts. This makes the setup easily scalable and reproducible. Currently, i have added 3 ports which can be dynamically made using NGinx acc to the number of users or ports used simultaneously.
Simplified Deployment: Using Docker, there’s no need to manually set up the FFmpeg environment. The Docker container includes everything needed, easing the deployment process.
FFmpeg
FFmpeg is a powerful multimedia framework that can decode, encode, transcode, mux, demux, stream, filter, and play almost anything humans and machines have created. It supports the most obscure ancient formats up to the cutting edge.
Key Learnings:
Versatile Video Processing: FFmpeg is an excellent tool for video processing, including live streaming, recording, and converting video formats.
Integration with Docker: By including FFmpeg in a Docker container, we can ensure a consistent environment for all users.
RTMP (Real-Time Messaging Protocol)
RTMP is a protocol for high-performance transmission of audio, video, and data between Adobe Flash Platform technologies, including Adobe Flash Player and Adobe AIR.
Key Learnings:
Reliable Streaming: RTMP uses TCP for reliable streaming, which is essential for live video where loss of frames can be detrimental.
Binary Data Handling: As most of the data sharing is done in UDP, but the RTMP works on TCP, so we have converted the video stream to binary data for transmission to the server, showcasing an essential aspect of real-time streaming.
Project Implementation
StreamIt! : A YouTube Live Streaming Portal
Objective: Allow users to live stream to YouTube by simply providing a stream URL and passkey, manage the stream, and download the recorded video.
Server-Side Implementation
1. Starting and Stopping Streams:
javascriptCopy codesocket.on('updateYoutubeStreamOptions', rtmpUrl => {
    if (youtubeStreamProcess || recordingProcess) {
        if (youtubeStreamProcess) {
            youtubeStreamProcess.stdin.end();
        }
        if (recordingProcess) {
            recordingProcess.stdin.end();
        }
    }
    startFFmpegProcesses(rtmpUrl);
});
Purpose: Updates stream options and restarts FFmpeg processes.
Actions:
Ends existing FFmpeg processes if any.
Starts new FFmpeg processes with updated RTMP URL.
2. Handling Binary Stream Data:
javascriptCopy codesocket.on('binarystream', stream => {
    if (youtubeStreamProcess && recordingProcess) {
        youtubeStreamProcess.stdin.write(stream);
        recordingProcess.stdin.write(stream);
    }
});
Purpose: Receives and forwards binary stream data.
Actions:
- Writes incoming binary data to FFmpeg processes for both streaming and recording.
3. Download Recorded Stream:
javascriptCopy codeapp.get('/download', (req, res) => {
    const file = path.resolve(__dirname, 'recording.mp4');
    res.download(file, err => {
        if (err) {
            console.error('Error downloading file:', err);
        }
    });
});
Purpose: Allows users to download the recorded stream.
Actions:
- Serves the recorded video file for download.
Client-Side Implementation
1. Starting the Stream:
javascriptCopy codestartButton.addEventListener('click', () => {
    const mediaRecorder = new MediaRecorder(state.media, {
        mimeType: 'video/webm; codecs=vp9',
        audioBitsPerSecond: 128000,
        videoBitsPerSecond: 2500000,
        framerate: 25
    });

    state.mediaRecorder = mediaRecorder;
    state.recordedChunks = [];

    mediaRecorder.ondataavailable = ev => {
        if (ev.data.size > 0) {
            state.recordedChunks.push(ev.data);
            socket.emit('binarystream', ev.data);
        }
    };

    mediaRecorder.start(25); // Start recording and send data every 25ms
    startButton.disabled = true;
    stopButton.disabled = false;
    downloadButton.disabled = true;
});
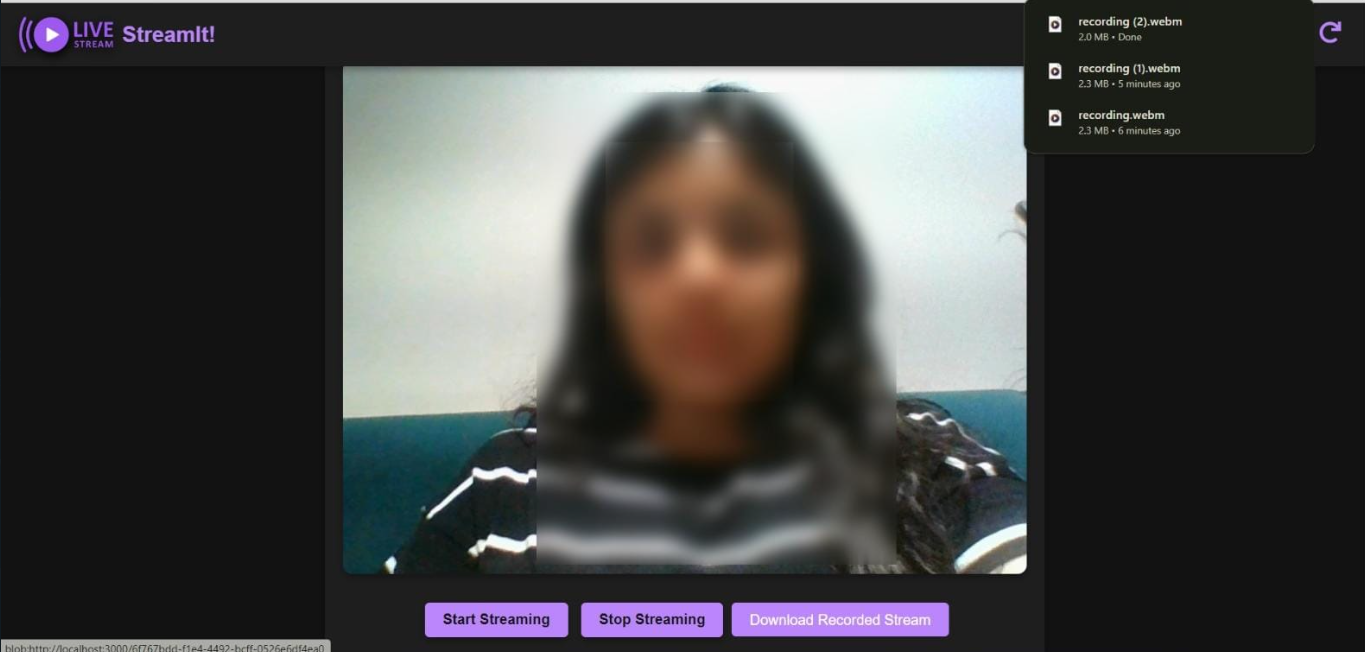
Purpose: Initiates the stream and starts recording.
Actions:
Sets up
MediaRecorderwith specified parameters.Sends recorded data to the server every 25ms.
Manages button states (start/stop/download).
2. Stopping the Stream:
javascriptCopy codestopButton.addEventListener('click', () => {
    if (state.mediaRecorder) {
        state.mediaRecorder.stop();
        state.mediaRecorder = null;
    }
    socket.emit('stopstream');
    startButton.disabled = false;
    stopButton.disabled = true;

    const blob = new Blob(state.recordedChunks, { type: 'video/webm' });
    const url = URL.createObjectURL(blob);
    downloadLink.href = url;
    downloadLink.download = 'recording.webm';
    downloadLink.style.display = 'inline';
    downloadButton.disabled = false;
});
Purpose: Stops the stream and enables download.
Actions:
Stops
MediaRecorder.Signals the server to stop streaming.
Creates a downloadable link for the recorded video.
Source Code: https://github.com/KauraniDivya/StreamIt-
Youtube Demonstration Link : https://youtu.be/YSl4CJ9r55w
Prerequisites
Before running the code, ensure you have the following installed:
Docker Desktop: Install Docker Desktop from here.
Node.js and npm: Install Node.js and npm from here.
Running the Project
Open Docker Desktop: Ensure Docker Desktop is running.
Build and Run the Containers: Navigate to your project root directory and run the following command:
docker-compose up --buildThis command will:
Build the Docker image using the
Dockerfile.Start the services defined in
docker-compose.yml.Expose port 3000 to access the application.
Access the Application:
Open your web browser and go to
http://localhost:3000.You should see your application's interface.
By following these steps, you can run your streaming application within Docker containers, leveraging the power of Docker for an isolated and scalable environment.
A special thanks to Piyush Garg Sir, for providing the basic understanding : Click here
Subscribe to my newsletter
Read articles from Kaurani Divya D. directly inside your inbox. Subscribe to the newsletter, and don't miss out.
Written by

Kaurani Divya D.
Kaurani Divya D.
Mern Stack Developer from India.